This is a flat style oven igniter used to light the oven burner in a gas range. When the element in this igniter glows white hot, the gas is released from the safety valves, which lights the oven burner. If your range is not heating properly, or not heating at all, it might indicate a problem with this part. If the element in the igniter ...Read moreis only glowing red or orange, or not glowing at all, it will need to be replaced. This is a shorter style igniter. It is 3.72 inches in length, and it features an 18-inch wire lead. This kit includes the igniter, an instruction sheet, a mounting bracket, and the two ceramic wire nuts needed for installation. This part has an amperage range of 3.2 to 3.6. Unplug your appliance before you start any repair work.
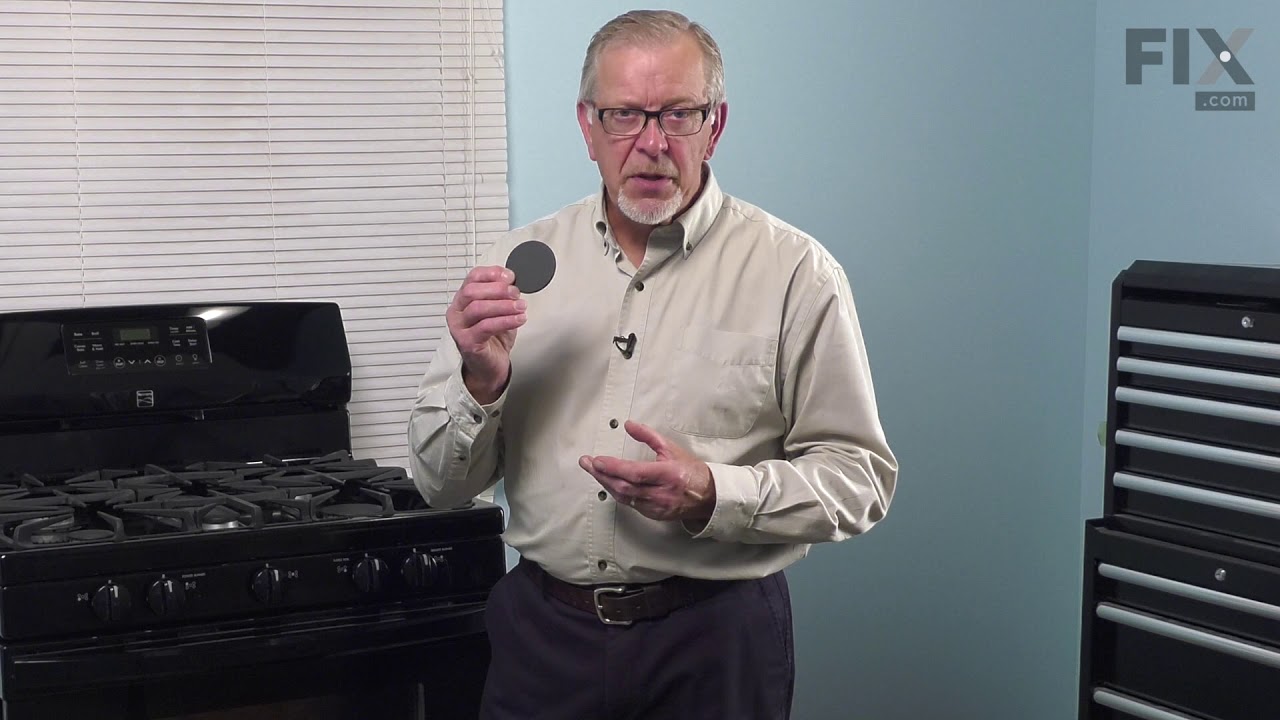
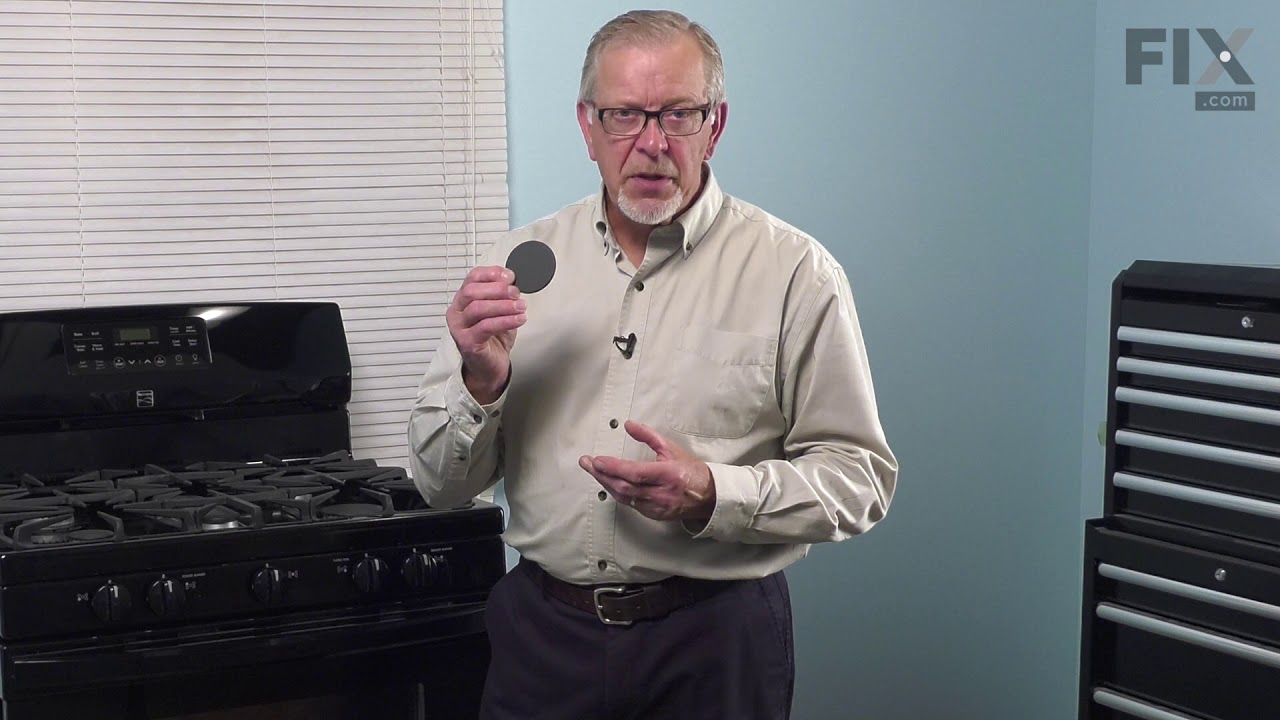
The surface Meduim 9.5K burner cap is located on the top of the burner head and is used in ranges and ovens. The burner cap helps spread out the burner flame for even heating, and protects the burner head from cooking spills. Without the cap you can have a burning gas torch. If your cap is missing or is discolored, replacing this part ca...Read moren solve the issue. This part comes in the color black. Remember to unplug your range from the power source and allow surface to cool before installing this part. Refer to the manual provided by the manufacturer for further installation instructions.
The temperature sensor, also known as an oven probe, helps measure the temperature within the oven cavity. If your oven is too hot, not heating evenly, has little to no heat when baking, or flashing F3/F4 error messages on your control board, you may need to replace this part. This part measures 6" long and is made of metal. Please make s...Read moreure to disconnect the power to your oven range before starting this repair. This temperature sensor is a genuine OEM part.
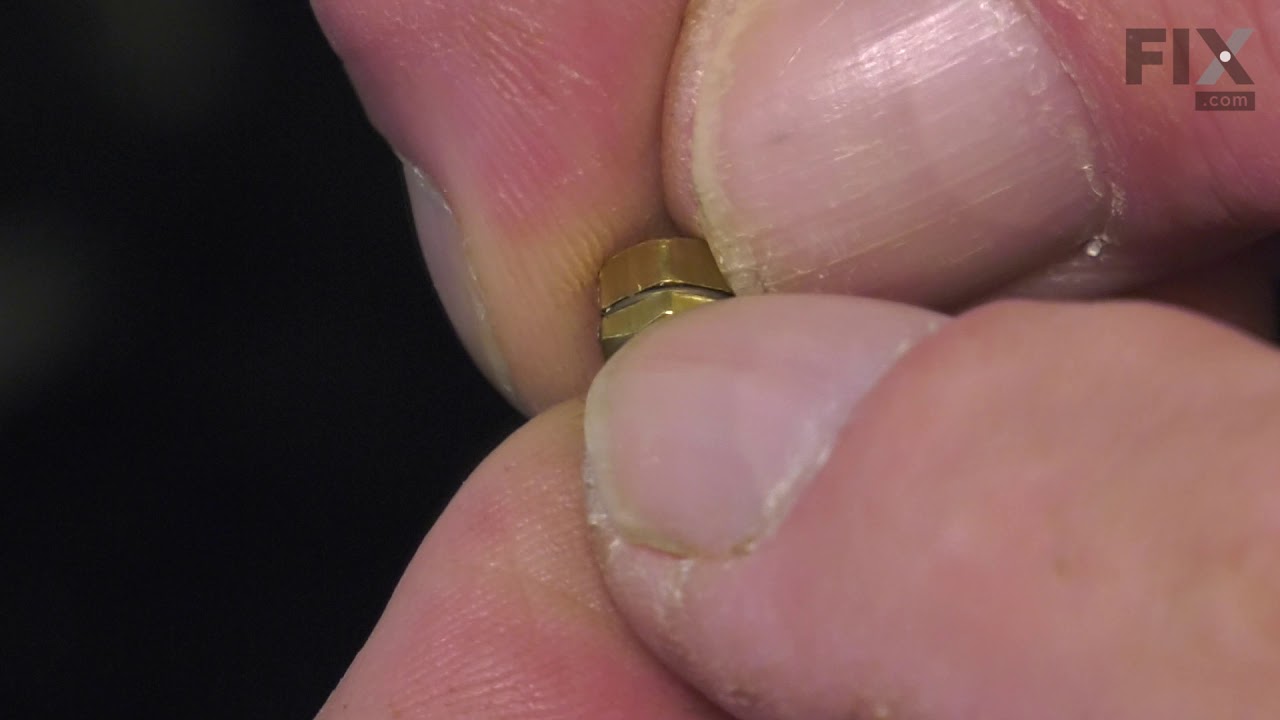
This part is the igniter/orifice mounting screw for your cooktop or range. It is approximately ½ an inch in length and is made of metal. The mounting screw connects the orifice to the cooktop. If the orifice is loose, or the screw is missing, this is the part that will replace it. This part is sold individually and is a genuine OEM part sourced directly from the manufacturer.
This orifice is a replacement fuel-delivery component designed to regulate gas flow to a burner. It plays a critical role in maintaining proper flame size and efficiency and is commonly replaced when flow becomes restricted or uneven.
Ask our experts a question about this model and we'll get back to you as soon as possible!
We may have answered a similar question already! Search questions and answers left by others using simple keywords like "fit", "broken", "easy", or "quality" to find questions that match.
Search filter:
Clear Filter
Your search term must have 3 or more characters.
Sort by:
Prev
1
Next
Sorry, we couldn't find any existing answers that matched.Try using some different or simpler keywords, or submit your new question by using the "Ask a Question" button above!
Brian - For model number 79031073100
July 7, 2026
Igniters click all the time just sitting there without trying to light them? I have to unplug my stove to stop them?
Hi Brian, thank you for the question. Ensure that there is no moisture buildup. If the issue persists, you may need to replace the spark module, part number PS11775689. It provides the electrical spark needed to ignite surface burners on a gas range or cooktop, helping ensure safe and reliable burner operation. We hope this solves your problem!
See how others fixed this model. Time, tools, difficulty, and steps that lead to victory!View More
Search repair tips from other customers using simple keywords like "replace", "fit", "remove", "inspect". DIY doesn't mean you have to do it alone!
Search filter:
Clear Filter
Your search term must have 3 or more characters.
Oven quit heating.
571 of 628 peoplefound this instruction helpful.
John from Darlington, SC
Easy
15 - 30 mins
Nutdriver
After reading up on the problem of the gas oven not lighting I decided I needed to install a new igniter. I had read where some people just pulled a panel off the back and installed a new one.. yeah, no such luck with this model so I had to crawl into the broiler drawer space [which I had to clean out first]. Note, if you wear trifocal g
... Read morelasses you might as well close your eyes and replace it by feel because there is no way to tilt your head back enough to see what you are doing and still get both arms and your chest in a broiler. Also be sure to remove all cats and dogs from the area before starting. They seem to think they can help or it's a game of hide and seek and they want to hide with you.. they were no help at all. Other than that, it was quite easy.
Read less
Was this helpful?
Thank you for voting!
Oven was difficult to light, then stopped lighting altogether
284 of 370 peoplefound this instruction helpful.
Ritchie from Ithaca, NY
A Bit Difficult
15 - 30 mins
Nutdriver, Pliers, Screw drivers
1. Turned off circuit breaker to stove 2. Removed the two screws holding down the floor of the oven (screws are at back.), and then lifted it out. 3. Removed the nut holding down the flame guard, and lifted it off. 4. Opened the bottom drawer. 5. Removed the protective cover in the back left of the oven at the bottom,
... Read more first removing the one screw at the bottom that holds it. This reveals a white plug, presumably going to a fuse. 6. Disconnected the white plastic connector, lifting its front tab to release it. 7. The igniter wires go to two lugs that attach at the floor of the oven at the back (one goes via the now free white connector). Slide back the plastic lug covers and use pliers to pull off the lugs. Note that the wider one (on the right) goes to the top of the igniter, while the narrower one (on the left) goes to the bottom of the igniter via the white plastic connector. 8. Removed the two bolts holding the igniter. 9. At this point, the igniter comes out. Nice, since it means you can work on the wires in comfort. 10. Slide the flame retardant sleeves away from the igniter. I found in-line connections about 1.5 inches from the igniter, and cut the wires next to these (on the side away from the igniter, of course.), and stripped the final 3/8 inch. Shorten the wires on the replacement igniter so that they are 3 or 4 inches long, slide on the flame retardant sleeves, then strip the final 3/8ths inch. Use the provided caps to connect the wires. Bottom wire goes to the plastic connector, top wire goes to the wide lug. 11. Install the new igniter by connecting the lugs, sliding on their protective plastic sleeves, reconnecting the white plastic connector, screwing in the two igniter mounting screws, and reinstalling the corner cover. Put back the flame shield and floor of the oven. Turn on the circuit breaker, and it works!
Read less
Was this helpful?
Thank you for voting!
Oven Would Not Heat - Oven Ignitor Failure
156 of 233 peoplefound this instruction helpful.
Peter from Fife Lake, MI
Easy
15 - 30 mins
Screw drivers
I first looked up my Model Number on PartSelect.com and looked at the schematic as well as Trouble Shooted my problem.
Reading the posts by others how they Removed, Replaced, and Repaired their Oven Ignitors, I used their helpful info, and of course did mine.
1. Unplugged my Oven/Stove.
2. Removed botto
... Read morem storage door to get access to cover plate.
3. Removed oven racks inside oven to gain access to and removed Flame Cover.
4. Removed Screw holding Oven Ignitor in place.
5. Unplugged Ignitor Plug from feed wird in Oven from underneath.
6. Removed Oven Ignitor from the bottom area where storage drawer was.
7. Installed new Ignitor and replaced screw holding Ignitor assembly in place.
8. Replace Flame cover and racks.
9. Plugged in new ignitor underneath, and replaced cover plate.
10. Plugged in Stove/Oven and Oven began to heat! IGNITOR worked!
11. Replaced bottom drawer and slid Stove back into position.
All went easy and only difficulty was replacing cover plate below as it is awkward and having to line up screws/holes was a bit trying.
Using Work Light essential to see well, and, some screws may or can be hard to remove.
Both my neighbor and I ordered our Ignitors within a week of each other. My Oven was Amana his is a Tappan. His failed after a few weeks, but, PartSelect replaced promptly and we are all happy.



 My Orders