


 My Orders




79015032500 Kenmore Wall Oven - Overview
Diagrams for 79015032500
See every part. Know exactly what you need.

Enter a part description. DIY Heroes keep it simple, eg. "belt" or "pump".
Search filter:
Clear Filter
Your search term must have 3 or more characters.

$68.15
In Stock
Oven Temperature Sensor
Part #316490001
The temperature sensor detects the temperature within the oven cavity. If there is a limited amount of heat, it is not heating evenly, or the oven will not start, this might indicate that your temperature sensor requires a replacement. If you are working with your oven this part is found on the right side when facing the back of the oven....Read more This part is can be found in a range, wall oven, and microwave-oven. You will need to remove the panel located on the back of the oven, unplug the sensor, remove the screw, and pull the sensor out. The new one slides into place.
Read less

$18.31
In Stock
DRAWER GLIDE
Part #316407402
This rear drawer glide, also known as a storage drawer glide, is used in ranges. This helps hold the front side of the storage drawer and allows the drawer to easily slide in and out of the range. If your glide is damaged or missing, replacing it could solve any difficulty using the drawer. First, remove the storage drawer and locate the ...Read morerear glide on the side. Next, remove the glide by taking out the screws. Replace new glide by placing tabs into the cut-out. If you are replacing both rear drawer glides, then repeat the same on the other side. Refer to the diagram provided by the manufacturer for further installation instructions and guidance.
Read less

$21.95
In Stock
GLIDE
Part #807047102
This front drawer glide supports the bottom storage or broil drawer, allowing it to slide smoothly in and out of the range. Designed to reduce friction and keep the drawer properly aligned, it helps ensure easy and stable operation. Replacing a worn or damaged glide can fix issues such as sticking, tilting, or uneven movement, restoring normal drawer function.

$96.75
In Stock
Radiant Element with Limiter - 1200W
Part #318178110
This is a six-inch radiant element with limiter. It works in conjunction with your stove top range. The purpose of this part is to heat up the cooking area that is located on top of the range, also known as your stove top. If you suspect that your surface element is not properly heating then you may want to test the element for continuity...Read more. This model is sold individually and is 1200 watts. The tools you will need for this installation include a Phillips screwdriver and a 14-inch nut driver.
Read less

$12.05
In Stock
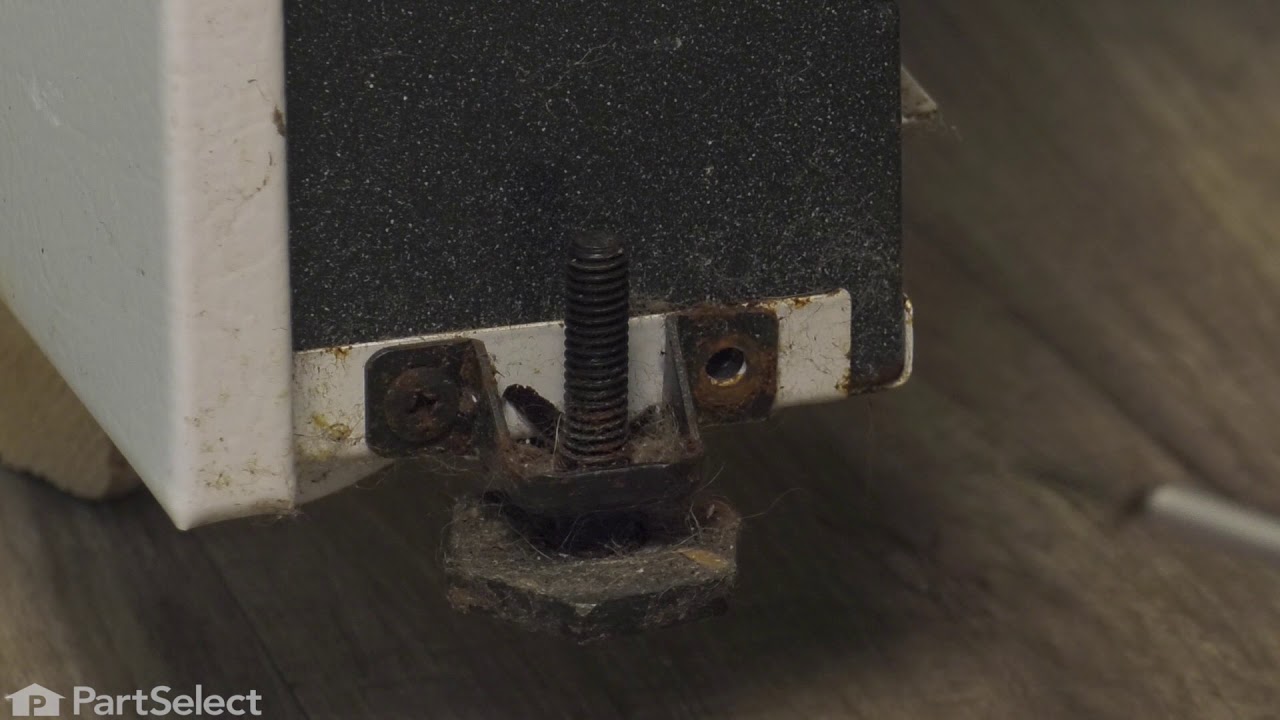
Leveling Leg Assembly
Part #5304509869
Sold Individually. These legs should be adjusted to make your appliance level on uneven flooring.

No Longer Available
White Touch up Paint
Part #5303321319
This is white touch up paint for refrigerators, microwaves, ranges, dryers, and freezers. It is used to cover, or touch up, nicks and scratches on the appliance from wear and tear. It is an 18ml bottle that contains paint and a small brush for easy application. It is a little over 2 inches tall. This is an OEM part that is sourced directl...Read morey from the genuine manufacturer, and is meant to be an exact match to the color of the appliance. If the appliance is not white, please see other colors such as almond or black.
Read less

No Longer Available

$23.05
In Stock
Steel Washer
Part #316008401
This steel washer is also known as the range washer and is used on your oven door. The measurements for the steel washer are a three quarter inch outer diameter, and a one quarter inch inner diameter. This washer is an OEM part, made of steel, which is sourced directly from the manufacturer. This specific steel washer is used with your ra...Read morenge, to secure the inner and outer door together and to secure the oven door handle back in place. Users have ranked this repair as a simple installation that should take you less than fifteen minutes to complete.
Read less

No Longer Available
Broiler Pan Grate Insert
Part #5304494997
This OEM broiler pan and grate insert are cooking accessories used in your oven to broil food. The pan catches drippings and prevents them from falling into the appliance, while the grate insert ensures the food is cooked evenly. You can usually find them at the bottom of your appliance. If your broiler pan and grate insert are broken, yo...Read moreur food may not cook evenly and the drippings may fall into your appliance. Additionally, it can be difficult to clean a damaged pan or grate. These authentic accessories come together when you purchase them, ensuring that you can enjoy evenly-cooked food without any mess.
Read less

$26.35
In Stock

$87.10
In Stock
Oven Door Cap - White
Part #316575500
This part goes over the top of the oven door glass. The door handle also attaches to the door cap.

$115.69
In Stock
Manuals & Care Guides for 79015032500
Click to downloadCommon Symptoms of the 79015032500
How this model fails, and the parts that fix it.
Element will not heat
Fixed by
these parts
these parts


Show All
Little to no heat when baking
Fixed by
these parts
these parts
Show All
Oven is too hot
Fixed by
these parts
these parts
Show All
Door won’t close
Fixed by
these parts
these parts


Show All
Oven not heating evenly
Fixed by
these parts
these parts
Show All
Will Not Start
Fixed by
these parts
these parts
Show All
Door won’t open after self cleaning cycle
Fixed by
these parts
these parts

Show All
Watch our pros, then fix it yourself.
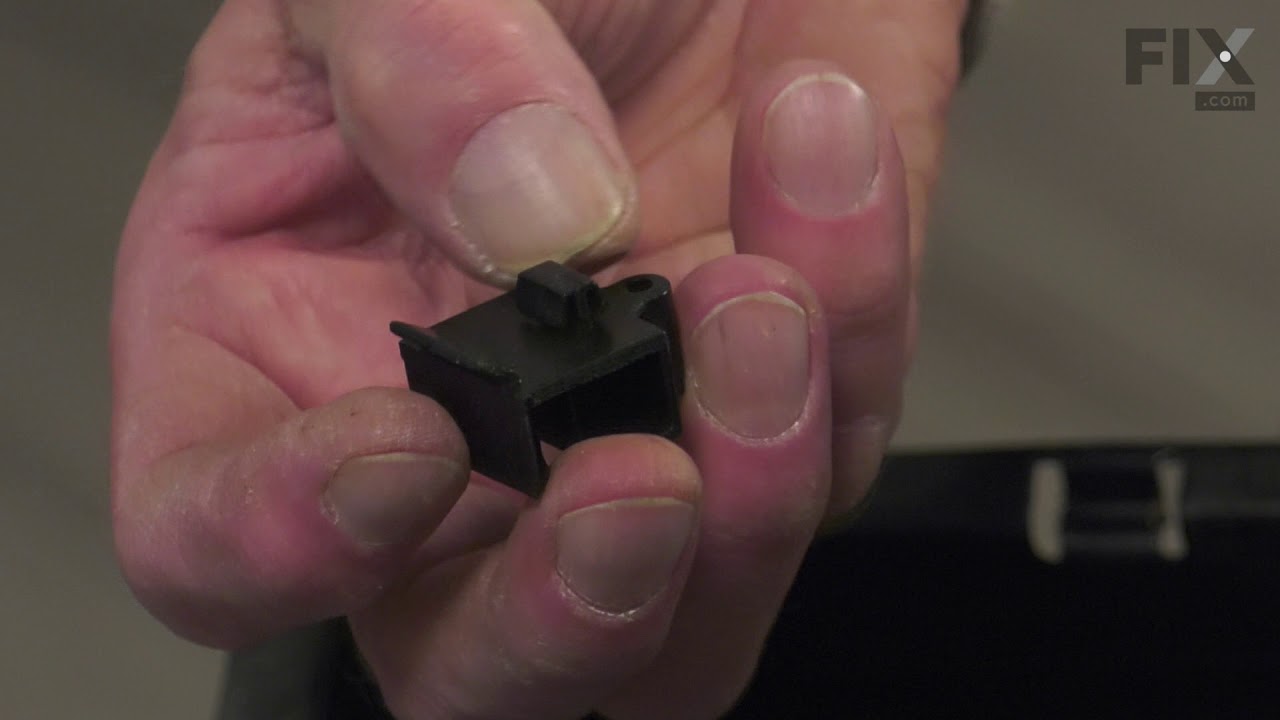
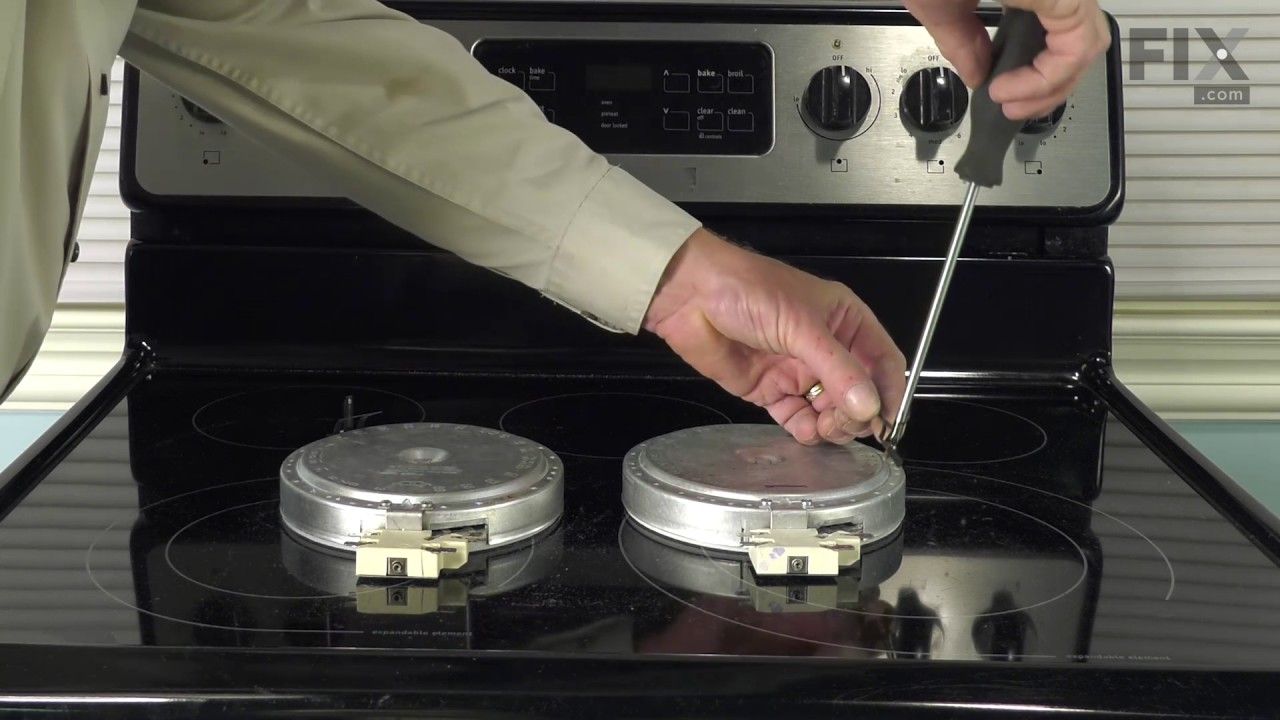
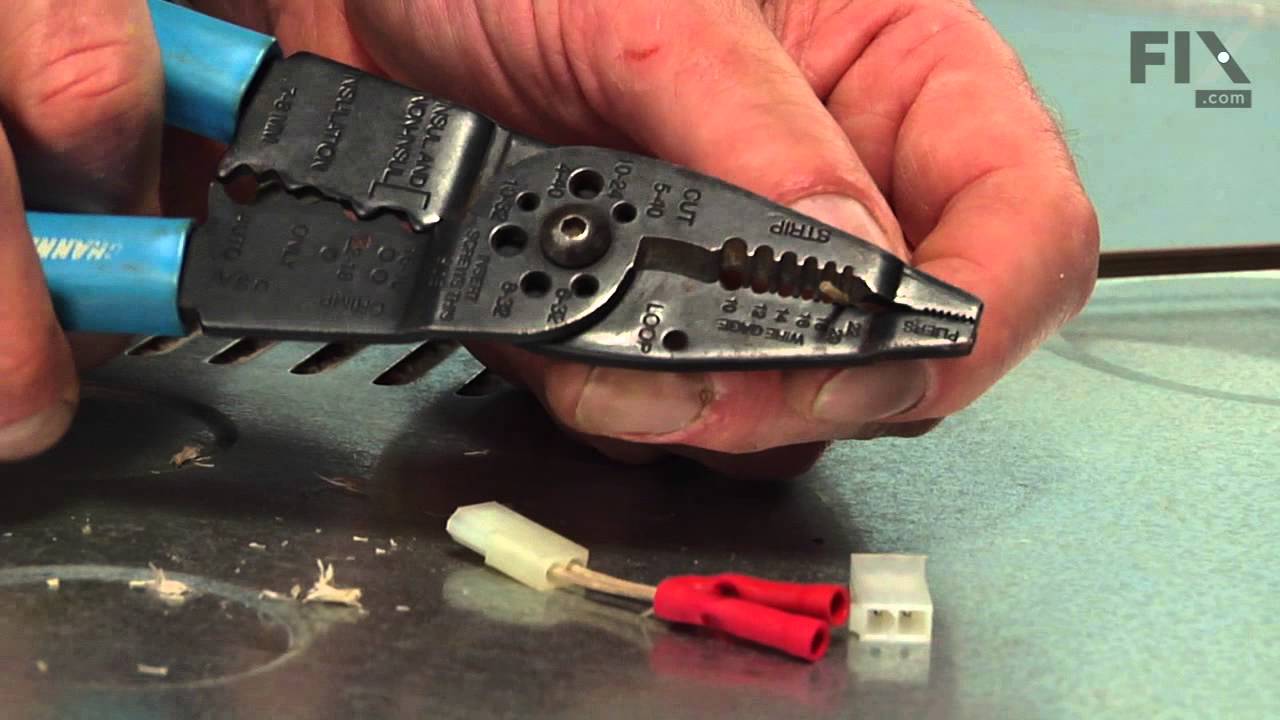
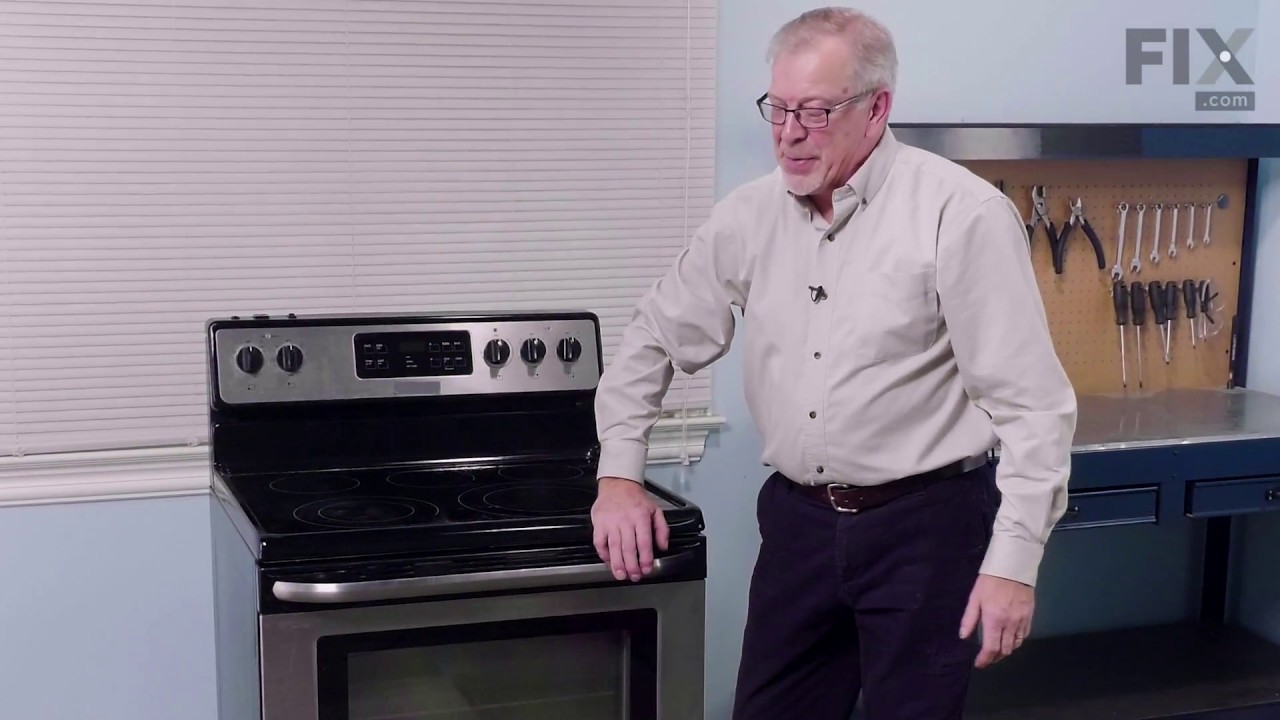

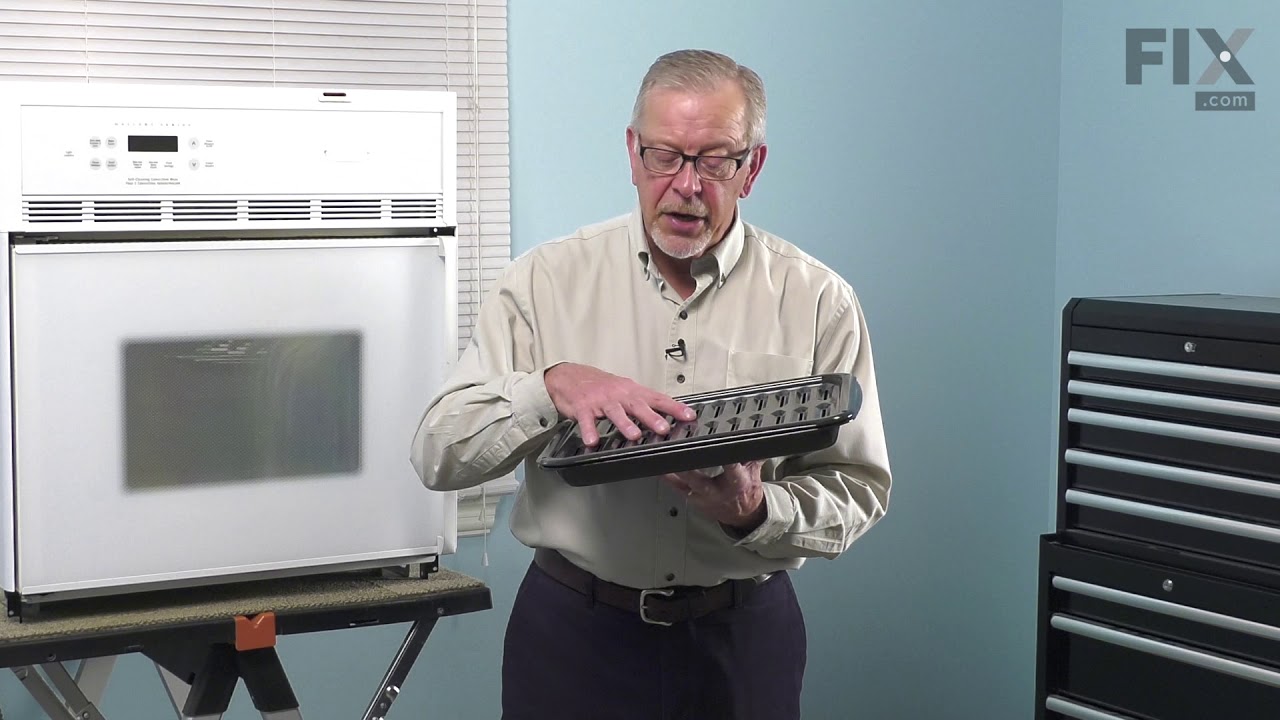
See how others fixed this model. Time, tools, difficulty, and steps that lead to victory!
View More