


 My Orders




7506B Frigidaire Dryer - Overview
Diagrams for 7506B
See every part. Know exactly what you need.


Enter a part description. DIY Heroes keep it simple, eg. "belt" or "pump".
Search filter:
Clear Filter
Your search term must have 3 or more characters.

$62.37
In Stock
Door Catch
Part #131658800
The door catch on your dryer is an important part as it keeps your dryer door closed, in order to ensure no air or clothes can escape. This part works by holding the door strike, which allows the door to stay secure. Before you begin this repair make sure to disconnect the power supply to the dryer. The tools you will need for this instal...Read morelation include a Phillips screwdriver and a small flat blade screwdriver. A pair of pliers may also come in handy. Users ranked this repair as easy, and say that it will take fifteen minutes or less to complete.
Read less

No Longer Available
SWITCH-DOOR
Part #5308001614

$25.25
Special Order
SCREW 10-32X.375 CO
Part #134154100

$7.95
Special Order
SCREW
Part #5303015671
$9.60
Special Order
BELT
Part #5308027638

No Longer Available
WIRE TIE
Part #5304464772

No Longer Available

$25.95
Special Order
WHEEL
Part #5308014801
$8.55
Special Order
SCREW-TIMER
Part #3161188
$86.98
Special Order
FOOT
Part #5303937004
$47.40
Special Order
KNOB
Part #5303206987
$33.69
Special Order
GASKET
Part #3203531
Common Symptoms of the 7506B
How this model fails, and the parts that fix it.

Watch our pros, then fix it yourself.
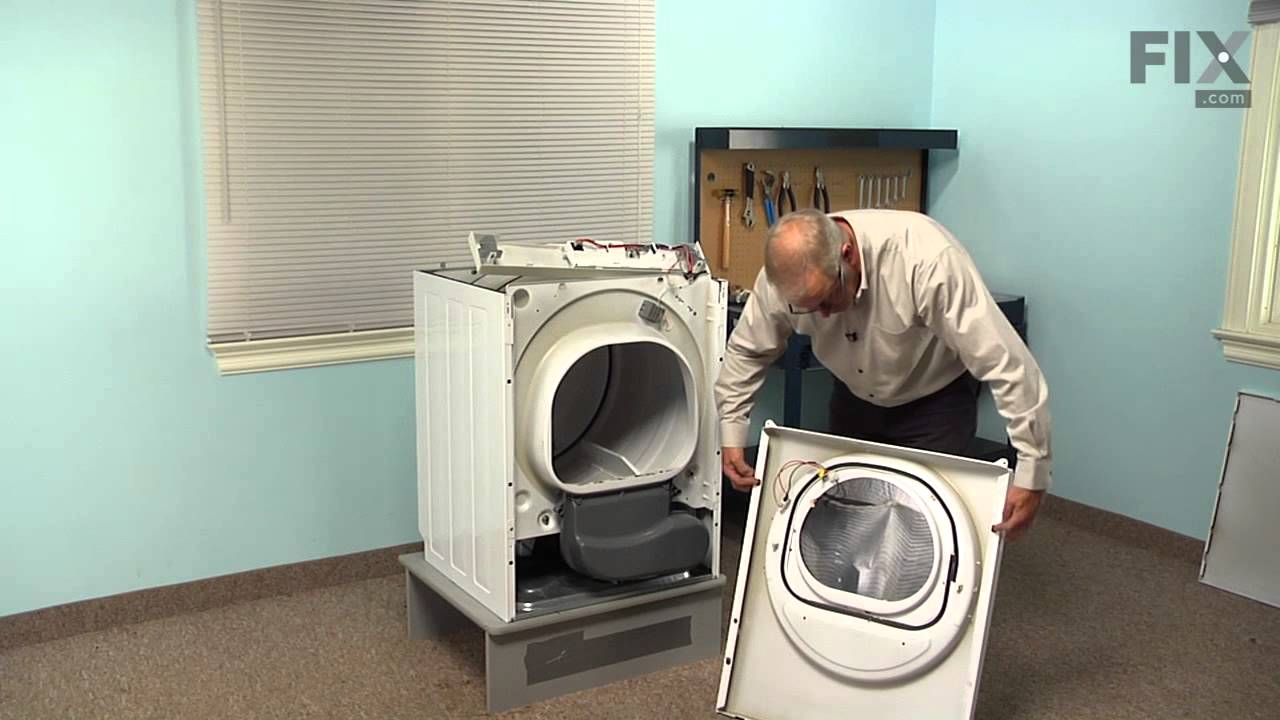
See how others fixed this model. Time, tools, difficulty, and steps that lead to victory!
View More