


 My Orders




73133 LG Refrigerator - Overview

Enter a part description. DIY Heroes keep it simple, eg. "belt" or "pump".
Search filter:
Clear Filter
Your search term must have 3 or more characters.

$164.47
In Stock
Refrigerator Front Plate Assembly
Part #AGU75188619
This front plate assembly, also known as a mullion or flipper, is a genuine replacement part designed for select LG and Kenmore French-door refrigerators. It serves a critical function by sealing the gap between the doors, preventing cold air from escaping and helping maintain consistent internal temperatures. Constructed from durable pla...Read morestic, it supports both the performance and appearance of the appliance. A failing mullion may result in poor sealing, visible gaps, increased energy consumption, and potential food spoilage. Replacing this component can restore proper door alignment and improve overall efficiency. Compatibility should be confirmed using your refrigerator’s model number prior to installation.
Read less

$122.57
In Stock
Water Inlet Valve Assembly
Part #AJU72992601
This includes the primary and secondary valves along with the wire harness.

$23.60
On Order
Door Holder
Part #MEG61899901
This is a manufacturer-approved refrigerator door closure for your refrigerator. It is made of white plastic and measures approximately 3 inches by 2 inches. If your old closure is damaged, your refrigerator door may not open and shut properly, and therefore it should be replaced.

$109.40
In Stock
Evaporator Fan Motor
Part #4681JB1027C
This is a genuine OEM evaporator motor that directly powers the evaporator mechanism within your refrigerator. This mechanism is responsible for pulling air over the evaporator coils, which are cold, and circulating that cold air back throughout the appliance. Without this motor, the interior of your refrigerator would build up frost, str...Read moreain the compressor, and simply not cool your fridge enough. A warm fridge, frost buildup or unusual noises are all signs that this fan needs replacing, and over time or through excessive dust building up, motor issues will arise and can cause it to fail. This fan motor is sold as an individual part, so it does not come with any securing screws or the fan blade itself. Replacing the evaporator fan motor will require your user manual and Philips-head and flathead screwdrivers. You need to gain access to the evaporator cover, which you will need to locate using your user manual schematics. Once the cover is removed and you disconnect the wire harnesses within it, you can disassemble the fan mechanism on its inside portion. With the fan mechanism disassembled, remove the old mechanism and install the new one, with the securing screws and wire harnesses.
Read less

$57.38
In Stock

$119.53
On Order

$52.67
In Stock
Capacitor
Part #0CZZJB2014L

$45.29
In Stock
Defrost Sensor Assembly
Part #6615JB2005N

$79.80
Special Order
Thermistor Assembly
Part #EBG60663205
This thermistor assembly monitors temperature changes and provides accurate feedback to the control system. Designed for precision, it supports proper regulation and efficient operation.

$164.47
In Stock
Slide Rail - Left Side
Part #5218JA1010F

No Longer Available
Exact Part matches for your search term

$56.33
Special Order
No Longer Available
No Longer Available
$201.12
Special Order
Common Symptoms of the 73133
How this model fails, and the parts that fix it.
Door won’t open or close
Fixed by
these parts
these parts


Show All
Leaking
Fixed by
these parts
these parts

Show All
Not dispensing water
Fixed by
these parts
these parts
Show All
Door Sweating
Fixed by
these parts
these parts
Show All
Noisy
Fixed by
these parts
these parts

Show All
Fridge too warm
Fixed by
these parts
these parts
Show All
Ice maker not making ice
Fixed by
these parts
these parts
Show All
Watch our pros, then fix it yourself.
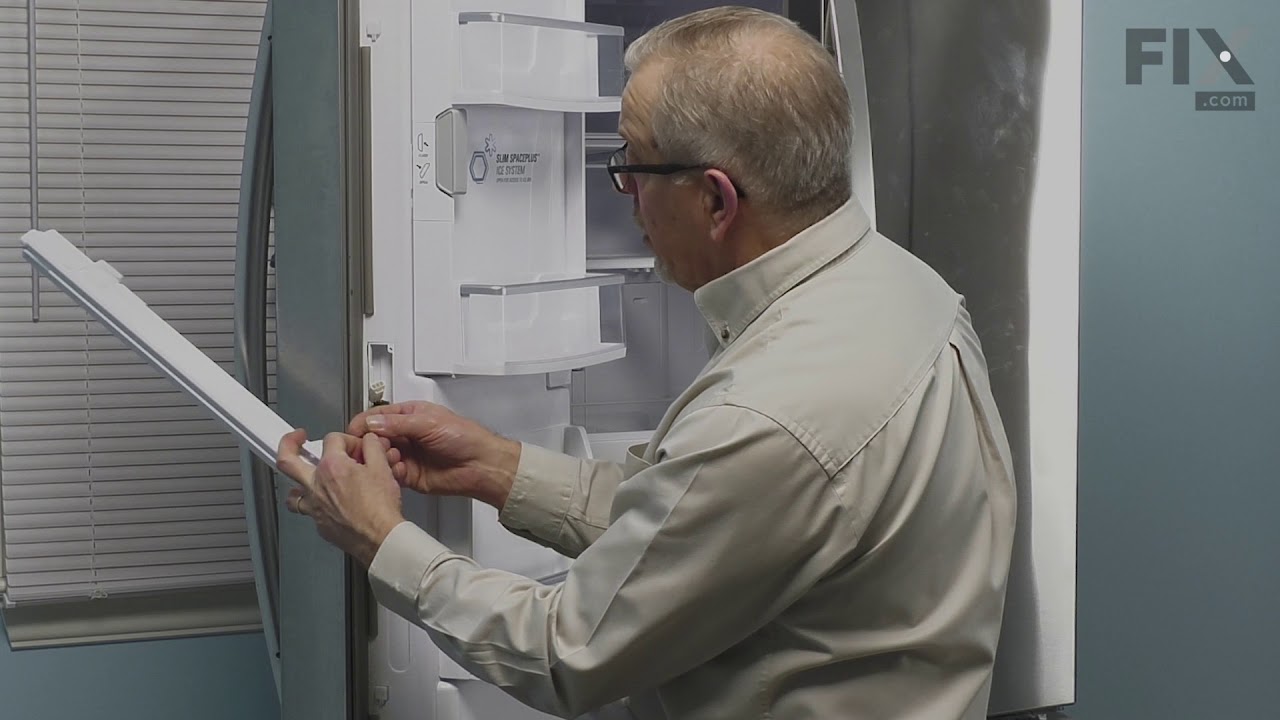
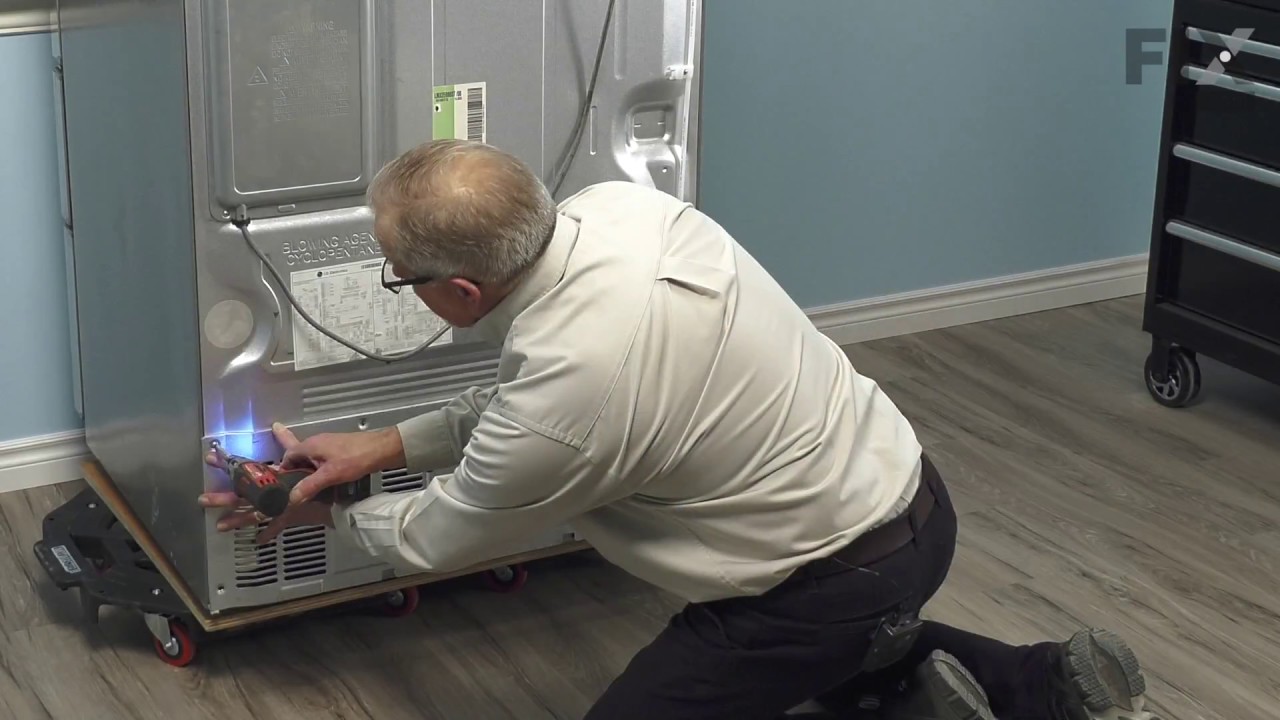
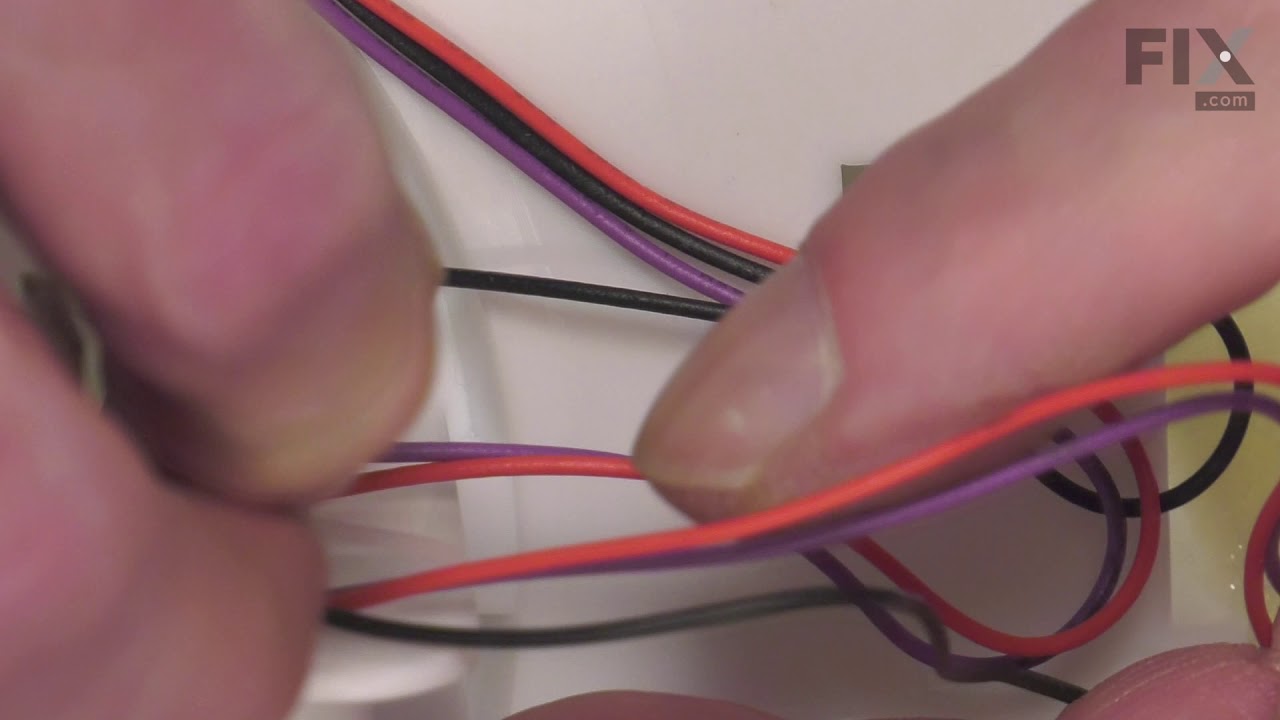
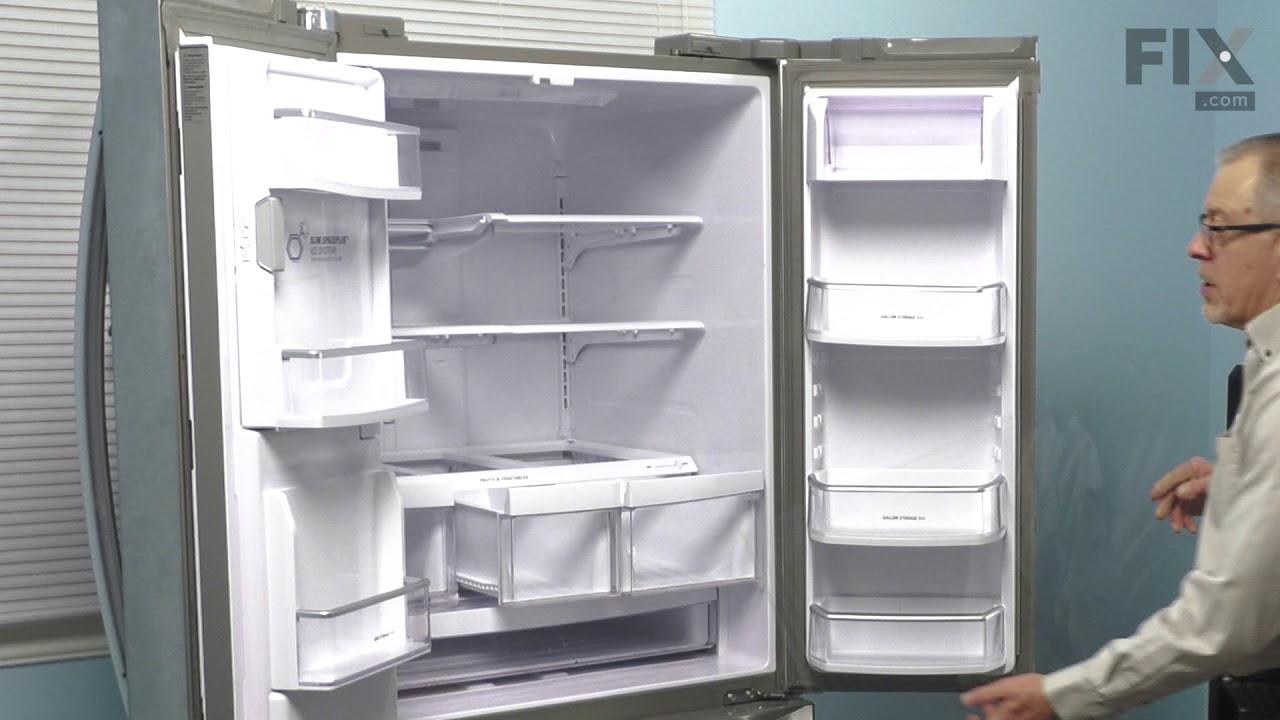
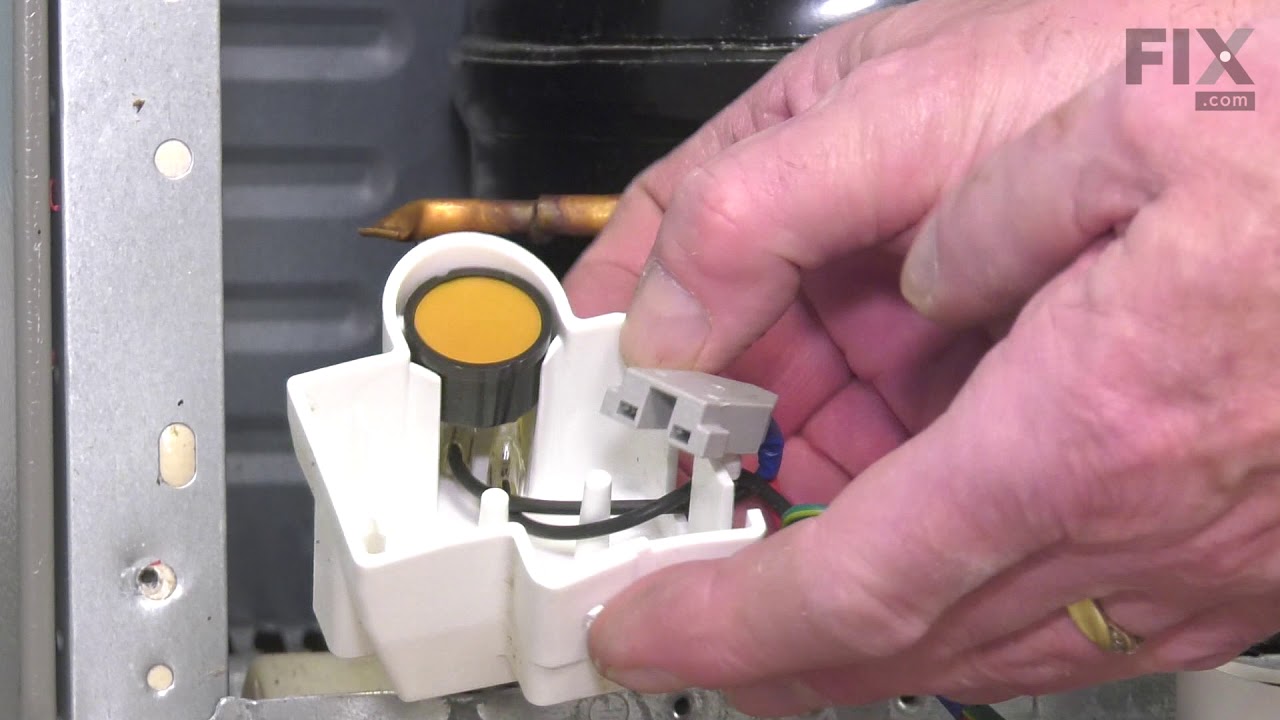
See how others fixed this model. Time, tools, difficulty, and steps that lead to victory!
View More