



 My Orders




72214697610 Kenmore Dishwasher - Overview

Enter a part description. DIY Heroes keep it simple, eg. "belt" or "pump".
Search filter:
Clear Filter
Your search term must have 3 or more characters.

$15.00
In Stock
Dishwasher Roller Assembly
Part #4581DD3003C
The dishwasher roller assembly connects to the dishrack, and is located in the lower level of the dishwasher. It allows the dishrack to easily slide in and out. If the lower rack keeps falling off the track in your dishwasher, makes noises, the door will not close, or the dishes are not getting clean, then it is best to replace it for mor...Read moree security. A flat blade screw driver is the only tool needed for this installation. Open the lower dishwasher rack and remove retaining tabs from both ends of the rack and slide it out. Locate the older roll assembly, remove it and replace the rollers. Remember to put the tabs on each side back before sliding it back in. Make sure the dishwasher is off before starting this installation project.
Read less

$12.85
Special Order
Roller with Axle
Part #4581DD3002A
The rack roller and axle in your dishwasher allows the dish rack to slide in and out effectively.If you notice that your dish rack is not performing this function, or if one or more of your rack rollers are damaged, you should consider replacing it. The roller attaches to the dish rack with the axle, both are included in this part. This p...Read moreart is gray in color, and measures 1 inch in diameter. With the axle, this part is approximately 1-1/2 inches wide. To access the rack roller and axle, you will need to remove the top dish rack from your dishwasher.
Read less

$29.47
In Stock
Dishwasher Hinge Spring
Part #4970ED4004G
The door spring, used in dishwashers, adds tension to the door through the door hinge to keep it from opening too fast. If you have a door latch failure or your washer door drops too quickly when opened, it is best you replace this part to fix the problem. Refer to the manual provided by the manufacturer for installation instructions and ...Read morefurther repair guidance. Unplug your dishwasher from the power source before you begin this repair project as a safety precaution.
Read less

$65.73
In Stock
Gasket
Part #3920DD3005H
This dishwasher door gasket is designed to form a secure, watertight seal around the tub, preventing leaks and enhancing overall wash efficiency. Constructed from flexible, heat-resistant black rubber, it withstands temperatures up to 150°F and resists wear over time. By maintaining a tight seal, the gasket ensures that water and steam re...Read moremain contained within the dishwasher during operation, contributing to more effective cleaning cycles and reduced energy waste. A worn or damaged gasket can lead to water pooling, inefficient washing, and potential damage to surrounding cabinetry. Replacing it restores proper function and helps extend the appliance’s lifespan. Installation is straightforward, requiring the gasket to be pressed into the door channel for a snug fit.
Read less

$87.98
In Stock
Drain Pump Assembly
Part #ABQ73503004
This drain pump assembly is a genuine OEM replacement part for your dishwasher. In order to complete this repair you will need a Phillips screwdriver, pliers, and a socket. You will need to pull the dishwasher out from the cabinet and lay it on its back in order to access through the bottom and replace the drain pump.

$55.29
In Stock
Middle Spray Arm
Part #AGB73093001
This genuine OEM dishwasher spray arm assembly is designed to deliver powerful, even water distribution throughout the wash cycle, helping ensure dishes come out thoroughly clean. Located in the middle of the tub, it rotates to spray pressurized water and detergent to effectively remove food debris and grease. Made from durable materials ...Read morefor long-lasting performance, this component is an ideal solution for restoring proper cleaning when dealing with clogged, damaged, or underperforming spray arms, helping improve overall wash results and dishwasher efficiency.
Read less

$44.23
In Stock

$53.20
In Stock
Diverter Motor - 120V 60Hz
Part #4681ED3001D
This diverter motor, or stepper motor, controls the movement of the spray arms in your dishwasher. It directs water between the drain pump and the spray arms by turning a check valve inside the pump, managing the flow of water to these spray arms. This diverter motor runs on 120 volts and 60 Hz. When this motor fails, the dishwasher will ...Read morenot wash or drain properly. Please keep in mind that this genuine OEM replacement part is sold separately from the spray arms.
Read less

$53.20
In Stock
Dishwasher Guide Assembly
Part #AEC73278201

No Longer Available
Dishwasher Drain Hose
Part #AEM69493808
This corrugated drain hose assembly directs wastewater from your dishwasher to the household drainage system. Positioned at the rear of the unit, it connects the pump to the sink drain or garbage disposal. If the hose becomes damaged or punctured, you may observe water leakage beneath the dishwasher or standing water within it. Please kee...Read morep in mind that this genuine OEM replacement part is sold separately from the drain pump.
Read less

$197.48
In Stock
Dishrack Upper
Part #AHB32983761
The upper dishrack assembly is an essential component of your LG dishwasher, designed to hold dishes securely in place during the dishwashing cycle. This genuine OEM replacement part is manufactured to meet the highest quality standards, ensuring durability and a perfect fit for select LG dishwasher models. Crafted with precision, this up...Read moreper dishrack provides ample space and an organized structure for plates, glasses, bowls, and other items, optimizing the cleaning process.
Before purchasing, confirm compatibility with your dishwasher model to ensure the correct fit, as slight variations in size and shape may exist between models. This genuine LG component is stocked and ready for quick shipment, so you can restore your dishwasher's performance with minimal downtime.
Read less

$47.40
In Stock
Dishwasher Rack
Part #MGR38994202
This is a dishrack tine made for use on dishracks within various models of LG dishwashers. This part is a portion of the dishwasher dishrack assembly and features straight supports that hold your dishes in place and simply hook into the dishrack to install. If a portion of your dishwasher tines are missing, broken, or warped, and cannot s...Read moreupport dishware any longer, they should be replaced immediately. This tine rack is made of metal and measures approximately 20 inches long. This tine rack is a genuine OEM part that is sold individually, so if your dishrack requires multiple tines, consider that before ordering.
Read less
Common Symptoms of the 72214697610
How this model fails, and the parts that fix it.
Leaking
Fixed by
these parts
these parts


Show All
Not cleaning dishes properly
Fixed by
these parts
these parts


Show All
Not draining
Fixed by
these parts
these parts


Show All
Door latch failure
Fixed by
these parts
these parts


Show All
Noisy
Fixed by
these parts
these parts
Show All
Door won’t close
Fixed by
these parts
these parts
Show All
Will not fill with water
Fixed by
these parts
these parts

Show All
Will not dispense detergent
Fixed by
these parts
these parts

Show All
Not drying dishes properly
Fixed by
these parts
these parts

Show All
Watch our pros, then fix it yourself.
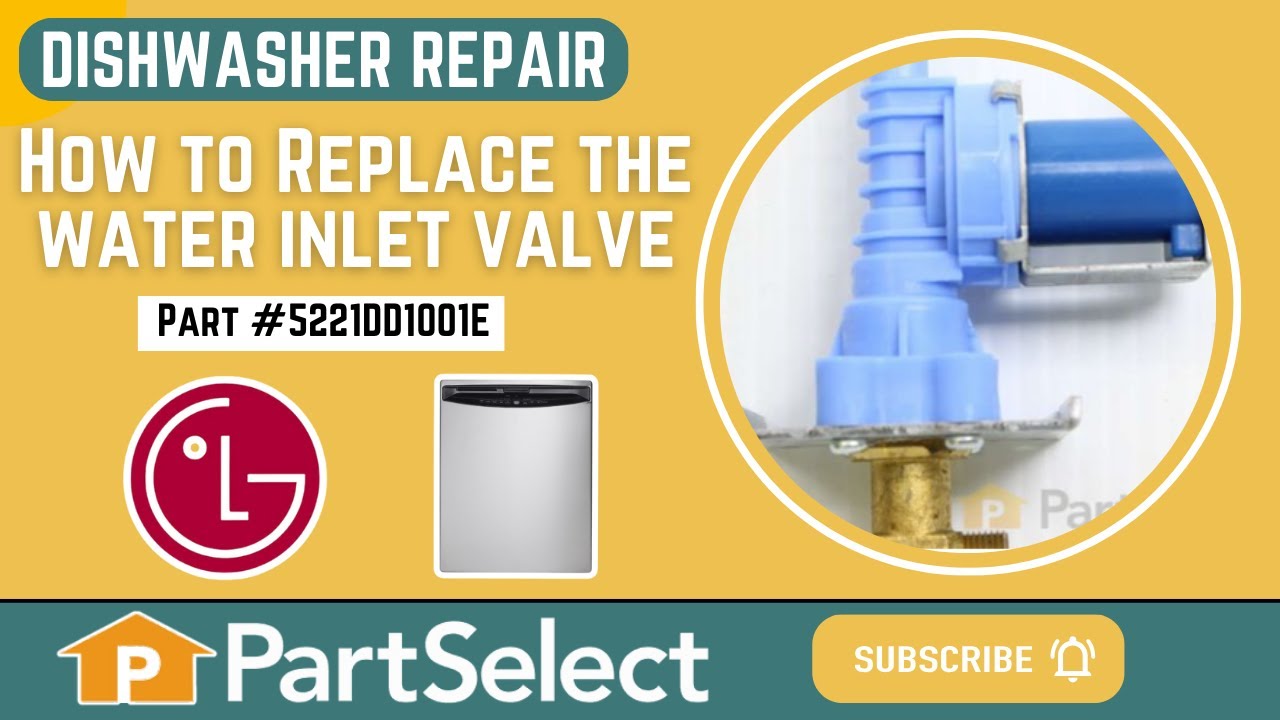

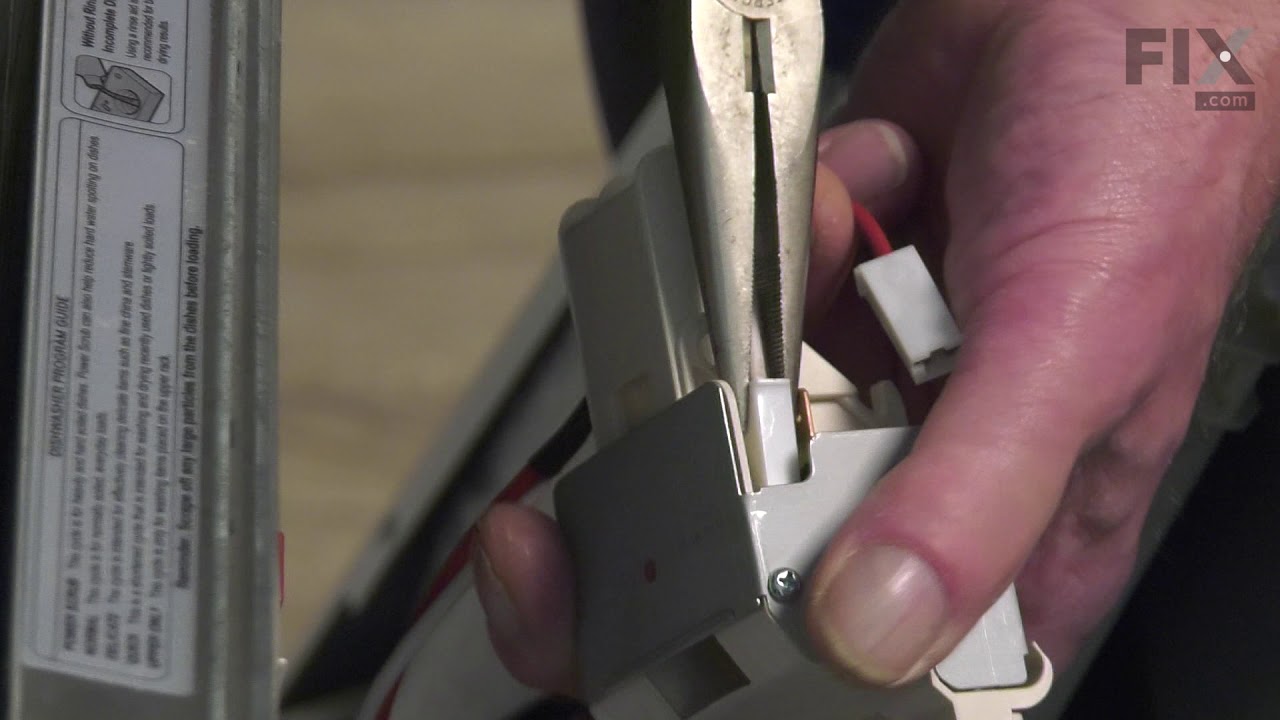
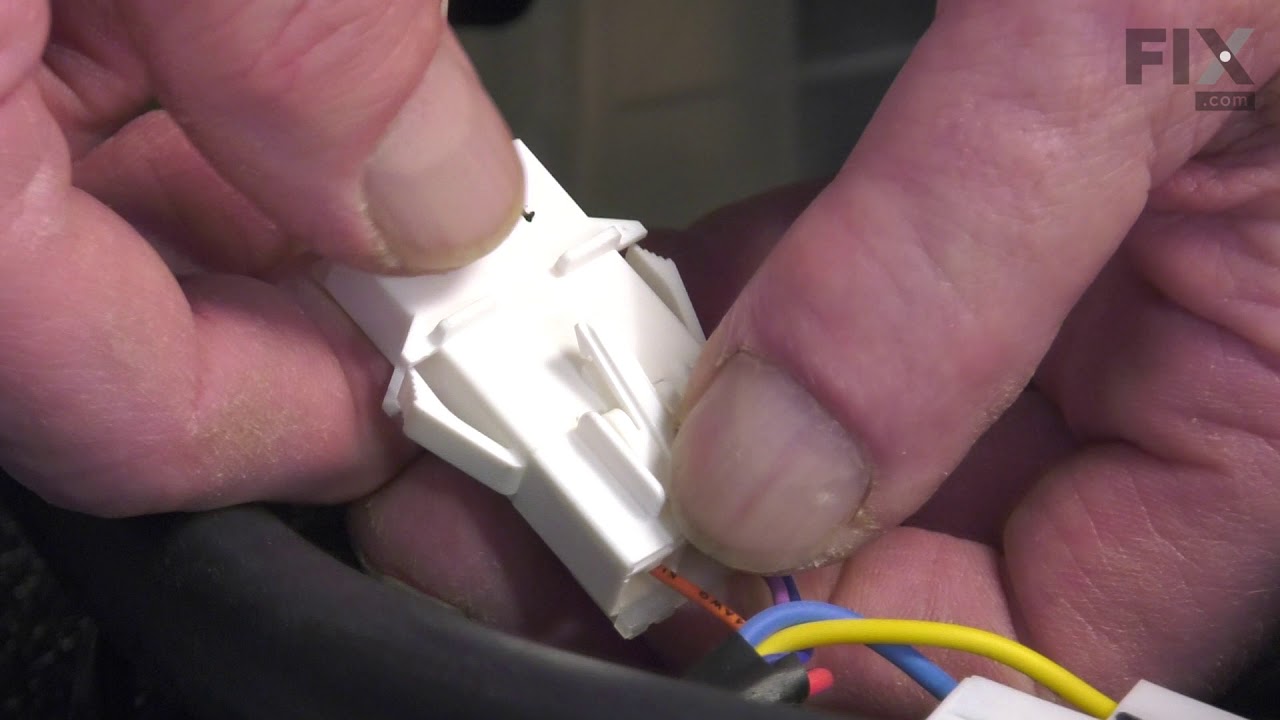
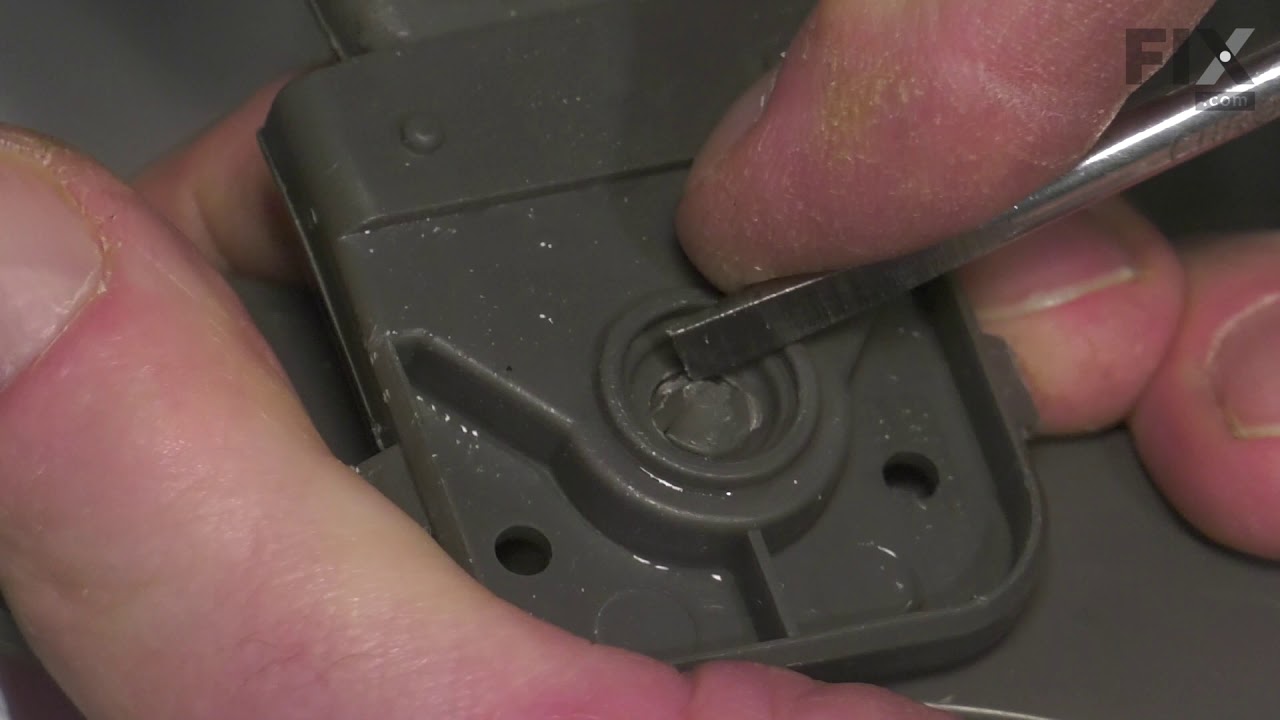
See how others fixed this model. Time, tools, difficulty, and steps that lead to victory!
View More
Search repair tips from other customers using simple keywords like "replace", "fit", "remove", "inspect". DIY doesn't mean you have to do it alone!
Search filter:
Clear Filter
Your search term must have 3 or more characters.
The racks were rusted
14 of 17 people
found this instruction helpful.
We replaced the rusty with the new ones.
Other Parts Used:


Was this helpful?
Thank you for voting!