


 My Orders




71319 (AWBCSE1) LG Refrigerator - Overview
Diagrams for 71319
See every part. Know exactly what you need.


Enter a part description. DIY Heroes keep it simple, eg. "belt" or "pump".
Search filter:
Clear Filter
Your search term must have 3 or more characters.

$24.67
In Stock
Refrigerator Door Switch
Part #6600JB1010A
The interior light in your refrigerator is controlled by a switch that is activated when the door is opened and closed. If your refrigerator light will not turn on, or stays on when the door is closed, you could have a faulty switch. The switch is spring-loaded and is a generally closed type of switch meaning there should be no continuity...Read more when the button is pushed, and continuity through the switch when it is no longer engaged. This plastic, white, OEM switch is sourced directly from the manufacturer, is sold individually and is easy to replace. The repair usually takes less than 15 minutes and requires a flat-blade screwdriver and needle-nose pliers.
Read less

$87.98
In Stock
Decor Assembly, Tray
Part #ACW74118101
This cover seals the front of the pantry drawer in your fridge, offering both functionality and a decorative touch. It has a clear color and is sourced directly from the original manufacturer. Please keep in mind that this cover is sold individually, so it is important to determine how many you will need for your repair.

$109.40
In Stock
Evaporator Fan Motor
Part #4681JB1027C
This is a genuine OEM evaporator motor that directly powers the evaporator mechanism within your refrigerator. This mechanism is responsible for pulling air over the evaporator coils, which are cold, and circulating that cold air back throughout the appliance. Without this motor, the interior of your refrigerator would build up frost, str...Read moreain the compressor, and simply not cool your fridge enough. A warm fridge, frost buildup or unusual noises are all signs that this fan needs replacing, and over time or through excessive dust building up, motor issues will arise and can cause it to fail. This fan motor is sold as an individual part, so it does not come with any securing screws or the fan blade itself. Replacing the evaporator fan motor will require your user manual and Philips-head and flathead screwdrivers. You need to gain access to the evaporator cover, which you will need to locate using your user manual schematics. Once the cover is removed and you disconnect the wire harnesses within it, you can disassemble the fan mechanism on its inside portion. With the fan mechanism disassembled, remove the old mechanism and install the new one, with the securing screws and wire harnesses.
Read less

$79.80
In Stock
Door Shelf Bin
Part #AAP73051304
This door basket, bin, or tray has both white and clear sections and is used to store items such as condiment bottles and jars. It is attached to the inner side of the refrigerator door. If it becomes damaged, it may no longer securely hold items, and they might fall out when the door is opened. This replacement part is sourced directly f...Read morerom the original manufacturer and is sold individually. Be sure to check how many you will need for your fridge.
Read less

$34.74
On Order
Temperature Sensor
Part #6500JB2002X
This is a temperature sensor for various models of LG refrigerators. Temperature sensors are used to adjust the level of cooling depending on the internal temperature of the refrigerator. If your refrigerator is warm or not cooling consistently, ensure your evaporator fan is not blocked, before replacing this sensor. To replace this senso...Read morer, you will need a screwdriver and a set of pliers, and simply need to unplug the old sensor, and plug in the new one. This temperature sensor is a genuine OEM part that is sold individually and does not come with any other parts or accessories.
Read less

No Longer Available
Screw
Part #FAB30138101
This handle screw, also known as a mounting screw is designed for LG fridge door handles. It Is responsible for securing the handle to the fridge door and ensuring that it remains firmly attached. A secure door handle allows you to easily open and close the refrigerator as needed. Over time the screw may break, become corroded, or the thr...Read moreeads may wear down. If this happens, the handle may become loose or wobbly, or detach completely from the door. It is recommended to replace the handle screw if it is no longer in good working condition in order to avoid potential damage to the door panel. Each handle screw is sold individually.
Read less

$23.60
On Order

$15.00
In Stock
Damper,Motor Support
Part #5040JA2009B

$45.29
In Stock
Refrigerator Compressor Overload Protector
Part #6750CL0001D
The compressor overload protector attaches to the compressor and shuts off the compressor if the compressor motor draws too much current.

$23.60
Special Order
Freezer Fan Assembly
Part #ADP73694301
Discover the power of high-quality appliance parts with the FAN ASSEMBLY from LG. This is a genuine OEM item providing unmatched reliability and performance. The FAN ASSEMBLY includes an Evaporator fan blade, designed to circulate air through the evaporator fins and the interior compartment of your refrigerator, enhancing the cooling effi...Read moreciency. Prior to installation, ensure your refrigerator is unplugged and any perishable food is safely stored. For a smooth installation process, remember to wear work gloves to protect your hands. Trust the FAN ASSEMBLY to provide optimal functionality for your LG refrigerator.
Read less

No Longer Available
Holder,Pipe
Part #4930JJ3018A

$15.00
In Stock
Damper,Motor Support
Part #5040JA2004A
Exact Part matches for your search term

No Longer Available
Common Symptoms of the 71319
How this model fails, and the parts that fix it.
Light not working
Fixed by
these parts
these parts

Show All
Noisy
Fixed by
these parts
these parts


Show All
Fridge too warm
Fixed by
these parts
these parts
Show All
Fridge and Freezer are too warm
Fixed by
these parts
these parts

Show All
Watch our pros, then fix it yourself.
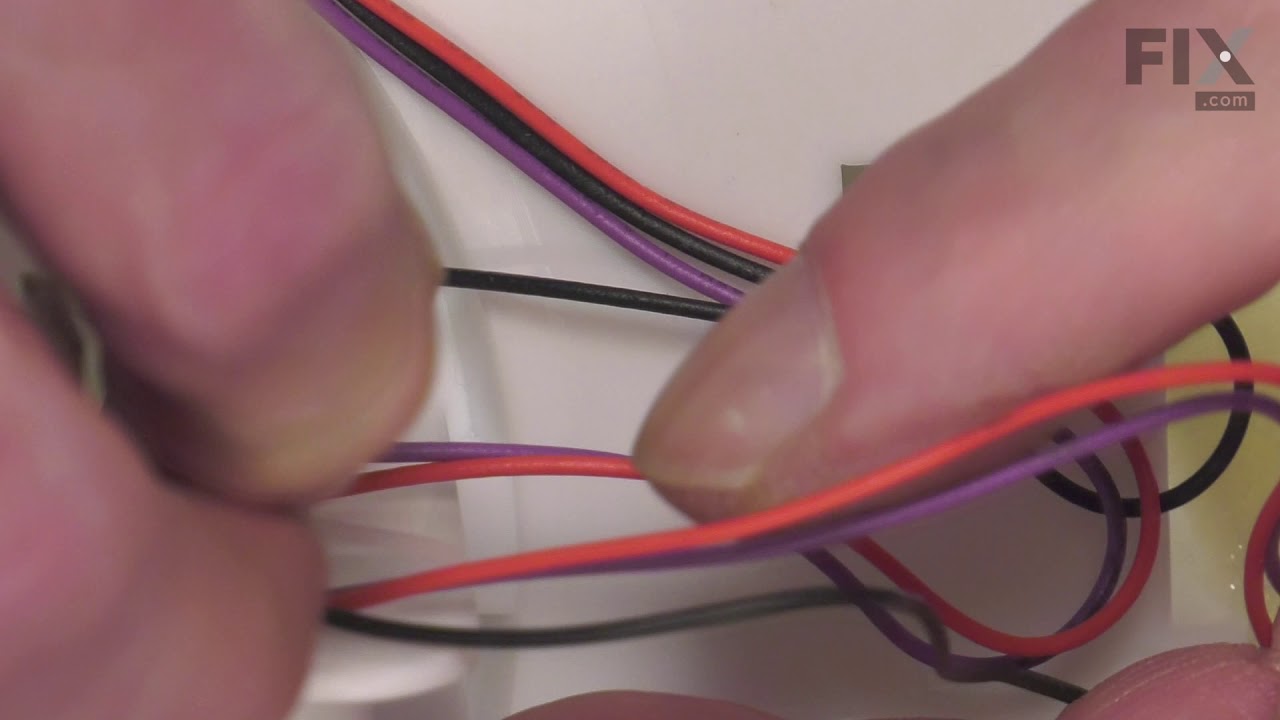
See how others fixed this model. Time, tools, difficulty, and steps that lead to victory!
View More