


 My Orders




71092 LG Refrigerator - Overview

Enter a part description. DIY Heroes keep it simple, eg. "belt" or "pump".
Search filter:
Clear Filter
Your search term must have 3 or more characters.

$15.00
Special Order
Mullion Spring
Part #MHY62044103
This spring is located on the mullion, or door flap, of your fridge. This spring is sourced from the genuine OEM manufacturer for various refrigerator models. It measures about 1.5 inches in total length, and is made entirely out of metal.

$122.57
In Stock
Water Inlet Valve Assembly
Part #AJU72992601
This includes the primary and secondary valves along with the wire harness.

$23.60
On Order
Door Holder
Part #MEG61899901
This is a manufacturer-approved refrigerator door closure for your refrigerator. It is made of white plastic and measures approximately 3 inches by 2 inches. If your old closure is damaged, your refrigerator door may not open and shut properly, and therefore it should be replaced.

$109.40
In Stock
Evaporator Fan Motor
Part #4681JB1027C
This is a genuine OEM evaporator motor that directly powers the evaporator mechanism within your refrigerator. This mechanism is responsible for pulling air over the evaporator coils, which are cold, and circulating that cold air back throughout the appliance. Without this motor, the interior of your refrigerator would build up frost, str...Read moreain the compressor, and simply not cool your fridge enough. A warm fridge, frost buildup or unusual noises are all signs that this fan needs replacing, and over time or through excessive dust building up, motor issues will arise and can cause it to fail. This fan motor is sold as an individual part, so it does not come with any securing screws or the fan blade itself. Replacing the evaporator fan motor will require your user manual and Philips-head and flathead screwdrivers. You need to gain access to the evaporator cover, which you will need to locate using your user manual schematics. Once the cover is removed and you disconnect the wire harnesses within it, you can disassemble the fan mechanism on its inside portion. With the fan mechanism disassembled, remove the old mechanism and install the new one, with the securing screws and wire harnesses.
Read less

$77.22
In Stock
Refrigerator Flipper Assembly
Part #AGU74110902
The main top guide pin guides the main top onto the body of the range and helps hold the top in position.

No Longer Available

$63.64
In Stock
Refrigerator Water Reservoir
Part #AJL72911502
The water reservoir holds the water for the water dispenser as the water chills.

$229.16
In Stock
Ice Maker Assembly - 3 Wire
Part #AEQ73110203
NOTE: The Secondary (smaller) wire connector has 3 wires in it. If original ice maker has 6 wire connector see part number AEQ73110205. Please verify connector before ordering.

$23.60
In Stock
Fan Assembly
Part #5901JA1021A
This fan assembly circulates air through the appliance to support proper temperature control and ventilation. Designed for quiet and efficient airflow, it is replaced when airflow weakens, noise increases, or cooling performance declines.

$45.29
In Stock
Defrost Sensor Assembly
Part #6500JB2001B

$45.29
In Stock

No Longer Available
Exact Part matches for your search term

No Longer Available
No Longer Available
$51.30
Special Order
No Longer Available
$32.53
Special Order
Common Symptoms of the 71092
How this model fails, and the parts that fix it.
Door won’t open or close
Fixed by
these parts
these parts


Show All
Leaking
Fixed by
these parts
these parts


Show All
Noisy
Fixed by
these parts
these parts


Show All
Not dispensing water
Fixed by
these parts
these parts
Show All
Ice maker not making ice
Fixed by
these parts
these parts

Show All
Fridge too warm
Fixed by
these parts
these parts
Show All
Watch our pros, then fix it yourself.
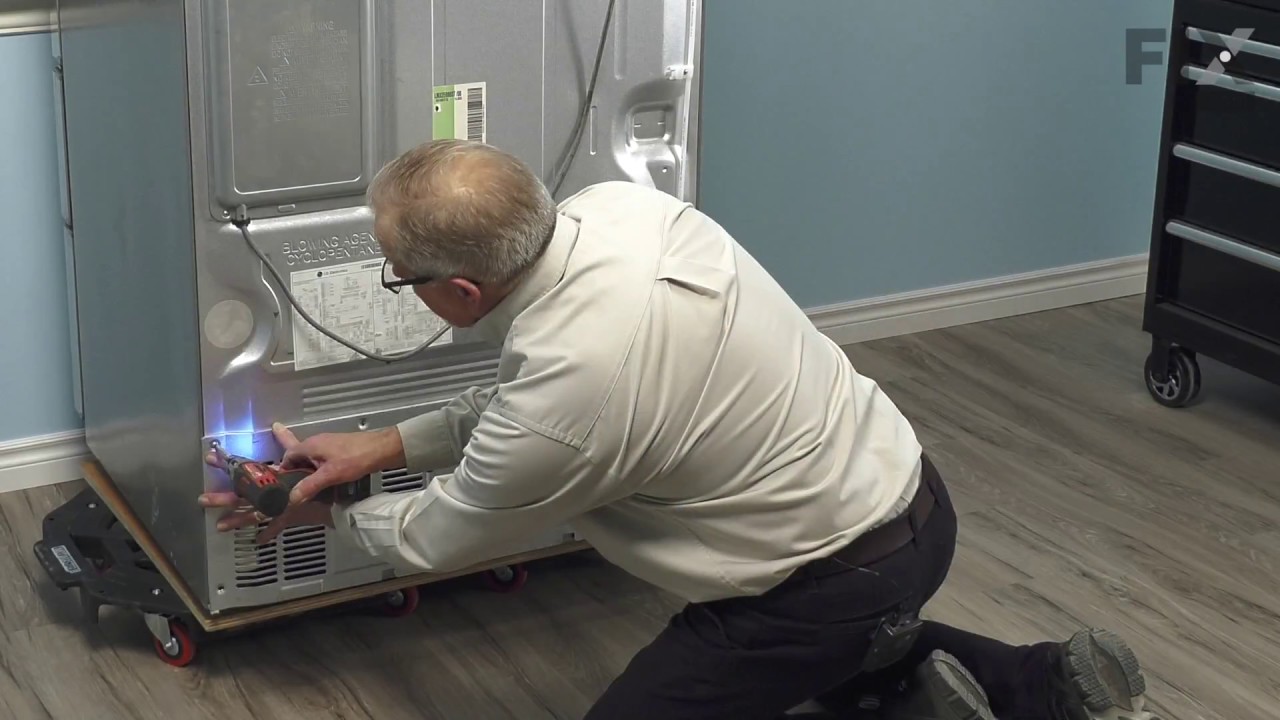
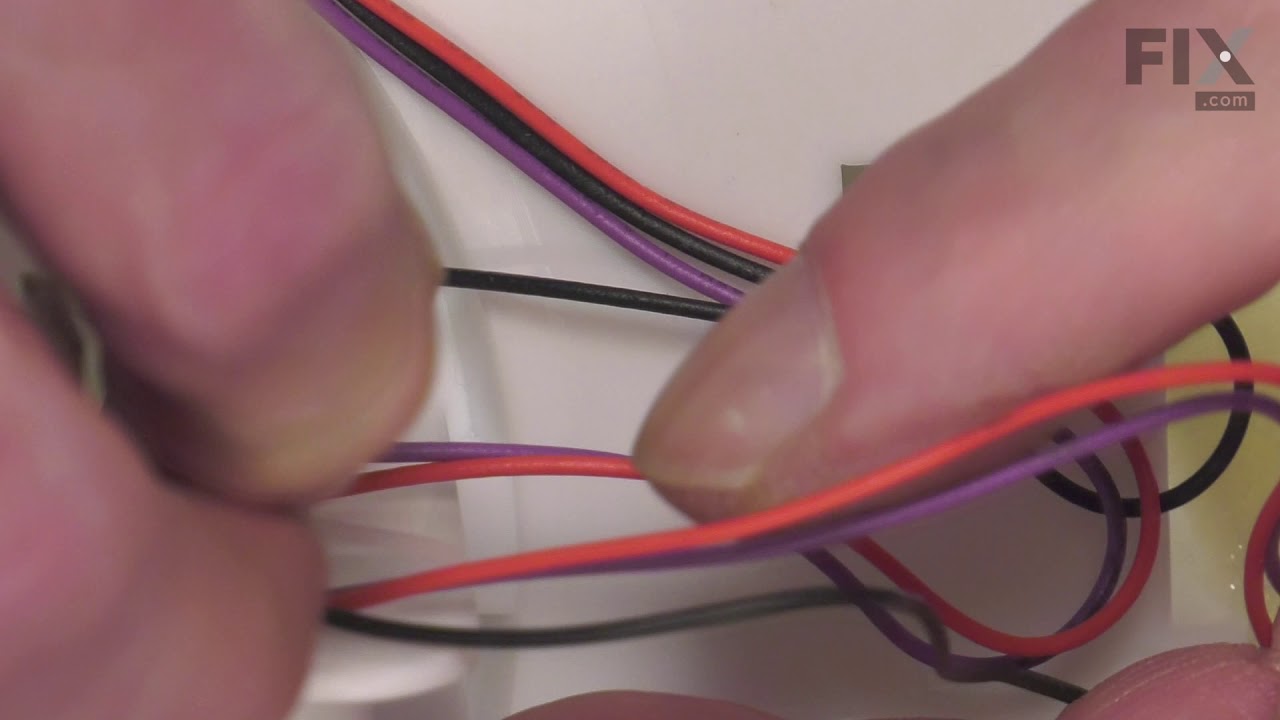
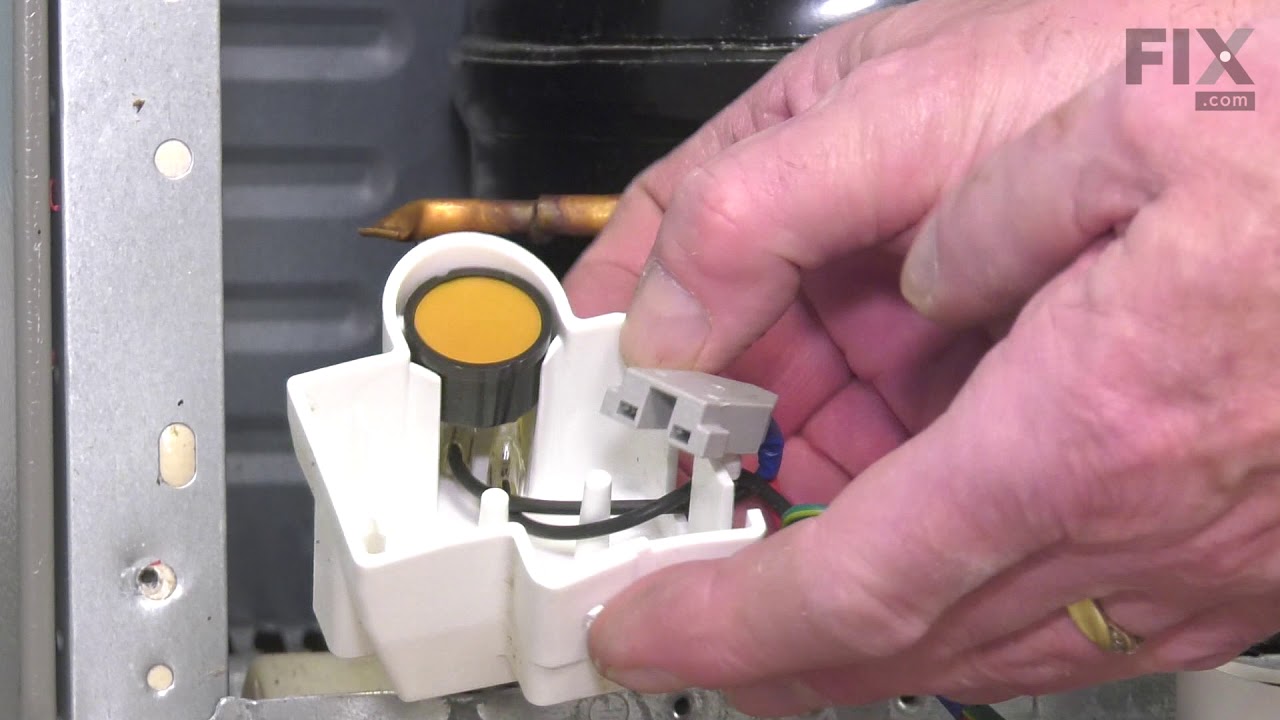
See how others fixed this model. Time, tools, difficulty, and steps that lead to victory!
View More
Search repair tips from other customers using simple keywords like "replace", "fit", "remove", "inspect". DIY doesn't mean you have to do it alone!
Search filter:
Clear Filter
Your search term must have 3 or more characters.
Very bad noise which stopped when the door was opened
15 of 20 people
found this instruction helpful.
The Refrigerator now runs very quite.
After watching several videos I started on mine and found that it was a bit different than any in the videos. However all but the back panel was shown and that was helpful.
The back panel was a bit difficult but a hair dryer seemed to help .
All in all it was a good choice to do it myse ... Read more lf as it was done quicker than waiting on a repair man.
After watching several videos I started on mine and found that it was a bit different than any in the videos. However all but the back panel was shown and that was helpful.
The back panel was a bit difficult but a hair dryer seemed to help .
All in all it was a good choice to do it myse ... Read more lf as it was done quicker than waiting on a repair man.
Read less
Other Parts Used:


Was this helpful?
Thank you for voting!