


 My Orders




71062 (ASWCSE0) LG Refrigerator - Overview
Diagrams for 71062
See every part. Know exactly what you need.


Enter a part description. DIY Heroes keep it simple, eg. "belt" or "pump".
Search filter:
Clear Filter
Your search term must have 3 or more characters.

$24.67
In Stock
Refrigerator Door Switch
Part #6600JB1010A
The interior light in your refrigerator is controlled by a switch that is activated when the door is opened and closed. If your refrigerator light will not turn on, or stays on when the door is closed, you could have a faulty switch. The switch is spring-loaded and is a generally closed type of switch meaning there should be no continuity...Read more when the button is pushed, and continuity through the switch when it is no longer engaged. This plastic, white, OEM switch is sourced directly from the manufacturer, is sold individually and is easy to replace. The repair usually takes less than 15 minutes and requires a flat-blade screwdriver and needle-nose pliers.
Read less

$15.00
In Stock
Handle Screw
Part #MJB63190001
This handle screw, also known as a mounting bolt, is a mounting screw to help secure the door handle to your refrigerator door. If your handle is loose, you may just need to tighten the screw. If your screw is missing or broken, it may need to be replaced. There are multiple handle screws on your fridge, please consider ordering extra as ...Read morethey commonly wear at the same rate. This is about 1 inch long and metallic in color.
Read less

$51.61
In Stock
Glass Shelf
Part #MHL62691504
This is the replacement shelf glass for your refrigerator. It is made of glass and is approximately 31 inches wide and 16 inches long. The shelf glass for your refrigerator slides over the crisper cover and acts as a sort of lid. It also creates a shelf that you can place food and beverages on. If your current shelf insert glass is broken...Read more, this part is the appropriate replacement. Many of our customers have described this repair as easy. To complete the repair, carefully remove the old glass from the frame and replace it with the new pane of glass. This part is sold individually and is an authentic OEM part.
Read less

$122.57
In Stock
Water Inlet Valve Assembly
Part #AJU72992601
This includes the primary and secondary valves along with the wire harness.

$80.82
In Stock
Freezer Door Gasket
Part #MDS38201426
Frost near the door or a freezer that runs often may have a damaged door seal. The flexible gasket blocks room air and moisture from entering the cold compartment. First clean the seal and contact surface, then check the hinges and door fit. Match the replacement to the complete freezer model and door position. If shipping leaves folds, s...Read moreoak the gasket in warm water for 5 to 10 minutes or use a hair dryer on low. Do not overheat the rubber. Smooth each side, close the door, and test the seal with a strip of paper.
Read less

$23.60
In Stock

$184.23
In Stock
Ice Maker Assembly - 6 Wire
Part #AEQ73110205
This ice maker assembly kit is a genuine OEM replacement designed for select LG refrigerators. Engineered to produce ice efficiently, it features a built-in thermostat and heating element that work together to freeze water and release ice cubes from the mold. With a capacity to produce up to 14 cubes per cycle, this assembly ensures a con...Read moresistent and reliable supply of ice. Installation is straightforward and suitable for DIY repairs, though model compatibility should be verified prior to purchase. Crafted to meet LG’s performance standards, this kit offers dependable operation and long-term durability.
Read less

$109.40
In Stock
Evaporator Fan Motor
Part #4681JB1027C
This is a genuine OEM evaporator motor that directly powers the evaporator mechanism within your refrigerator. This mechanism is responsible for pulling air over the evaporator coils, which are cold, and circulating that cold air back throughout the appliance. Without this motor, the interior of your refrigerator would build up frost, str...Read moreain the compressor, and simply not cool your fridge enough. A warm fridge, frost buildup or unusual noises are all signs that this fan needs replacing, and over time or through excessive dust building up, motor issues will arise and can cause it to fail. This fan motor is sold as an individual part, so it does not come with any securing screws or the fan blade itself. Replacing the evaporator fan motor will require your user manual and Philips-head and flathead screwdrivers. You need to gain access to the evaporator cover, which you will need to locate using your user manual schematics. Once the cover is removed and you disconnect the wire harnesses within it, you can disassemble the fan mechanism on its inside portion. With the fan mechanism disassembled, remove the old mechanism and install the new one, with the securing screws and wire harnesses.
Read less

No Longer Available
Door Shelf Bin
Part #AAP72931603
This door bin is made of white plastic, attaches to the inside of the refrigerator door, and typically holds condiments, jars, and bottles. This door basket measures approximately 14 inches wide x 11 inches high x 4 inches deep. To replace your faulty or damaged basket, simply remove it from the door, and slide the new one in place.

$15.00
In Stock

$77.22
In Stock
Refrigerator Flipper Assembly
Part #AGU74110902
The main top guide pin guides the main top onto the body of the range and helps hold the top in position.

$31.58
In Stock
Micro Switch
Part #6600JB3001C
This is a micro switch for various models of LG refrigerators. This switch is responsible for turning the ice dispenser on and off within the freezer compartment of the fridge. If this switch is damaged or shorted, it will cause the ice maker to work inconsistently, or not at all. This switch is different from the water dispenser switch, ...Read morewhich has an entirely different shape all together. Replacing this switch is simple and only requires a Philips-head screwdriver to disconnect the old switch and install the new one. This switch is a genuine OEM LG part and does not come with any other parts or accessories.
Read less
Exact Part matches for your search term

$6.40
Special Order
$94.37
Special Order
$6.40
Special Order
Common Symptoms of the 71062
How this model fails, and the parts that fix it.
Light not working
Fixed by
these parts
these parts

Show All
Leaking
Fixed by
these parts
these parts


Show All
Door won’t open or close
Fixed by
these parts
these parts


Show All
Ice maker not making ice
Fixed by
these parts
these parts

Show All
Not dispensing water
Fixed by
these parts
these parts

Show All
Ice maker won’t dispense ice
Fixed by
these parts
these parts
Show All
Noisy
Fixed by
these parts
these parts

Show All
Fridge too warm
Fixed by
these parts
these parts
Show All
Frost buildup
Fixed by
these parts
these parts

Show All
Freezer section too warm
Fixed by
these parts
these parts
Show All
Ice maker dispenses too much ice
Fixed by
these parts
these parts
Show All
Watch our pros, then fix it yourself.
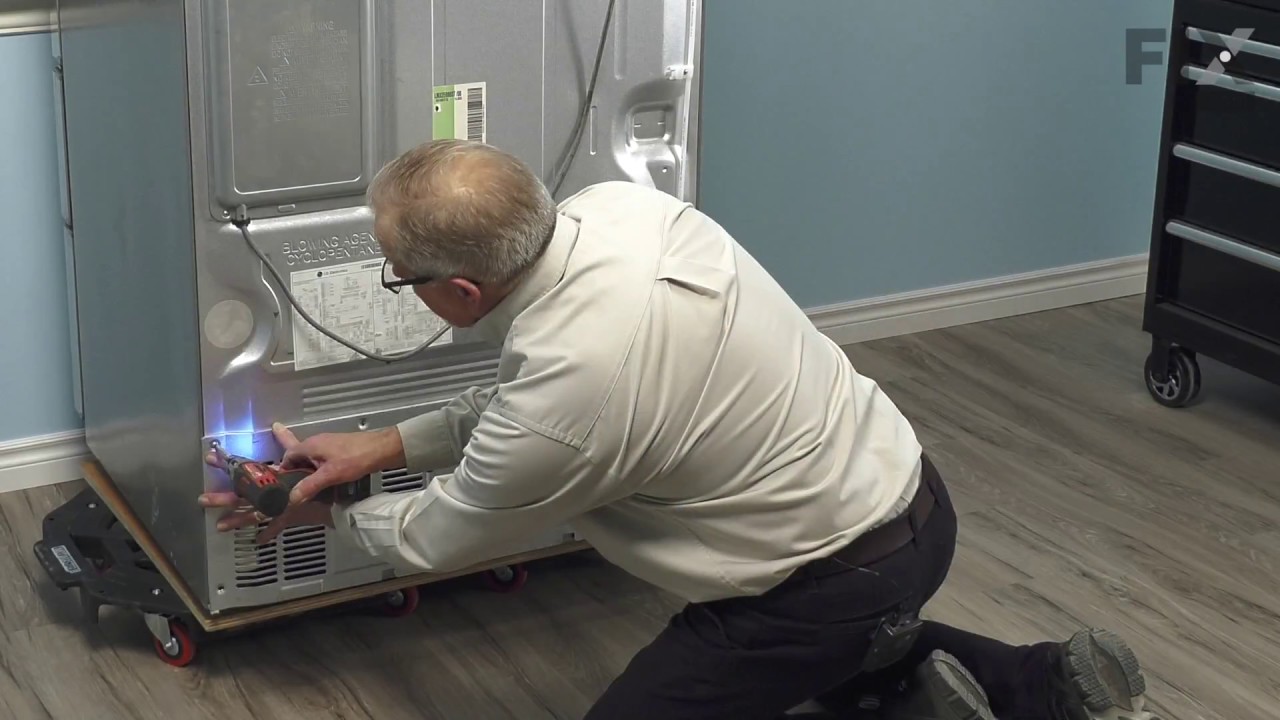
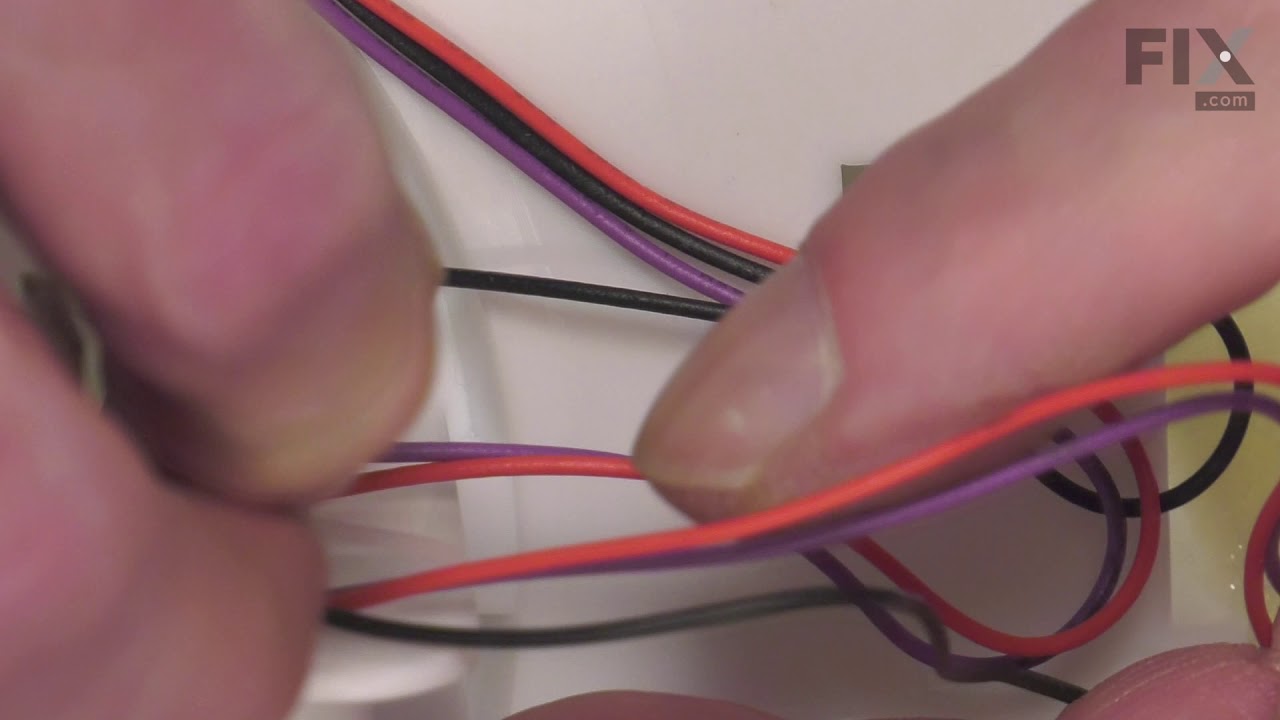
See how others fixed this model. Time, tools, difficulty, and steps that lead to victory!
View More