


 My Orders




71032 (ASWCSE1) LG Refrigerator - Overview
Diagrams for 71032
See every part. Know exactly what you need.


Enter a part description. DIY Heroes keep it simple, eg. "belt" or "pump".
Search filter:
Clear Filter
Your search term must have 3 or more characters.

$122.57
In Stock
Water Inlet Valve Assembly
Part #AJU72992601
This includes the primary and secondary valves along with the wire harness.

$23.60
In Stock
Door Holder
Part #MEG61899901
This is a manufacturer-approved refrigerator door closure for your refrigerator. It is made of white plastic and measures approximately 3 inches by 2 inches. If your old closure is damaged, your refrigerator door may not open and shut properly, and therefore it should be replaced.

$109.40
In Stock
Evaporator Fan Motor
Part #4681JB1027C
This is a genuine OEM evaporator motor that directly powers the evaporator mechanism within your refrigerator. This mechanism is responsible for pulling air over the evaporator coils, which are cold, and circulating that cold air back throughout the appliance. Without this motor, the interior of your refrigerator would build up frost, str...Read moreain the compressor, and simply not cool your fridge enough. A warm fridge, frost buildup or unusual noises are all signs that this fan needs replacing, and over time or through excessive dust building up, motor issues will arise and can cause it to fail. This fan motor is sold as an individual part, so it does not come with any securing screws or the fan blade itself. Replacing the evaporator fan motor will require your user manual and Philips-head and flathead screwdrivers. You need to gain access to the evaporator cover, which you will need to locate using your user manual schematics. Once the cover is removed and you disconnect the wire harnesses within it, you can disassemble the fan mechanism on its inside portion. With the fan mechanism disassembled, remove the old mechanism and install the new one, with the securing screws and wire harnesses.
Read less

$57.38
In Stock

$15.00
In Stock

$77.22
In Stock
Refrigerator Flipper Assembly
Part #AGU74110902
The main top guide pin guides the main top onto the body of the range and helps hold the top in position.

$321.06
In Stock
Ice maker Assembly Kit
Part #AEQ72910409
This is an ice maker assembly kit designed for use within LG refrigerator-freezers. Ice makers are made to pull water from the water line, freeze it, and then store it in the form of cubes to be dispensed or crushed, depending on your preference and the model of the refrigerator. This assembly comes with the entire ice-making assembly, no...Read moret the portion that stores and dispenses the ice cubes from the dispenser. If your current ice maker is simply not making enough ice or any at all, or is broken or damaged in any way, it must be replaced. This ice maker assembly is made entirely of durable white plastic and connects via its single wire harness and features an on/off switch that needs to be turned on for it to function. This assembly is sold individually and does not come with any other ice maker parts.
Read less

$85.94
In Stock
Refrigerator Water Filter
Part #AGF80300801
This refrigerator water filter and filter assembly is designed to improve the quality of drinking water and ice by reducing contaminants such as chlorine, lead, and sediment. Certified to NSF standards 42 and 53, it enhances taste and clarity while allowing beneficial minerals to pass through. Compatible with select bottom-freezer refrige...Read morerator models, this genuine replacement part should be installed using a simple twist-in method and replaced every six months or when water flow slows. After installation, flushing approximately four gallons of water ensures optimal performance and removes any residual carbon particles. Regular replacement supports consistent filtration and helps maintain the appliance’s performance.
Read less

$23.60
In Stock
Fan Assembly
Part #5901JA1021A
This fan assembly circulates air through the appliance to support proper temperature control and ventilation. Designed for quiet and efficient airflow, it is replaced when airflow weakens, noise increases, or cooling performance declines.

$101.29
In Stock
Refrigerator Door Bin
Part #AAP73051302
This door bin is for refrigerators. Door bin attaches to the inside of the refrigerator door and mostly holds jars and bottles.

$34.74
On Order
Temperature Sensor
Part #6500JB2002X
This is a temperature sensor for various models of LG refrigerators. Temperature sensors are used to adjust the level of cooling depending on the internal temperature of the refrigerator. If your refrigerator is warm or not cooling consistently, ensure your evaporator fan is not blocked, before replacing this sensor. To replace this senso...Read morer, you will need a screwdriver and a set of pliers, and simply need to unplug the old sensor, and plug in the new one. This temperature sensor is a genuine OEM part that is sold individually and does not come with any other parts or accessories.
Read less

No Longer Available
Screw
Part #FAB30138101
This handle screw, also known as a mounting screw is designed for LG fridge door handles. It Is responsible for securing the handle to the fridge door and ensuring that it remains firmly attached. A secure door handle allows you to easily open and close the refrigerator as needed. Over time the screw may break, become corroded, or the thr...Read moreeads may wear down. If this happens, the handle may become loose or wobbly, or detach completely from the door. It is recommended to replace the handle screw if it is no longer in good working condition in order to avoid potential damage to the door panel. Each handle screw is sold individually.
Read less
Exact Part matches for your search term

No Longer Available
No Longer Available

$67.61
Special Order
No Longer Available
Common Symptoms of the 71032
How this model fails, and the parts that fix it.
Leaking
Fixed by
these parts
these parts

Show All
Door won’t open or close
Fixed by
these parts
these parts


Show All
Noisy
Fixed by
these parts
these parts


Show All
Not dispensing water
Fixed by
these parts
these parts
Show All
Ice maker not making ice
Fixed by
these parts
these parts

Show All
Fridge too warm
Fixed by
these parts
these parts
Show All
Fridge and Freezer are too warm
Fixed by
these parts
these parts

Show All
Ice maker won’t dispense ice
Fixed by
these parts
these parts
Show All
Watch our pros, then fix it yourself.
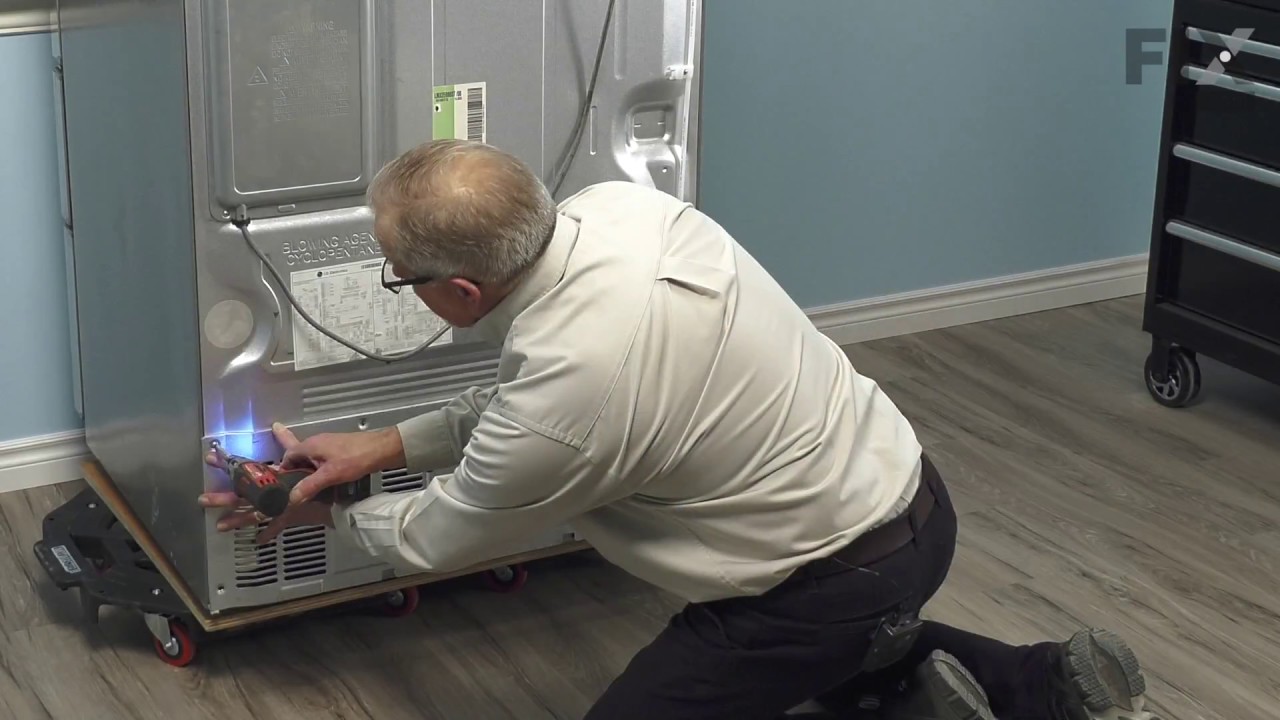
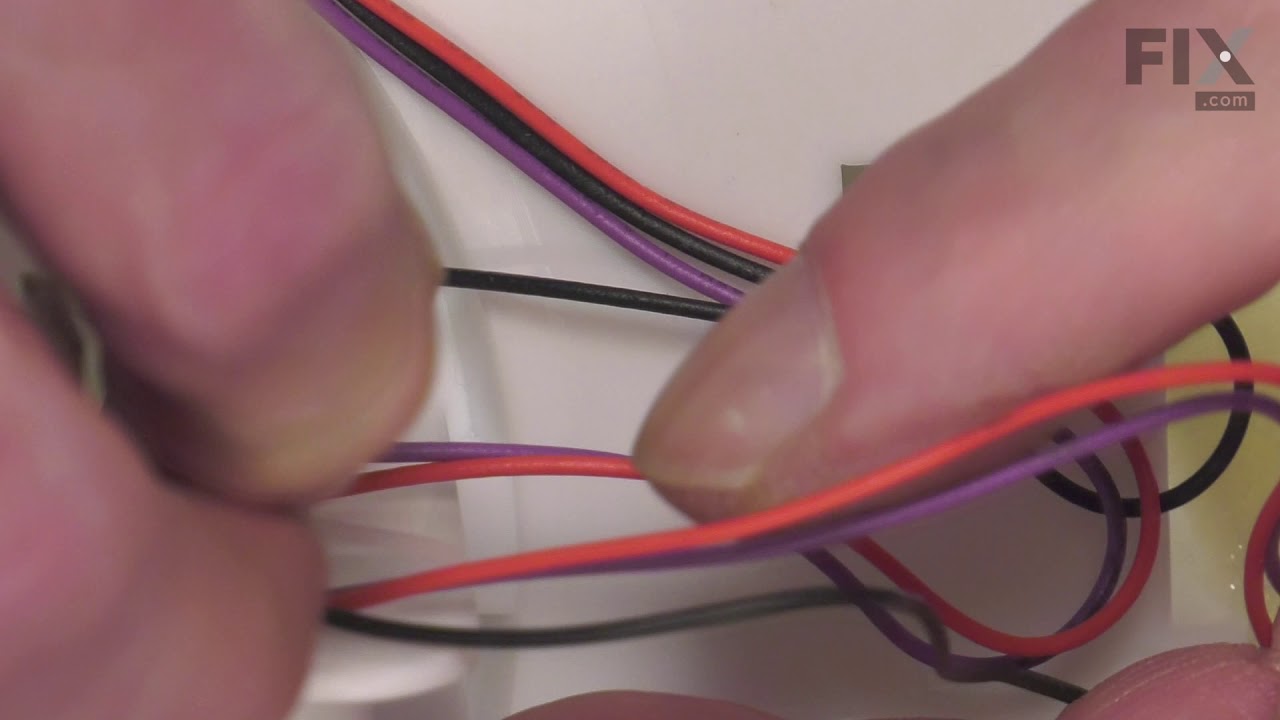
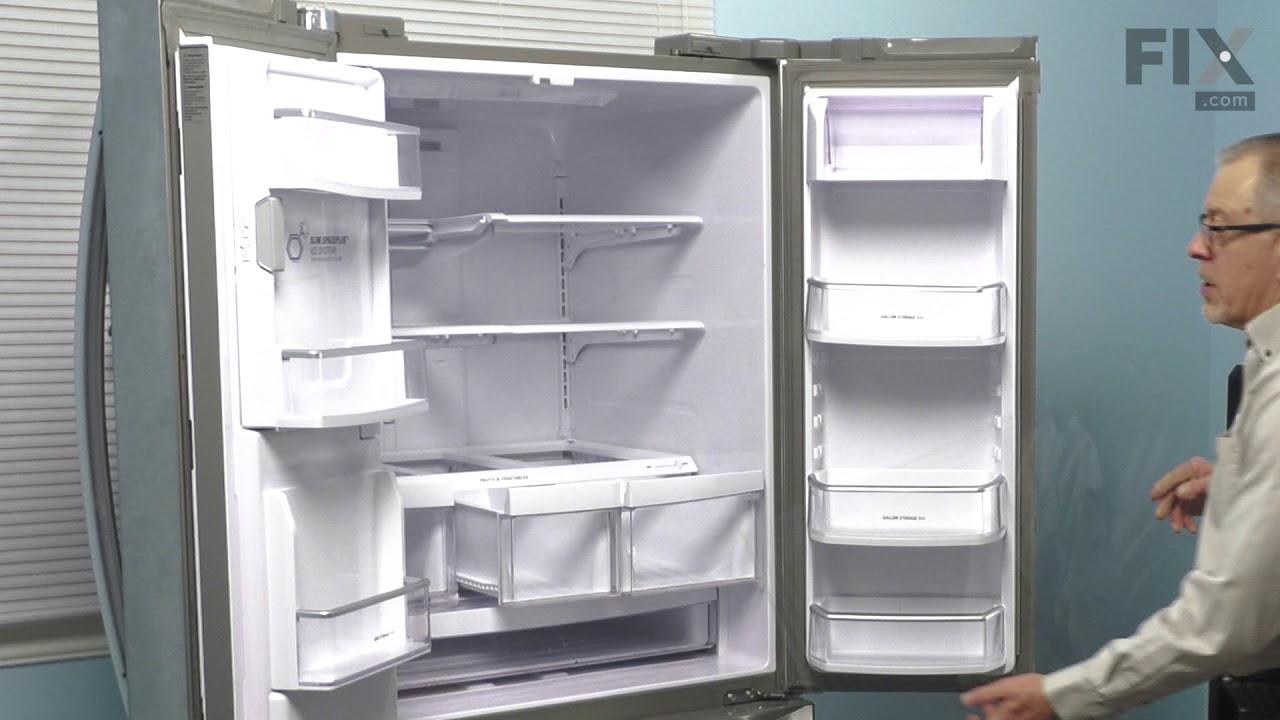

See how others fixed this model. Time, tools, difficulty, and steps that lead to victory!
View More
Search repair tips from other customers using simple keywords like "replace", "fit", "remove", "inspect". DIY doesn't mean you have to do it alone!
Search filter:
Clear Filter
Your search term must have 3 or more characters.
Very bad noise which stopped when the door was opened
15 of 20 people
found this instruction helpful.
The Refrigerator now runs very quite.
After watching several videos I started on mine and found that it was a bit different than any in the videos. However all but the back panel was shown and that was helpful.
The back panel was a bit difficult but a hair dryer seemed to help .
All in all it was a good choice to do it myse ... Read more lf as it was done quicker than waiting on a repair man.
After watching several videos I started on mine and found that it was a bit different than any in the videos. However all but the back panel was shown and that was helpful.
The back panel was a bit difficult but a hair dryer seemed to help .
All in all it was a good choice to do it myse ... Read more lf as it was done quicker than waiting on a repair man.
Read less
Other Parts Used:


Was this helpful?
Thank you for voting!