EasyApplianceParts is now PartSelect! We've merged our sites to provide a better shopping experience for you.   Full Details

Find Parts

Parts Departments

Top Model Types

Top Brands

Repair Help

Expert Repair Videos

Keep typing for more specific results...

687WK-TKSAW Admiral Range - Overview

Diagrams for 687WK-TKSAW

See every part. Know exactly what you need.

Enter a part description. DIY Heroes keep it simple, eg. "belt" or "pump".

Search filter:
Clear Filter
Your search term must have 3 or more characters.
Light Bulb - 40W – Part Number: 8009
$19.54
In Stock
Light Bulb - 40W
★★★★★
★★★★★
(78)
Part #8009
This an authentic OEM 40-Watt replacement light bulb, used in a number of household appliances. It is specially designed to withstand extreme temperatures, which is why these replacement bulbs are most often used to light the inside of refrigerators and ranges. It features a standard socket base, which means you simply unscrew the burnt-out bulb and screw in the replacement. Depending on the appliance you may require a screwdriver or nut driver to access the light bulb. We recommend you wear work gloves while handling this replacement part. It is constructed of glass and metal and is sold individually. Depending on the appliance and location of the bulb within it, you may want to consider disconnecting power and using a flashlight for easier access to unscrewing and re-screwing in your bulb during this repair.
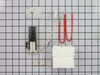
Flat Style Oven Igniter Kit – Part Number: 12400035
$50.56
In Stock
Flat Style Oven Igniter Kit
★★★★★
★★★★★
(68)
Part #12400035
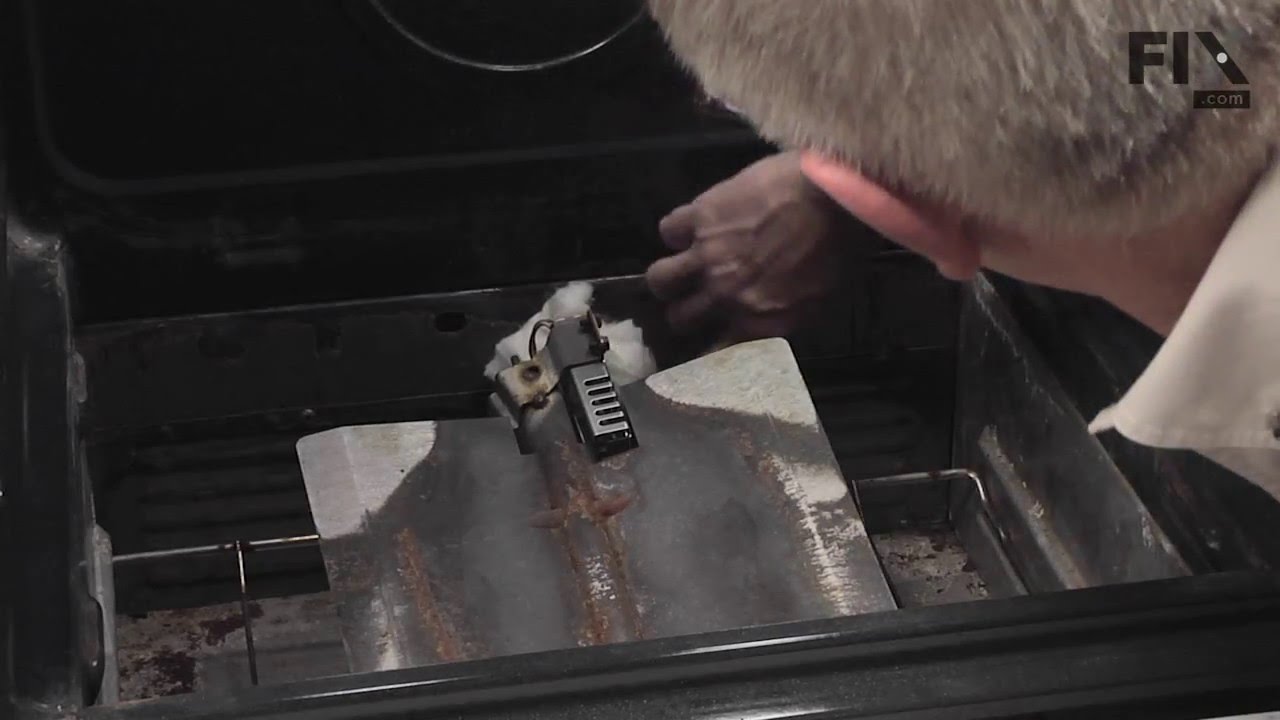
The flat style oven igniter kit is used in gas ovens and ranges. It is what provides the heat needed to open the gas valve, and it ignites fuel for the burner assembly. This part can be used for both bake and broil elements, and it can replace both short and long igniters. However, it cannot replace round style oven igniters. If your igniter glows for 90 seconds or more without igniting the burner, this means it is too weak to open the valve. The element in your igniter may have shorted it and it might not glow at all, or it might only glow orange or red. It needs to glow white hot; if it cannot get hot enough the gas will not be released from the safety valve and it will be impossible to light the burner in your oven. This kit includes the igniter, ceramic wire nuts, an insulation pad, a metal bracket, a variety of plug ends, and an instruction sheet. The body length is 3 3/4 inches, and the element inside is approximately 1 1/2 inches. This replacement part has an amperage range of 3.3 to 3.6. The element inside this igniter is extremely fragile, do not touch it. Before you start repairing your oven or range, make sure you have unplugged it and shut off the gas supply.
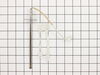
Long Oven Sensor – Part Number: 12001656
$43.18
In Stock
Long Oven Sensor
★★★★★
★★★★★
(38)
Part #12001656
This long oven sensor is also commonly known as a temperature sensor. It is designed for use with ovens and ranges. It is similar to a thermostat; it measures and regulates the internal temperature of your oven cavity. There is an adapter at one end, a probe at the other, and they are connected by an insulated wire. The probe is approximately 7 inches long. You can test the sensor with a multi-meter for functionality. You need to check the model-specific manual to determine what the proper resistance is for your specific appliance. This oven sensor comes with two wire harness adapters and a set of instructions.
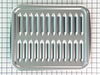
2 Piece Broiler Pan – Part Number: 4396923
$49.50
In Stock
2 Piece Broiler Pan
★★★★★
★★★★★
(6)
Part #4396923
This broiler pan and roasting rack set is designed to help reduce mess while cooking by allowing grease to drain away from food. Its durable porcelain-coated construction stands up to high temperatures and makes cleanup simple. With approximate dimensions of 16 3/4 inches long, 12 3/4 inches wide, and 1 3/4 inches high, it offers a convenient size for everyday broiling and roasting.
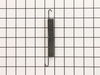
Oven Door Spring – Part Number: WP7803P058-60
$15.00
In Stock
Oven Door Spring
★★★★★
★★★★★
(4)
Part #WP7803P058-60
The oven door springs create tension which allows the door to open and close with ease. This spring can be used on either the left or right side of your oven, is made completely of metal, and is approximately 6 inches long. If your oven door will not open or close easily, you may need to replace this part. It may be a good idea to replace both hinges at the same time, because if a spring has become loose, the other hinge is likely to have the same issue. You may need to remove the side panel of the oven to reach where the spring attaches, so make sure the oven is off and is cool to the touch. This part is sold individually.
Spark Module - Surface Burners – Part Number: 12001596
$75.13
In Stock
Spark Module - Surface Burners
★★★★★
★★★★★
(11)
Part #12001596
This part may differ in appearance, but functions same as original part. : This part sends enough current to the igniter to create a spark to the bottom of the burner cap.
Clock Knob - black – Part Number: WP7711P492-60
$17.15
Special Order
Clock Knob - black
Part #WP7711P492-60
The clock knob attaches to the center of the oven control panel and is used to adjust the built-in clock. This clock knob is less than an inch in diameter. It is all black in color and is made of plastic. This knob will accept a D-shaped shaft. It is worth noting that the clock knob does not work in place of the temperature knob, as they are designed differently. Many of our customers described this repair as easy. To complete the repair, simply pull off the damaged knob and replace it with the new one.
Range Frame Screw – Part Number: WP7101P126-60
$7.47
Special Order
Range Frame Screw
★★★★★
★★★★★
(1)
Part #WP7101P126-60
Sold Individually.
Range Anti-Tip Bracket – Part Number: WP3801F656-51
$8.55
In Stock
Range Anti-Tip Bracket
★★★★★
★★★★★
(1)
Part #WP3801F656-51
Sold individually.
Stand Mixer Screw – Part Number: WP4159193
$8.55
In Stock
Stand Mixer Screw
★★★★★
★★★★★
(1)
Part #WP4159193
This screw is sold individually.
Screw – Part Number: WP98008545
$7.47
In Stock
Screw
★★★★★
★★★★★
(1)
Part #WP98008545
Sold Individually.
GRATE BURNER – Part Number: W11400301
No Longer Available
GRATE BURNER
★★★★★
★★★★★
(2)
Part #W11400301
This square burner grate has sides measuring approximately nine inches. It is all black in color.

Common Symptoms of the 687WK-TKSAW

How this model fails, and the parts that fix it.

Watch our pros, then fix it yourself.

See how others fixed this model. Time, tools, difficulty, and steps that lead to victory! View More

Search repair tips from other customers using simple keywords like "replace", "fit", "remove", "inspect". DIY doesn't mean you have to do it alone!

Search filter:
Clear Filter
Your search term must have 3 or more characters.
Oven would not work but the Broiler did
337 of 374 people found this instruction helpful.
  • James from Ferndale, MI
  • A Bit Difficult
  • 15 - 30 mins
  • Nutdriver, Screw drivers, Socket set
The oven had been working intermittently for a while and after repeated threats of starvation from my spouse I finally took a look even though it was summer and the grill was working fine. The Igniter would glow red when the oven was turned on but the gas would not flow to it no matter what the temperature setting. I searched online and f ound this site that explained it was possible for the igniter to glow but if it was not drawing the correct amperage (because its resistance was too high) then the main brain would not allow the gas valve to open. So I took a look at the broiler and it had the same igniter. I measure the resistance of both of them and the oven igniters resistance was higher (don't rememeber the reading) then I moved the Igniter from the broiler to the oven and the oven worked from there it was just a matter of ordering the part. End of story except for I am still doing all the cooking on the barbecue outside.
Was this helpful?
Thank you for voting!
Oven not holding 350 F, when cooling the coils did not reheat
163 of 214 people found this instruction helpful.
  • David from Westford, MA
  • Really Easy
  • 15 - 30 mins
  • Screw drivers
Removed the oven door by opening slightly, then pic door up to remove. Remove 2 screws holding oven sensor in place, gently pull on sensor to remove, had to remove about 8 inches to get at plastic connector. Unplug connector, had to use an adapter cable supplied with the PartSelect kit to install new sensor, push cable back into opening, reinstall 2 screws. The oven works fine! Note that due to thermal lag the temperature overshoots to 370 degrees and undershoots to 340 degrees, this appears to be normal oven operation. Putting door back in place was easy.
Was this helpful?
Thank you for voting!
Oven would'nt light
132 of 145 people found this instruction helpful.
  • Charles from Charlestown, RI
  • Easy
  • 30 - 60 mins
  • Pliers, Screw drivers
In most cases if your oven won't light or takes a long time to light you may have a bad igniter even if it glows. To check the igniter use a voltmeter to check for 120 A/C volts going to the igniter and3.5 A/C volts going between the ingniter and the gas valve. My bad ingniter glowed but had only only 3.0 A/C volts going to the gas valve for the oven. The new igniter took only 45 minutes to install and supply's 3.6 A/C volts to the gas valve and the oven works fine.

Was this helpful?
Thank you for voting!