


 My Orders




6657242751 Kenmore Trash Compactor - Overview
Diagrams for 6657242751
See every part. Know exactly what you need.

Enter a part description. DIY Heroes keep it simple, eg. "belt" or "pump".
Search filter:
Clear Filter
Your search term must have 3 or more characters.

$6.40
In Stock
Washer Front Leveling Foot
Part #WPW10001130
The front facing foot is sold individually. It is used on your washing machine and can also be known as an adjustable leveling leg. This specific front facing leveling leg has a rubber foot. It is important that when installing this part you are very careful, if not installed correctly your washer will be off balance which will then cause...Read more it to vibrate and/or shake during the cycle. The function of the adjustable foot is to keep your washing machine supported and to make sure that it is level at all times. The tools you will need for this repair include a pair of channel lock pliers, and a 9/16 wrench.
Read less

$7.47
In Stock

$7.47
In Stock

$7.47
In Stock
Lid Hinge Mounting Screw
Part #WPW10119828
Sold individually. NOTE: The color on the screw may not be the same as the image, but will still function the same.

$17.15
In Stock
Drawer Roller
Part #WP9871602
This bearing roller may also be known as the wheel assembly or the container roller bearing, and it is a piece for your trash bin. The function of this bearing is to work in conjunction with your trash bin to allow the canister to roll free. For this repair you will need a nut driver, a pair of pliers, a screwdriver set, and an adjustable...Read more wrench. The most obvious symptom that will require you to replace this part is if your drawer is hard to open and/or close. Your appliance comes with two bearing rollers and it is sold individually.
Read less

$27.36
In Stock
Wheel Assembly - Kit of 2
Part #882688
This wheel assembly, or roller assembly, is for a trash compactor. The kit includes two wheels that are approximately 1 inch in diameter each. The wheels allow the trash compactor container to roll in and out of the appliance. You may have to replace the wheel assembly if the container does not roll smoothly. To access the existing wheel ...Read morekit on your appliance, uninstall appliance from the cabinet, depress foot petal to lift the container off its track, and remove the container from the tracks. This kit is an OEM part sourced from the authentic manufacturer factory.
Read less

$7.47
In Stock
Refrigerator Screw
Part #WP98165
This screw is a little under an inch long and is made of metal. It is used with a refrigerator's ice maker assembly. Sold individually.

$7.47
In Stock

$7.47
In Stock
Refrigerator Single Hex Head Screw
Part #WP489069
Sold individually. The size of this screw is 1/4" hex head and 10-12 x 1/2".

$201.49
In Stock
Drive Motor
Part #W10439651
This drive motor is for trash compactors. The drive motor turns the gears and chain that raise and lower the compactor ram. If your trash compactor will not start or will not stay on during the compaction cycle, you may have a defective drive motor. The start or run switch is used to supply power to the motor to initiate the compaction cy...Read morecle. If the windings in the motor are open or if the motor centrifugal switch is open, the unit will not start. To check for a defective motor, you will need to remove the unit from the cabinets and disconnect the power.
Read less

$7.47
Special Order
Trash Compactor Nut
Part #WP776356
This nut is a genuine OEM part for a variety of trash compactors. Made of high-quality metal, the flat side of this washer faces and is fastened to the side of your trash compactor to secure the railing system to the main drawer of the compactor.

$11.77
In Stock
Transformer Screw
Part #WP488787
This screw is sold individually. It is a genuine OEM replacement part, and it is designed for use with refrigerators. Most often it is used with the ice bucket ice deflector, retainer clip, and front cover. Due to varied uses we recommend referring to model-specific diagrams for exact placement. This screw measures 8-18 by 1/2 inch.
Common Symptoms of the 6657242751
How this model fails, and the parts that fix it.
Drawer is hard to open and or close
Fixed by
these parts
these parts


Show All
Shaking and Moving
Fixed by
these parts
these parts

Show All
Watch our pros, then fix it yourself.
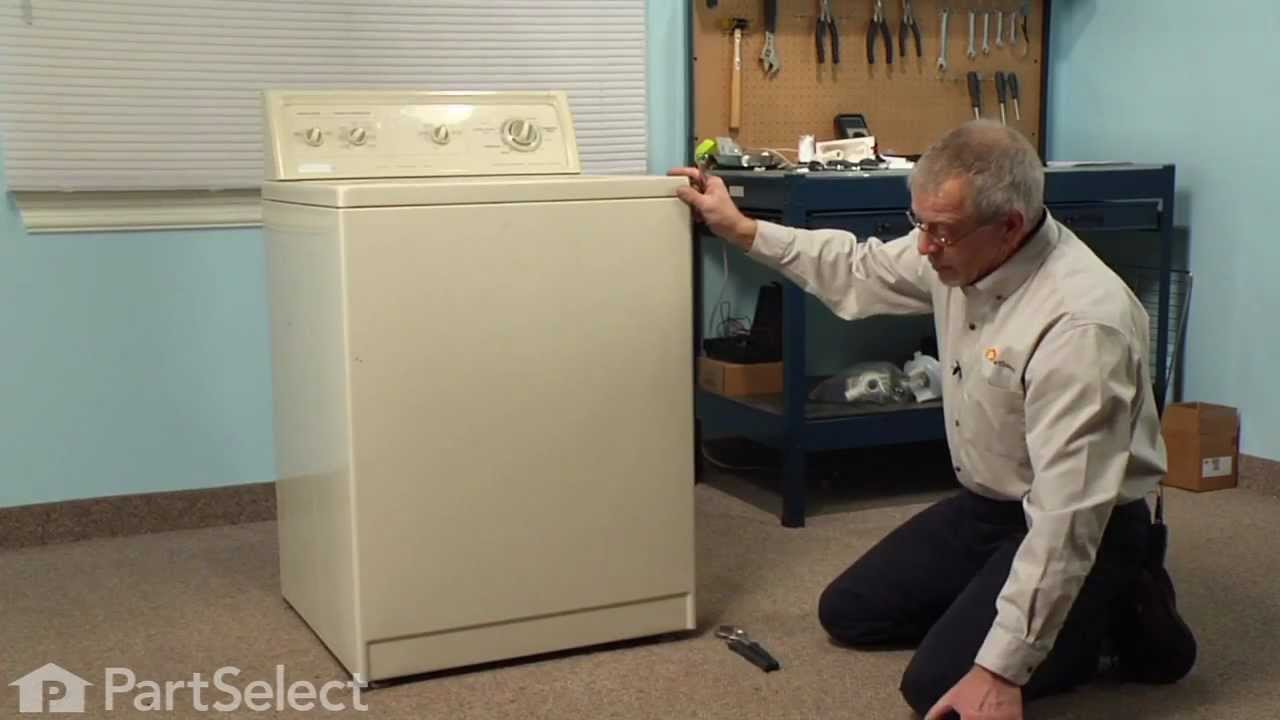
See how others fixed this model. Time, tools, difficulty, and steps that lead to victory!
View More