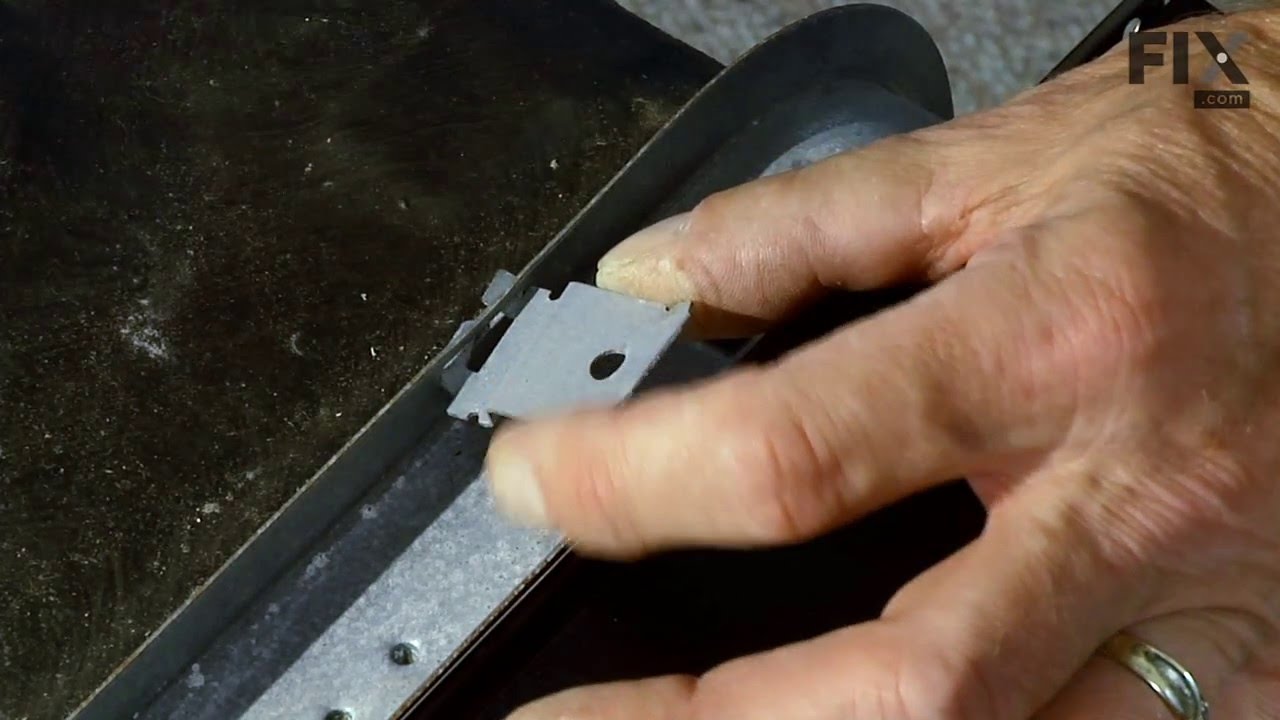
The rack track stop on your dishwasher is designed to stop the dish rack at the appropriate place when opening and closing the rack. If your dishwasher is not cleaning your dishes properly, the rack stop may need to be replaced. The replacement part may differ slightly from the broken part, depending on the model. However, the different s...Read moretyles are interchangeable. This product is sold individually and comes in both a white and grey plastic version. Many of our customers found this repair to be very easy and takes less than 30 minutes to complete. Simply snap the old part out and snap the new part into place. You will not require any tools to complete the job. This is an authentic part approved by the manufacturer.
This part is a door balance link kit, also sometimes known as door cable or door spring cable kit, that helps support the door as it opens and closes by connecting to the dishwasher door hinges. The kit includes two door balance links and two door balance mounts with wheels, which will replace both the left and right sides. The only tool ...Read moreneeded is a 5/16 nut driver. Before removing the existing kit, take note of how the door balance link kit is assembled for a smooth replacement process. It is recommended to check the door springs in case they need to be replaced as well.
The mounting bracket is sold individually, without screws. This part secures the upper side of the dishwasher to the underside of the counter or cabinet to prevent the dishwasher from moving, shaking, or tilting forward. The bracket is made entirely of metal. It is recommended to check all brackets, if applicable, because they often wear ...Read moreat the same rate and both may need to be replaced. This is an OEM part that is sourced from the authentic manufacturer. Tools needed are a pair of needle nose pliers and a screwdriver.
This is a chopper assembly or drain food chopper, and it is designed for your dishwasher. The chopper chops up/minces the food particles in your dishwasher to prevent them from clogging the pump. You may need to replace this part if your dishes are not being cleaned properly, your appliance is particularly noisy, or you are noticing drain...Read moreing problems. The tools you will need to make this repair include a number 20 and a number 15 torque screwdriver, a small flat blade screwdriver, and a pair of needle nose pliers.
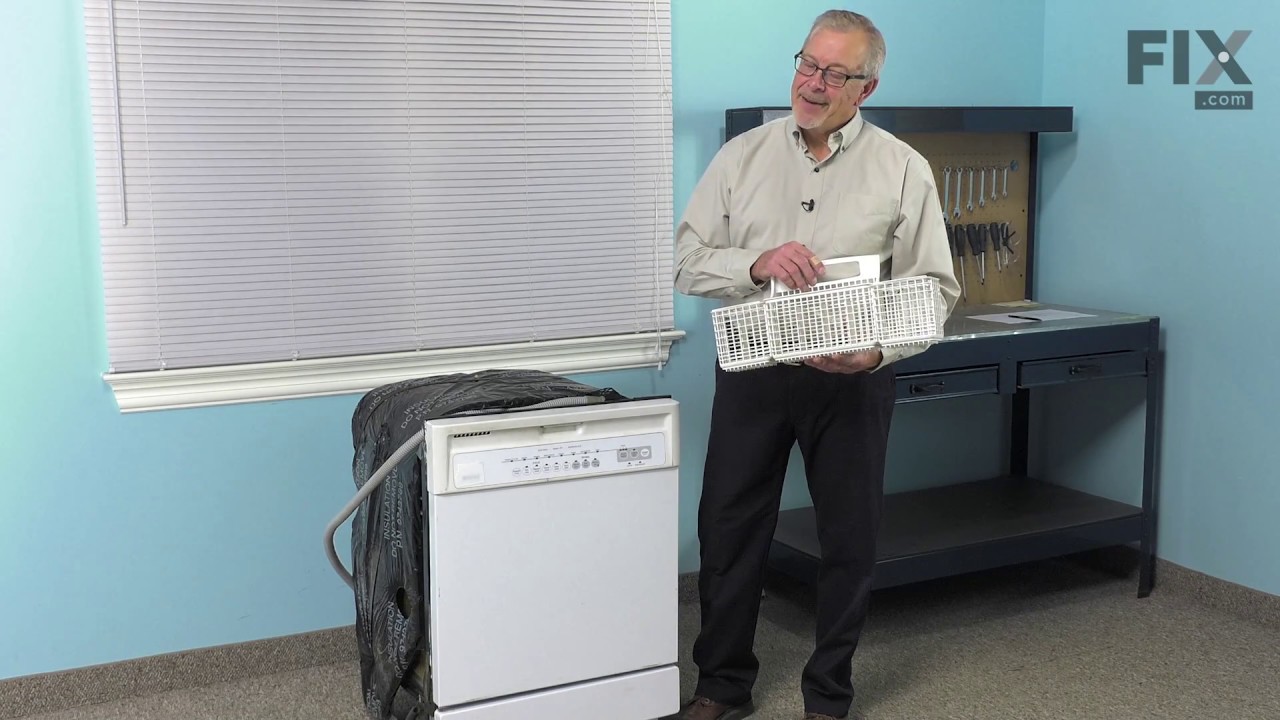
This dishwasher flatware basket is designed to securely hold silverware and other small utensils during the wash cycle, ensuring thorough cleaning and preventing items from shifting or falling through the rack. Made from durable plastic, the basket features multiple compartments to organize flatware efficiently. While the design may diffe...Read morer slightly from the original part due to updates, it maintains full compatibility and functionality. It fits into the lower rack of the dishwasher and is an ideal replacement for a damaged or missing basket, helping restore optimal cleaning performance.
This drain pump is used in dishwashers to remove water from the dishwasher tub. If the impeller in the dishwasher is damaged or the motor has been shorted out and will not drain, it is possible the body is cracked, causing leakage. To prevent this from happening, replace the drain pump. The tools needed for this installation are: Phillips...Read more screwdriver, 5/16 inch nut driver, 5/8 inch wrench, and a flathead screwdriver. Remember to unplug your dishwasher from the power source before beginning this installation project. Refer to the manual provided by the manufacturer for further installation instructions.
This is a door seal, but you may also know it as a door gasket and it is a part for your dishwasher. It provides a leak proof seal between the tub and the door of your appliance. You will need to replace the door seal if you are experiencing leaking from the front of your dishwasher. Once you have removed your old seal, we recommend inspe...Read morecting the groove to make sure there are no food particles or debris caught inside that will impede the installation process.
The rubber washer is a part which is specific to dishwashers and should not be substituted by a similar part. It works with the heating element to seal the receptacle opening where the heating element is attached. The rubber washer is used to prevent water leaking from your dishwasher during its cycle. Before making any repairs to your di...Read moreshwasher make sure that you disconnect the power by finding the breaker for the dishwasher, and turning it off. The tools you will need to complete this repair include an adjustable wrench, and a 1/4 inch nut driver. This specific rubber washer is sold individually.
The tine row on your dishwasher rack divides the rack into columns to keep your kitchen items in place during the washing cycle. If you notice that one or more of the tines on your current tine row is damaged, you should consider replacing it. This product is made of gray plastic and is approximately 21 inches in length. This tine row con...Read moretains 11 straight tines and 1 curved tine. This product is sold individually. Many of our customers have rated this repair as very easy. To complete this repair, simply remove the old tine row and replace it with the new one.
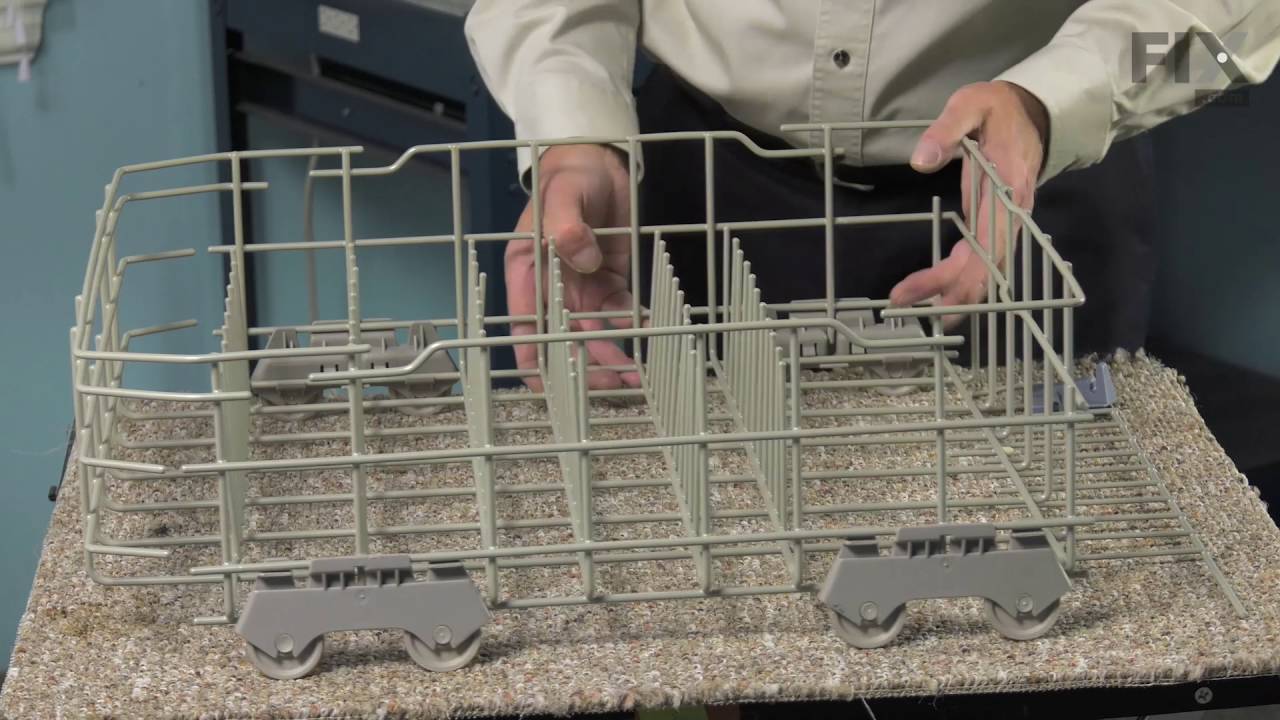
This lower dishrack is a genuine replacement component designed for select Whirlpool, KitchenAid, Maytag, Jenn-Air, Amana, Inglis, and Magic Chef dishwashers. Manufactured for durability and optimal performance, it securely holds plates, bowls, and other dishware during wash cycles. The rack is finished in gray, though the shade may vary ...Read moreslightly, and does not include rollers, which must be transferred from the original rack. Installation is straightforward and can be completed using basic hand tools, provided the dishwasher is disconnected from power and water sources. This replacement is ideal for racks that are cracked, rusted, peeling, or stained, helping restore both functionality and appearance.
The circulation pump and motor is located near the bottom of the dishwasher. The part functions by spinning the impeller of the circulation pump, which is used to move the water through the spray arms during the wash cycle. Before you begin this repair, it is recommended that you pull your dishwasher out of the cabinet, so you can tip the...Read more dishwasher to one side and gain better access to the circulation pump and motor. Be sure to disconnect the power source and the water source to the dishwasher before you begin this repair. To complete this repair you will need a 1/4 inch nut driver and a 3/8 inch nut driver.
See how others fixed this model. Time, tools, difficulty, and steps that lead to victory!View More
Search repair tips from other customers using simple keywords like "replace", "fit", "remove", "inspect". DIY doesn't mean you have to do it alone!
Search filter:
Clear Filter
Your search term must have 3 or more characters.
Replaced Hinge Link
636 of 690 peoplefound this instruction helpful.
Scott from Fort Lauderdale, FL
Easy
Less than 15 mins
Screw drivers
Pulled dishwasher from under counter, attached link to spring, hooked spring back into frame/chassis, threaded link through pulleys, attached other end of link onto door, reinstalled dishwasher under counter. All's well. Note-I purchased an extra link anticipating that the other one will fail. They're cheap enough.
Was this helpful?
Thank you for voting!
dishwasher not draining after wash cycle
491 of 560 peoplefound this instruction helpful.
Andrew from Alexandria, VA
Easy
Less than 15 mins
Screw drivers
Caviat: The actual repair is less than 15 minutes, but I spent a lot of time playing with it before I figured out it was that easy and fast. You don't need to remove the dishwasher from the counter to do this. And it will probably help to look at the new part closely so you can understand where the retainer clip is to press it and release
... Read more the old pump.
First remove the water from the dishwasher pan that would not drain with a wet/dry vac. Otherwise the water will all drain on the floor when you remove the pump. Then remove the two screws on the kickplate on the front of the unit below the door. Remove the kickplate/maintainence access cover. The drain pump is on the right about 8 inches in. Using two hands you grasp the drain pump with your right hand and use the left hand to push the retaining clip down. Then the drain pump will rotate 1/4 turn counterclockwise and can be removed without pulling the dishwasher out. There is likely to be some water leak out that was traped in the pump housing that you can not reach with the vac. Disconnect the wire. Connect the wire to the new pump, put it in place and 1/4 turn clockwise to install it. Replace the kickplate and you're done.
Read less
Was this helpful?
Thank you for voting!
Dishes on top rack of dishwasher were not being cleaned.
338 of 380 peoplefound this instruction helpful.
Bill from North Richland Hills, TX
Easy
30 - 60 mins
Pliers
1) Remove top and bottom dish baskets from the dishwasher, this will give you room to work. To remove top basket there are clips at the end of the slide rails. 2) Remove lower spray arm by unscrewing plastic screw, it should only be hand tight. 3) In order to remove the strainer cover, you will need to remove the plastic tube th
... Read moreat takes water to the middle and top spray arms. Unclip this tube from the top and middle clips and then work it out of the strainer assembly tube. Now you should be able to remove the tube at the bottom of the dishwasher by unscrewing it 1/4 turn. 4) Remove the strainer cover by unscrewing the 4 Torqs screws. 5) You will now see two smaller torqs screws that hold the hold the Chopper Assembly cover down. Take these two screws out and remove the two piece cover. 6) Pull out the broken Chopper Assembly, make sure you get all the pieces! 7) Install the new Chopper Assembly. Make sure that you install the Assembly with the small part of the screen towards the bottom of the housing. Also make sure you compress the spring as you install the part. I used a small pair of neddle nose pliers to compress the spring behind the screen in order to install the chopper assembly. 8) Put everything back together and make sure it works!



 My Orders