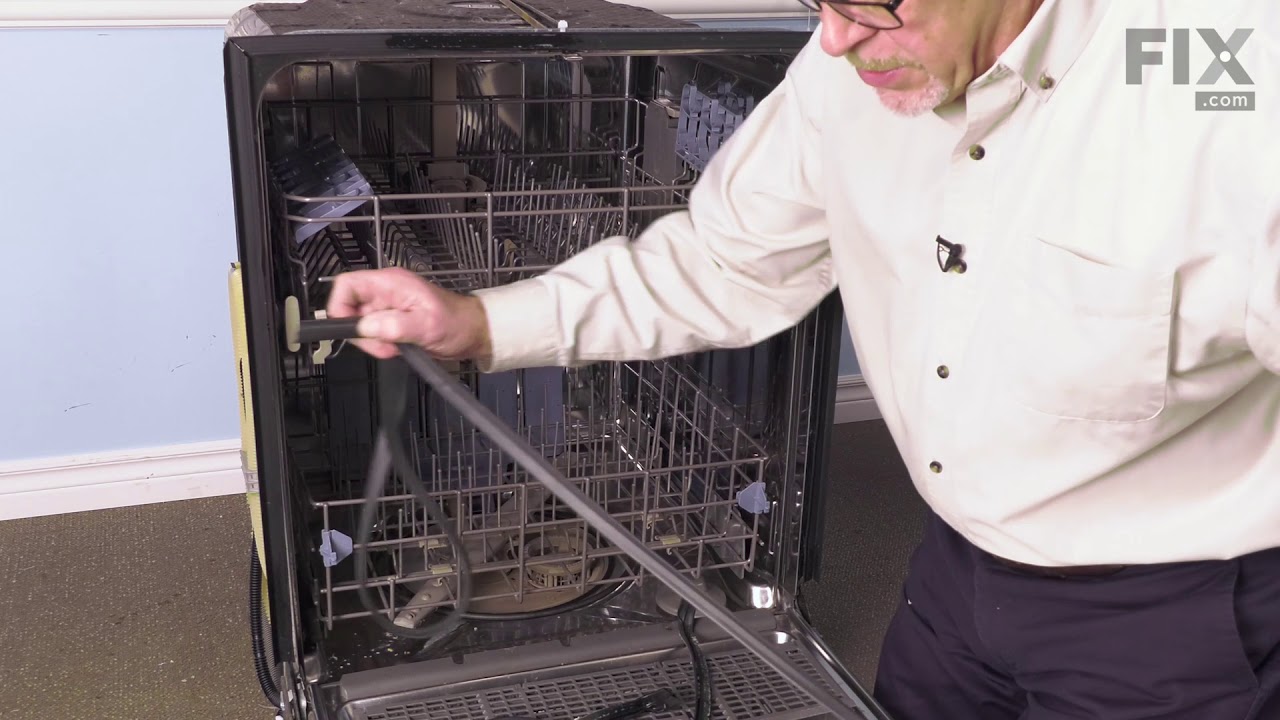
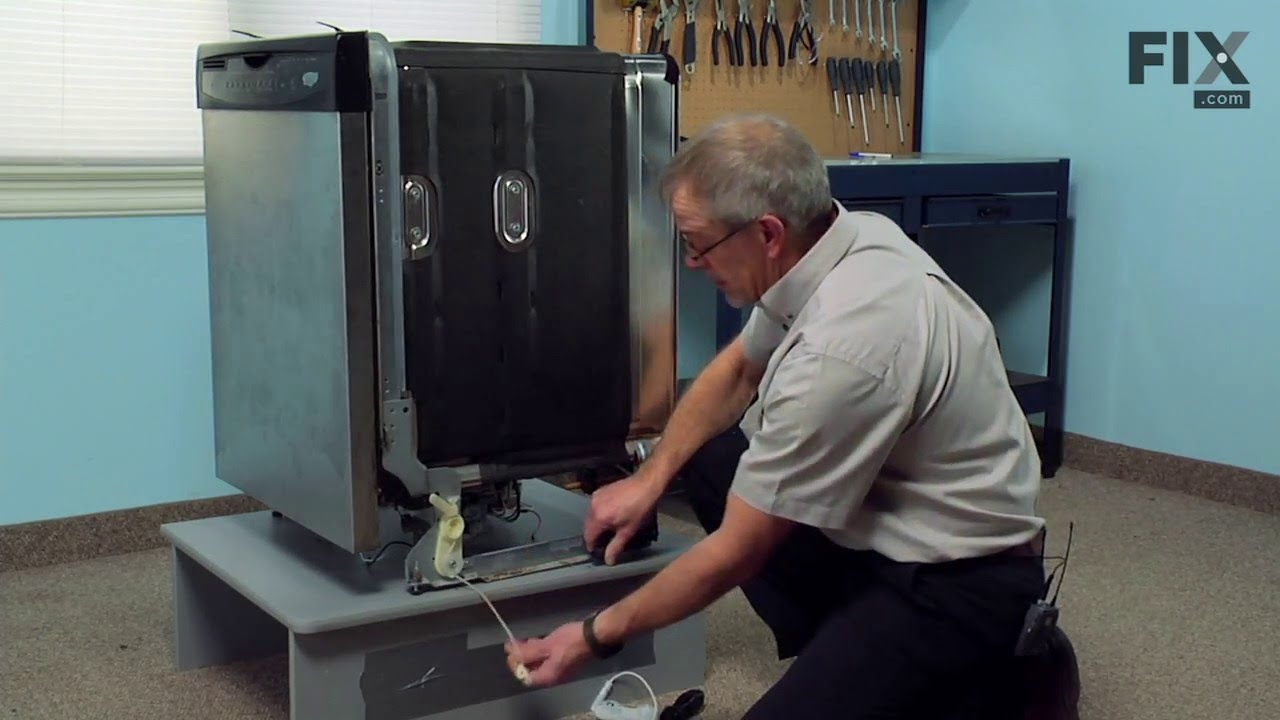
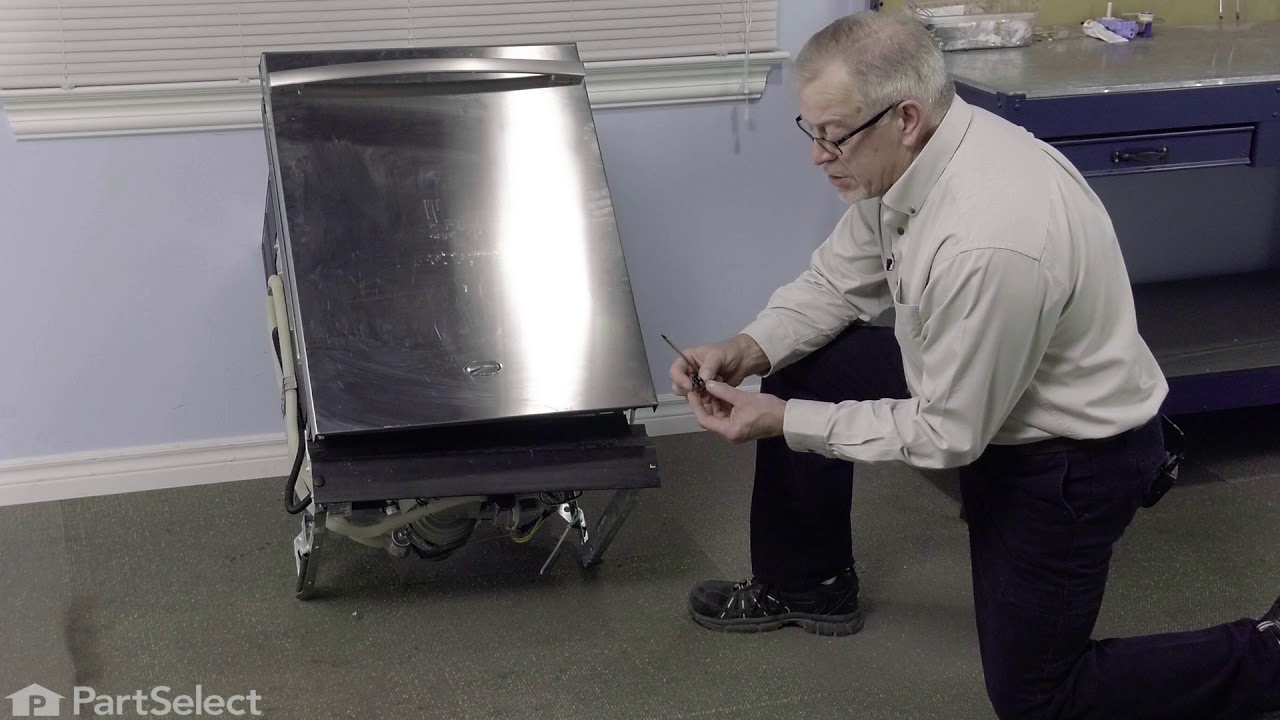
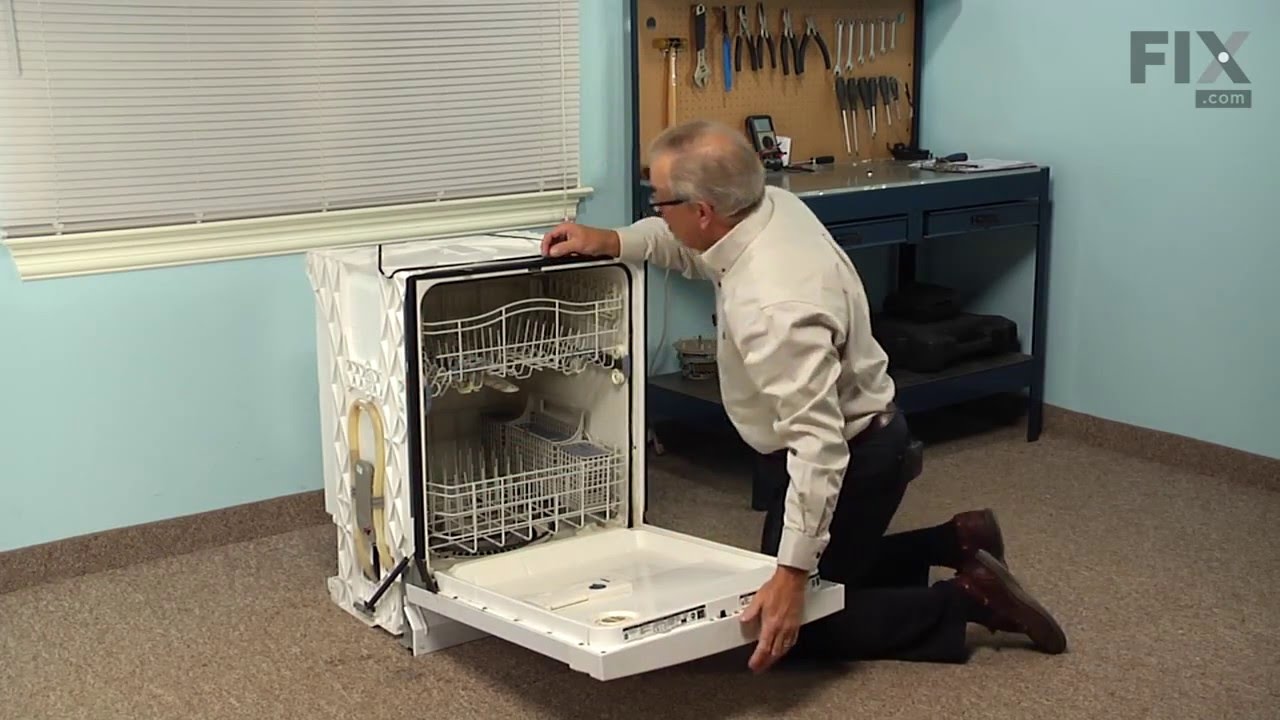
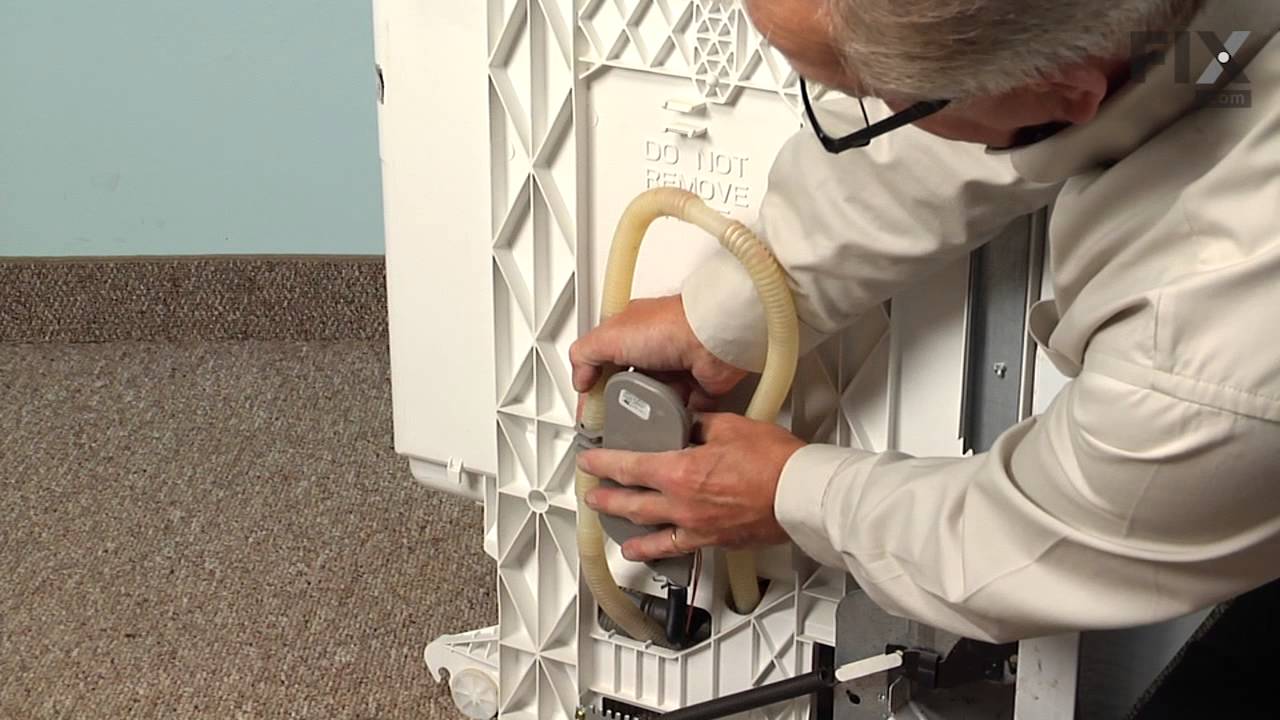
This part is a door balance link kit, also sometimes known as door cable or door spring cable kit, that helps support the door as it opens and closes by connecting to the dishwasher door hinges. The kit includes two door balance links and two door balance mounts with wheels, which will replace both the left and right sides. The only tool ...Read moreneeded is a 5/16 nut driver. Before removing the existing kit, take note of how the door balance link kit is assembled for a smooth replacement process. It is recommended to check the door springs in case they need to be replaced as well.
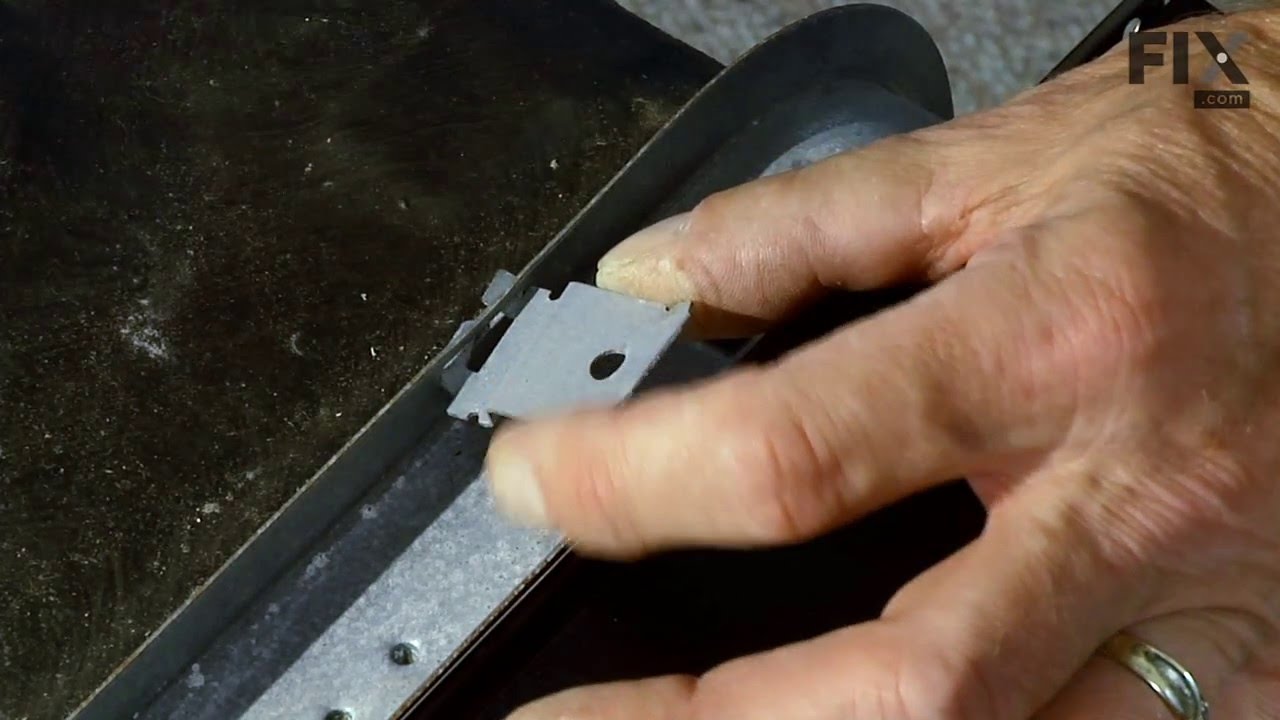
The mounting bracket is sold individually, without screws. This part secures the upper side of the dishwasher to the underside of the counter or cabinet to prevent the dishwasher from moving, shaking, or tilting forward. The bracket is made entirely of metal. It is recommended to check all brackets, if applicable, because they often wear ...Read moreat the same rate and both may need to be replaced. This is an OEM part that is sourced from the authentic manufacturer. Tools needed are a pair of needle nose pliers and a screwdriver.
Prevent leaks and maintain optimal cleaning performance with this durable dishwasher door seal. It creates a secure barrier to keep water contained during wash cycles, ensuring reliable operation. Replace by removing the old seal and fitting the new one snugly around the door frame.
This water inlet valve should be located behind the lower kick plate panel in either the right or left corner. The attaching solenoids on the valve open and close according to the desired amount of water needed.
The heating element is not designed to heat the water that enters it, but is designed to maintain the heat of the water that enters the dishwasher. It is located on the bottom of the dishwasher.
This hose clamp is used in a wide variety of household appliances. Most often it is found in washers, dishwashers, refrigerators, freezers, dehumidifiers, garbage disposals, or air conditioners. This clamp is used to securely attach a hose to another part of your appliance, which helps prevent leaks from those connections. Depending on th...Read moree appliance, it can attach hoses to drain pumps, water inlet valves, pressure switches, and injector nozzles. We recommend you refer to model-specific diagrams for appropriate uses and exact placement. This hose clamp is made of metal, and is sold individually. To access and replace this part you will need a nut driver, pliers, and screwdrivers. Before you begin any repair work, make sure you have unplugged your appliance, and shut off the water supply if applicable.
This is a seal, but you may also know it as a door gasket and it is for your dishwasher. The seal forms a watertight barrier between the door and the dishwasher tub, deterring water from escaping during a wash cycle. If your dishwasher is leaking you will need to replace the seal, as it is likely damaged. The first step should be to check...Read more the seal for buildup of food particles near the sides and the bottom of your appliance.
Ask our experts a question about this model and we'll get back to you as soon as possible!
We may have answered a similar question already! Search questions and answers left by others using simple keywords like "fit", "broken", "easy", or "quality" to find questions that match.
Search filter:
Clear Filter
Your search term must have 3 or more characters.
Sort by:
Prev
1
2
Next
Sorry, we couldn't find any existing answers that matched.Try using some different or simpler keywords, or submit your new question by using the "Ask a Question" button above!
Tina - For model number 66513222N414
August 25, 2023
I need the plastic part that snaps into the upper rack rollers. 2 of the fingers have broken off
Hi Tina, thank you for getting in touch. The part you are looking for is not available separately but comes in an assembly with the upper rack adjuster kit, part number PS10065979. Let us know if you have further questions!
Hello Clint, Thank you for contacting us. Checking your model, we show the compatible upper rack as part# PS11753469, the compatible lower rack as part# PS16543613, and the silverware basket as part# PS11749679. We hope this helps you.
I need the white wheels that the upper rails have to keep the rack from falling.
Hi JoAnne, thank you for reaching out. The white wheels for your model comes with the upper rack adjuster kit, part number PS10065979. They do not come separately. We hope that helps!
My problem is the top rack. My mom showed me that one side falls with just the slightest amount of weight. It looks as though one piece of assembly is broken having to do with the white wheel and the grey part it connects to.
Hello Angela, thank you for contacting us. This is an issue caused by a broken upper rack adjuster or a snapped wheel/roller clip. Racks use these plastic parts to adjust height or secure the wheels to the rails, and they can snap when loaded with heavy items. You will need the upper rack adjuster kit, part number PS10065979, that contains the wheels as well the sliding track parts. Glad to be of assistance!
See how others fixed this model. Time, tools, difficulty, and steps that lead to victory!View More
Search repair tips from other customers using simple keywords like "replace", "fit", "remove", "inspect". DIY doesn't mean you have to do it alone!
Search filter:
Clear Filter
Your search term must have 3 or more characters.
Replaced Hinge Link
636 of 690 peoplefound this instruction helpful.
Scott from Fort Lauderdale, FL
Easy
Less than 15 mins
Screw drivers
Pulled dishwasher from under counter, attached link to spring, hooked spring back into frame/chassis, threaded link through pulleys, attached other end of link onto door, reinstalled dishwasher under counter. All's well. Note-I purchased an extra link anticipating that the other one will fail. They're cheap enough.
Was this helpful?
Thank you for voting!
Door spring link broken
162 of 204 peoplefound this instruction helpful.
Sean from Ramona, CA
Easy
15 - 30 mins
Screw drivers, Wrench (Adjustable)
1. Open the dishwasher and remove the two plastic grommets about halfway down on either side of the opening. Then remove the two screws under the grommets.
2. Remove the kick plate under the door. May have to lower unit by turning the feet using the adjustable wrench.
3. Make sure you have enough slack in the water i
... Read morenput line and electrical wiring that you can pull the dishwasher out about 12 inches or more.
4. There is a spring and nylon rope link on both sides of the unit. Probably just one link is broken, but the replacement comes with two, so you can replace both or save one as a spare. Look at the good side and it should be pretty self explanatory how it attaches. I found it easiest to first thread the link around the lower pulley, then attach the link to the spring, then spring to the rear support, then the link to the door.
5. Reverse (2 to 1) to reinstall the dishwasher.
Read less
Was this helpful?
Thank you for voting!
The door would drop open when it was released
127 of 153 peoplefound this instruction helpful.
David from La Quinta, CA
Easy
30 - 60 mins
Nutdriver
This was the second time I had this problem so I knew the symptoms and remedy. The tools needed were two nut drivers a ¼” and 5/16” along with a flat pry bar and Phillips screw driver. I started by removing the lower front panel by removing the two ¼” screws on either side. The lower panel will lift up and then can be removed by pullin
... Read moreg on the bottom. There is a flat sheet metal piece behind the front panel with insulation that can be removed very easily along with the front panel. When the front panel is removed it exposes the front legs that may need to be dropped to let you lift the dishwasher over the tile (if you have ceramic tiles). The next step would be to remove any ties to the counter top if it is attached. Mine were attached by the two straps on either side with Phillips screws. After the top is free, lower the front legs by lifting the dishwasher with the flat pry bar and threading the legs up into their holders. With the legs lifted the dishwasher can be pulled out to expose the tension springs located along the sides at the very bottom. Chances are the ropes are broken off the plastic holders that fit over the door hooks. Remove the plastic guides by removing the 5/16” nut from the middle of the lower roller. Remember to note which hole the screw is coming from this also sets the tension for how fast or slowly the door drops. Placing the nut closer to the front will drop the door slowly and toward the back will drop the door more quickly. I placed mine in the middle hole. When the plastic guides are removed attach the nylon pope to the spring and attach to the back of the dishwasher. There is a hole located on a flat piece of sheet metal the spring will attach to at the back of the dishwasher (if it is broken). Check the other side if it is still in tact. With the spring in place weave the rope around the plastic guides then pull the springs to help get the plastic end over the door hook located at the bottom of the door. Repeat this operation for the other side (kit has a both sides covered) and reinstall dishwasher in cabinet. Steps 1) Remove front panel (1/4” nut) 2) Release Dishwasher from Cabinet 3) Lower front legs 4) Pull Dishwasher out from under Cabinet 5) Remove Rope Guide (5/16” nut) 6) Install new Rope Guide (Supplied in Kit) 7) Attach new rope to Spring and attach spring to dishwasher 8) Weave rope through rope guide 9) With door closed pull spring to relieve tension so rope can be attached to door 10) Repeat for other side (Kit has both sides)




 My Orders