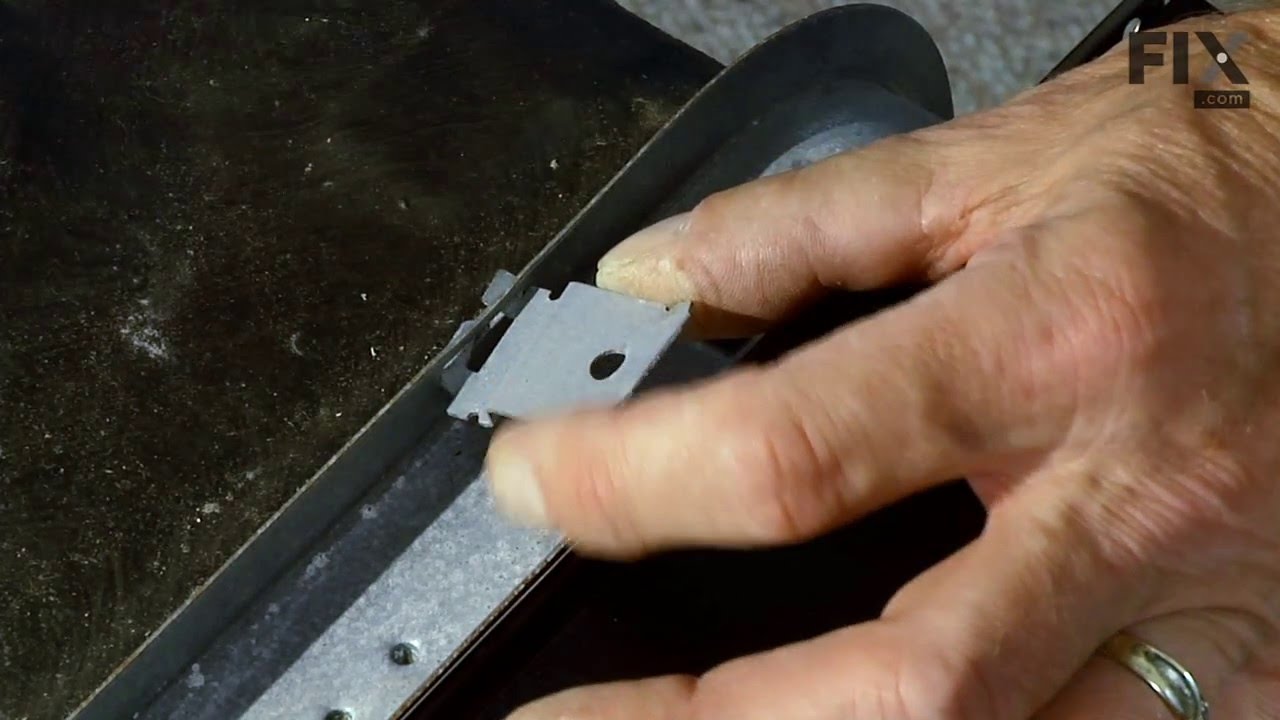
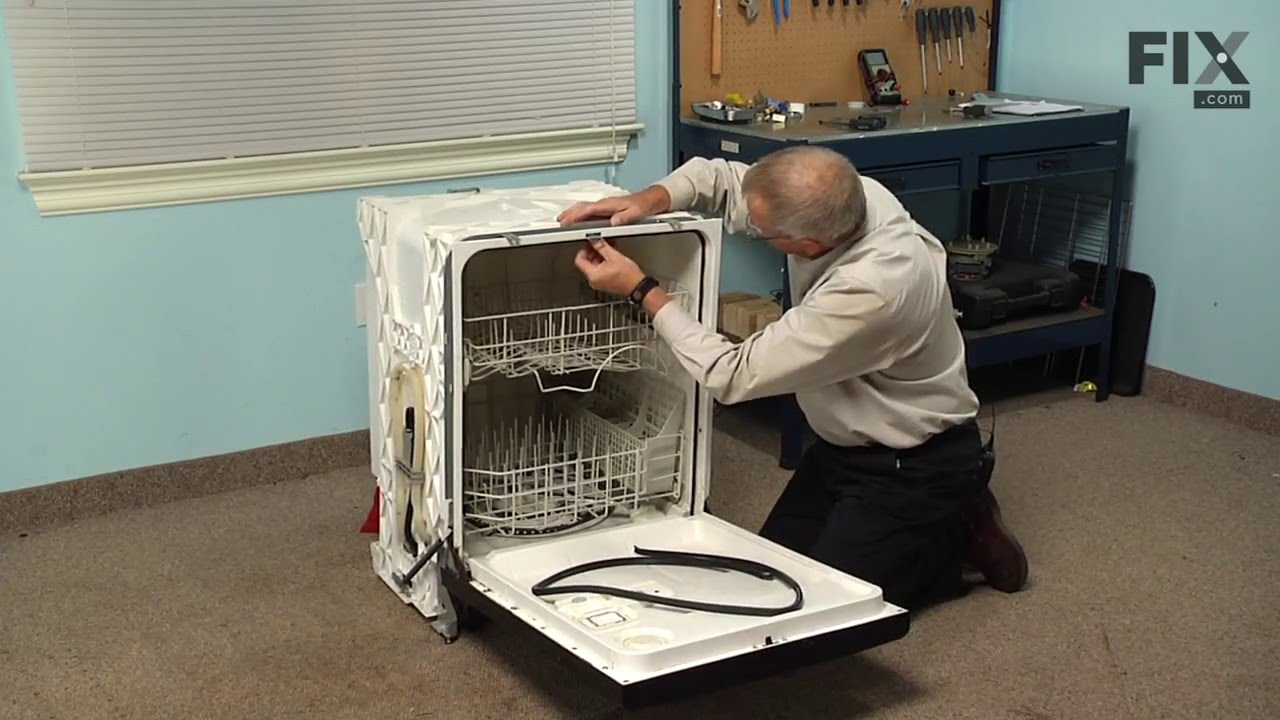
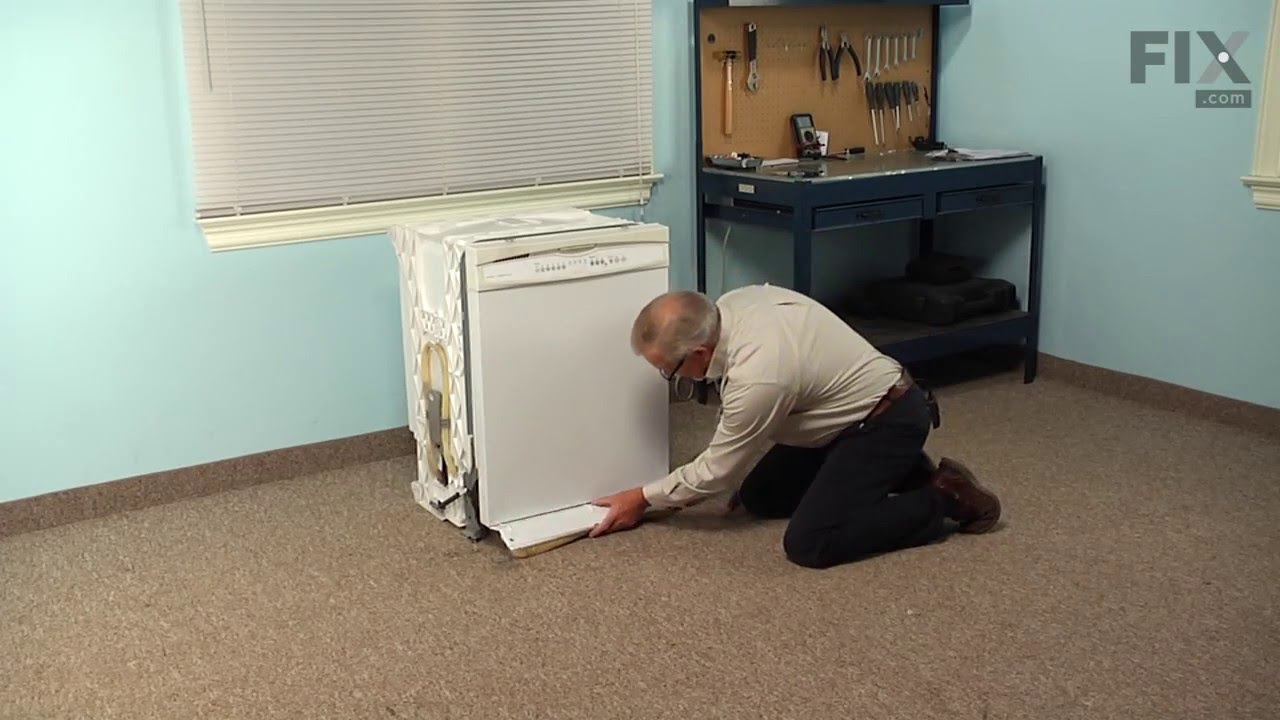
The rack track stop on your dishwasher is designed to stop the dish rack at the appropriate place when opening and closing the rack. If your dishwasher is not cleaning your dishes properly, the rack stop may need to be replaced. The replacement part may differ slightly from the broken part, depending on the model. However, the different s...Read moretyles are interchangeable. This product is sold individually and comes in both a white and grey plastic version. Many of our customers found this repair to be very easy and takes less than 30 minutes to complete. Simply snap the old part out and snap the new part into place. You will not require any tools to complete the job. This is an authentic part approved by the manufacturer.
This manufacturer-certified heating element is used to create heat during the dry cycle and increase water temperature during portions of the wash cycle when certain options are selected. If your dishes are not drying or the water in the dishwasher is not getting hot you may need to replace the element. This kit includes the heater, two h...Read moreeater fasteners, and is a genuine OEM part. Please remember to disconnect the power before starting the repair. Use a multi-meter to test your heating element for continuity to determine whether this is the part that is causing your symptom. This part does not include any washers. To make your repair, disconnect the wires from the bottom of the element in the back, remove the plastic nuts holding it in place, remove the element, and repeat these steps in reverse order to install your new part. This is an easy repair that requires only a screwdriver, wrench set, and should take less than 30 minutes.
The mounting bracket is sold individually, without screws. This part secures the upper side of the dishwasher to the underside of the counter or cabinet to prevent the dishwasher from moving, shaking, or tilting forward. The bracket is made entirely of metal. It is recommended to check all brackets, if applicable, because they often wear ...Read moreat the same rate and both may need to be replaced. This is an OEM part that is sourced from the authentic manufacturer. Tools needed are a pair of needle nose pliers and a screwdriver.
This dishwasher door gasket and strike kit is an essential component for maintaining a watertight seal around the dishwasher door and ensuring proper latch operation. The gasket prevents water leakage by forming a tight seal between the door and the tub, while the strike works as a mechanical actuator for the door switch and provides tens...Read moreion for a secure seal. Over time, wear and tear may cause tears, gaps, or cuts in the gasket, leading to leaks. This genuine OEM replacement kit is compatible with select models of Whirlpool, KitchenAid, Maytag, Jenn-Air, Amana, Inglis, and Magic Chef dishwashers. For proper installation, unplug the dishwasher or turn off the circuit breaker to ensure safety. Refer to the installation guide or video for step-by-step instructions, and wear protective gloves while replacing the gasket and strike.
This is a chopper assembly or drain food chopper, and it is designed for your dishwasher. The chopper chops up/minces the food particles in your dishwasher to prevent them from clogging the pump. You may need to replace this part if your dishes are not being cleaned properly, your appliance is particularly noisy, or you are noticing drain...Read moreing problems. The tools you will need to make this repair include a number 20 and a number 15 torque screwdriver, a small flat blade screwdriver, and a pair of needle nose pliers.
The rinse aid cap (sometimes referred to as the dispenser cap), covers the rinse aid dispenser on the dishwasher door. If your dishwasher will not dispense detergent, or it is leaking detergent, there could be an issue with the rinse aid cap. Check the cap and its gasket for any damage or melting. If the cap has melted or it is not sealin...Read moreg the dispenser properly, the part should be replaced right away. This rinse aid cap comes with the gasket, so you should discard the existing gasket and rinse aid cap at the same time. The repair is relatively straightforward, and requires no tools.
This dishwasher water inlet valve is a single-coil solenoid component responsible for regulating the flow of water into the appliance. It ensures the correct amount of water is delivered during each cycle, supporting optimal cleaning performance and preventing issues such as underfilling, overfilling, or leaks. By electronically opening a...Read morend closing based on the cycle’s requirements, the valve helps maintain proper water pressure and temperature balance. Replacing a faulty valve can resolve symptoms like the dishwasher not filling, leaking, or failing to clean effectively. This component is engineered for durability and consistent operation.
This dishwasher flatware basket is designed to securely hold silverware and other small utensils during the wash cycle, ensuring thorough cleaning and preventing items from shifting or falling through the rack. Made from durable plastic, the basket features multiple compartments to organize flatware efficiently. While the design may diffe...Read morer slightly from the original part due to updates, it maintains full compatibility and functionality. It fits into the lower rack of the dishwasher and is an ideal replacement for a damaged or missing basket, helping restore optimal cleaning performance.
This part is used as a safety device to protect the dishwasher circuit from overload. If the temperature gets to high it will shut off the electrical current to the heating unit in the appliance. Also known as Thermal Fuse.
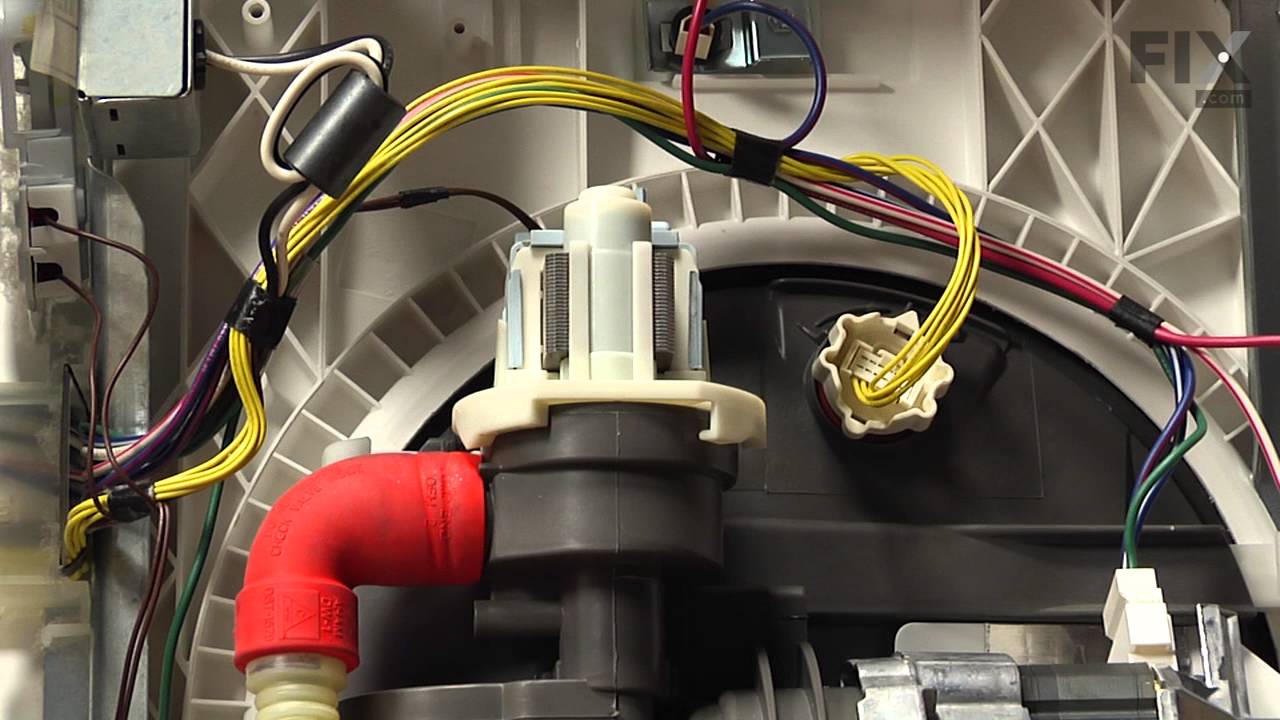
This drain pump is used in dishwashers to remove water from the dishwasher tub. If the impeller in the dishwasher is damaged or the motor has been shorted out and will not drain, it is possible the body is cracked, causing leakage. To prevent this from happening, replace the drain pump. The tools needed for this installation are: Phillips...Read more screwdriver, 5/16 inch nut driver, 5/8 inch wrench, and a flathead screwdriver. Remember to unplug your dishwasher from the power source before beginning this installation project. Refer to the manual provided by the manufacturer for further installation instructions.
Ask our experts a question about this model and we'll get back to you as soon as possible!
We may have answered a similar question already! Search questions and answers left by others using simple keywords like "fit", "broken", "easy", or "quality" to find questions that match.
Search filter:
Clear Filter
Your search term must have 3 or more characters.
Sort by:
Prev
1
Next
Sorry, we couldn't find any existing answers that matched.Try using some different or simpler keywords, or submit your new question by using the "Ask a Question" button above!
Donald - For model number 66513222K601
February 3, 2026
Where are the door springs located. (PS1175314)
Hi Donald, thank you for reaching out. The door springs for your model, part number PS11753142, are located at the bottom of the appliance, on each side of the door hinge mechanism. They are situated on the underside, with one on the left and one on the right, typically accessed by removing the lower front access and toe panels. We hope this helps.
What would be the part number for the just the overlay on the control panel? I do not need the overlay and control panel number just the overlay number Thank you.
Hi Randy,
Thank you for your question. The overlay is only sold with the control panel. If you have any questions, please let us know!
Was this helpful?
Thank you for voting!
Cindy - For model number 66513222K601
October 27, 2022
Can I order the bottom rack for my dishwasher
Hi Cindy,
Thank you for your question. The part number listed under your model number for the lower dishrack is PS11703300. If you need help placing an order for it, customer service is open 7 days a week and anyone will be happy to assist you. Please feel free to give us a call. We look forward to hearing from you!
Can I order one wheel for the bottom rack? The front right (when looking at the open dishwasher) wheel unit is missing in ours.
Hi Kyla,
Thank you for your question. The wheels for the bottom rack are sold in a wheel assembly, part number PS11745449, and are not sold separately. We hope this helps!
Was this helpful?
Thank you for voting!
Prev
1
Next
✖
Ask a Question
Ask our experts a question on this model and we'll respond as soon as we can.
See how others fixed this model. Time, tools, difficulty, and steps that lead to victory!View More
Search repair tips from other customers using simple keywords like "replace", "fit", "remove", "inspect". DIY doesn't mean you have to do it alone!
Search filter:
Clear Filter
Your search term must have 3 or more characters.
dishwasher not draining after wash cycle
492 of 561 peoplefound this instruction helpful.
Andrew from Alexandria, VA
Easy
Less than 15 mins
Screw drivers
Caviat: The actual repair is less than 15 minutes, but I spent a lot of time playing with it before I figured out it was that easy and fast. You don't need to remove the dishwasher from the counter to do this. And it will probably help to look at the new part closely so you can understand where the retainer clip is to press it and release
... Read more the old pump.
First remove the water from the dishwasher pan that would not drain with a wet/dry vac. Otherwise the water will all drain on the floor when you remove the pump. Then remove the two screws on the kickplate on the front of the unit below the door. Remove the kickplate/maintainence access cover. The drain pump is on the right about 8 inches in. Using two hands you grasp the drain pump with your right hand and use the left hand to push the retaining clip down. Then the drain pump will rotate 1/4 turn counterclockwise and can be removed without pulling the dishwasher out. There is likely to be some water leak out that was traped in the pump housing that you can not reach with the vac. Disconnect the wire. Connect the wire to the new pump, put it in place and 1/4 turn clockwise to install it. Replace the kickplate and you're done.
Read less
Was this helpful?
Thank you for voting!
Dishes on top rack of dishwasher were not being cleaned.
339 of 381 peoplefound this instruction helpful.
Bill from North Richland Hills, TX
Easy
30 - 60 mins
Pliers
1) Remove top and bottom dish baskets from the dishwasher, this will give you room to work. To remove top basket there are clips at the end of the slide rails. 2) Remove lower spray arm by unscrewing plastic screw, it should only be hand tight. 3) In order to remove the strainer cover, you will need to remove the plastic tube th
... Read moreat takes water to the middle and top spray arms. Unclip this tube from the top and middle clips and then work it out of the strainer assembly tube. Now you should be able to remove the tube at the bottom of the dishwasher by unscrewing it 1/4 turn. 4) Remove the strainer cover by unscrewing the 4 Torqs screws. 5) You will now see two smaller torqs screws that hold the hold the Chopper Assembly cover down. Take these two screws out and remove the two piece cover. 6) Pull out the broken Chopper Assembly, make sure you get all the pieces! 7) Install the new Chopper Assembly. Make sure that you install the Assembly with the small part of the screen towards the bottom of the housing. Also make sure you compress the spring as you install the part. I used a small pair of neddle nose pliers to compress the spring behind the screen in order to install the chopper assembly. 8) Put everything back together and make sure it works!
Read less
Was this helpful?
Thank you for voting!
Heater element broken.
238 of 282 peoplefound this instruction helpful.
Dennis from Sedro Woolley, WA
Really Easy
Less than 15 mins
Screw drivers, Wrench set
Step 1: Remove the screws in the bottom of the countertop.
Step 2: Remove the screws holding the bottom kickplate.
Step 3: Loosen leveling legs.
Step 4: Pull dishwasher out of hole.
Step 5: Unlplug dishwasher.
Step 6: Disconnect wires from bottom of element in back.
Step 7:
... Read more Remove plastic nuts holding element in place.




 My Orders