


 My Orders




66513173K706 Kenmore Dishwasher - Overview

Enter a part description. DIY Heroes keep it simple, eg. "belt" or "pump".
Search filter:
Clear Filter
Your search term must have 3 or more characters.

$29.47
In Stock
Door Balance Link Kit
Part #8194001
This part is a door balance link kit, also sometimes known as door cable or door spring cable kit, that helps support the door as it opens and closes by connecting to the dishwasher door hinges. The kit includes two door balance links and two door balance mounts with wheels, which will replace both the left and right sides. The only tool ...Read moreneeded is a 5/16 nut driver. Before removing the existing kit, take note of how the door balance link kit is assembled for a smooth replacement process. It is recommended to check the door springs in case they need to be replaced as well.
Read less

$15.00
In Stock
Dishwasher Mounting Bracket
Part #WP8269145
The mounting bracket is sold individually, without screws. This part secures the upper side of the dishwasher to the underside of the counter or cabinet to prevent the dishwasher from moving, shaking, or tilting forward. The bracket is made entirely of metal. It is recommended to check all brackets, if applicable, because they often wear ...Read moreat the same rate and both may need to be replaced. This is an OEM part that is sourced from the authentic manufacturer. Tools needed are a pair of needle nose pliers and a screwdriver.
Read less

$62.60
In Stock
Dishwasher Drain Pump
Part #WPW10348269
This drain pump is used in dishwashers to remove water from the dishwasher tub. If the impeller in the dishwasher is damaged or the motor has been shorted out and will not drain, it is possible the body is cracked, causing leakage. To prevent this from happening, replace the drain pump. The tools needed for this installation are: Phillips...Read more screwdriver, 5/16 inch nut driver, 5/8 inch wrench, and a flathead screwdriver. Remember to unplug your dishwasher from the power source before beginning this installation project. Refer to the manual provided by the manufacturer for further installation instructions.
Read less

$78.28
In Stock
Door Gasket
Part #W11196317
This is a door seal, but you may also know it as a door gasket and it is a part for your dishwasher. It provides a leak proof seal between the tub and the door of your appliance. You will need to replace the door seal if you are experiencing leaking from the front of your dishwasher. Once you have removed your old seal, we recommend inspe...Read morecting the groove to make sure there are no food particles or debris caught inside that will impede the installation process.
Read less

$7.47
In Stock
Washer Hose Clamp
Part #WP596669
This hose clamp is used in a wide variety of household appliances. Most often it is found in washers, dishwashers, refrigerators, freezers, dehumidifiers, garbage disposals, or air conditioners. This clamp is used to securely attach a hose to another part of your appliance, which helps prevent leaks from those connections. Depending on th...Read moree appliance, it can attach hoses to drain pumps, water inlet valves, pressure switches, and injector nozzles. We recommend you refer to model-specific diagrams for appropriate uses and exact placement. This hose clamp is made of metal, and is sold individually. To access and replace this part you will need a nut driver, pliers, and screwdrivers. Before you begin any repair work, make sure you have unplugged your appliance, and shut off the water supply if applicable.
Read less

$52.67
On Order

$29.47
In Stock
Dishwasher High Limit Thermostat
Part #WP661566
This part acts as as safety mechanism that keeps the dryer from overheating. Once the dryer temperature reaches a certain point, this part will shut down power to the heating element.

$67.82
In Stock
Seal
Part #W10864081
This is a seal, but you may also know it as a door gasket and it is for your dishwasher. The seal forms a watertight barrier between the door and the dishwasher tub, deterring water from escaping during a wash cycle. If your dishwasher is leaking you will need to replace the seal, as it is likely damaged. The first step should be to check...Read more the seal for buildup of food particles near the sides and the bottom of your appliance.
Read less

$54.24
In Stock
Water Inlet Valve
Part #WPW10327249
This dishwasher water inlet valve regulates the flow of water into the appliance during each cycle, helping ensure proper filling and efficient operation. If your dishwasher is leaking, overfilling, or not filling at all, this component may need to be replaced. Designed for compatibility with a wide range of models, it offers reliable per...Read moreformance and a secure fit. To ensure the correct part, always verify your dishwasher’s model number before ordering, as similar-looking parts may vary in size or shape. Before installation, disconnect the appliance from its power source and wear protective gloves for safety.
Read less

$9.62
In Stock

$7.47
In Stock

$7.47
In Stock
Common Symptoms of the 66513173K706
How this model fails, and the parts that fix it.
Leaking
Fixed by
these parts
these parts


Show All
Door latch failure
Fixed by
these parts
these parts


Show All
Not draining
Fixed by
these parts
these parts


Show All
Door won’t close
Fixed by
these parts
these parts
Show All
Not drying dishes properly
Fixed by
these parts
these parts


Show All
Will not fill with water
Fixed by
these parts
these parts

Show All
Will Not Start
Fixed by
these parts
these parts

Show All
Not cleaning dishes properly
Fixed by
these parts
these parts

Show All
Noisy
Fixed by
these parts
these parts
Show All
Will not dispense detergent
Fixed by
these parts
these parts

Show All
Watch our pros, then fix it yourself.
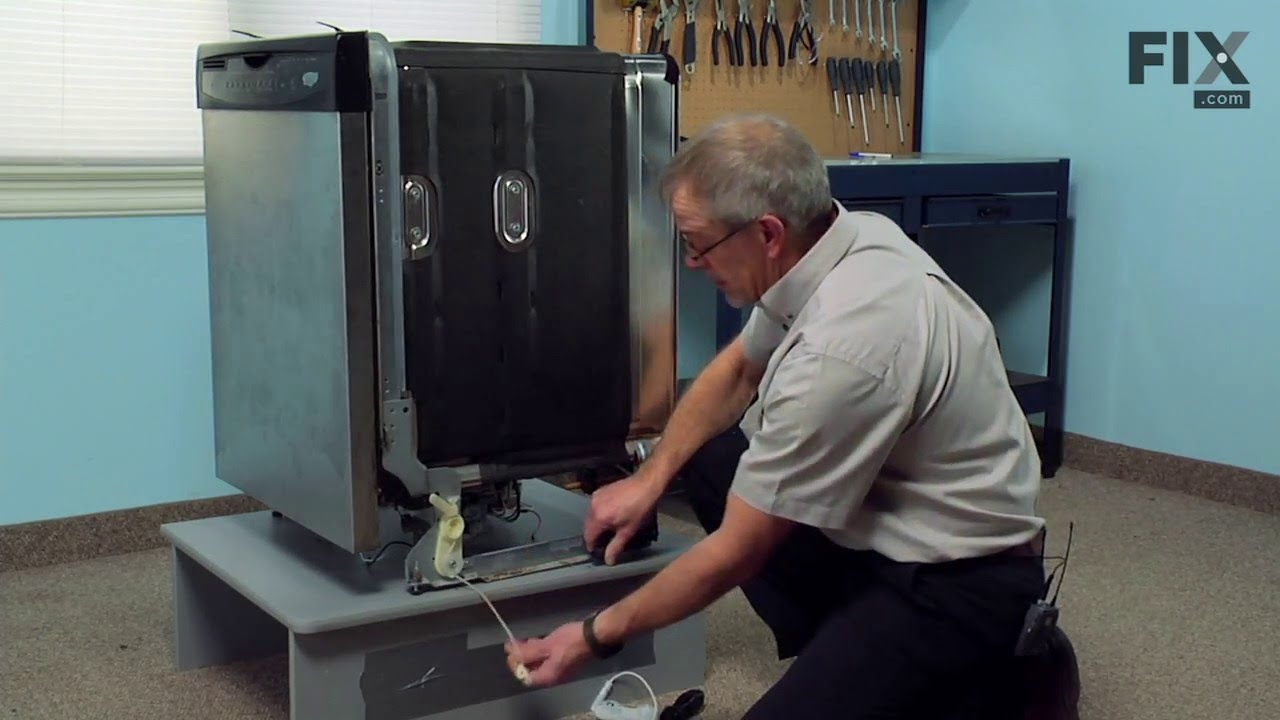
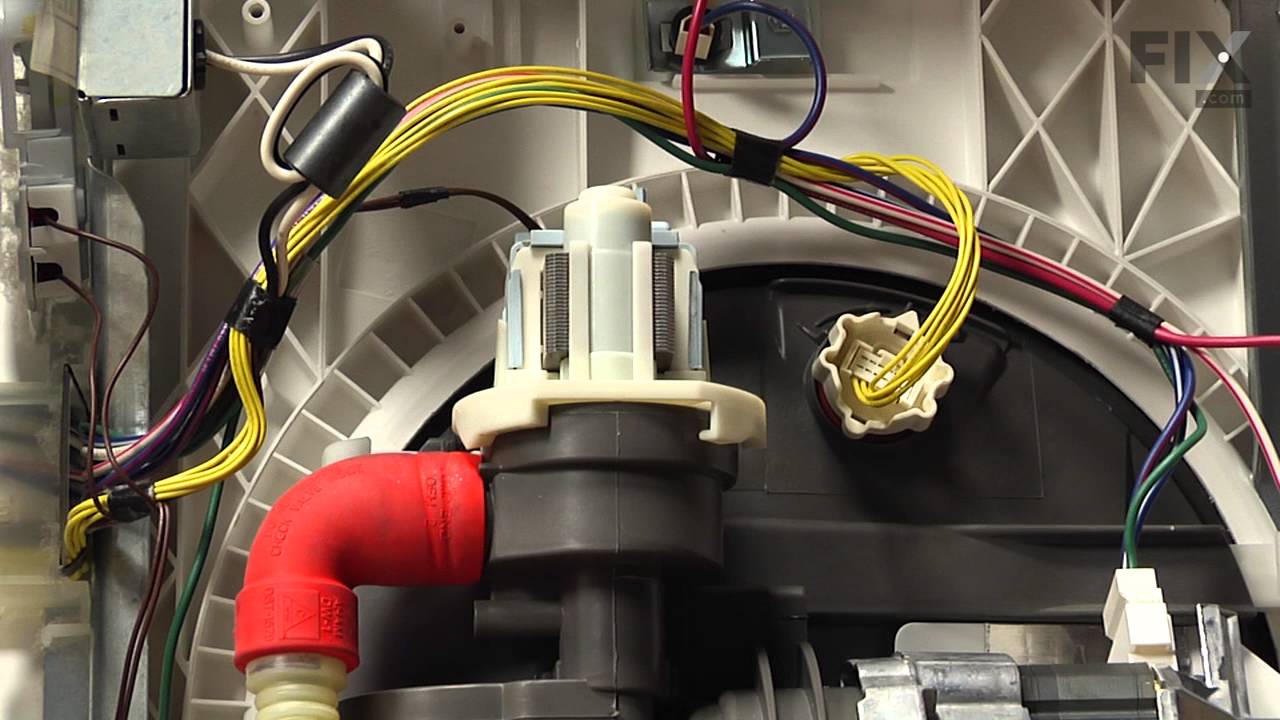
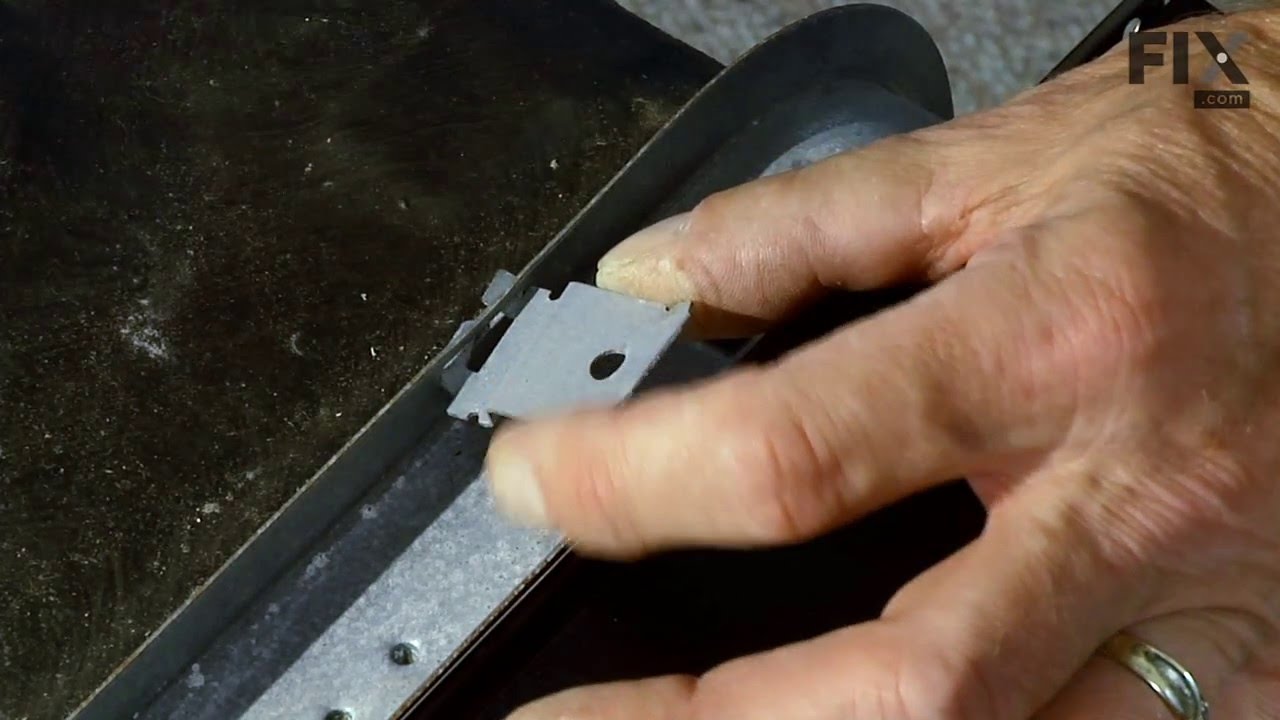
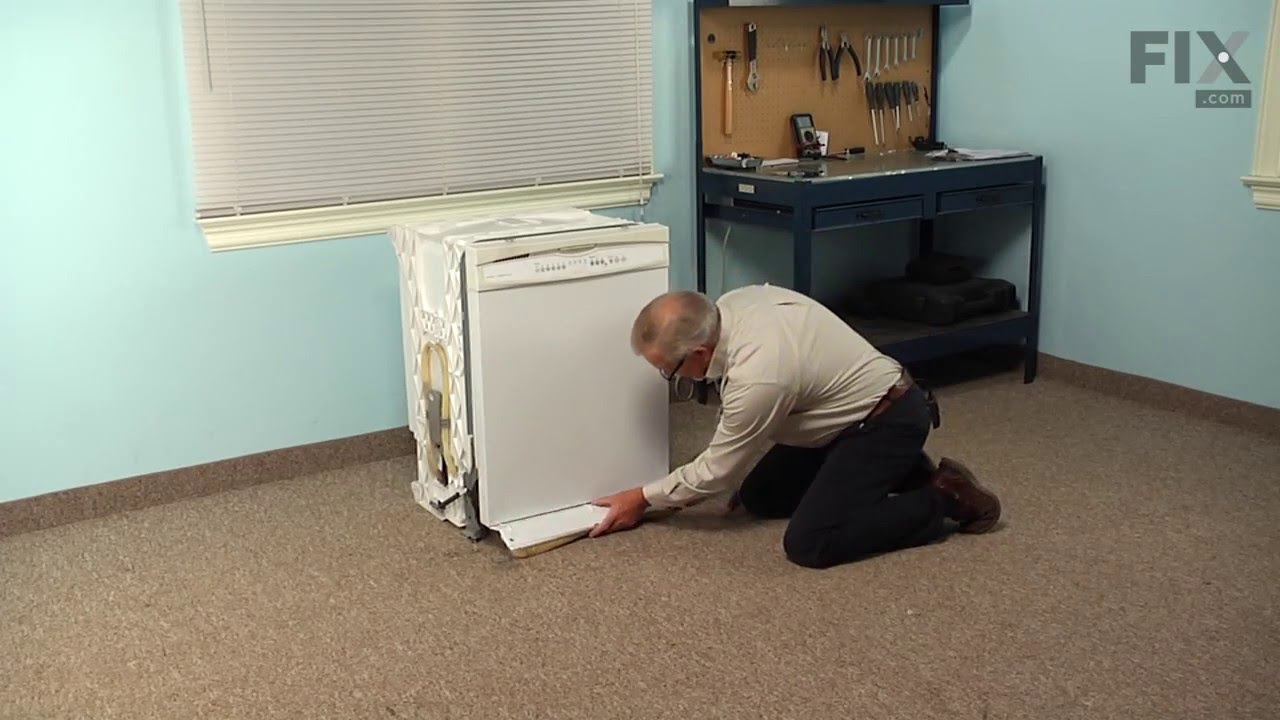

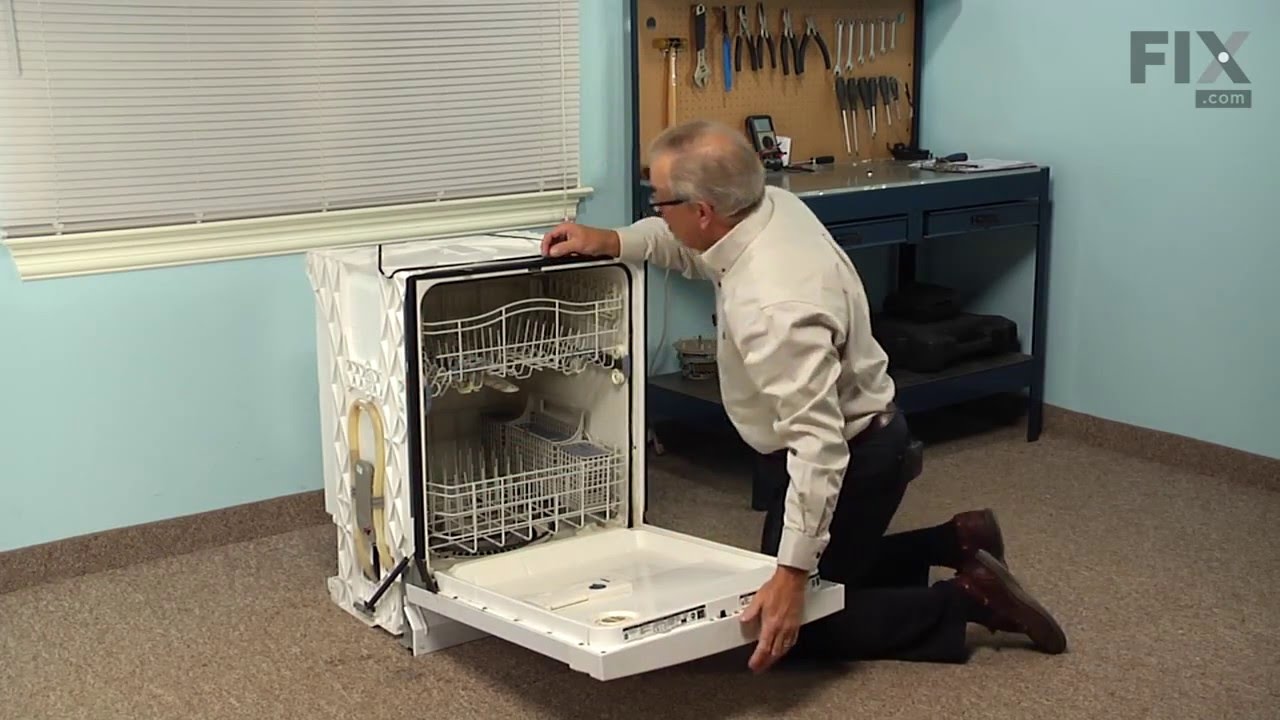
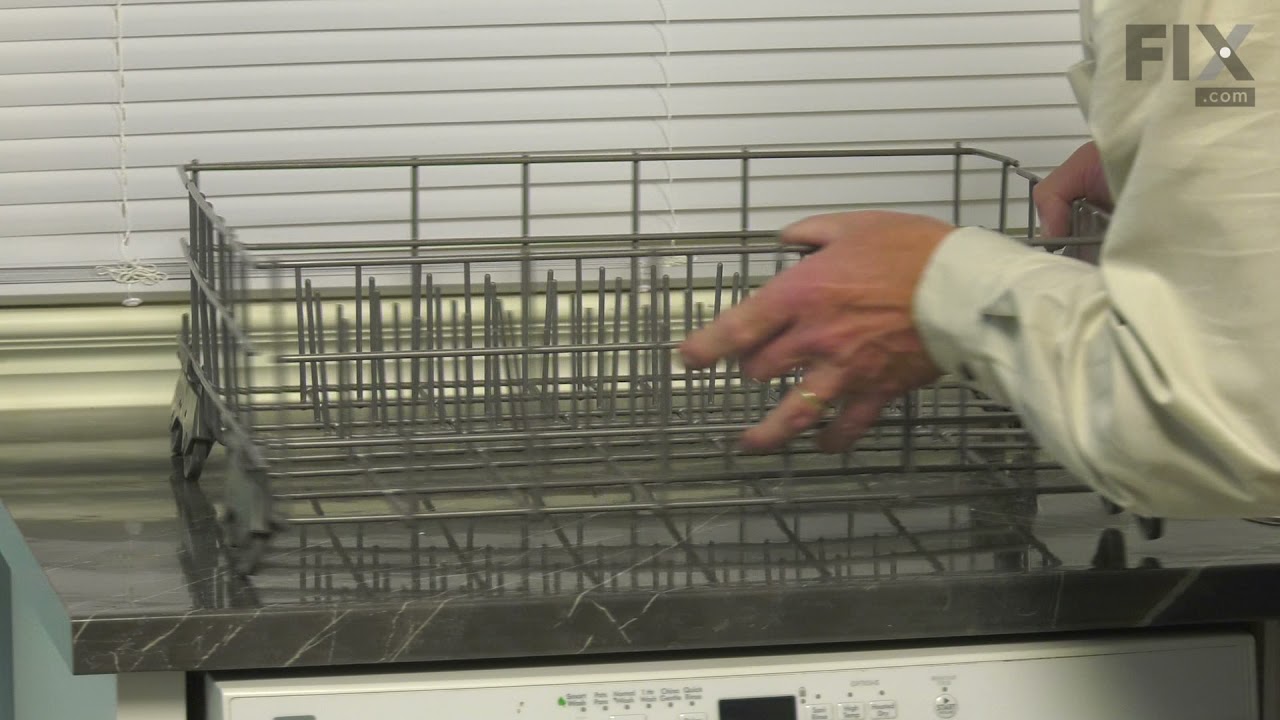
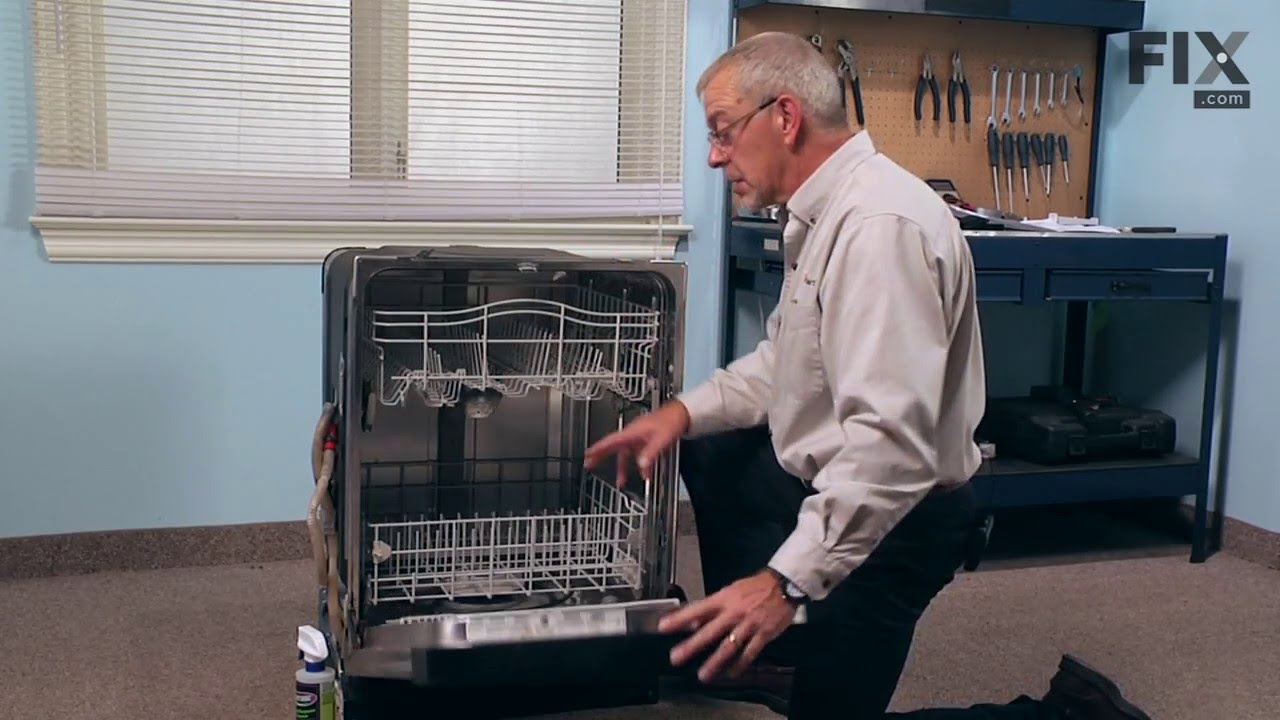
See how others fixed this model. Time, tools, difficulty, and steps that lead to victory!
View More