


 My Orders




66513153K701 Kenmore Dishwasher - Overview
Diagrams for 66513153K701
See every part. Know exactly what you need.

Enter a part description. DIY Heroes keep it simple, eg. "belt" or "pump".
Search filter:
Clear Filter
Your search term must have 3 or more characters.

$29.47
In Stock
Door Balance Link Kit
Part #8194001
This part is a door balance link kit, also sometimes known as door cable or door spring cable kit, that helps support the door as it opens and closes by connecting to the dishwasher door hinges. The kit includes two door balance links and two door balance mounts with wheels, which will replace both the left and right sides. The only tool ...Read moreneeded is a 5/16 nut driver. Before removing the existing kit, take note of how the door balance link kit is assembled for a smooth replacement process. It is recommended to check the door springs in case they need to be replaced as well.
Read less

$15.00
In Stock
Dishwasher Mounting Bracket
Part #WP8269145
The mounting bracket is sold individually, without screws. This part secures the upper side of the dishwasher to the underside of the counter or cabinet to prevent the dishwasher from moving, shaking, or tilting forward. The bracket is made entirely of metal. It is recommended to check all brackets, if applicable, because they often wear ...Read moreat the same rate and both may need to be replaced. This is an OEM part that is sourced from the authentic manufacturer. Tools needed are a pair of needle nose pliers and a screwdriver.
Read less

$9.62
In Stock
Dishwasher Tine Pivot
Part #WPW10082853
The tine pivot clip, also known as the tine row pivot, is used in dishwashers and is located in the upper dishrack. At around 3 inches in length, the clip is used to keep the tine row in place in the dishrack. If your clip is cracked or damaged, it is best to replace this part. To repair, first lift the release tab and hold the other side...Read more to prevent it from falling off. After lifting it off, you can set the new clip on the tine row and lock it up. Refer to the manual provided by the manufacturer for further installation instructions and guidance. Remember to wear work gloves as a safety precaution. This repair was rated as very easy by our customers and should be done in 15 minutes or less.
Read less

$54.24
In Stock
Dishwasher Water Inlet Valve
Part #WPW10158389
This dishwasher water inlet valve is a single-coil solenoid component responsible for regulating the flow of water into the appliance. It ensures the correct amount of water is delivered during each cycle, supporting optimal cleaning performance and preventing issues such as underfilling, overfilling, or leaks. By electronically opening a...Read morend closing based on the cycle’s requirements, the valve helps maintain proper water pressure and temperature balance. Replacing a faulty valve can resolve symptoms like the dishwasher not filling, leaking, or failing to clean effectively. This component is engineered for durability and consistent operation.
Read less

$45.29
In Stock
Silverware Basket
Part #W10807920
This dishwasher flatware basket is designed to securely hold silverware and other small utensils during the wash cycle, ensuring thorough cleaning and preventing items from shifting or falling through the rack. Made from durable plastic, the basket features multiple compartments to organize flatware efficiently. While the design may diffe...Read morer slightly from the original part due to updates, it maintains full compatibility and functionality. It fits into the lower rack of the dishwasher and is an ideal replacement for a damaged or missing basket, helping restore optimal cleaning performance.
Read less

$32.63
In Stock
Bi-Metal Fuse
Part #W10258275
This part is used as a safety device to protect the dishwasher circuit from overload. If the temperature gets to high it will shut off the electrical current to the heating unit in the appliance. Also known as Thermal Fuse.

$62.60
In Stock
Dishwasher Drain Pump
Part #WPW10348269
This drain pump is used in dishwashers to remove water from the dishwasher tub. If the impeller in the dishwasher is damaged or the motor has been shorted out and will not drain, it is possible the body is cracked, causing leakage. To prevent this from happening, replace the drain pump. The tools needed for this installation are: Phillips...Read more screwdriver, 5/16 inch nut driver, 5/8 inch wrench, and a flathead screwdriver. Remember to unplug your dishwasher from the power source before beginning this installation project. Refer to the manual provided by the manufacturer for further installation instructions.
Read less

$26.82
In Stock
Spinner Kit
Part #8193983
This is also called the 3rd-level spinner. This part works like a little spray arm at the top of your dishwasher.

$78.28
In Stock
Door Gasket
Part #W11196317
This is a door seal, but you may also know it as a door gasket and it is a part for your dishwasher. It provides a leak proof seal between the tub and the door of your appliance. You will need to replace the door seal if you are experiencing leaking from the front of your dishwasher. Once you have removed your old seal, we recommend inspe...Read morecting the groove to make sure there are no food particles or debris caught inside that will impede the installation process.
Read less

$7.47
In Stock
Rubber Washer
Part #WP717273
The rubber washer is a part which is specific to dishwashers and should not be substituted by a similar part. It works with the heating element to seal the receptacle opening where the heating element is attached. The rubber washer is used to prevent water leaking from your dishwasher during its cycle. Before making any repairs to your di...Read moreshwasher make sure that you disconnect the power by finding the breaker for the dishwasher, and turning it off. The tools you will need to complete this repair include an adjustable wrench, and a 1/4 inch nut driver. This specific rubber washer is sold individually.
Read less

$33.69
In Stock
Dishwasher Door Balance Spring
Part #WP8270182
This dishwasher door spring is sold individually. It is recommended if you are replacing one side, to replace both.

$48.45
In Stock
Tine Row
Part #W10728160
The tine row on your dishwasher rack divides the rack into columns to keep your kitchen items in place during the washing cycle. If you notice that one or more of the tines on your current tine row is damaged, you should consider replacing it. This product is made of gray plastic and is approximately 21 inches in length. This tine row con...Read moretains 11 straight tines and 1 curved tine. This product is sold individually. Many of our customers have rated this repair as very easy. To complete this repair, simply remove the old tine row and replace it with the new one.
Read less
Manuals & Care Guides for 66513153K701
Click to downloadCommon Symptoms of the 66513153K701
How this model fails, and the parts that fix it.
Leaking
Fixed by
these parts
these parts


Show All
Door latch failure
Fixed by
these parts
these parts


Show All
Not cleaning dishes properly
Fixed by
these parts
these parts


Show All
Will Not Start
Fixed by
these parts
these parts


Show All
Not draining
Fixed by
these parts
these parts


Show All
Door won’t close
Fixed by
these parts
these parts
Show All
Not drying dishes properly
Fixed by
these parts
these parts

Show All
Will not fill with water
Fixed by
these parts
these parts


Show All
Noisy
Fixed by
these parts
these parts
Show All
Will not dispense detergent
Fixed by
these parts
these parts


Show All
Watch our pros, then fix it yourself.
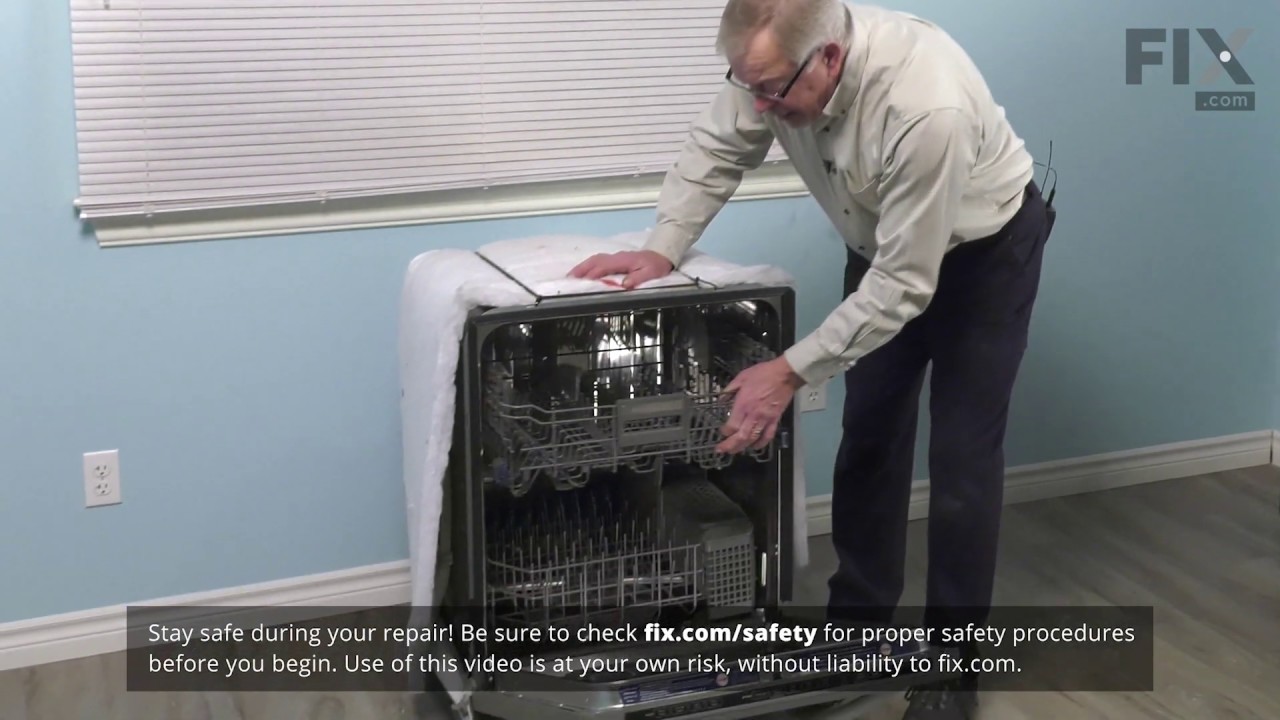
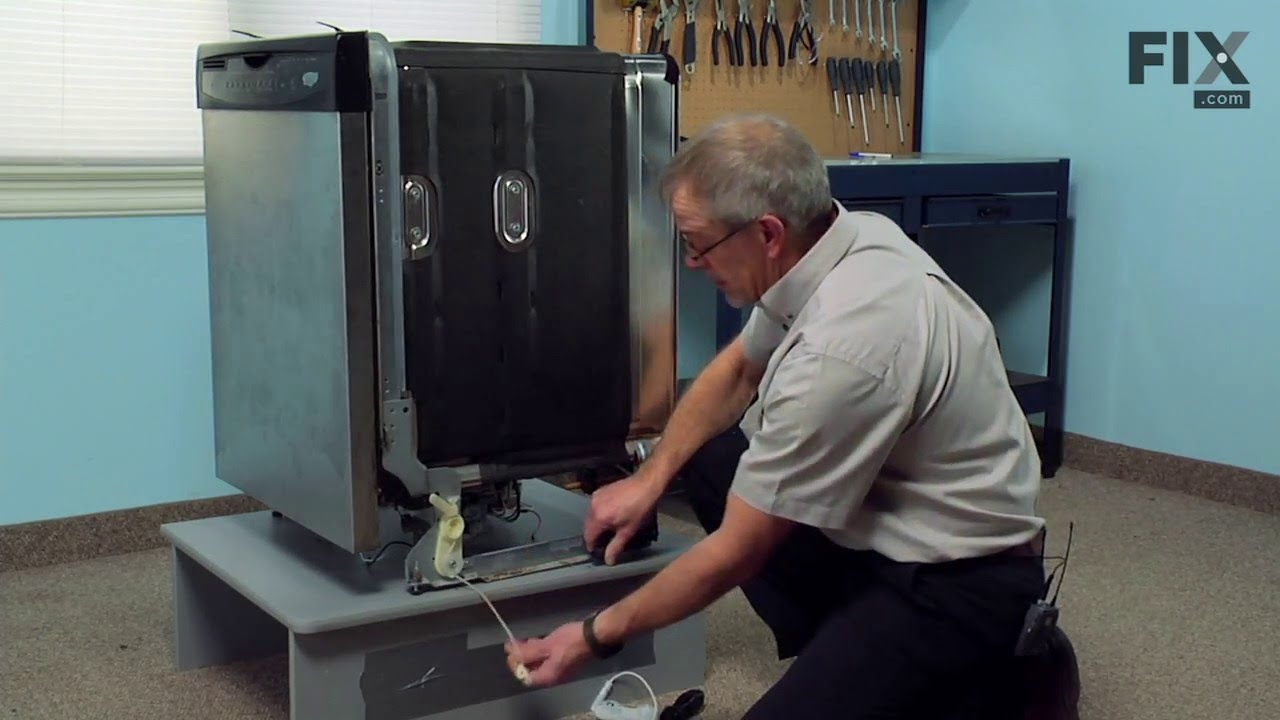
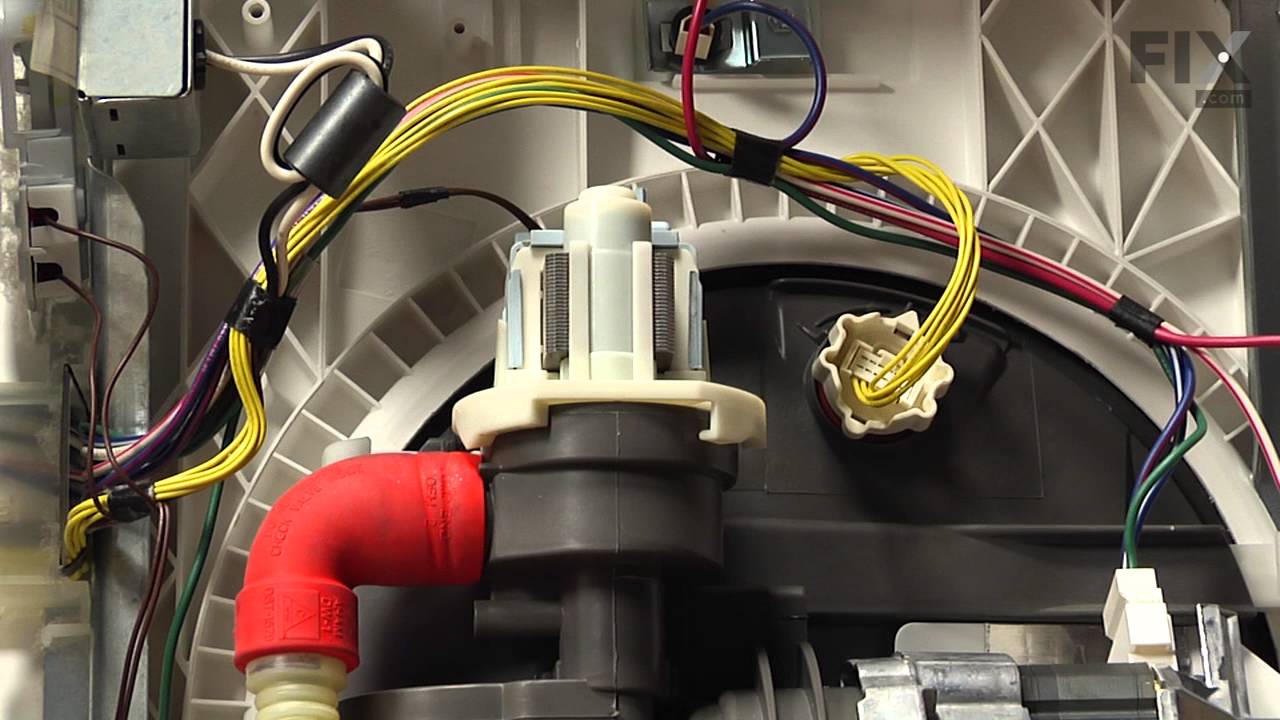
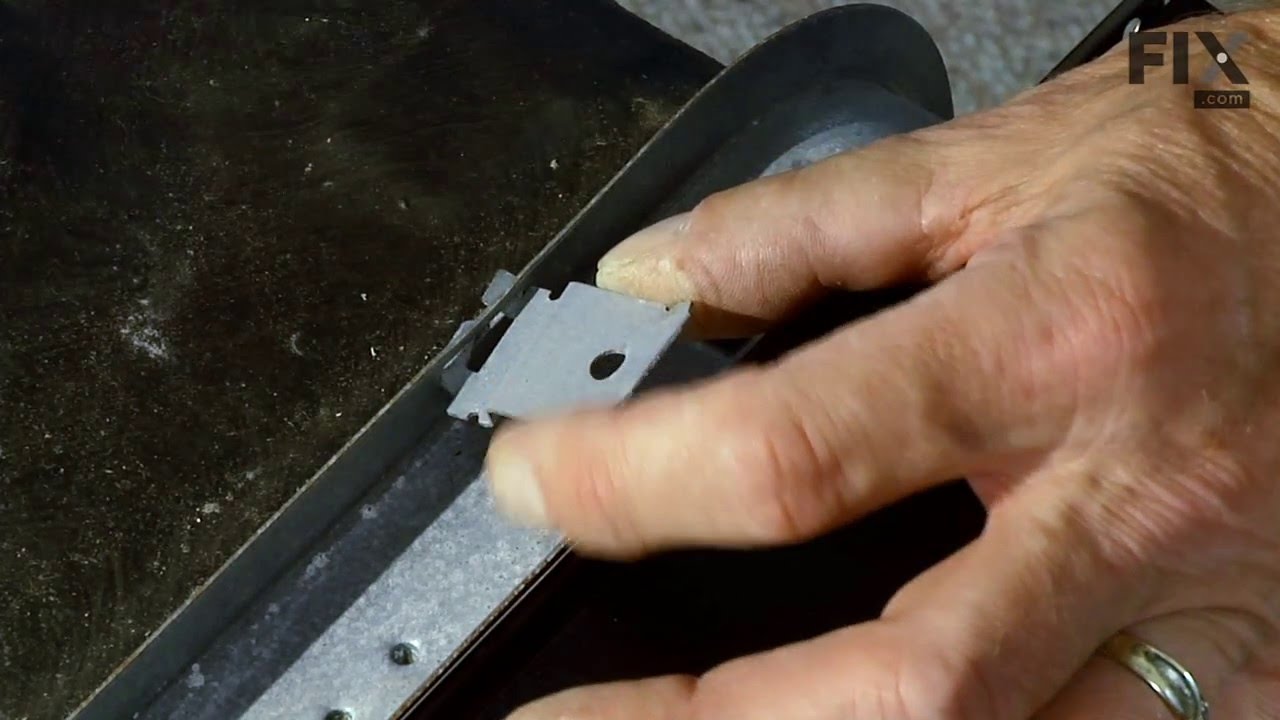

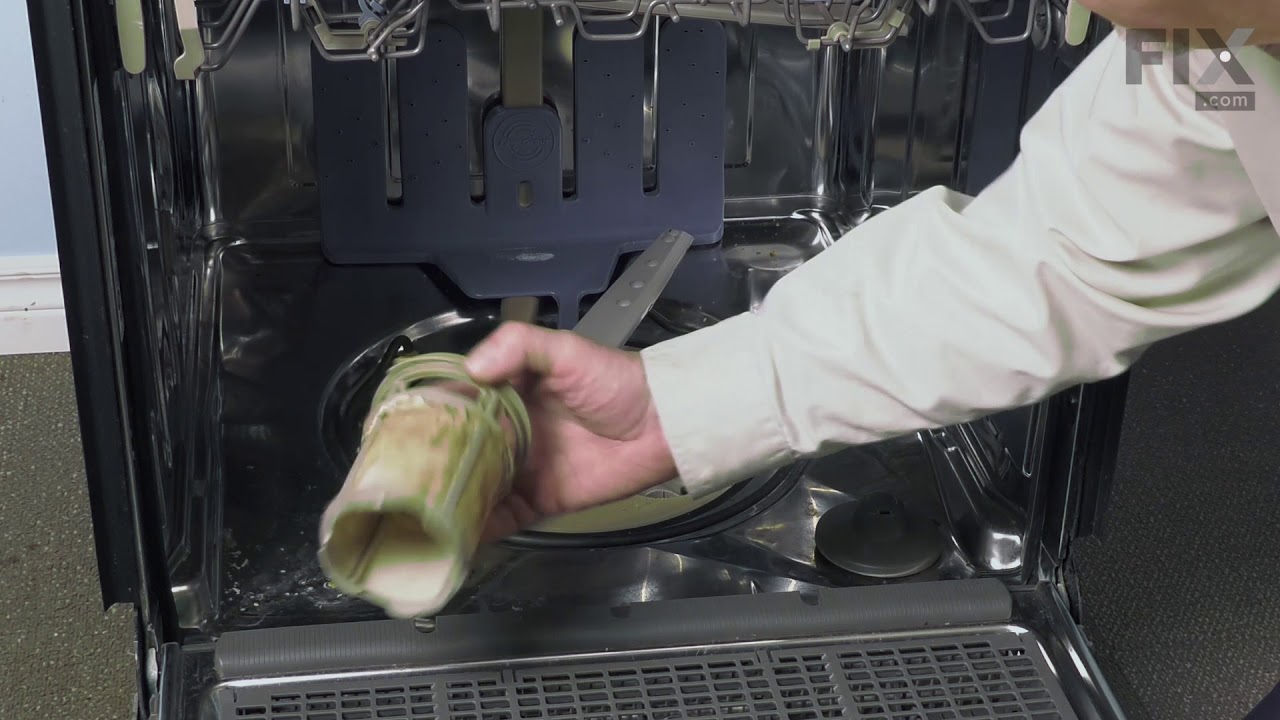
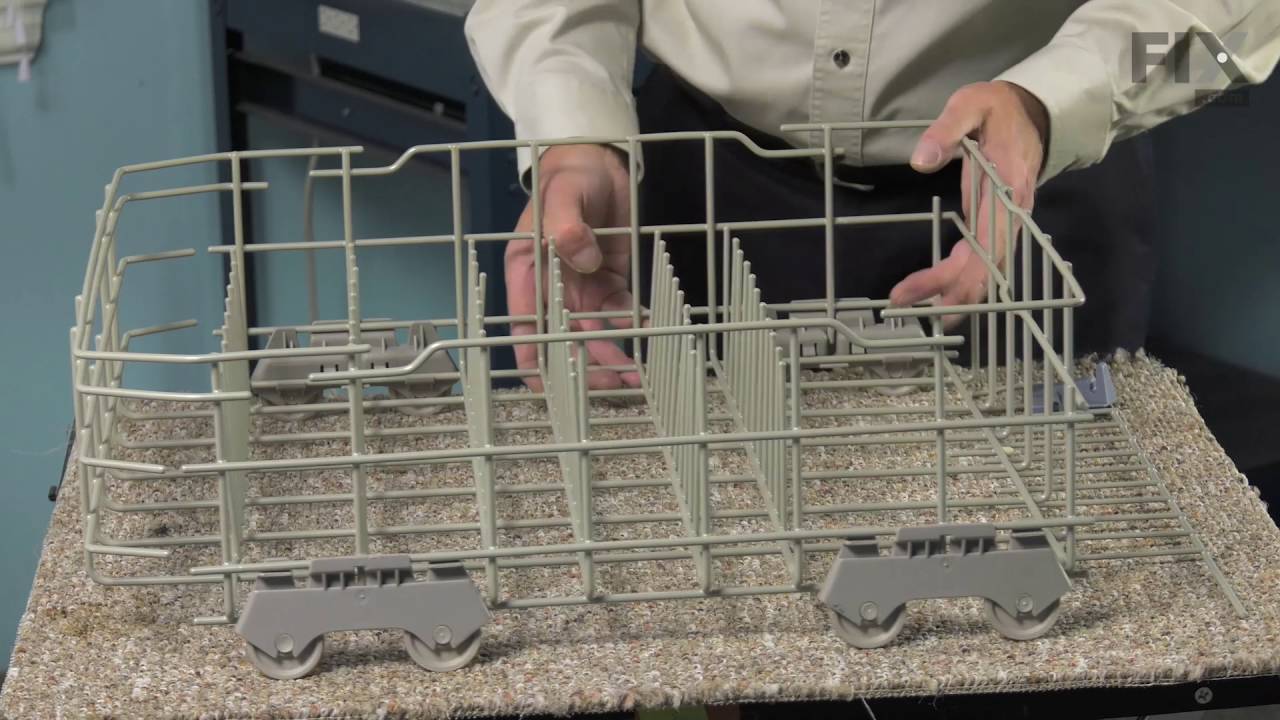
See how others fixed this model. Time, tools, difficulty, and steps that lead to victory!
View More