



 My Orders




65715755791 Kenmore Dishwasher - Overview

Enter a part description. DIY Heroes keep it simple, eg. "belt" or "pump".
Search filter:
Clear Filter
Your search term must have 3 or more characters.

$11.77
In Stock
Lower Sprayarm Seal
Part #WP3376846
This dishwasher lower spray arm seal, or under spray arm bearing ring, is designed with the split by the manufacturer. It is not damaged or defective, and is sourced directly from the original manufacturer. This part is approximately 2 inches in diameter, made of plastic, and is white in color. This part is mounted underneath the dishwash...Read moreer spray arm and creates a seal between the lower spray arm and the sump housing. To access the seal, remove lower dish rack and unscrew the nut that secures lower spray arm to the remove cover. No tools are required to replace the lower seal on your dishwasher.
Read less

$9.62
In Stock
Dishwasher Rack Adjuster
Part #WPW10204131
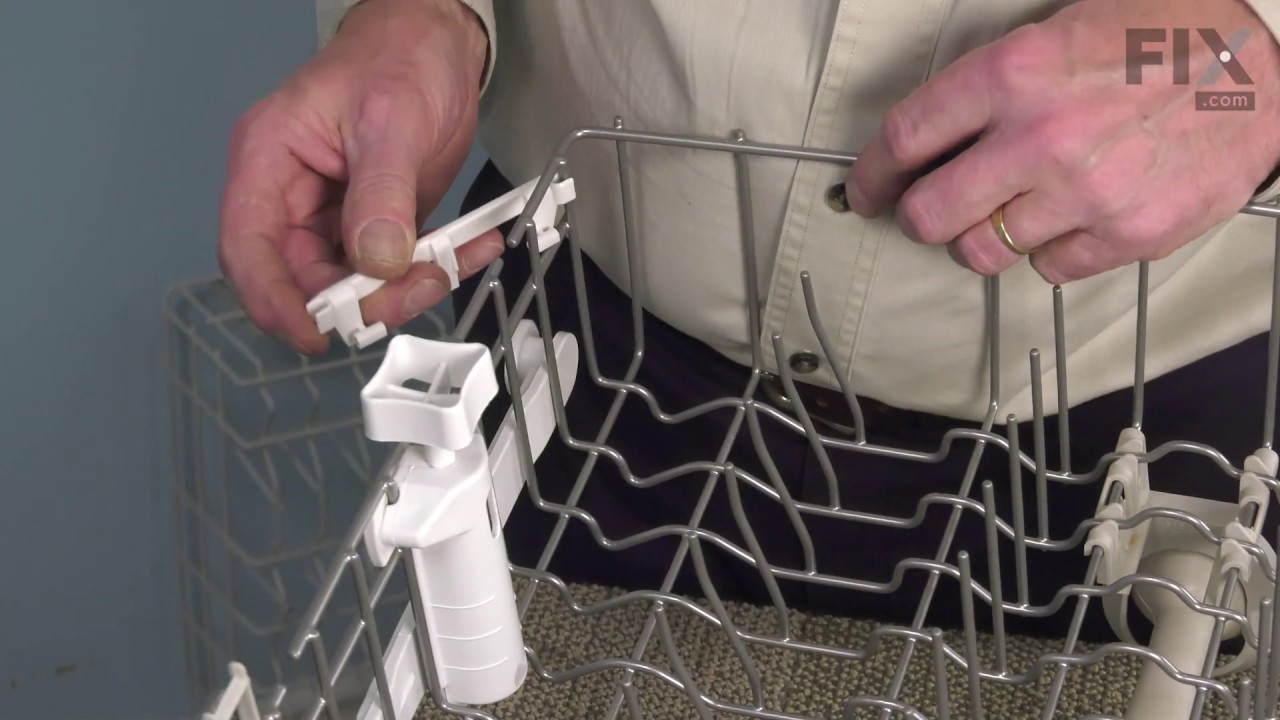
This OEM dishrack roller and adjuster is found in your dishwasher. They work together to support and facilitate the smooth movement of your dishrack. The dishrack rollers are small wheels located on the sides of the dishrack and allow it to slide in and out effortlessly. Meanwhile, the dishrack adjuster is used to adjust the height via th...Read moree selector at the back of this component. Over time, the rollers wear out. You may experience resistance or difficulty when sliding the dishrack in or out. If left unreplaced, your rollers or adjuster may break, causing dishes to tilt, collide, or fall over during the wash cycle. When removing a roller and adjuster from your appliance, you will need to pull out the dishrack partway. Detach the assembly by depressing the tabs on the two end stops before lifting them up. Keep in mind that the roller and adjuster are sold together, but the dishrack itself is sold separately.
Read less

$57.38
In Stock
Dishwasher Door Gasket - Gray
Part #WPW10509257
This gasket wraps around the sides and top of the dishwasher door and helps seal the door when it is closed to prevent water from leaking from the dishwasher during the washing cycle. If your dishwasher is leaking water, first inspect the seal for food particles near the bottom and sides, and remove it. A buildup can stop the door from cl...Read moreosing properly and keeping a tight seal. Check the door gasket for tears, cuts, or wear. If the gasket is damaged, you will need to replace it. Before starting the repair, make sure to disconnect the power to the dishwasher.
Read less

$7.47
In Stock
Dishwasher Detergent Lid Spring
Part #WP8066018
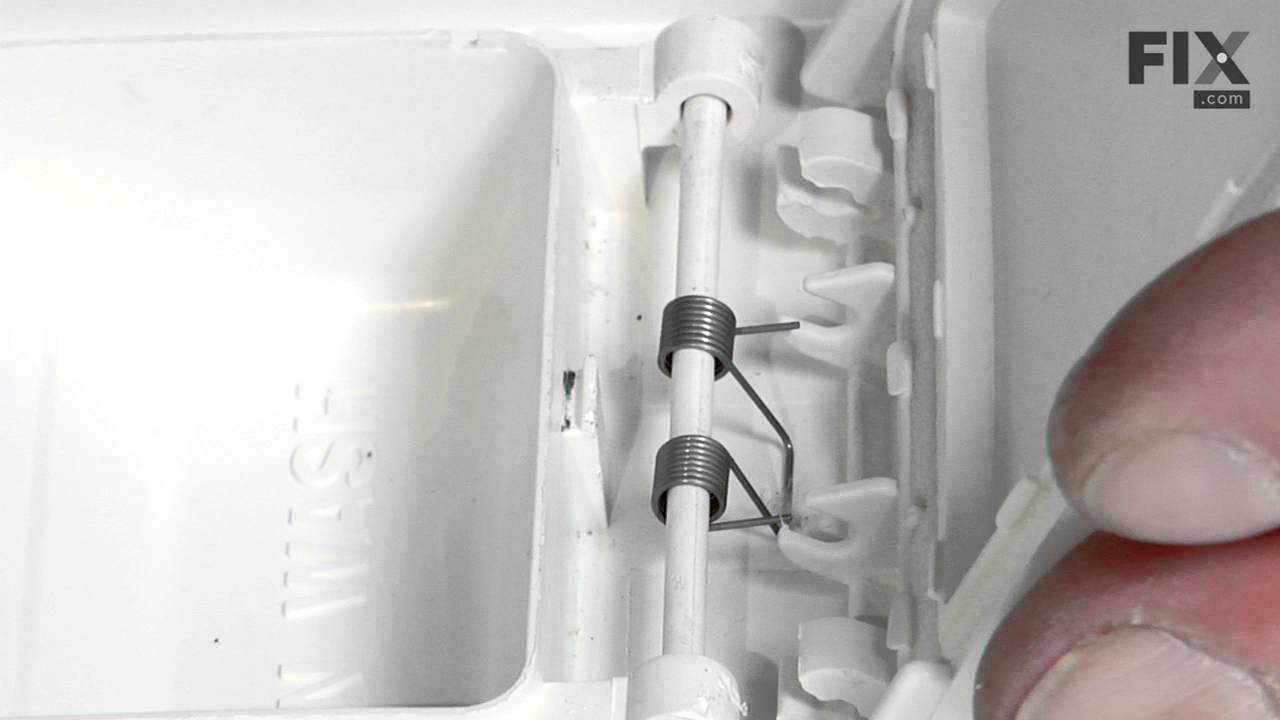
The dishwasher lid spring helps open the dispenser cover in the soap box when the control releases the latch. If your dishwasher does not dispense detergent, is broken and worn out, or the door is not opening properly, replacing the dispenser spring could be the solution. For this replacement you will need needle nose pliers. First, relea...Read morese the cover on the detergent dispenser, then remove the cover from the shaft it hinges on. Pull the shaft from one side and remove the spring from the shaft. Next, replace with the new spring and engage the two open hooks into the soap cover. Finally, grasp the hook and pull it over tab on the side of the wash cup. Verify that it works properly by opening and closing the cap. Refer to the manual provided by the manufacturer for further instructions.
Read less

$7.47
In Stock
Washer Hose Clamp
Part #WP596669
This hose clamp is used in a wide variety of household appliances. Most often it is found in washers, dishwashers, refrigerators, freezers, dehumidifiers, garbage disposals, or air conditioners. This clamp is used to securely attach a hose to another part of your appliance, which helps prevent leaks from those connections. Depending on th...Read moree appliance, it can attach hoses to drain pumps, water inlet valves, pressure switches, and injector nozzles. We recommend you refer to model-specific diagrams for appropriate uses and exact placement. This hose clamp is made of metal, and is sold individually. To access and replace this part you will need a nut driver, pliers, and screwdrivers. Before you begin any repair work, make sure you have unplugged your appliance, and shut off the water supply if applicable.
Read less

$51.61
In Stock
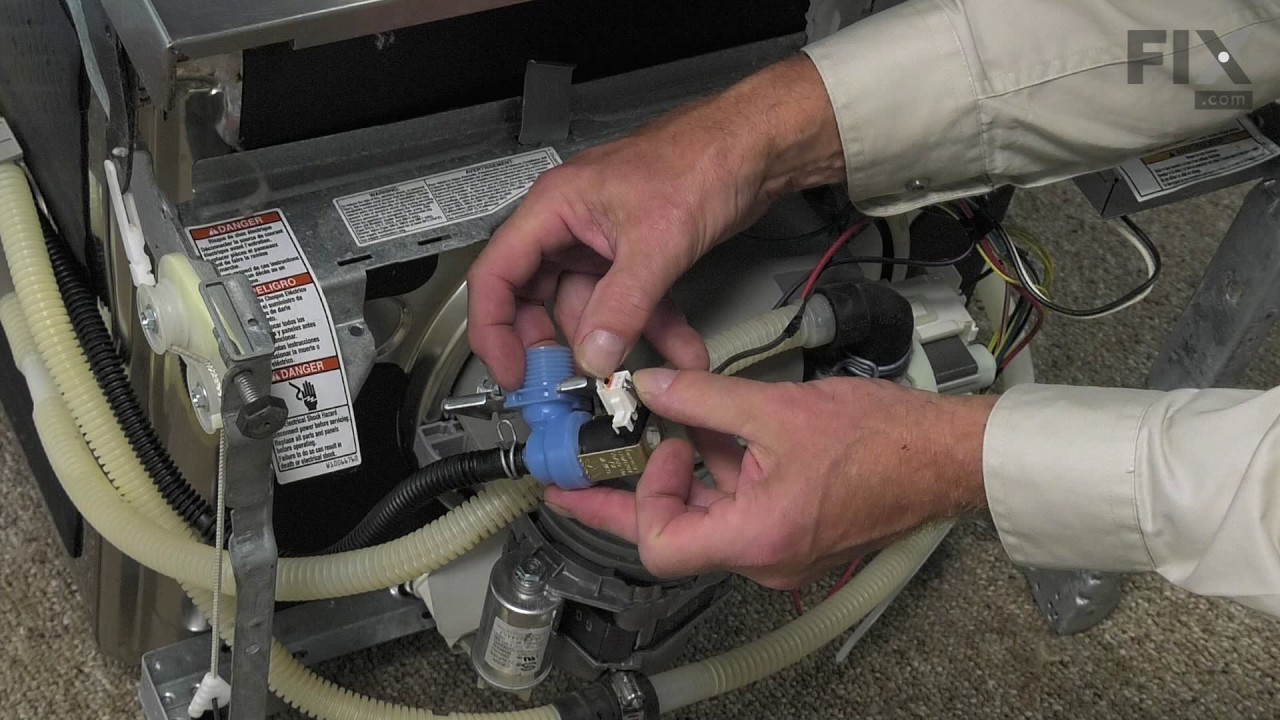
Water Inlet Valve
Part #W10844024
This water inlet valve should be located behind the lower kickplate panel in either the right or left corner. The attaching solenoids on the valve open and close according to the desired amount of water needed. NOTE: As per the manufacture this part has been updated from the original part. It may be a different color, and you may need to order an elbow (# W10685193) for the new designed valve to work.

$29.47
In Stock
Dishwasher High Limit Thermostat
Part #WP661566
This part acts as as safety mechanism that keeps the dryer from overheating. Once the dryer temperature reaches a certain point, this part will shut down power to the heating element.

$9.62
In Stock
Rinse Aid Cap
Part #WP3378134
This cap does not require the use of an O-ring seal. The wet agent assembly cap is clear in color and made of plastic. This is a part for your dishwasher. This part may need to be replaced if you notice that your dishwasher is not dispensing detergent, cleaning dishes properly, or has sprung a leak. The cap is found on the inside of your ...Read moredishwasher door. This is an extremely simple repair that requires no tools. Simply open your dishwasher door, twist the old cap out of place, ensuring no pieces are left behind. Screw your new cap into place.
Read less

$10.70
In Stock
Dishwasher Lid Hinge Pin
Part #WP3372028
The lid hinge pin or detergent lid pin on your dishwasher helps dispense your dish detergent when your dishwasher is running. The pin fits with the dispenser lid and allows the lid to pop open and dispense detergent. It is a small, plastic pin that is approximately 3 inches in length. Due to its small size, the pin can be damaged relative...Read morely easily, and if your pin is broken or missing, it will need to be replaced. This product is sold individually.
Read less

$9.62
In Stock
Soap Cup Latch Kit
Part #676413
This soap cup latch kit, used in a dishwasher, will keep the dispenser cover closed. If your dishwasher will not dispense detergent, there is a door latch failure, the dishes are not cleaning properly, or there is leaking, then this kit can be the solution to your symptoms. The tools required for this replacement are a #15 torx bits, a sm...Read moreall blade screwdriver, and slip joint pliers. First locate the soap box and remove the latch on both sides. Next step is to remove the screws in the inner door panel and remove the plastic cover at the back. Remove the old latch assembly and add the new one. Make sure to unplug your dishwasher before beginning this installation project.
Read less

$30.75
In Stock
Dishwasher Soap Dispenser Cover
Part #WP3378138
This part covers your soap dispenser and is spring loaded.

No Longer Available
Touch-Up Paint - White
Part #72017
This touch-up paint can be used on a wide variety of household appliances. It is most often used on washers, dryer, refrigerators, dishwashers, ranges, freezers, trash compactors, or microwaves. It is an 18 ml, or.6 fluid ounces, bottle of touch-up paint. It also features a brush for easy application. This quick-drying, long-lasting paint...Read more is perfect for fixing any nicks, scratches, or chips on the exterior of your appliance. This paint is white in color, and provides a durable finish.
Read less
Common Symptoms of the 65715755791
How this model fails, and the parts that fix it.
Leaking
Fixed by
these parts
these parts


Show All
Not cleaning dishes properly
Fixed by
these parts
these parts


Show All
Will not dispense detergent
Fixed by
these parts
these parts


Show All
Door latch failure
Fixed by
these parts
these parts
Show All
Will not fill with water
Fixed by
these parts
these parts


Show All
Not drying dishes properly
Fixed by
these parts
these parts

Show All
Not draining
Fixed by
these parts
these parts


Show All
Noisy
Fixed by
these parts
these parts


Show All
Will Not Start
Fixed by
these parts
these parts
Show All
Door won’t close
Fixed by
these parts
these parts

Show All
Watch our pros, then fix it yourself.
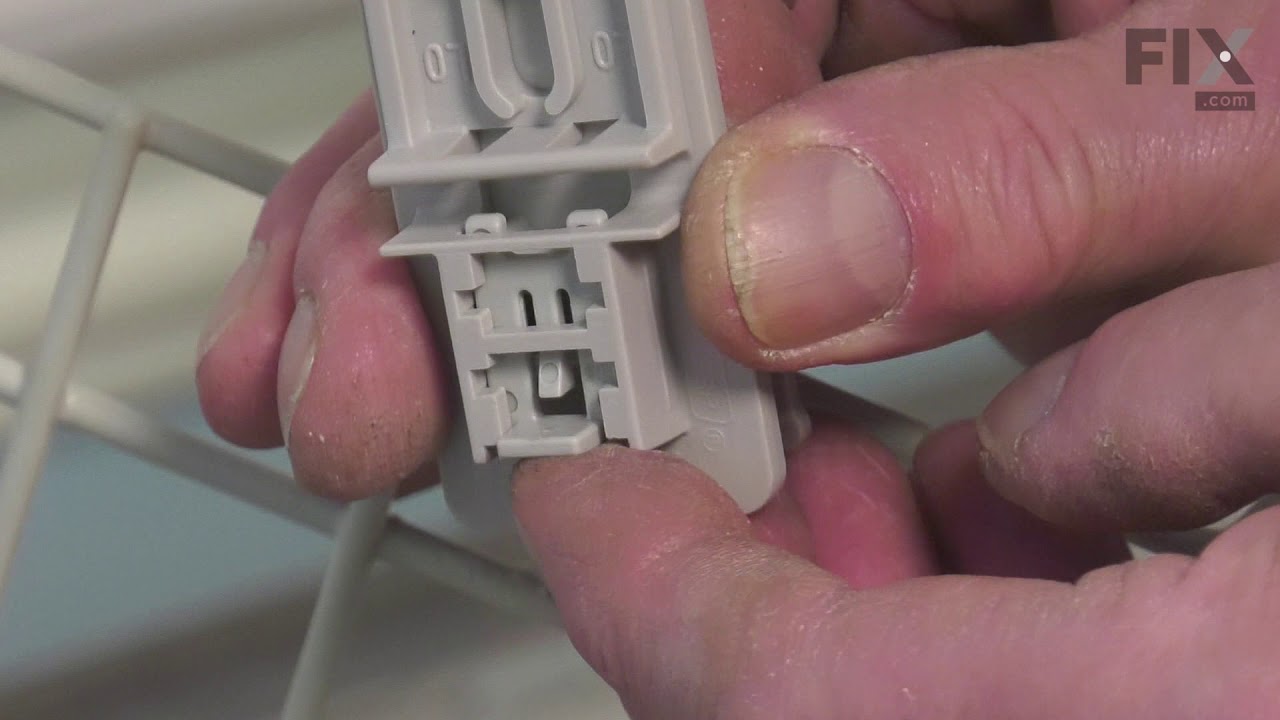

See how others fixed this model. Time, tools, difficulty, and steps that lead to victory!
View More