


 My Orders




64140418 General Electric Dryer - Overview
Diagrams for 64140418
See every part. Know exactly what you need.


Enter a part description. DIY Heroes keep it simple, eg. "belt" or "pump".
Search filter:
Clear Filter
Your search term must have 3 or more characters.

$17.15
In Stock
DRYER FRONT BEARING WHITE 2PK
Part #WE03X37318
This authentic, white Drum Bearing Slide, also known as the bearing drum slide, glide, or pad, is a plastic, easy-to-install part for your dryer. It replaces the dryer's front drum slide to allow for easier movement. You'll know if this part is an issue if your dryer is unable to tumble properly or is very noisy. Damage can come from reg...Read moreular use. The part attaches to the outermost side of the bearing. Check both slides for signs of wear, because they often wear at the same rate, and should be replaced at the same time; there are 2 of these particular slides per dryer. This part is sold individually, so you'll need to purchase multiple parts if replacing both at the same time.
Read less

$25.75
In Stock
DRYER BEARING SLIDE GREEN 2PK
Part #WE03X37317
This original equipment manufacturer Drum Bearing Slide is a plastic, green, easy-to-install part for your dryer. It replaces the dryer's front drum slide to allow for easier movement. You'll know if this part is an issue if your dryer is unable to tumble properly or is very noisy. Damage can come from regular use. As the slides start to...Read more break down it may cause your dryer to make noise or not dry clothes in the usual amount of time. You will need to purchase two for both sides of your dryer. They attach to the outer-most sides of the bearing. The manufacturer recommends replacing both slides at the same time. Take this opportunity to clean out the lint and dust in the dryer, to keep it running smoothly. This is a genuine replacement part that comes directly from the manufacturer. This item is sold individually. The part attaches to the outermost side of the bearing. Although this part is denoted as being "Green" in its title, many users and technicians have noted that its true colour is closer to a dark gray or black.
Read less

$77.75
In Stock
Rear Drum Bearing Kit
Part #WE25M40
This rear drum bearing kit includes a shaft, ground strap, bearing, seven screws, and installation instructions. The bearing plate comes with a slot in it for the ground strap. This part helps keep your dryer running as smoothly as possible with as little noise as possible by supporting the back of the dryer drum and reducing friction as ...Read morethe drum rotates. Over time, your drum bearing will wear out, cause your dryer to be noisy, and you will have to replace it. There may be some sharp internal parts, so be sure to wear work gloves during repair.
Read less

$34.98
In Stock

$29.47
On Order
Dryer Belt
Part #WE12X10014
This belt has a length of 87 inches, width of 1/4”, flat, with 4 ridges.

$23.26
In Stock
Door Latch
Part #WE1M1011
This door latch is designed for your dryer, and is mounted to the dryer frame. The door latch holds the door of your dryer closed while the machine is operating. If your dryer door is not catching on the door strike, and will not stay closed, you may need to replace the door latch. This part is square in shape, and is approximately 3/4-in...Read morech in length, by 3/4-inch in width. The part is made of white plastic with a metal tab. To access the door latch, you will need to remove the top and side panels on your dryer. To complete this repair, simply pop the damaged door latch out of position, and snap the new one into place.
Read less

$37.87
In Stock
Interlock Switch
Part #WD21X10261
The interlock switch may also be referred to as a belt switch. This part is a simple on/off mechanism that prohibits the appliance from operating when the door is open. This is a part for your dryer. The interlock switch senses the door is shut and the dryer can begin. This part might need to be replaced if your dryer is not starting or i...Read mores in process while the door is open. The black rectangular part of the switch is approximately 2 inches long and a 1/2-inch wide with two gold plates on either end. This is a genuine OEM part that is sourced right from the manufacturer.
Read less

$16.28
In Stock
Door Strike
Part #WE1X1192
TThe door strike for your dryer is mounted on the dryer frame that the door shuts onto. It fits into the door catch on the door and keeps the door closed. If the door strike is damaged or missing, the door will not lock properly and not only will this cause the door to swing open, but it won’t allow the dryer to start properly. It is a small piece of metal, about 1 inch in length and is sold individually.

$39.46
In Stock
Door Switch
Part #WE4M415
A door switch is a simple on/off mechanism that prohibits the dryer from operating when the door is open.

$17.28
In Stock

$142.49
On Order
Heating Element and Housing
Part #WE11M23
Note: The insulators on the housing are NOT sold separately.

$21.82
In Stock
Adjustable Leveling Screw
Part #WE1M642
The adjustable leveling screws on the bottom of your dryer can be screwed in or out to lower or raise the leg level. If one of the leveling screws is stripped, damaged, or missing, you may not be able to create a level base for your dryer. The leveling screw has a hexagon-shaped gray plastic foot, with a screw that is approximately 1 inch...Read more in length. To replace a damaged screw, simply turn the old screw to the left, until it can be removed. Then, simply screw the new leveling screw into place on the bottom of the dryer, making sure it is the same height as the other 3 leveling screws.
Read less
Common Symptoms of the 64140418
How this model fails, and the parts that fix it.
Noisy
Fixed by
these parts
these parts


Show All
Door won’t close
Fixed by
these parts
these parts


Show All
Marks left on clothes
Fixed by
these parts
these parts
Show All
Will Not Start
Fixed by
these parts
these parts

Show All
Won’t Start
Fixed by
these parts
these parts

Show All
Drum Not Spinning
Fixed by
these parts
these parts

Show All
Door Pops Open
Fixed by
these parts
these parts
Show All
Not Heating
Fixed by
these parts
these parts

Show All
Door latch failure
Fixed by
these parts
these parts
Show All
Too hot
Fixed by
these parts
these parts


Show All
Watch our pros, then fix it yourself.


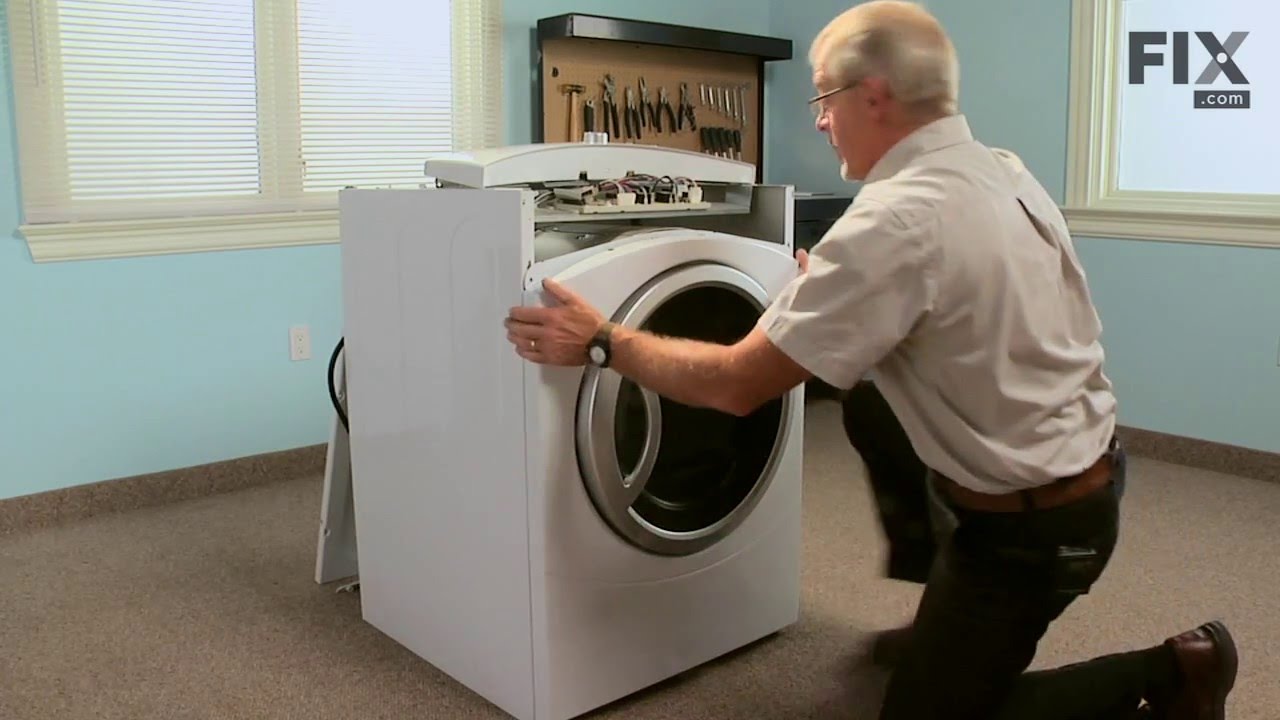
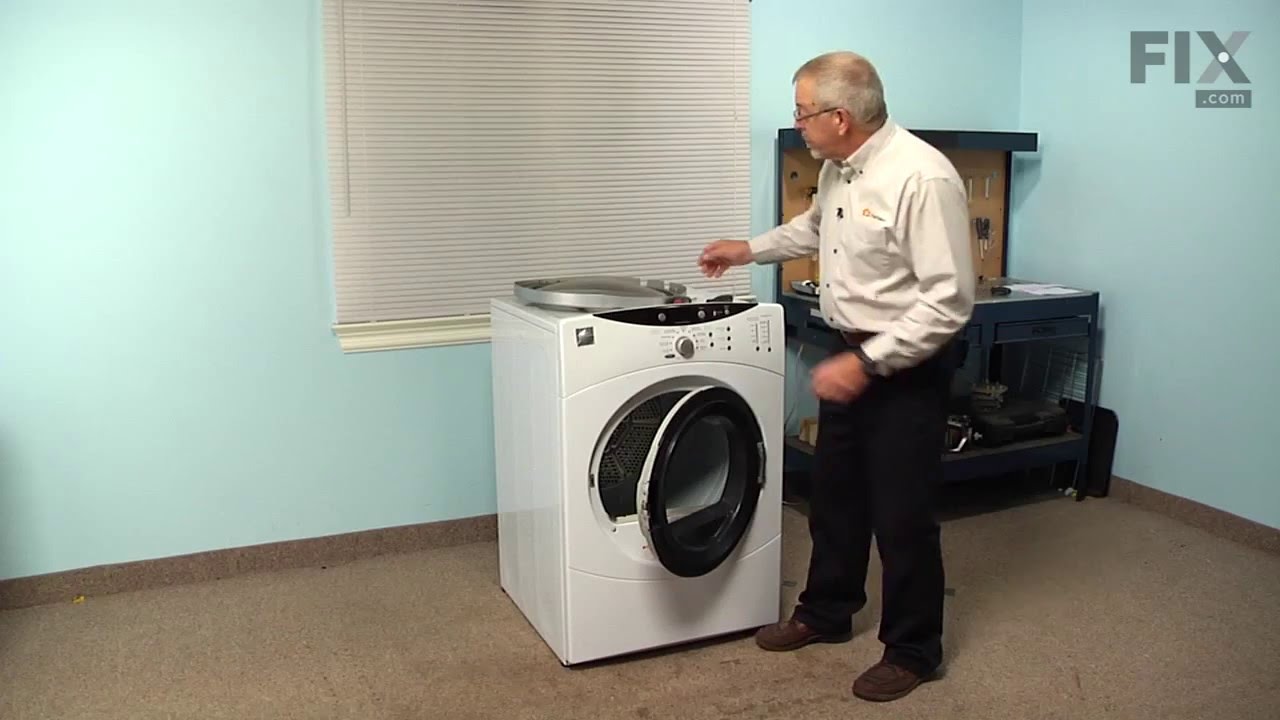
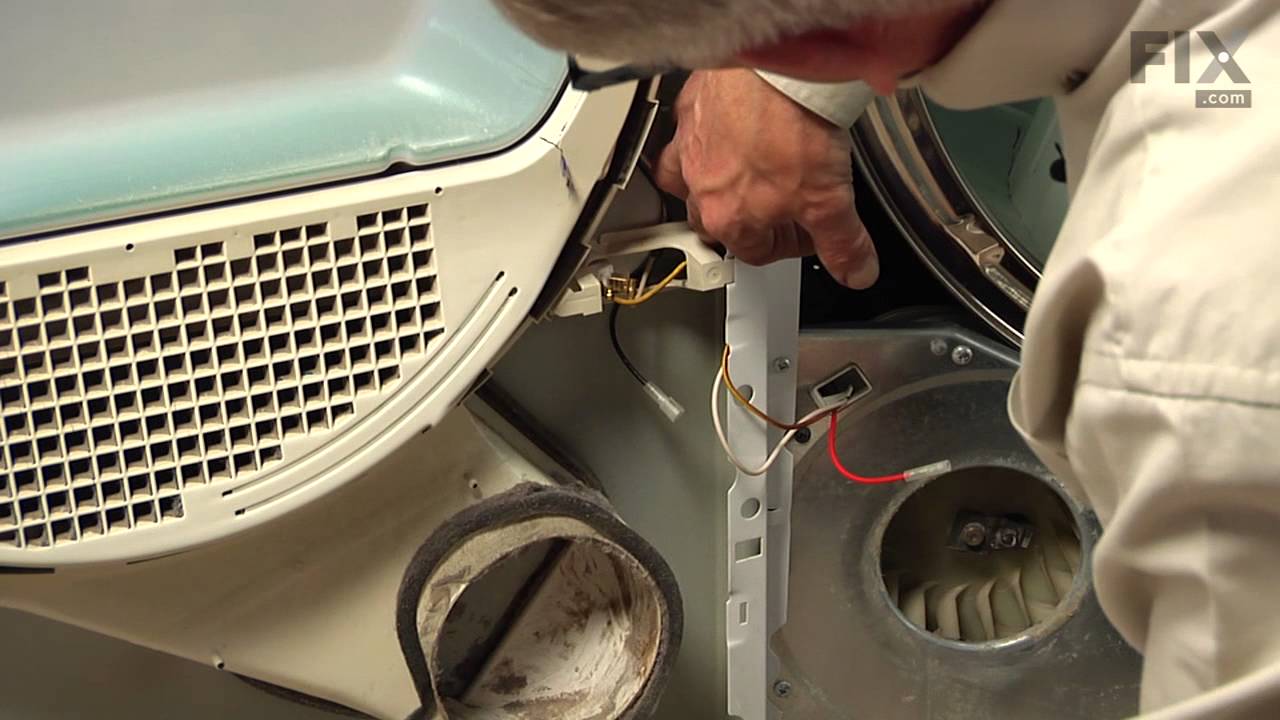
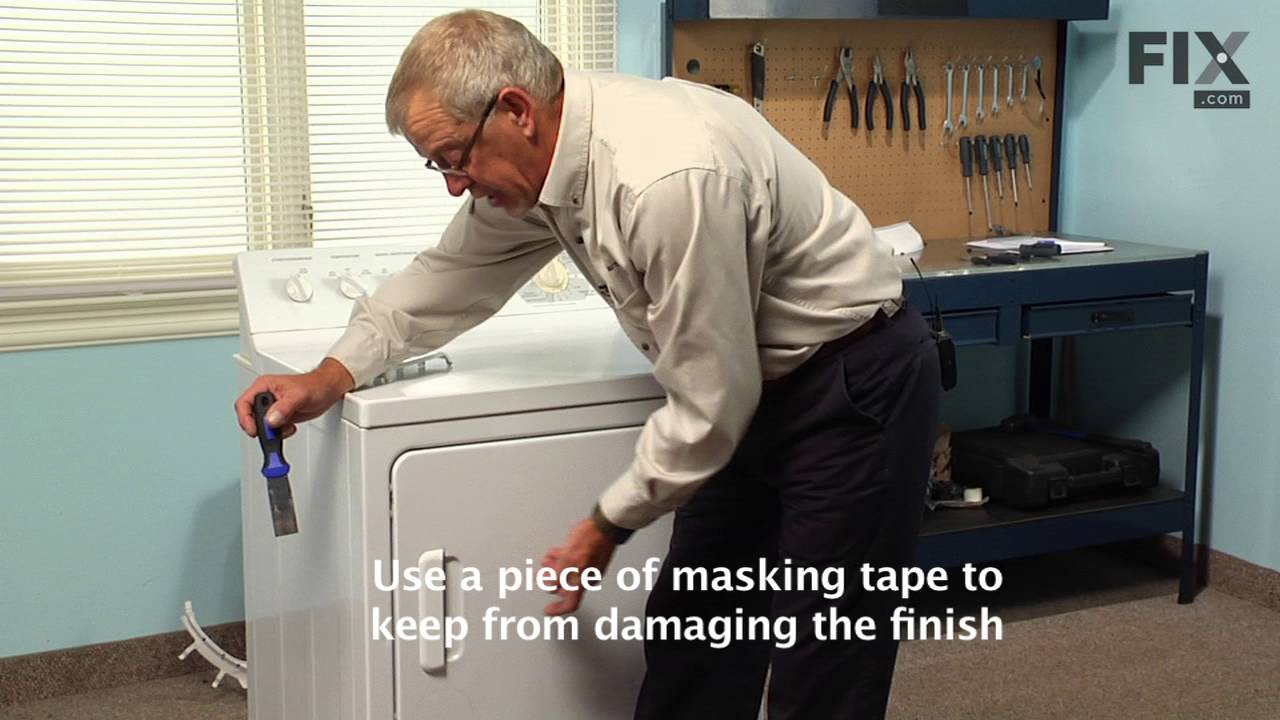
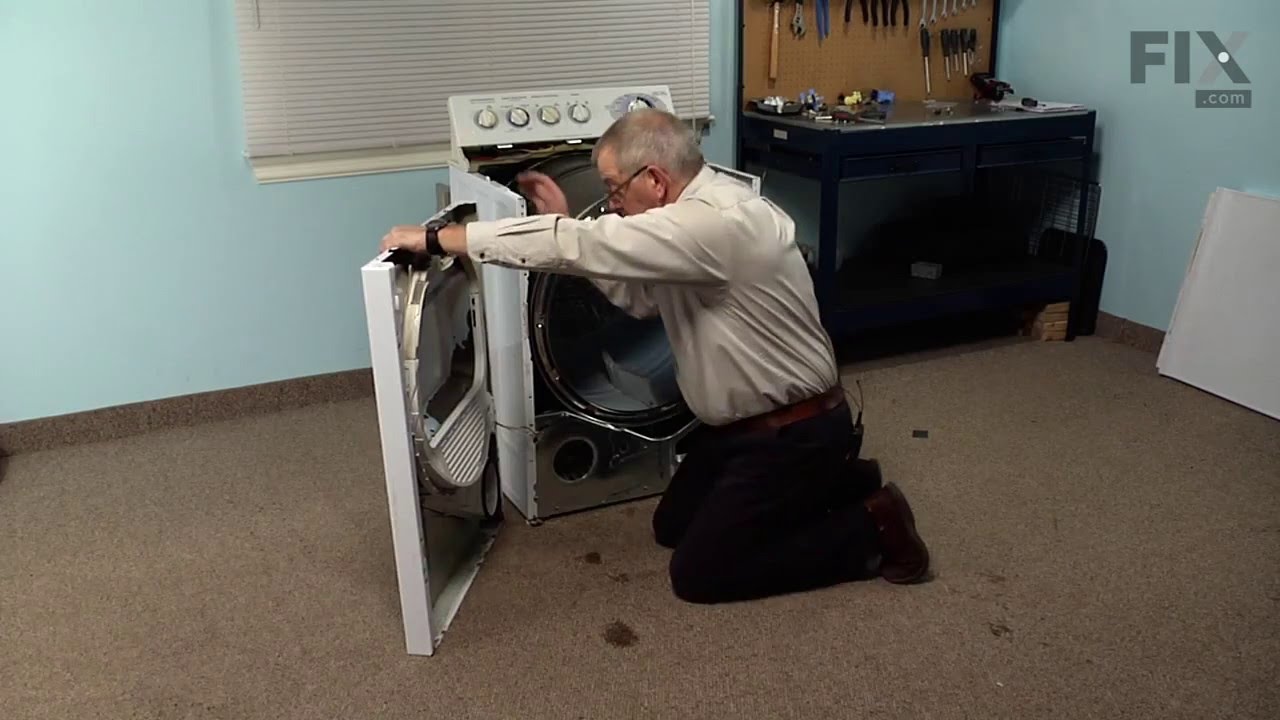
See how others fixed this model. Time, tools, difficulty, and steps that lead to victory!
View More