At the floor of the oven is the bake element. If your oven is electric, the bake element will likely provide 90 percent of the heat for baking. Therefore, the oven will not heat properly if the baking element is faulty. If you can see that the element has been damaged, separated, or blistered, you will need to replace the part. If there i...Read mores no visible damage, turn the oven on and check to see if the element heats evenly. If the element is not heating evenly, or if it is not heating at all, it will need to be replaced. This element is 19 inches wide x 20 inches long (including 5-inch-long terminals).
This is a leveling leg for your oven, range, or stove. The leveling legs on your oven allow your appliance to sit perfectly flat. The new one may be longer in length than your original, but will work the same. Install the new leveling leg, and test if you have it adjusted properly by putting the appliance on four legs. Adjust in or out a...Read mores required if your oven is rocking. It is recommended to check the other three leveling legs on your appliance in case they are also damaged or worn. The leveling leg measures 1.859", is all black in color, and is made entirely out of plastic. This leg may be shorter than the original but is the factory replacement. Longer leg is not available.
This is a multi-use and multi-appliance screw. It can be used on a microwave, refrigerator, range/oven, air conditioner, dehumidifier, washer, or dryer. The measurements of this screw are 8 x 1/2 inch. It has 6 threads. Refer to the manual provided by the manufacturer for further information on repair and accurate guidance. Remember to wear work gloves as a safety precaution.
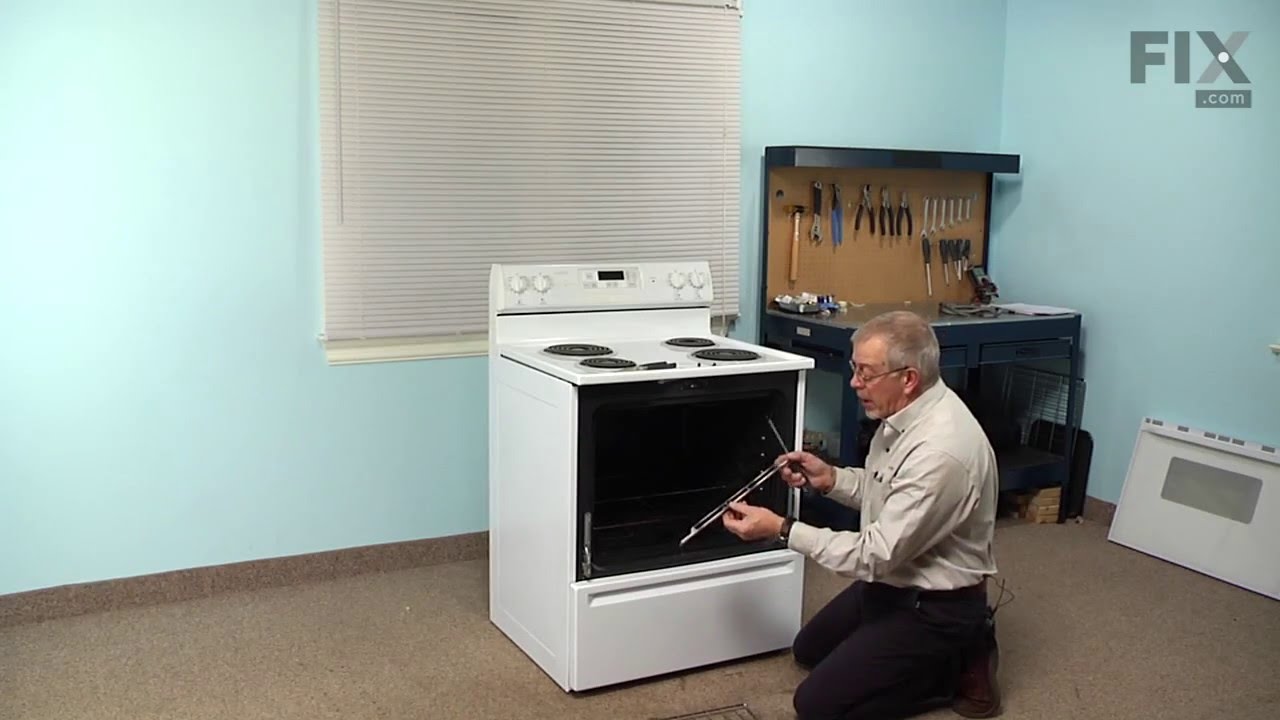
This is a replacement oven rack and it is designed for use with ranges and ovens. This is a genuine OEM replacement part. The rack provides a level and stable surface for cookware inside of your appliance. Installing the new rack is simple, you slide it into the pre-existing tracks in your oven. It measures approximately 23 inches wide by...Read more 16 inches deep. This replacement part is made of metal and it is sold individually.
This is a replacement screw and washer for your oven/range. It is a Phillips-head screw approximately half an inch long, and the washer is approximately 1 inch in diameter. The screw attaches the oven door handle to the door. This part is sold individually and is an authentic OEM part sourced directly from the manufacturer.
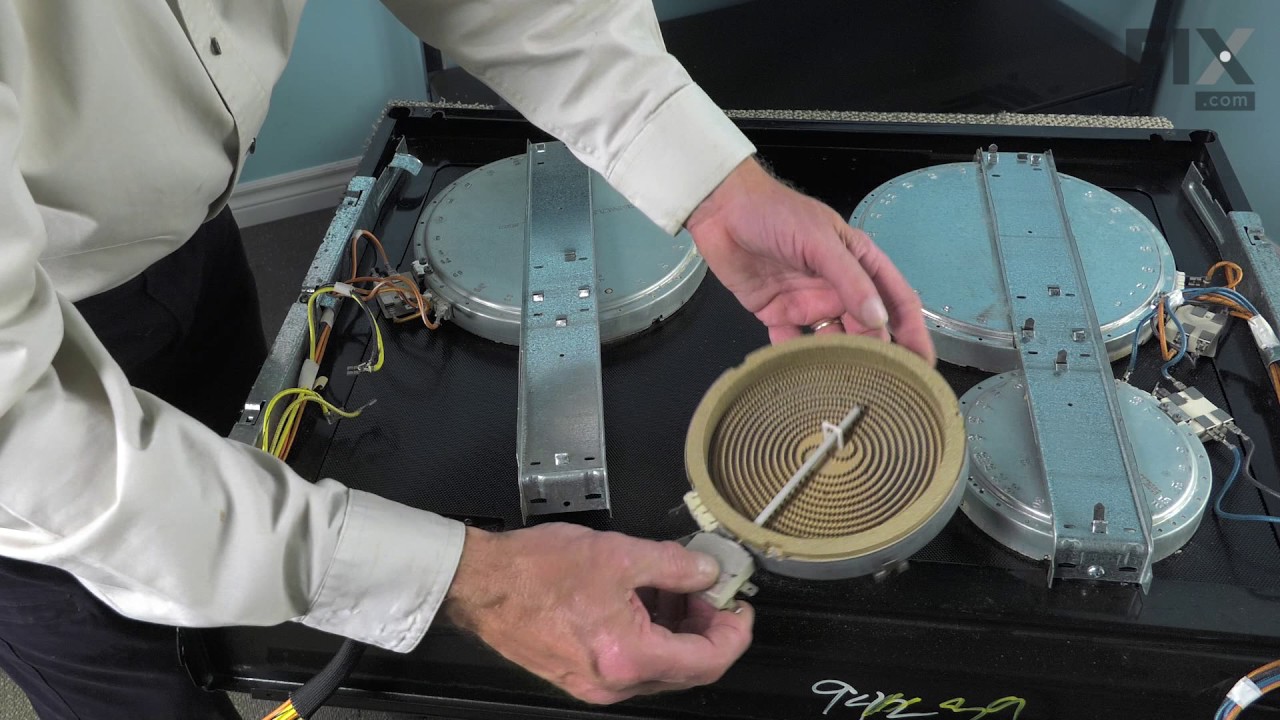
This is a radiant surface element with limiter, and it works in conjunction with your range. The function of this part is to give heat to the surface directly above it, on cooking area stove top.This model is sold individually and is 1200 watts. The main reason for needing to replace this part is if your element will not heat. Before orde...Read morering, make sure to test your stove top radiant element for continuity to make sure it is the problem. To make this installation you will need a Phillips screwdriver, and a 14-inch nut driver.
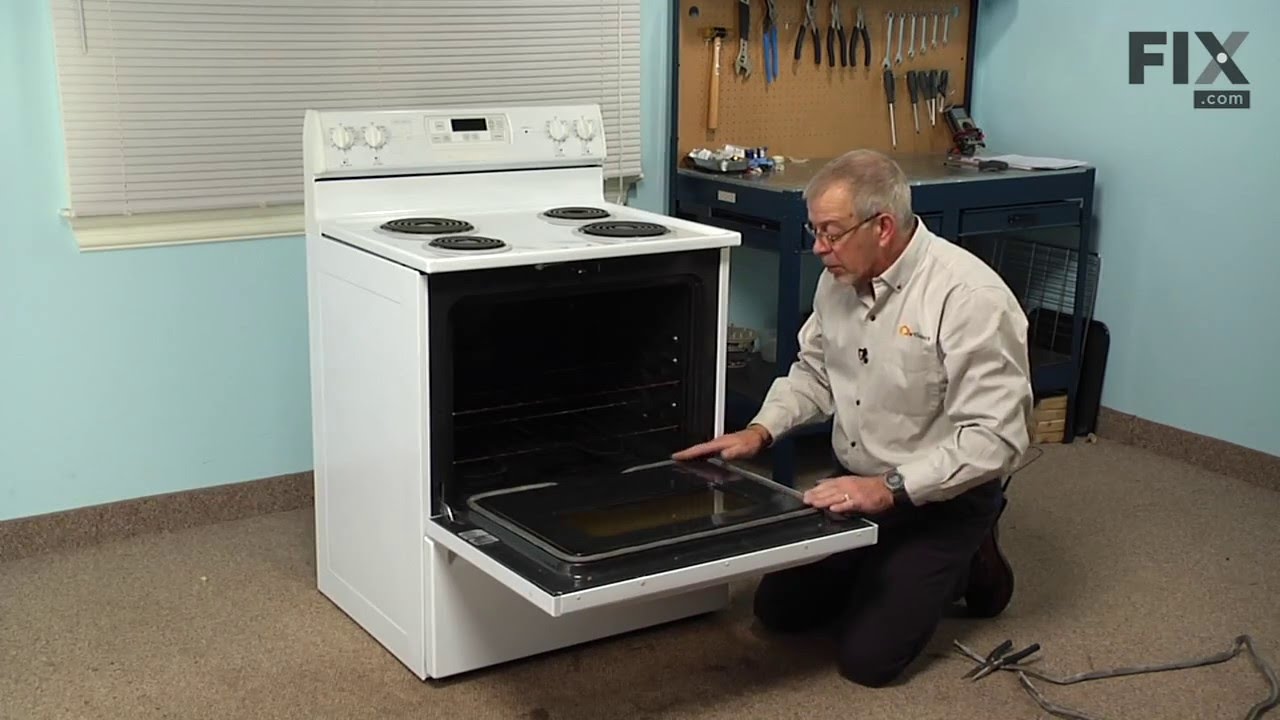
The oven door gasket on your range functions as a seal between the warm interior of your oven, and the outside. It prevents heat from fleeing your oven when the door is closed. Before making any repairs to your oven you should make sure to wear work gloves to protect your hands, and give your oven time to cool. The only tool you will need...Read more to make this repair is a pair of needle nose pliers. This oven door gasket comes with built in retaining clips; if any retaining clips from your old gasket are left in the oven make sure to remove them before installing your new gasket.
This part is for oven ranges, it connects individual wires and protects the device from electrical surges, voltages, and current. With this part, the house power is connected to the range wire harness. Some symptoms replacing the terminal block could be a solution for are little to no heat when baking, element will not heat and/or it will...Read more not start. This part will prevent loosening and will reduce damage caused by corrosion (by two different metals). Refer to the instructional diagram for further replacement guidance and exact placement. You must unplug the appliance before installing this part and wear gloves to protect your hands.
This broiler pan and roasting rack set is designed to help reduce mess while cooking by allowing grease to drain away from food. Its durable porcelain-coated construction stands up to high temperatures and makes cleanup simple. With approximate dimensions of 16 3/4 inches long, 12 3/4 inches wide, and 1 3/4 inches high, it offers a convenient size for everyday broiling and roasting.
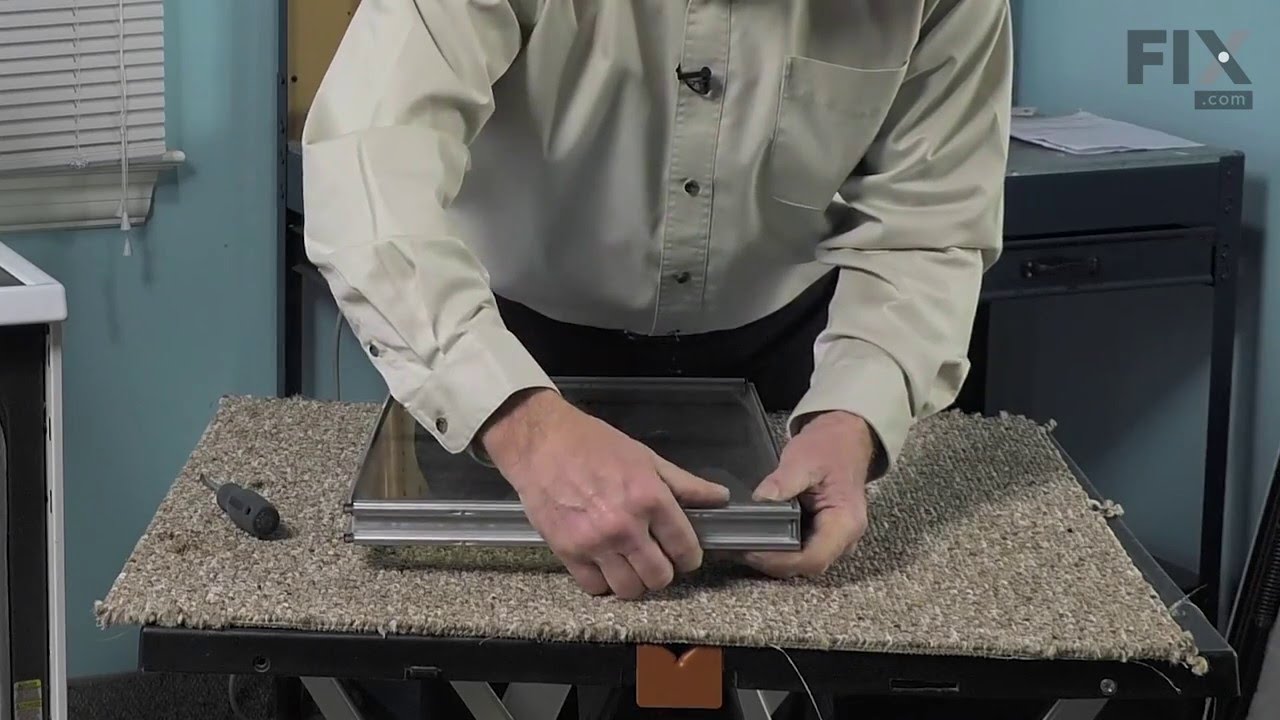
This interior oven door glass is the innermost heat-resistant panel that faces into the oven cavity, helping to contain heat while allowing visibility during cooking. Measuring approximately 20 5/8 inches by 13 1/8 inches, it is designed to fit select oven models. If the glass is cracked or damaged, it should be replaced promptly to maint...Read moreain safety and performance. When installing, ensure the oven is cool and wear protective gloves to prevent injury. This replacement part is sold individually and does not include additional accessories.
Ask our experts a question about this model and we'll get back to you as soon as possible!
We may have answered a similar question already! Search questions and answers left by others using simple keywords like "fit", "broken", "easy", or "quality" to find questions that match.
Search filter:
Clear Filter
Your search term must have 3 or more characters.
Sort by:
Prev
1
Next
Sorry, we couldn't find any existing answers that matched.Try using some different or simpler keywords, or submit your new question by using the "Ask a Question" button above!
Denis - For model number 62960002600
May 1, 2023
This is a Kenmore Elite smoothtop double oven range. Can I please get the replacement part number for the lower oven inner glass.
Hello Denis, thank you for your inquiry. The part number for the lower oven inner glass is PS2081701. We hope this is what you were looking for!
See how others fixed this model. Time, tools, difficulty, and steps that lead to victory!View More
Search repair tips from other customers using simple keywords like "replace", "fit", "remove", "inspect". DIY doesn't mean you have to do it alone!
Search filter:
Clear Filter
Your search term must have 3 or more characters.
Right rear burner went bad
155 of 190 peoplefound this instruction helpful.
Mark from Loxahatchee, FL
Really Easy
15 - 30 mins
Nutdriver, Screw drivers
Turned the breaker off, I removed 2 screws securing the range top to the range, opened the top and secured it in the up position, Removed the 2 screws securing the element ,one at a time I swapped the quick connectors from the old element to the new and repeated the process in reverse. I save over $100.00 in labor, plus most companies get
... Read more you for a trip charge. It was easy!!
Read less
Was this helpful?
Thank you for voting!
Hot Burner Light always on
109 of 159 peoplefound this instruction helpful.
Gregory from Cary, NC
Really Easy
15 - 30 mins
Screw drivers
Thermal switch is integral to element and can not be changed, must replace entire element.
Turn off power. Removed front two screws above oven door jamb and lifted the top. Removed the bracket that holds the element against the glass top and removed the element. Moved brackets from old element to new one, aligning to same numer
... Read moreical position and then moved wiring to new element. Slide new element under bracket and reinstalled single screw. Replaced top and screwed down. Turn on power and test .
Read less
Was this helpful?
Thank you for voting!
Upper broiler element (of upper over) burnt out
80 of 90 peoplefound this instruction helpful.
Todd from San Antonio, TX
Easy
15 - 30 mins
Pliers, Screw drivers
This particular model has a bracket that holds the element close to the oven ceiling, so I had to unscrew that as well as the element mounting screws on the back oven wall. The hardest part (not that hard) was the connectors were really tightly clamped to the element terminal. I had to use pliers to help wiggle them off the tips. Recom
... Read moremend doing this very gently yet firmly - I was worried about ruining the connectors or the wires to the oven. The element was deader than dead and actually fell apart in three places once it was detached. The new replacement element arrived a couple days later. Putting it in was a breeze, although the oven is quite dark and I needed Mrs. Handyman to hold a flashlight so I could get the screws in. Oven works fine now.



 My Orders