


 My Orders




62942865 Kenmore Cooktop - Overview
Diagrams for 62942865
See every part. Know exactly what you need.

Enter a part description. DIY Heroes keep it simple, eg. "belt" or "pump".
Search filter:
Clear Filter
Your search term must have 3 or more characters.

$11.77
In Stock
Drip Bowl - Chrome - 8 Inch
Part #715878
This is a drip bowl, and it is used in conjunction with your range. The function of this part is to sit underneath your stove top burner element. This will allow the bowl to catch any spills that fall through the burner while cooking. This model is chrome has a chrome color trim, it measures 8 inches in diameter, and is sold individually....Read more Before installing this part, you must wait until the surface of your range is cool to the touch. Replacing the drip bowl will require you to touch the burner on your stove top.
Read less

$10.70
In Stock
Drip Bowl - 6 Inch
Part #715877
The drip bowl is found under the 6-inch burner on your range. This square chrome stove top drip pan is intended for use with electric ranges. It has a 2-inch inner hole diameter and 7-inch outer diameter. Drip bowls should be cleaned regularly, and replaced when too much food and debris has been burned or stuck to it, making it too hard t...Read moreo clean. You should replace your drip pan if it is rusted or damaged. Grease, oil, and food can spill into your unit and become a fire hazard. This drip pan is dishwasher safe and is sold individually.
Read less

$19.30
In Stock
Surface Burner Receptacle Kit
Part #12001676
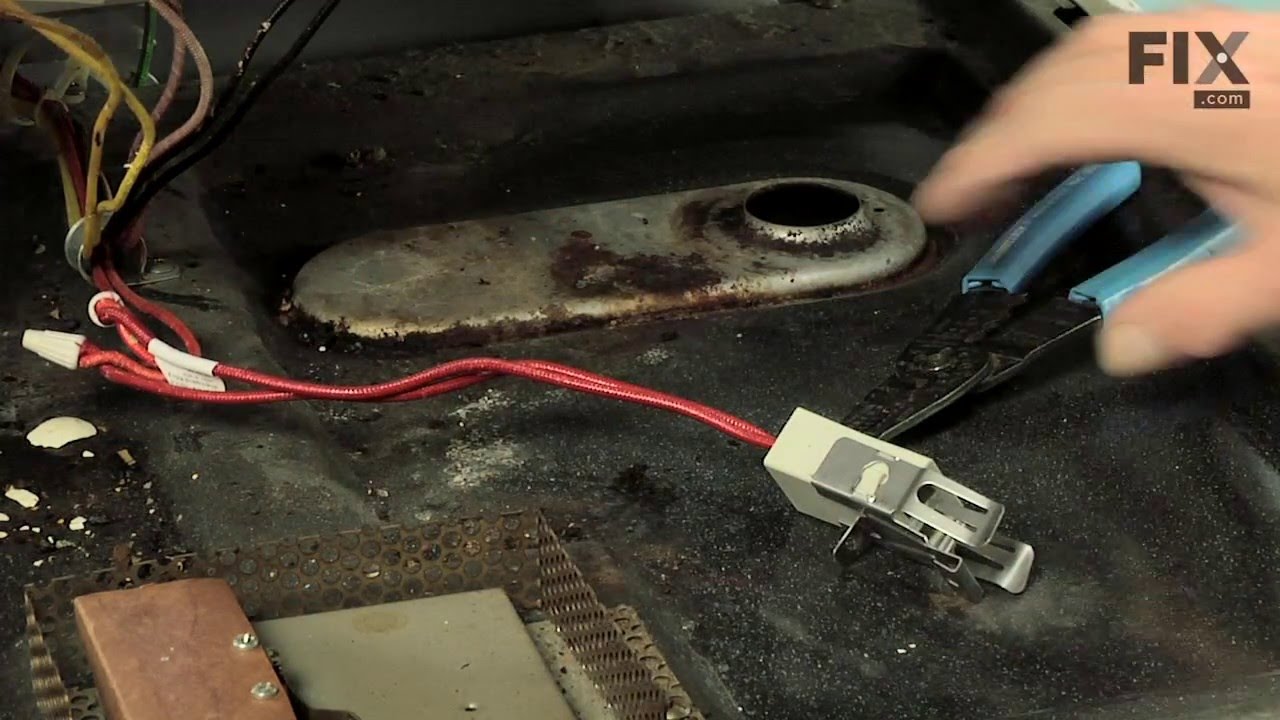
The tools you will need to replace the surface burner receptacle kit on your range include a Phillips screw driver, and a pair of wire strippers. Before doing this repair, make sure to disconnect your appliance from the power supply and wear work gloves to protect your hands. The surface burner receptacle kit comes with a plastic block, h...Read moreigh temperature wire nuts, a metal bracket, and wires. This part functions as the connection between the wire harness and the surface element in your range.
Read less

$78.26
In Stock
Surface Burner Switch - 240V
Part #W11120791
This surface burner switch, also known as an infinite switch, controls and regulates the heat output of the burners on a stovetop. The user simply adjusts the knob on the user interface panel, which in turn controls this switch. Made for various ranges, wall ovens and cooktops, this is a genuine OEM part that comes by itself, without any ...Read morehardware like screws or nuts. This burner switch is an electrical component that you also handle directly, so it can become faulty leading to problems like your stovetop not heating enough, overheating or staying at a fixed heat. This burner switch is a vital component for your stovetop and if it presents any of those issues, it needs to be replaced immediately. A screwdriver, set of pliers and wiring diagram will be needed for the replacement and installation process, and you will need to remove your appliance from the wall outlet first. Remove the knobs from the control panel and then gain access to the underneath portion of it with your screwdriver and disconnect the switch. Remove the wires from the burner switch with a set of pliers and disconnect the securing screws holding the switch in place. Now, you can install the new switch and reassemble the panel, being mindful of wiring each connector to the appropriate wire.
Read less

$42.12
In Stock
Delta Frame Surface Unit - 8 Inch
Part #WPY04100166
This 8 inch surface burner with reinforced delta frame carries 2100 watts and 240 volts. It has five turns and is compatible with many electric ranges. Its center medallion is all black in color.

$52.67
In Stock
Delta Frame Surface Unit - 6 Inch
Part #WPY04100165
This is a delta frame surface unit, also known as coil element, for a stove, range, or oven. It is a 6-inch surface burner with a reinforced delta frame that carries 1250 watts and 240 volts. The burner has four turns and is compatible with many electric ranges. The center medallion is black in color. The burner provides heat to your cook...Read moreing area to cook your food items. If your burner is not heating properly, you may need to replace it. Be sure to disconnect power to the appliance before completing this repair.
Read less

$49.50
Special Order

No Longer Available

$8.55
In Stock

No Longer Available
Drain Jar Lid
Part #WP5700M611-60
This grease jar lid is used for some of Maytag/Jenn-Air's brands of ranges and cooktops. This lid is not quite an inch high and is three inches in diameter.

No Longer Available

$21.45
Special Order
Rivet
Part #WP210720
This rivet is an inch and a half long. It is used for many washing machines, microwaves, refrigerators, dryers, and ranges. Use of this rivet requires a rivet tool.
Manuals & Care Guides for 62942865
Click to downloadCommon Symptoms of the 62942865
How this model fails, and the parts that fix it.
Element will not heat
Fixed by
these parts
these parts


Show All
Will Not Start
Fixed by
these parts
these parts
Show All
Touchpad does not respond
Fixed by
these parts
these parts


Show All
Oven is too hot
Fixed by
these parts
these parts
Show All
Watch our pros, then fix it yourself.
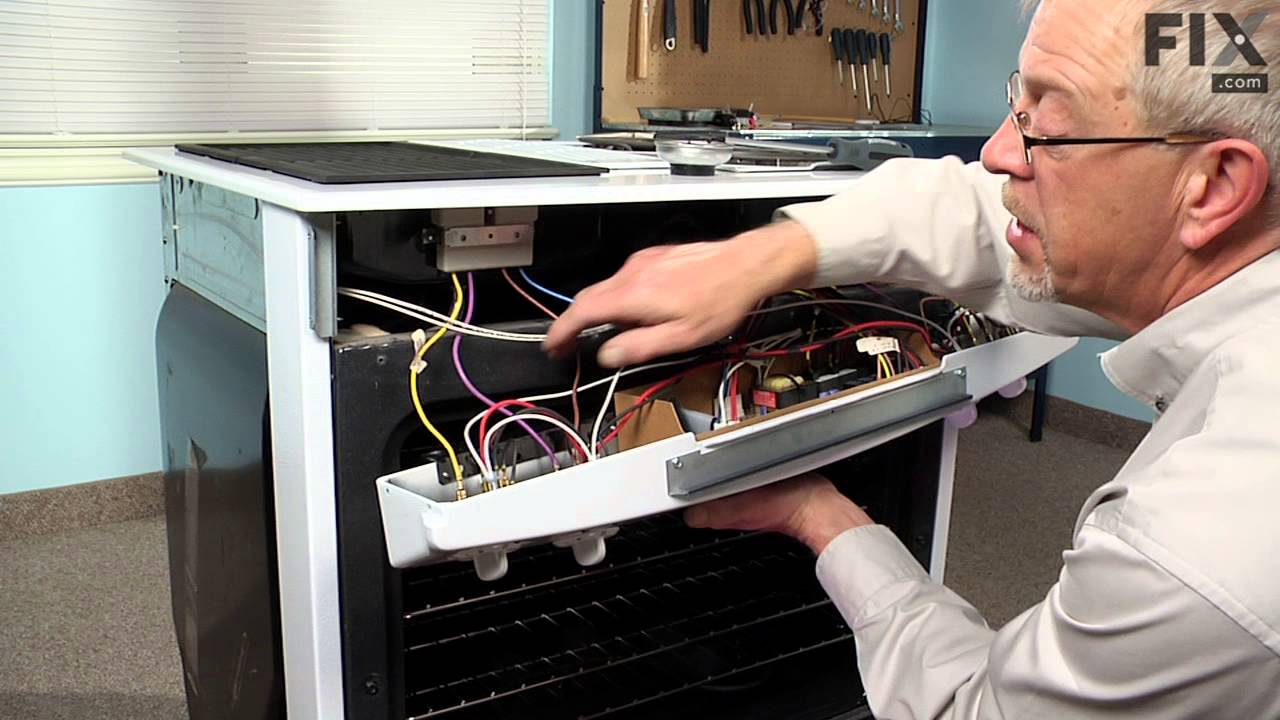
See how others fixed this model. Time, tools, difficulty, and steps that lead to victory!
View More