


 My Orders




62260008600 Kenmore Range - Overview
Diagrams for 62260008600
See every part. Know exactly what you need.

Enter a part description. DIY Heroes keep it simple, eg. "belt" or "pump".
Search filter:
Clear Filter
Your search term must have 3 or more characters.

$38.96
In Stock
Range Lower Bake Element
Part #WP7406P428-60
At the floor of the oven is the bake element. If your oven is electric, the bake element will likely provide 90 percent of the heat for baking. Therefore, the oven will not heat properly if the baking element is faulty. If you can see that the element has been damaged, separated, or blistered, you will need to replace the part. If there i...Read mores no visible damage, turn the oven on and check to see if the element heats evenly. If the element is not heating evenly, or if it is not heating at all, it will need to be replaced. This element is 19 inches wide x 20 inches long (including 5-inch-long terminals).
Read less

$23.60
In Stock
Leveler Foot Screw (Nylon)
Part #W11665456
This is a leveling leg for your oven, range, or stove. The leveling legs on your oven allow your appliance to sit perfectly flat. The new one may be longer in length than your original, but will work the same. Install the new leveling leg, and test if you have it adjusted properly by putting the appliance on four legs. Adjust in or out a...Read mores required if your oven is rocking. It is recommended to check the other three leveling legs on your appliance in case they are also damaged or worn. The leveling leg measures 1.859", is all black in color, and is made entirely out of plastic. This leg may be shorter than the original but is the factory replacement. Longer leg is not available.
Read less

$21.45
In Stock
Screw
Part #W11233072
This is a multi-use and multi-appliance screw. It can be used on a microwave, refrigerator, range/oven, air conditioner, dehumidifier, washer, or dryer. The measurements of this screw are 8 x 1/2 inch. It has 6 threads. Refer to the manual provided by the manufacturer for further information on repair and accurate guidance. Remember to wear work gloves as a safety precaution.

No Longer Available
Oven Rack
Part #WP7801P173-60
This is a replacement oven rack and it is designed for use with ranges and ovens. This is a genuine OEM replacement part. The rack provides a level and stable surface for cookware inside of your appliance. Installing the new rack is simple, you slide it into the pre-existing tracks in your oven. It measures approximately 23 inches wide by...Read more 16 inches deep. This replacement part is made of metal and it is sold individually.
Read less

$54.24
In Stock
Broil Element - Push On Terminals
Part #W10201551
This broil element is found on the roof of the oven.

$7.47
In Stock
Range Screw w/Washer
Part #WP74006515
This is a replacement screw and washer for your oven/range. It is a Phillips-head screw approximately half an inch long, and the washer is approximately 1 inch in diameter. The screw attaches the oven door handle to the door. This part is sold individually and is an authentic OEM part sourced directly from the manufacturer.

$142.40
In Stock
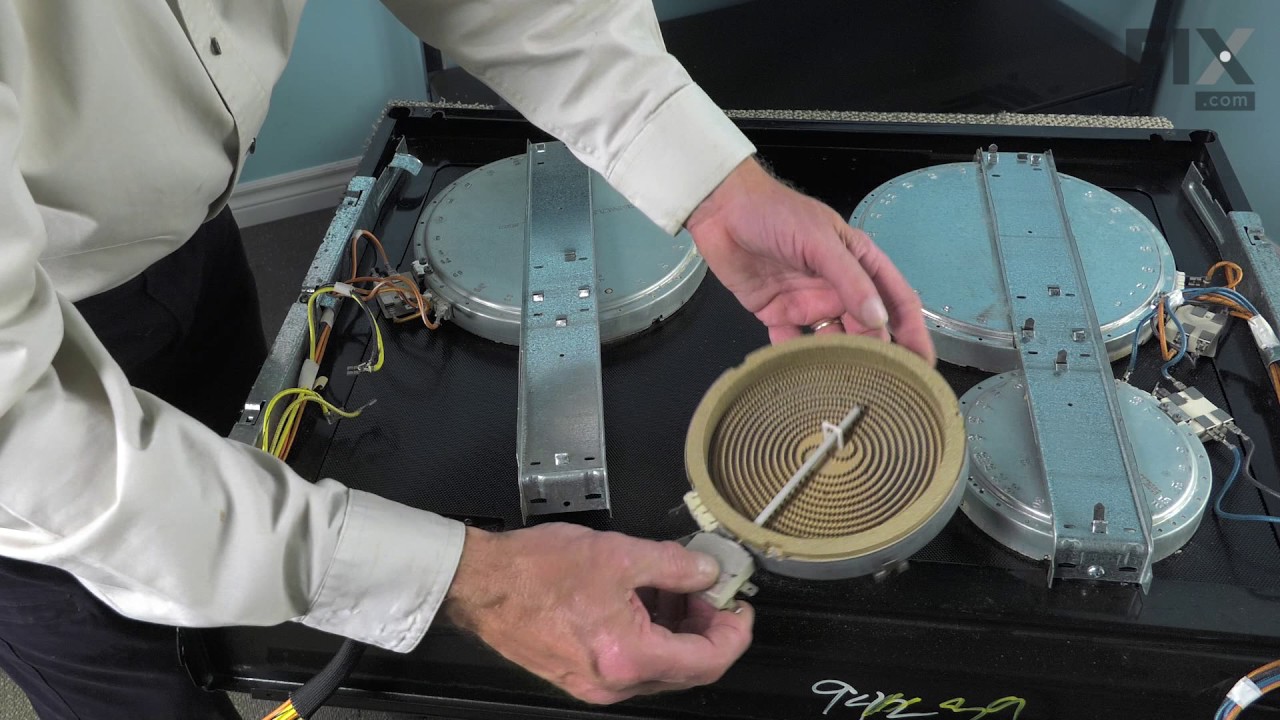
Element with Limiter 6 Inch - 1200W
Part #W10823711
This is a radiant surface element with limiter, and it works in conjunction with your range. The function of this part is to give heat to the surface directly above it, on cooking area stove top.This model is sold individually and is 1200 watts. The main reason for needing to replace this part is if your element will not heat. Before orde...Read morering, make sure to test your stove top radiant element for continuity to make sure it is the problem. To make this installation you will need a Phillips screwdriver, and a 14-inch nut driver.
Read less

$80.82
In Stock

$77.75
In Stock
Range Door Gasket
Part #WPW10162384
The oven door gasket on your range functions as a seal between the warm interior of your oven, and the outside. It prevents heat from fleeing your oven when the door is closed. Before making any repairs to your oven you should make sure to wear work gloves to protect your hands, and give your oven time to cool. The only tool you will need...Read more to make this repair is a pair of needle nose pliers. This oven door gasket comes with built in retaining clips; if any retaining clips from your old gasket are left in the oven make sure to remove them before installing your new gasket.
Read less

$27.36
In Stock
Range Terminal Block
Part #WPW10245259
This part is for oven ranges, it connects individual wires and protects the device from electrical surges, voltages, and current. With this part, the house power is connected to the range wire harness. Some symptoms replacing the terminal block could be a solution for are little to no heat when baking, element will not heat and/or it will...Read more not start. This part will prevent loosening and will reduce damage caused by corrosion (by two different metals). Refer to the instructional diagram for further replacement guidance and exact placement. You must unplug the appliance before installing this part and wear gloves to protect your hands.
Read less

$49.50
In Stock
2 Piece Broiler Pan
Part #4396923
This broiler pan and roasting rack set is designed to help reduce mess while cooking by allowing grease to drain away from food. Its durable porcelain-coated construction stands up to high temperatures and makes cleanup simple. With approximate dimensions of 16 3/4 inches long, 12 3/4 inches wide, and 1 3/4 inches high, it offers a convenient size for everyday broiling and roasting.

$106.36
In Stock
Inner Door Glass Pane
Part #74003645
This interior oven door glass is the innermost heat-resistant panel that faces into the oven cavity, helping to contain heat while allowing visibility during cooking. Measuring approximately 20 5/8 inches by 13 1/8 inches, it is designed to fit select oven models. If the glass is cracked or damaged, it should be replaced promptly to maint...Read moreain safety and performance. When installing, ensure the oven is cool and wear protective gloves to prevent injury. This replacement part is sold individually and does not include additional accessories.
Read less
Common Symptoms of the 62260008600
How this model fails, and the parts that fix it.
Element will not heat
Fixed by
these parts
these parts


Show All
Little to no heat when baking
Fixed by
these parts
these parts


Show All
Little to no heat when broiling
Fixed by
these parts
these parts

Show All
Oven not heating evenly
Fixed by
these parts
these parts

Show All
Will Not Start
Fixed by
these parts
these parts
Show All
Door won’t close
Fixed by
these parts
these parts

Show All
Oven is too hot
Fixed by
these parts
these parts
Show All
Touchpad does not respond
Fixed by
these parts
these parts
Show All
Watch our pros, then fix it yourself.

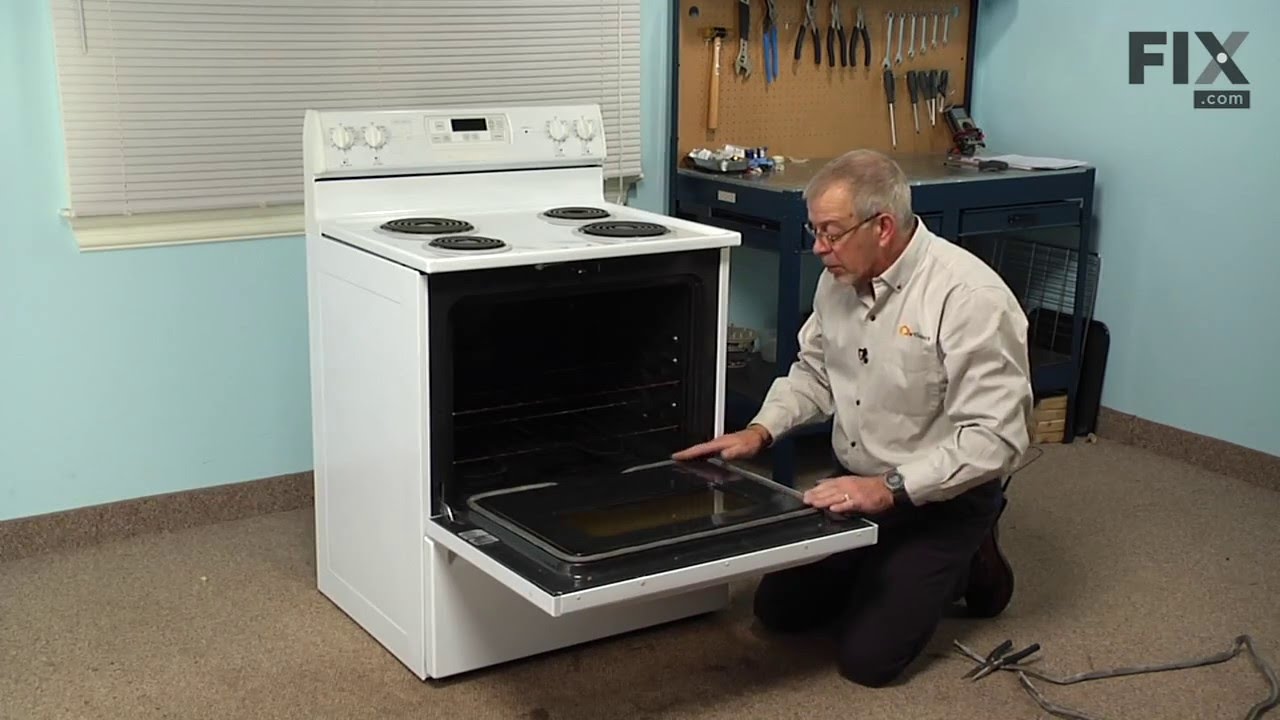
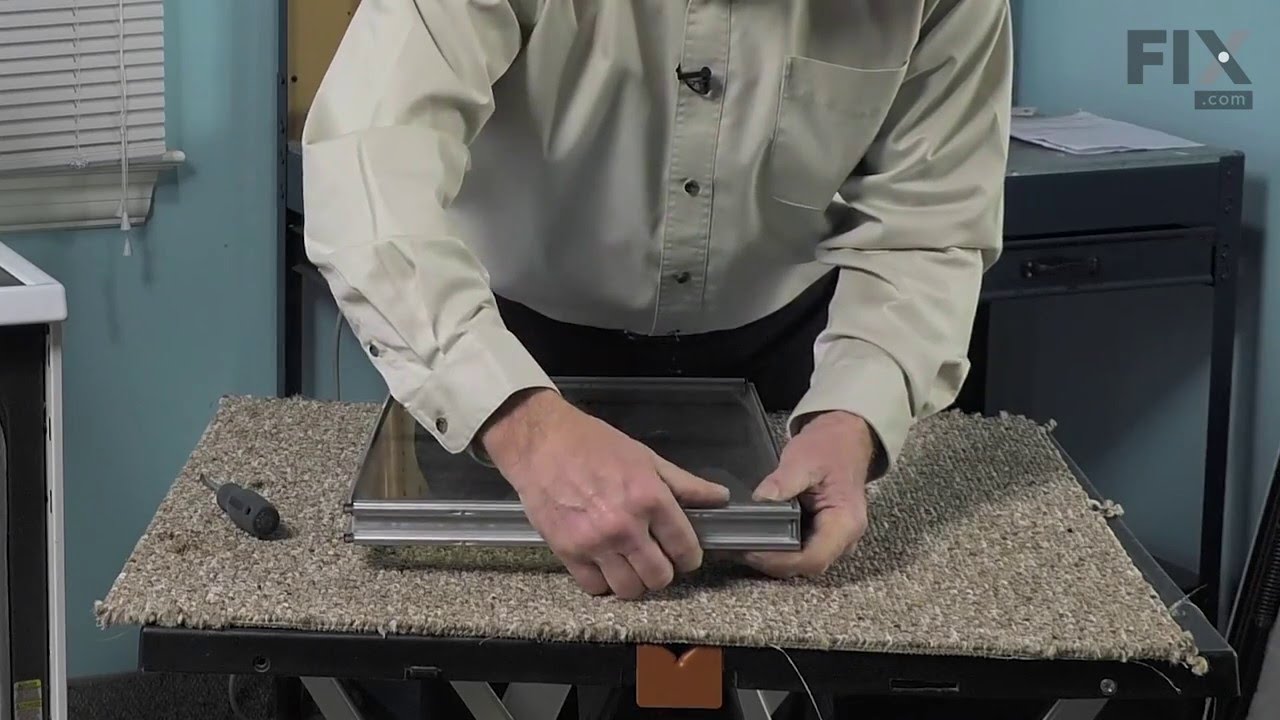
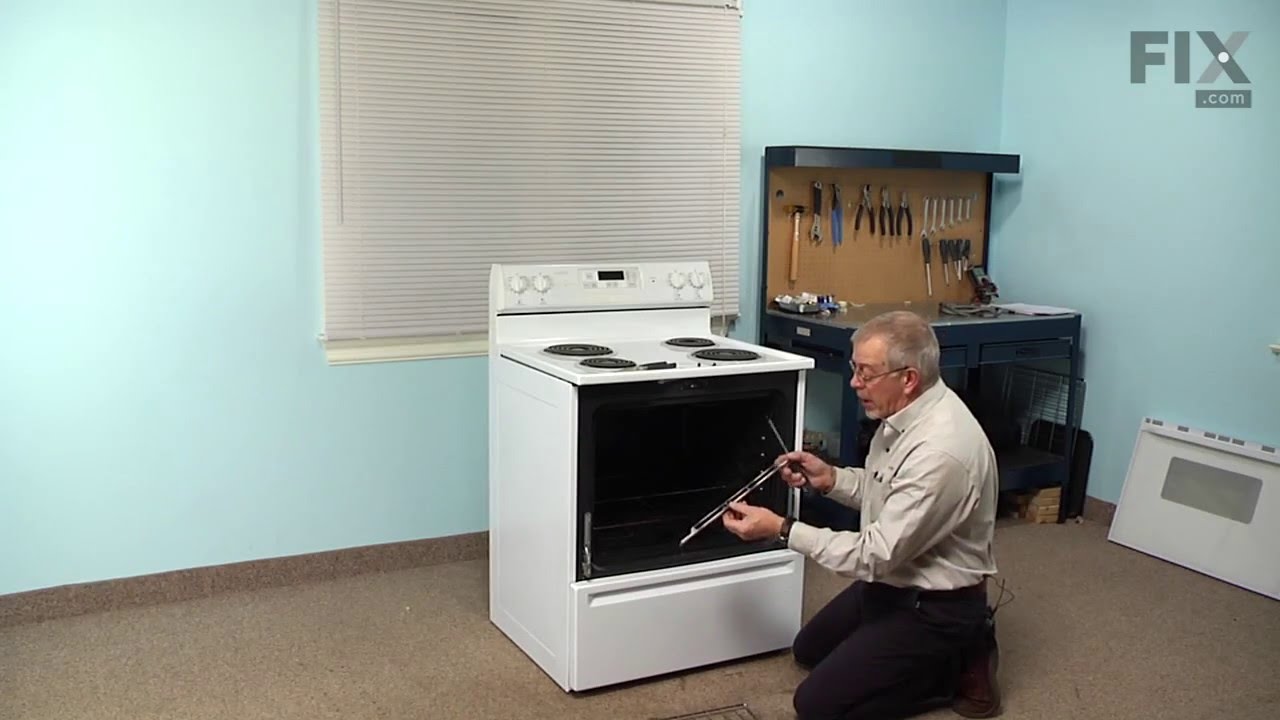

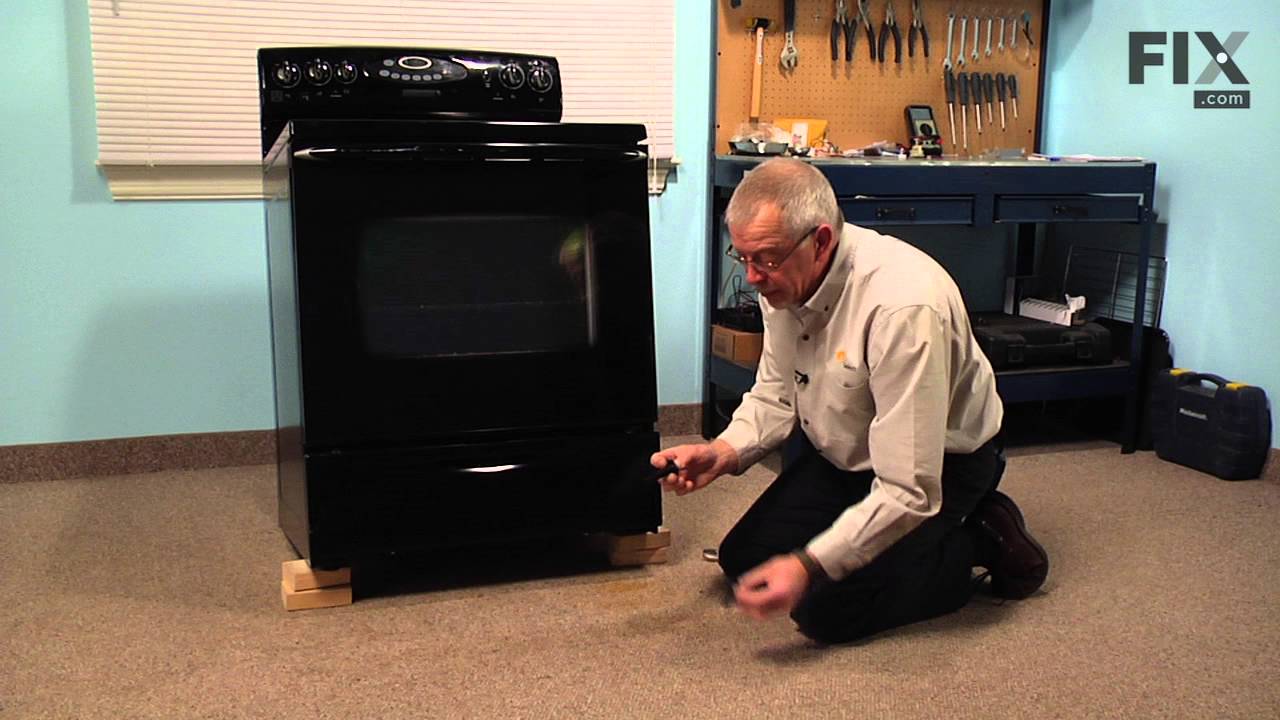
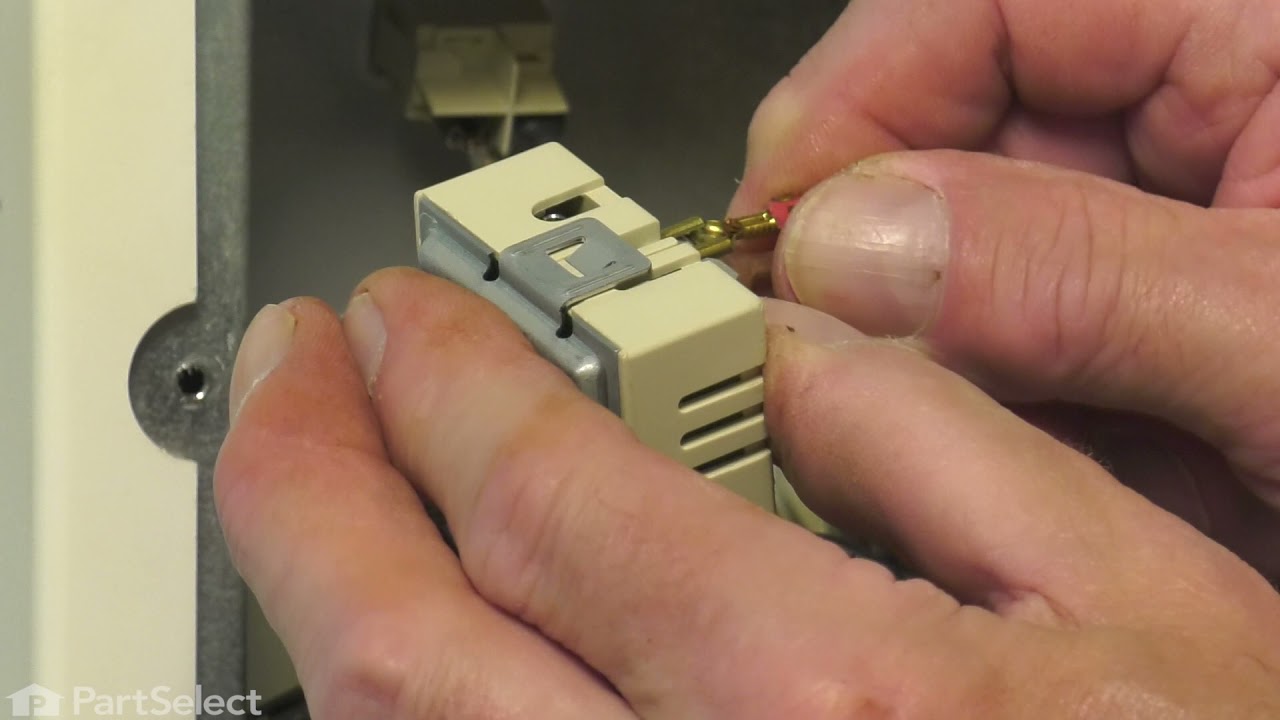
See how others fixed this model. Time, tools, difficulty, and steps that lead to victory!
View More