


 My Orders




6161 - Overview
Models starting with 6161
Click on the best match to narrow your results.
- 6161-30 (D07A) Milwaukee Angle Grinder (6" HP Angle Grinder With Paddle Switch)
- 6161-30 (D07B) Milwaukee Angle Grinder (Angle Grinder)
- 6161-31 (D08B) Milwaukee Angle Grinder (Angle Grinder)
- 6161-31 (D08A) Milwaukee Angle Grinder (6" HP Angle Grinder With Paddle Switch)
- 6161-33 (D09A) Milwaukee Angle Grinder (6" HP Angle Grinder With Slide Switch)
- 6161-33 (D09B) Milwaukee Angle Grinder (Angle Grinder)
- 61610 Charmglow Grill (BBQ)
- 61610 Arkla Grill (BBQ)
- 61610-1 Arkla Grill (BBQ)
- 61610-1 Charmglow Grill (BBQ)
- 61610-S Charmglow Grill (BBQ)
- 61610-S Arkla Grill (BBQ)
- 6161055980 Kenmore Grill (Gas Grill)
- 6161085980 Kenmore Grill (Gas Grill)
- 61611 Charmglow Grill (BBQ)
- 61611 Arkla Grill (BBQ)
- 61611-S Charmglow Grill (BBQ)
- 61611-S Arkla Grill (BBQ)
- 61612-1 Arkla Grill (BBQ)
- 61612-1 Charmglow Grill (BBQ)
- 61612-S Charmglow Grill (BBQ)
- 61612-S Arkla Grill (BBQ)
- 6161391 Kenmore Grill (Grill)
- 6161392 Kenmore Grill (Grill)
- 61614 Arkla Grill (BBQ)
- 61614 Charmglow Grill (BBQ)
- 61615-1 Arkla Grill (BBQ)
- 61615-1 Charmglow Grill (BBQ)
- 61615902 Kenmore Grill (Gas Grill)
- 6161847 Kenmore Grill (Outdoor Grill)
Enter a part description. DIY Heroes keep it simple, eg. "belt" or "pump".
Search filter:
Clear Filter
Your search term must have 3 or more characters.

$22.52
In Stock
Lid Switch
Part #W10820036
This washer/dryer lid or door switch kit serves as a critical safety component, designed to prevent the appliance from operating when the lid or door is open. It ensures that the washer does not fill or spin and the dryer does not start unless the door is securely closed, helping to avoid water spills and potential safety hazards. The kit...Read more includes all necessary components for installation and is compatible with a wide range of top-loading washers and front-loading dryers. Installation typically involves disconnecting power, accessing the control panel or door area, and replacing the switch using standard tools. The switch is compact and designed to fit seamlessly within the appliance’s housing, with dimensions approximately 2.5 inches in length, 1 inch in width, and 1 inch in height. It features a neutral color finish that blends with most appliance interiors.
Read less

$7.84
In Stock
Flange Nut
Part #44-40-0035
Genuine Milwaukee replacement part, this item is sold individually. This Flange nut is threaded on the spindle of the Milwaukee Grinders shown below. You first place the inner flange on the spindle , part number 43-34-0036. Then you place the grinding wheel of choice on the spindle. The Flange Nut is then threaded on the spindle preferably by using a spanner wrench which fits into the holes of the Flange Nut.

$9.64
In Stock
Inner Disc Flange
Part #43-34-0935
This is a genuine Milwaukee replacement part, sold individually. The Milwaukee 43-34-0935 Inner Disc Flange is placed on the spindle of the hand held grinder. Its purpose is to secure the grinding wheel to the spindle and act as a support for the grinding wheel, along with the Flange Nut (44-40-0035). This part is compatible with the Milwaukee Grinders that are shown below.

No Longer Available
Spanner Wrench
Part #49-96-7205
This is a genuine OEM approved replacement part used on Milwaukee angle grinders. This wrench allows you to secure or remove a grinding/cutting disk or wheel. Angular profile of this item makes tightening/loosening the flange nut easy. This spanner wrench is made from metal and it is sold individually.

$6.40
On Order
M4 X 14 T-20 Screw
Part #05-88-1210
This is a genuine OEM sourced replacement screw which is specially designed for use with Milwaukee angle grinders. It is a standard hardware which has multiple applications based on the model of your reel, please refer to the appropriate diagrams for the correct location and use of this screw. This high-quality metal Torx screw is sold in...Read moredividually, over time either the threads or the head socket may wear out eventually requiring a replacement.
Read less

$10.75
In Stock
Switch
Part #23-66-2665
This is a Genuine OEM Milwaukee Replacement Push Button Switch used for Angle Grinders. It includes the screws used to attach the Lead Wires. Switches are commonly replaced part in power tools. A switch handles all on/off and variable speed functions. They also have a role in electric breaking because they can momentarily reverse electric...Read moreal polarity. Since switches use mechanical internals, they tend to wear out over time and will eventually require replacement. A screw driver is needed to take the casing off of the tool to access the switch.
Read less

$23.81
In Stock
Power Cord
Part #22-64-3430
This is a Genuine Manufacturer Approved replacement part designed for some Milwaukee Power Tools. This item is sold individually. Due to the use or other factors a cord can crack or get damaged otherwise. It is important to replace a damaged cord before continuing to use a Power Tool. Please note Cord Protector/Sleeve is Sold Separately.

$17.63
In Stock
Side Handle Assembly
Part #42-62-0125
This is an authentic Milwaukee replacement part that is manufactured for use with angle grinders. This solid side handle is used to provided extra support and can be mounted to either side of the handle. The side handle is threaded so no tools are required to install it, and the handle is available as an individual replacement part.

$42.33
In Stock
Gearcase Assembly
Part #14-30-1156
This replacement gearcase assembly is a high quality item that is specially manufactured for Milwaukee angle grinders. It is an authentic item that is sourced from original equipment manufacturer and it is sold individually. It is the metal assembly that houses and protects the gears that help to drive the unit. Please note to replace this part you will need a screwdriver set.

$9.27
On Order
Side Handle Assembly
Part #42-62-0120
This replacement side-handle assembly is specially designed for Milwaukee angle grinders. It is an authentic OEM sourced item, not an aftermarket imitation. This side handle is secured to the grinder to provide a comfortable grip for the tool. It consists of a plastic handle and the threaded metal shaft. Replacing this item is very easy and it does not require any tools.

$32.94
In Stock
6" T 27 Guard Assembly
Part #14-32-0220

$7.47
Special Order
Terminal
Part #WP285432
Exact Part matches for your search term
No Longer Available
No Longer Available
Project Pro® PerfectMixTM Mold And Mildew Cleaner
This part number matches the current model number 6161
Part #6161
No Longer Available
No Longer Available
Project Pro Perfectmix Mold And Mildew Cleaner
This part number matches the current model number 6161
Part #6161
No Longer Available
No Longer Available
Common Symptoms of models starting with 6161
How this model fails, and the parts that fix it.
Will Not Start
Fixed by
these parts
these parts

Show All
Will not drain
Fixed by
these parts
these parts
Show All
Will not agitate
Fixed by
these parts
these parts
Show All
Won’t Start
Fixed by
these parts
these parts
Show All
Watch our pros, then fix it yourself.

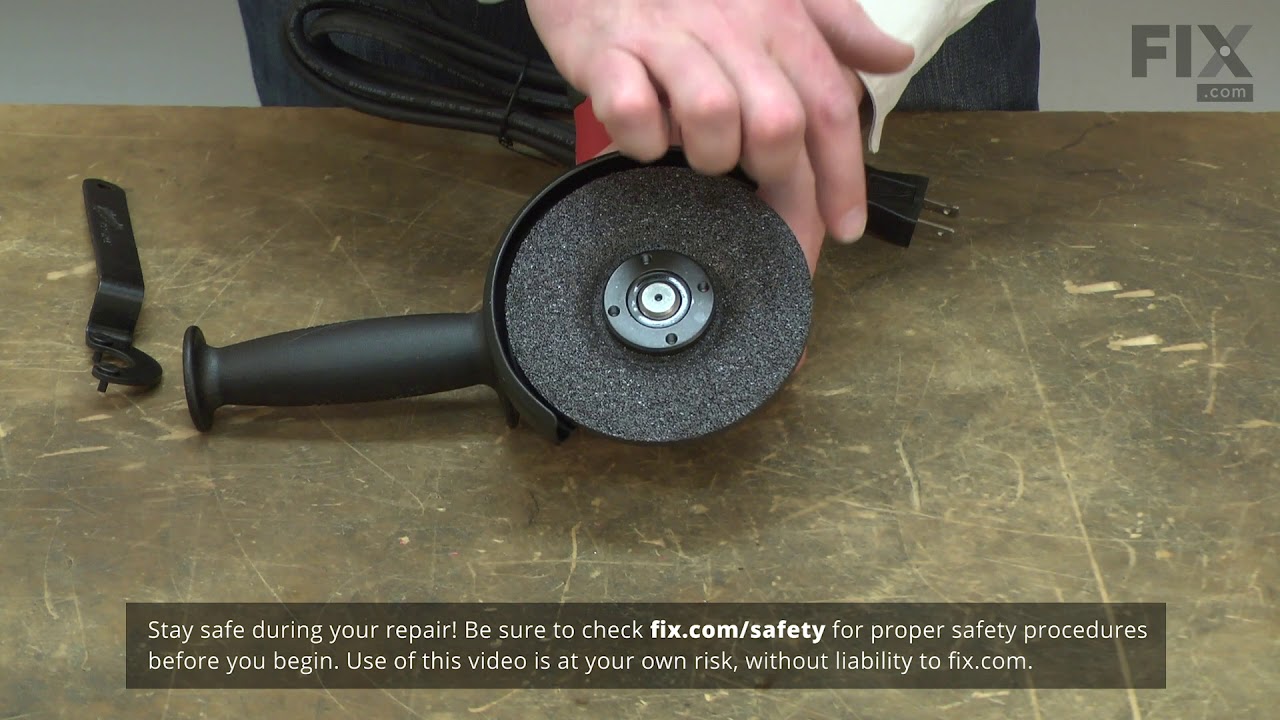
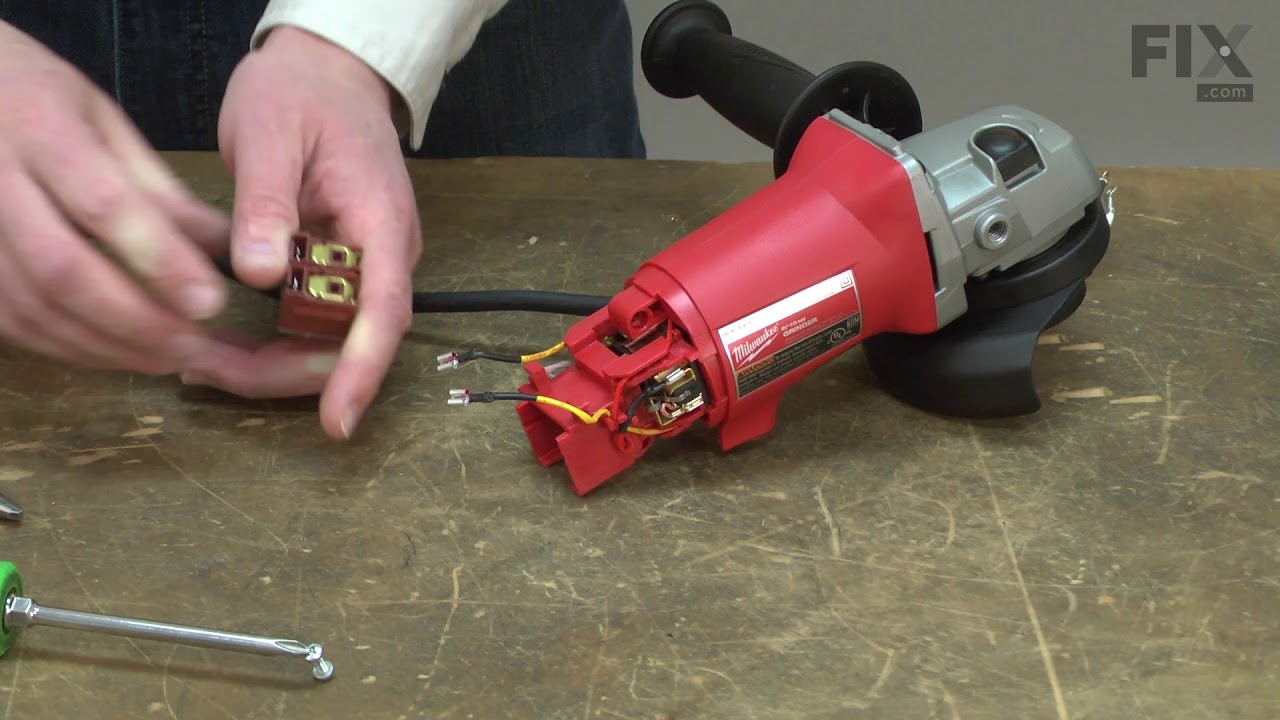
See how others fixed this model. Time, tools, difficulty, and steps that lead to victory!
View More