



EasyApplianceParts is now PartSelect! We've merged our sites to provide a better shopping experience for you.   Full Details

Find Parts

Parts Departments

Top Model Types

Top Brands

Repair Help

Expert Repair Videos

Keep typing for more specific results...

61281500 Kenmore Refrigerator - Overview

Diagrams for 61281500

See every part. Know exactly what you need.

Enter a part description. DIY Heroes keep it simple, eg. "belt" or "pump".

Search filter:
Clear Filter
Your search term must have 3 or more characters.
Shelf Support Stud - White – Part Number: 4388538
$25.75
In Stock
Shelf Support Stud - White
★★★★★
★★★★★
(10)
Part #4388538
This kit contains two options - One that is a push and turn and the other that is a screw in.
Refrigerator Door Shelf End Cap – Part Number: 4386917
$19.30
In Stock
Refrigerator Door Shelf End Cap
★★★★★
★★★★★
(19)
Part #4386917
This door shelf end cap set contains two white end caps. Each end cap can be used as either the right or the left side. These end caps also come with adhesive strips and an instructions sheet.
Door Shelf End Cap Set – Part Number: 4318297
$23.60
On Order
Door Shelf End Cap Set
★★★★★
★★★★★
(20)
Part #4318297
This door shelf end cap set contains two white end caps and adhesive tape.
Evaporator Fan Motor Kit – Part Number: 482469
$103.33
In Stock
Evaporator Fan Motor Kit
★★★★★
★★★★★
(5)
Part #482469
This refrigerator evaporator fan motor kit comes with a wiring harness and a four-inch push on fan blade. If your current evaporator fan motor has shorted out and does not circulate the cold air from the freezer into the fresh food compartment, or you notice that your refrigerator is too warm, you may have to replace the evaporator fan. The evaporator fan motor is located behind the back panel of your freezer. You will need to remove any shelves, as well as the back panel to access this part for repair. Be sure to disconnect the power source from the refrigerator before you begin this repair.
Cleaning Brush – Part Number: 4210463RW
$29.27
In Stock
Cleaning Brush
Part #4210463RW
Cleaning brush for coils on refrigerator and freezers, dryer lint filter housings, and more.
Door assembly – Part Number: 1005
No Longer Available
Door assembly
Part #1005
Harness – Part Number: 1008
No Longer Available
Harness
Part #1008
Tube – Part Number: 1016
No Longer Available
Tube
Part #1016
SUPER OIL 4 OZ NLA – Part Number: L1004
No Longer Available
SUPER OIL 4 OZ NLA
Part #L1004

Common Symptoms of the 61281500

How this model fails, and the parts that fix it.

Watch our pros, then fix it yourself.
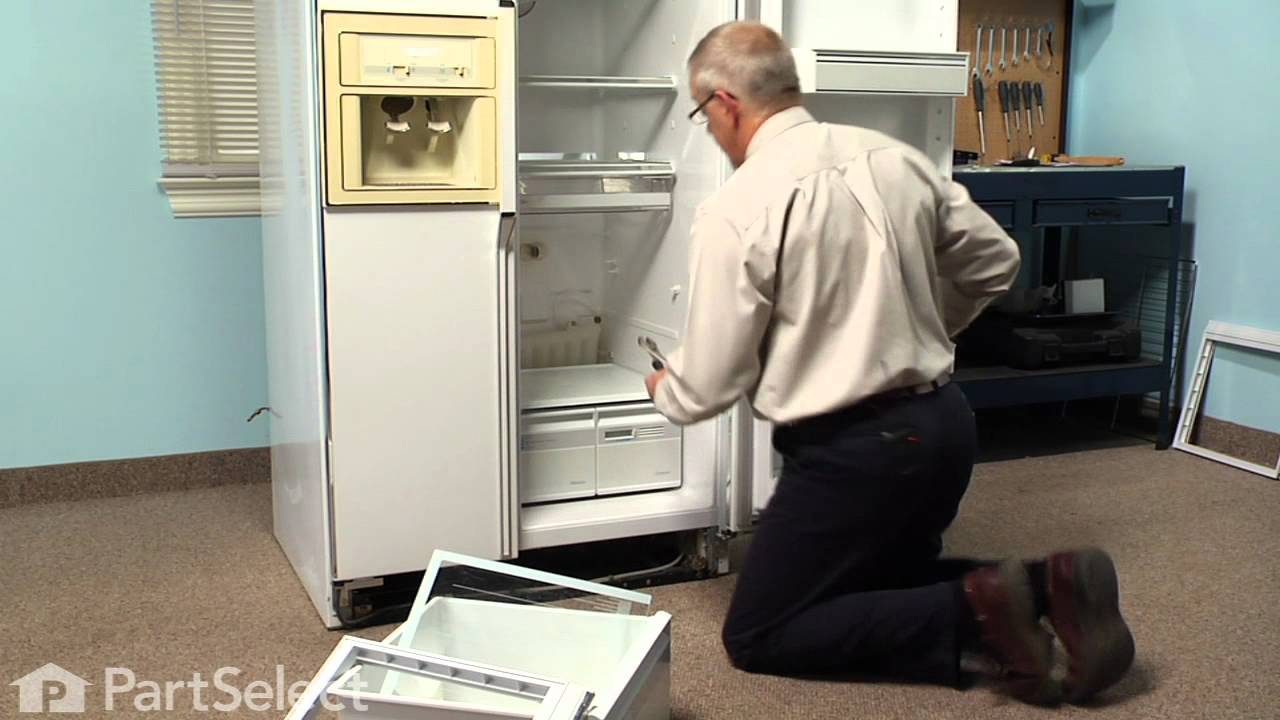
See how others fixed this model. Time, tools, difficulty, and steps that lead to victory! View More

Search repair tips from other customers using simple keywords like "replace", "fit", "remove", "inspect". DIY doesn't mean you have to do it alone!

Search filter:
Clear Filter
Your search term must have 3 or more characters.
The studs to hold the shelf were broken
67 of 73 people found this instruction helpful.
  • Pavel from Norwalk, CT
  • A Bit Difficult
  • 15 - 30 mins
  • Pliers
The hardest part was to figure out how to remove the old studs and put in new ones. I figured out finally that they should be twisted out and in., Simple online or printed insruction would be very helpful. Unfortunatelly the manual does not contain any repair information.
I fixed it with little trouble.
Was this helpful?
Thank you for voting!
fan motor was loud,sqeal,would not get cold
35 of 42 people found this instruction helpful.
  • Thomas from Monsey, NY
  • Easy
  • 15 - 30 mins
  • Pliers, Screw drivers
Very easy, hardest part was taking panels out of way. 20 min. to finish. After repair it works like new.About 20 years old.
Was this helpful?
Thank you for voting!
Shelf support stub for crisper broke
24 of 26 people found this instruction helpful.
  • edna from las vegas, NV
  • Really Easy
  • Less than 15 mins
  • Pliers
I had read here from someone that fixed there shelf support stub and it was very loose, so I was trying to advoid that problem. It took me less then 5 minutes and my only tool was a pair of pliers. A short turn clock wise from the 9 on a clock to the 12 ( which is the top left corner ). then pull the broke shelf stub straight out. Put t he new shelf support in the same way you took the old one out and turn counter clock wise 1/4 or from 12 back to 9 and you should have a tight fit. I hope this helped.
Was this helpful?
Thank you for voting!