


 My Orders




60W Maytag Washer Dryer Combo - Overview
Diagrams for 60W
See every part. Know exactly what you need.
.gif "CABINET REMOVED (60W - 61W) Diagram and Parts List for Maytag Washer Dryer Combo")
Enter a part description. DIY Heroes keep it simple, eg. "belt" or "pump".
Search filter:
Clear Filter
Your search term must have 3 or more characters.

$38.96
In Stock
Bake Element - 240V 2100W
Part #326791
This lower oven bake element is a high-performance heating component designed for electric ranges and wall ovens. Located at the bottom of the oven cavity, it delivers 2100 watts of power at 240 volts to provide consistent heat for baking. Engineered for durability and even heat distribution, this element is a direct replacement for units...Read more that are burned out, broken, or producing uneven results. Common symptoms of a failing element include weak or no heat, inconsistent baking, or visible damage. Replacing the bake element restores proper oven function and ensures reliable cooking performance.
Read less

$7.47
In Stock
Dishwasher Detergent Lid Spring
Part #WP8066018
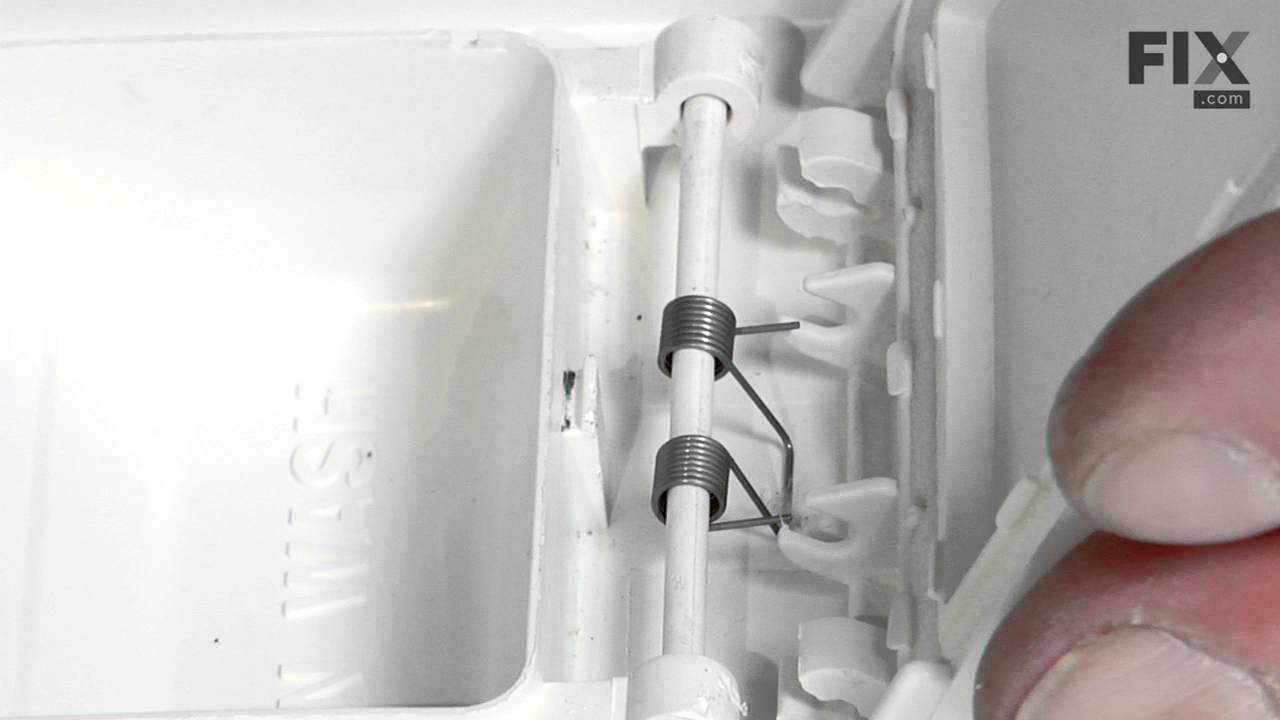
The dishwasher lid spring helps open the dispenser cover in the soap box when the control releases the latch. If your dishwasher does not dispense detergent, is broken and worn out, or the door is not opening properly, replacing the dispenser spring could be the solution. For this replacement you will need needle nose pliers. First, relea...Read morese the cover on the detergent dispenser, then remove the cover from the shaft it hinges on. Pull the shaft from one side and remove the spring from the shaft. Next, replace with the new spring and engage the two open hooks into the soap cover. Finally, grasp the hook and pull it over tab on the side of the wash cup. Verify that it works properly by opening and closing the cap. Refer to the manual provided by the manufacturer for further instructions.
Read less

$47.40
In Stock
Dishwasher Faucet Adapter
Part #WPW10254672
The faucet adapter for your portable dishwasher or washing machine attaches to the faucet and allows you to connect the machine to the tap. Before you install the faucet adapter on your taps, be sure that it fits the coupler on your dishwasher or washer. As per the factory, this is used for faucets with inside or outside threads. For fema...Read morele connection (outside) just remove the washers. This adapter is approximately 1 inch in length, and slightly less than one inch in diameter. This adapter comes with two different thicknesses of rubber washer. You will not need to use both so be sure to determine which thickness works best for your tap before installing it.
Read less

$11.77
In Stock
Rubber Foot Pad
Part #WP210684
The leveling leg pad or foot pad fits over the leveling leg on your washing machine. The foot pad is designed to protect your floor and keep the washing machine level and in place. This foot pad is just over an inch in diameter. It is made entirely of rubber and is gray in color. This pad is intended for use with washers and some dryers. ...Read moreMany of our customers have rated this repair as very easy. To complete the repair, turn the old leg counter clockwise to remove it. Then, simply remove the old pad and replace it with the new one. Finally, re-attach the leg by turning clockwise. Ensure that the washer is level, and adjust the leg accordingly if it is not.
Read less

$17.15
In Stock
Adjustable Leveling Leg
Part #22003428
If your washer shakes or vibrates loudly when it reaches its max speed, make sure the 4 levelling legs are even. Adjust the legs so that the machine is level, and tighten the locking nuts on the legs that are threaded. Your washer should be kept as close to the floor as possible. Your model might have rear legs that level themselves, or i...Read moret might have threaded legs all around. Make sure the rubber feet have not worn out. Replace any missing or damaged legs and feet. This genuine OEM replacement part is sold individually, so be sure to order the amount you need.
Read less

$35.80
On Order
Detergent Dispenser Cover Kit
Part #4387043
This kit also includes the lid hinge pin, spring, snap and latch.

$9.62
In Stock
Hose Clamp
Part #WP285655
The hose clamp is used to hold the water hose in place which will prevent the hose from leaking water. Sometimes the clamp may lose its ability to latch on, causing a leaking washer. For the installation, you will need a flat head screw driver to replace the clamp and a drill to access the screws to remove the front of the washer. Be care...Read moreful if you do not have specific clamp pliers as the clamp could fly off. Once the front of the washer has been removed, take a quick look for water damage or any obvious signs of where the leak is coming from. If it is not obvious, run water to test.
Read less

$36.85
In Stock
Spray Paint - 12 oz. - White
Part #350930
Appliance spray paint is a great way to cover up any chips and scratches that have appeared on your appliances. Instead of replacing the part entirely, this is an easy fix. This is also a great way to give a fresh new look to any handles or areas that have discoloring due to wear. Make sure to clean the area before you begin and wear a pr...Read moreotective mask for safety. Give the can a good shake and spray a few inches away from the surface. Apply the paint until the area is fully covered as desired. Wait until the paint has dried before using the appliance.
Read less

No Longer Available
Washer Inlet Hose Washer
Part #WPY013783
This inlet hose washer, also known as a high pressure inlet hose washer, is used in washing machines, refrigerators, freezers, and dishwashers. The function of this part is to create a watertight seal in the appliance. If your gasket gets dry and brittle over time it will start to crack and will lose its function. In this case, it is impo...Read morertant to replace it. Refer to the manual provided by the manufacturer for further installation instructions and accurate guidance. As a safety precaution, remember to unplug your washer from the power source before beginning.
Read less

No Longer Available

No Longer Available
Hose Washer and Screen Insert Kit
Part #12001413
The hose washer in this washer and screen insert kit is an inch in diameter. The insert is all blue in color and is made entirely of plastic, while the washer is all black in color and made entirely of rubber.

$8.17
In Stock
Refrigerator Screw
Part #WP12990527
Common Symptoms of the 60W
How this model fails, and the parts that fix it.
Will not dispense detergent
Fixed by
these parts
these parts


Show All
Leaking
Fixed by
these parts
these parts


Show All
Little to no heat when baking
Fixed by
these parts
these parts

Show All
Door latch failure
Fixed by
these parts
these parts
Show All
Element will not heat
Fixed by
these parts
these parts
Show All
Not cleaning dishes properly
Fixed by
these parts
these parts
Show All
Oven not heating evenly
Fixed by
these parts
these parts
Show All
Will not fill with water
Fixed by
these parts
these parts
Show All
Door won’t close
Fixed by
these parts
these parts
Show All
Will not drain
Fixed by
these parts
these parts
Show All
Watch our pros, then fix it yourself.

See how others fixed this model. Time, tools, difficulty, and steps that lead to victory!
View More