


 My Orders




6070 - Overview
Models starting with 6070
Click on the best match to narrow your results.
- 6070 (SER 818A) Milwaukee Sander Grinder (7" 8000 R.P.M. Grinder)
- 6070 (SER 818-1001) Milwaukee Sander Grinder (7" 8000 RPM Grinder)
- 6070 Kenmore Food Waste Disposer (Kenmore Garbage Disposer 6070)
- 6070 Pflueger Fly Reels (Medalist Reel)
- 60700 Briggs and Stratton Engine (Engine)
- 60700SERIES Briggs and Stratton Engine (Engine)
- 6070D Makita Cordless Drill (Cordless Drill)
Enter a part description. DIY Heroes keep it simple, eg. "belt" or "pump".
Search filter:
Clear Filter
Your search term must have 3 or more characters.

$6.40
In Stock
Leveling Foot
Part #49621
If your washer shakes or vibrates loudly when it reaches its max speed, check that the leveling legs are even. To ensure that the washer is firmly on the ground using all four legs, adjust the legs so that the machine is level, and tighten the locking nuts on the legs that are threaded. Keep the washer as close to the floor as possible. Y...Read moreour model might have rear legs that level themselves, or it might have threaded legs all around. Make sure the rubber feet have not worn out. Replace any missing or damaged legs and feet. This replacement part is sold individually.
Read less

$6.40
On Order
Grommet
Part #692187
This grommet is an OEM part that is a 45-degree elbow for the crankcase breather tube of your mower engine. That is why it is also known as a 45-degree breather tube.
The part is made of rubber and is black in color. You must purchase this part individually. Your grommet may require replacing if you notice dark smoke coming out of the e...Read morexhaust. This is a telltale sign that your grommet has become cracked and damaged. Other symptoms are a reduction in the mower performance, or a backfiring engine. According to our customers, this is an easy repair.
It requires no tools. Simply attach the grommet to the breather tube from the crankcase to the carburetor.
Read less

No Longer Available
Spring-rewind Str
Part #490179
This rewind starter spring or as it is also known, recoil spring, rewinds the pull robe back into the starter housing of your engine. The spring is made of metal, silver colored, and sold individually.
Over time, you may notice that you are having trouble retracting your pull cord, which could be a symptom of the rewind starter spring f...Read moreailing due to fatigue or wear. Replacing this part is a repair our customers found easy.
Locate and replace the start spring inside the starter housing; no special tools are required for this job.
Read less

$7.47
In Stock
Seal-oil
Part #299819S
This OEM Oil Seal is an individually sold rubber part which is attached around the axis shaft on the crankcase housing to provide a proper seal. A broken seal will lead to a leak, and the part should be replaced. Installation is rated as "Medium" difficulty by customers, and will require a screwdriver, wrenchset and seal puller. Refer to ...Read moreyour make, model and diagrams to ensure you've chosen the correct part. This model comes in black and grey.
Read less

$6.40
In Stock
Gasket-intake
Part #27355S
This is an authentic manufacturer sourced replacement part designed for use with a variety of lawn and garden equipment. This carburetor intake gasket which provides an air tight seal for the carburetor. Over time gaskets tend to deteriorate and would need to be replaced. It is made out of compound material and it is sold individually. You would need a screwdriver to replace this item.

$6.40
In Stock
Gasket-breather
Part #27549S
The Breather Gasket is OEM and used to provide an airtight seal for the breather assembly. It is a gray part, attached between the breather cap and engine. Installation is rated "Easy" and will require a wrench set and socket set. If broken, damaged, or worn due to fatigue, there may be oil leaking from it, and the engine may be running r...Read moreough from an unwanted vacuum sucking in air. If this happens, replace the part. Refer to your make, model and diagrams to ensure this is the correct part for you.
Read less

$6.40
In Stock
Engine Spark Plug Boot
Part #66538S
This spark plug boot is a genuine OEM Briggs & Stratton replacement designed to fit securely over the spark plug, protecting the connection from moisture, dirt, and debris. Its durable, elbow-style design helps ensure reliable ignition and easy installation, making it an ideal replacement when a cracked, loose, or worn boot causes hard starting, misfires, or inconsistent engine performance.

$6.40
In Stock
Screw
Part #690837
This replacement screw is a genuine OEM sourced hardware designed for use with Briggs and Stratton engines commonly installed on Toro lawn and garden equipment. It has multiple applications depending on the unit. Please always make sure to check appropriate diagrams for correct location and use of this hardware. This metal screw is sold individually.

No Longer Available
Filter-a/c Foam
Part #27987S
This air cleaner element is supplied from original manufacturer. It is specially designed for use with Briggs and Stratton engines used on lawn and garden equipment. It is used to filter out dust from entering the carburetor and the engine. This filter element is made out of foam material and it is sold individually. Please note, the air ...Read morecleaner cartridge is sold separately. Replacing this filter is a simple task that does not require any tools. • Unscrew the cover knob • Remove the cover • Remove old element • Secure the new element in place • Reassemble and test the unit
Read less

No Longer Available
Ball-Clutch
Part #691604
The clutch ball allows the center part of the ratchet to turn backwards freely but catch when turned forward in your engine. This is an OEM part that is made of metal, and it is silver in color.
This part will break due to fatigue and wear, and you will know if the part needs replacing if it is no longer able to swing outward to catch t...Read morehe outside of the clutch to start the engine. If this occurs, it is time to replace the clutch ball, which our customers found to be a challenging repair.
Read less

$7.85
In Stock
Seal-oil
Part #391483S
This is an authentic replacement part manufactured for use with small engines. This oil seal keeps oil inside the crankcase, and seals the shaft. It is recommended to replace the crankcase gasket when servicing the case, the gasket is available separately. The oil seal is sold individually.

No Longer Available
Ignition Set
Part #294628
Exact Part matches for your search term

No Longer Available
No Longer Available
$21.89
Special Order
$41.81
Special Order
Common Symptoms of models starting with 6070
How this model fails, and the parts that fix it.

Watch our pros, then fix it yourself.
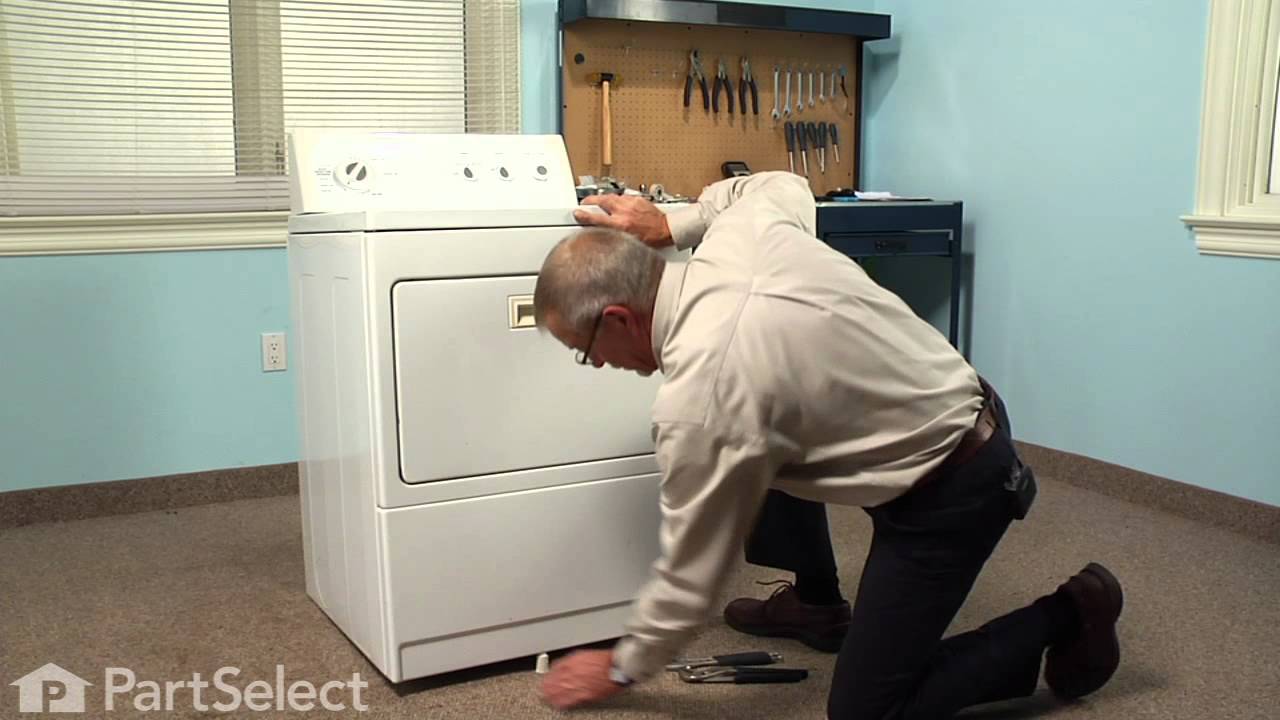
See how others fixed this model. Time, tools, difficulty, and steps that lead to victory!
View More