



 My Orders




5Z598C (Type 1) DeVilbiss Compressor - Overview


Enter a part description. DIY Heroes keep it simple, eg. "belt" or "pump".
Search filter:
Clear Filter
Your search term must have 3 or more characters.

No Longer Available
DRAIN VALVE
Part #N286039
Frequently referred to as a Drain Plug, this Drain Valve is used to drain any condensation that has collected inside the tank to prevent the tank from rusting. It is not part of a kit or assembly, is sold individually, made of brass, is gold, and will be found at the bottom of the air tank.
This part will need to be replaced when it is ...Read moreno longer able to provide a proper seal, or if it is visibly worn or damaged. You will need a wrench to complete this repair.
Customers rate this repair as Easy.
Read less

$86.76
In Stock
KIT COMP RING REPLAC
Part #K-0650
Restore air pressure in a compatible oil free air compressor with this cylinder service kit, it includes a cylinder sleeve, compression ring, piston rod screw, and two sealing rings, replace worn parts when the compressor runs but makes little or no air, unplug the compressor and release all tank pressure before repair, check the model and type number before ordering.

$14.23
In Stock
Fan Blade
Part #AC-0108
This fan is an exact replacement part for use in air compressors and is sourced directly from the manufacturer. It is made of durable black plastic and is used to cool the compressor during operation. It is not part of a kit or assembly and is sold individually.
This part is located on the end of the motor shaft and will be visibly brok...Read moreen or worn when it needs to be replaced. You will need a screwdriver, a socket set, and a drill to complete this repair.
Customers rate this repair as Easy.
Read less

$70.30
In Stock
ASSY VALVE PLATE
Part #Z-AC-0032
Sourced directly from the manufacturer, this part is an exact replacement for various air compressors. Its primary purpose is to control the airflow through the pump. This part is an assembly that includes the plate gasket and seals.
When this part is malfunctioning, the tank will take longer to fill or will not be able to fill at all. I...Read moret will need to be replaced once it becomes damaged or worn. You will need a wrench set and a socket set to complete this repair.
Customers rated this repair as Easy.
Read less

$6.40
In Stock
ORING P/L HEAD
Part #ACG-45
O-rings are made to contain thousands of PSI pressure by creating a seal between two or more parts. O-ring measurements are defined by the inside diameter and the thickness. rnrnThere are many causes for O-Ring failure. The most common among power tools are: • Extrusion and Nibbling - The O-ring has ragged, tattered edges. ...Read moreThese are commonly caused by pressure spikes which shear off tiny "bites" from the o-ring, or caused by clearance gaps. • Abrasion - One or both sides of the o-ring appear rough and slightly flattened. Commonly caused by a contact surface that it too rough, contains grit or is too smooth to allow lubrication. • Over Compression - The O-ring is flattened on both sides and may have a "ring" split along its length. Commonly caused by excessive pressure or heat. • Heat Hardening - The O-ring has a pitted or cracked surface, and is often flattened on both sides. Caused by temperature exceeding o-ring capacity. • Weather/Ozone Cracking - The O-ring is covered in small surface cracks. Caused by exposure to ozone, UV rays and air pollution. Excessive seal stretching (greater that 5%) causes similar cracking.
Read less

$33.29
In Stock
REGULATOR 3PORT P2 L
Part #CAC-4296-1
This replacement regulator is a high quality item that is supplied from original equipment manufacturer for use with air compressors. It allows user to adjust the pressure of the air coming from the tank to the desired level. Make sure to unplug the air compressor release all the air from the tank before installing this part. Please note ...Read moreone durable metal three port regulator with a plastic knob is included per order.
Read less

$8.04
In Stock
ORING 2.759/2.719ID
Part #SSG-8156
O-rings are made to contain thousands of PSI pressure by creating a seal between two or more parts. O-ring measurements are defined by the inside diameter and the thickness. There are many causes for O-Ring failure. The most common among power tools are: • Extrusion and Nibbling • The O-ring has ragged, tattered edges. Thes...Read moree are commonly caused by pressure spikes which shear off tiny "bites" from the o-ring, or caused by clearance gaps. • Abrasion • One or both sides of the o-ring appear rough and slightly flattened. Commonly caused by a contact surface that it too rough, contains grit or is too smooth to allow lubrication. • Over Compression • The O-ring is flattened on both sides and may have a "ring" split along its length. Commonly caused by excessive pressure or heat. • Heat Hardening • The O-ring has a pitted or cracked surface, and is often flattened on both sides. Caused by temperature exceeding o-ring capacity. • Weather/Ozone Cracking • The O-ring is covered in small surface cracks. Caused by exposure to ozone, UV rays and air pollution. Excessive seal stretching (greater that 5%) causes similar cracking.
Read less

No Longer Available
FILTER INTAKE
Part #DAC-143
This is an authentic OEM part. The filter is used with air compressors from Porter Cable, DeVilbiss, and Black & Decker. The foam filter is used to prevent dirt and debris from entering and potentially damaging the pump. A hex driver, or screwdriver may be needed to install this item and it is sold individually.

$10.70
In Stock
Valve
Part #D20114
This safety valve is a genuine replacement part manufactured for use with air compressors. If the compressor's pressure switch malfunctions, and does not turn the motor off when the amount of pressure is met, the safety valve will open to release the extra air pressure. The amount of pressure required to open the safety valve is set by te...Read morension of the spring inside the valve. The spring can wear out, and leave the valve open at a lower pressure than what is set to turn the switch off, and will not allow pressure to build inside the tank. This safety valve has a thread sealant pre-applied, so additional thread sealant is not required, the safety valve is sold individually.
Read less

$6.40
In Stock
BUMPER RECESS RUBBER
Part #SST-5314-1
This part is sold individually and helps to support the compressor. The rubber bumper recess attaches to the tank. A screwdriver may be helpful when replacing this part. It may become broken and will need to be replaced. This is an OEM part directly sourced from the manufacturer for use in compressors made by Porter Cable, DeVilbiss, Black & Decker, DeWALT, and Bostitch.

No Longer Available
VALVE CHECK 1/2NPT X
Part #A19711
This is an authentic OEM part for use with Craftsman Compressors. The check valve lets pressurized air flow into the tank and prevents air from flowing back into the pump. A failed check valve will apply high air pressure to the head of the pump preventing the motor from restarting once the tank has filled. The most common reason for repl...Read moreacing the check valve is if the motor starts with an empty tank but won't start when the tank is full. This part is sold individually. The tool that you will need to replace the check valve is an adjustable wrench and Teflon tape.
Read less

$6.40
In Stock
SCREW .250-20X.750 U
Part #SSF-586
It is a genuine manufacturer-sourced replacement screw which is specially designed for use with air compressors. This is a standard hardware which has multiple applications depending on the model of your unit, make sure to check appropriate diagrams for the correct location and use of this item. It is a high-quality hex head screw which i...Read mores made of durable metal and it is sold individually, over time the threads may wear out eventually requiring a replacement.
Read less
Common Symptoms of the 5Z598C
How this model fails, and the parts that fix it.


Watch our pros, then fix it yourself.
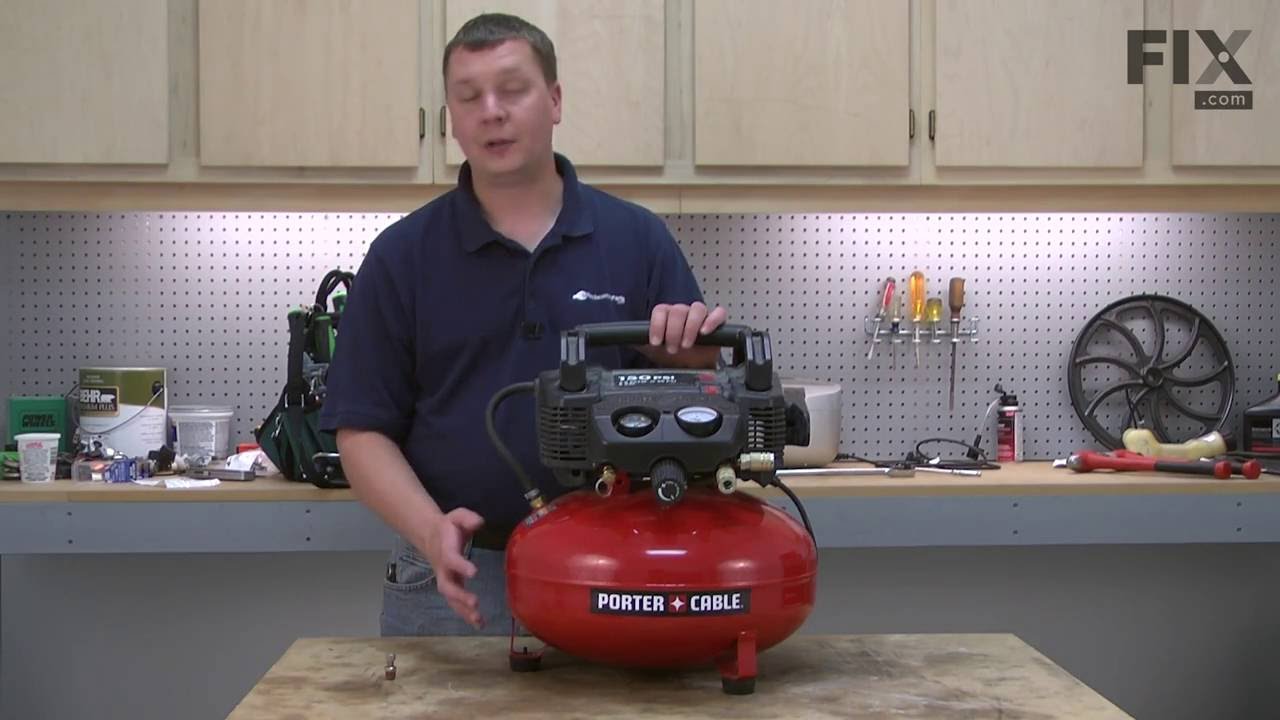
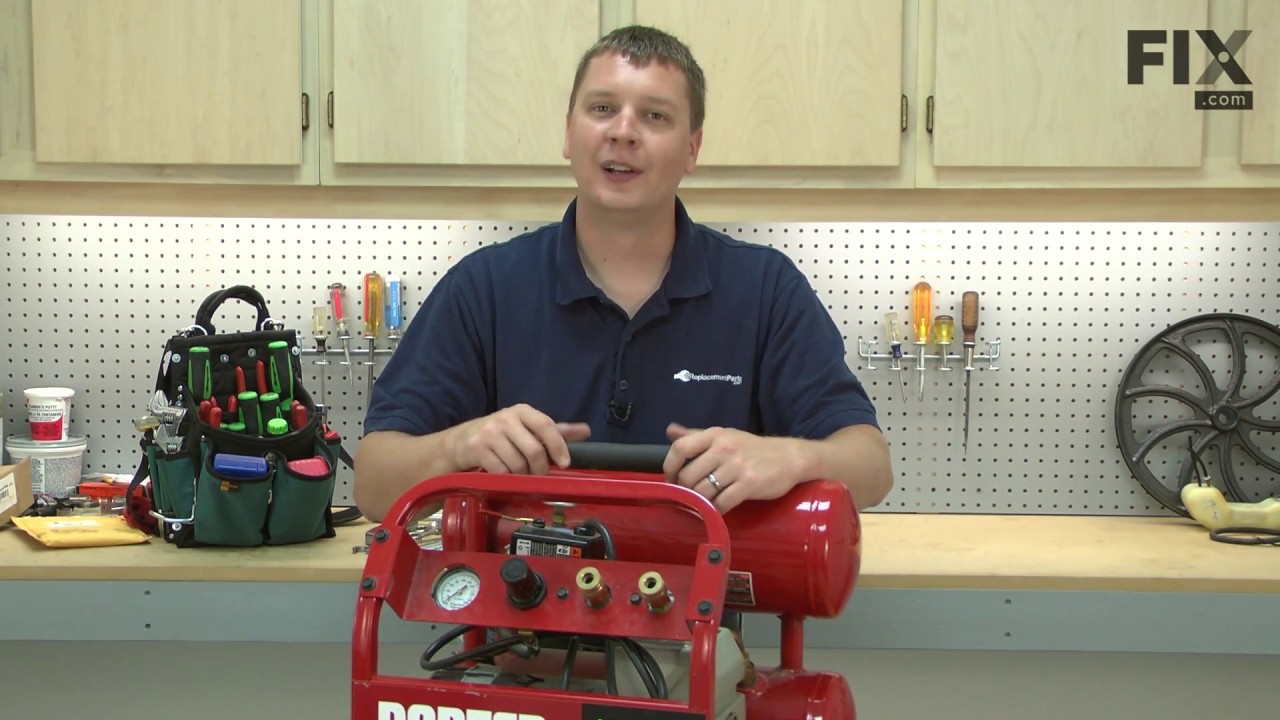
See how others fixed this model. Time, tools, difficulty, and steps that lead to victory!
View More