


 My Orders




5VM1BXGFYA00 Maytag Refrigerator - Overview
Diagrams for 5VM1BXGFYA00
See every part. Know exactly what you need.


Enter a part description. DIY Heroes keep it simple, eg. "belt" or "pump".
Search filter:
Clear Filter
Your search term must have 3 or more characters.

$17.15
In Stock
Refrigerator Air Filter
Part #W10311524
This Refrigerator Air Filter is a white 1.8x3.2" plastic filter which neutralizes odor and bacteria in the air. It should be replaced every six months at a minimum. Refer to your user manual and model number to see if this filter is right for your fridge. Location for storage of the air filter may vary from model to model, but generally, ...Read moreyou will find a small cover on the back-middle-top of your fridge, which can be popped off to reveal the air filter, which can be easily changed out from there. This part does not come sold with the indicator; it is the filter only. Sold individually.
Read less

$30.53
In Stock

$18.22
In Stock
Produce Preserver Filter
Part #W10346771A
Fresh Flow Produce Preserver is made for your refrigerator to help keep produce fresh for longer by absorbing the chemical, ethylene, that causes your fruits and vegetables to ripen quicker. Your produce could be fresh for up to 4 days longer. It includes 2 packs of preserver and a status indicator strip. Replace every 6 months.

No Longer Available
Touch-Up Paint - White
Part #72017
This touch-up paint can be used on a wide variety of household appliances. It is most often used on washers, dryer, refrigerators, dishwashers, ranges, freezers, trash compactors, or microwaves. It is an 18 ml, or.6 fluid ounces, bottle of touch-up paint. It also features a brush for easy application. This quick-drying, long-lasting paint...Read more is perfect for fixing any nicks, scratches, or chips on the exterior of your appliance. This paint is white in color, and provides a durable finish.
Read less

$11.77
In Stock

$12.85
In Stock
BRACKET-DOOR STOP,ZINC
Part #W11745278
This hinge bracket, also known as a door stop, is attached to the bottom of the door and is used to limit how far the door swings out to protect the refrigerator itself, and any surrounding cabinets from potential damage. If your fridge is having issues opening or staying closed, check the hinges for any damage or cracking. To replace thi...Read mores bracket, simply remove the door off your refrigerator, unscrew and remove this bracket from the bottom of the door, and install the new one. This hinge bracket is an OEM replacement and is compatible with several different makes and models of refrigerator.
Read less

$9.62
In Stock
Refrigerator Track - Right Hand Side
Part #WPW10468556
This right-hand refrigerator crisper drawer slide rail provides stable support and smooth operation for drawers and shelves within the fresh food compartment. Made from durable white plastic, it mounts securely to the right interior wall of the refrigerator and helps ensure the drawer glides properly during everyday use. Replacing a worn,...Read more cracked, or damaged slide rail can help resolve issues such as sticking drawers, difficulty opening or closing, excessive movement, or unusual operating noise. Installation typically involves removing the crisper drawer and shelf assembly, detaching the existing right-hand rail, securing the replacement rail in place, and reinstalling the drawer components. For best results, inspect the left-hand rail and other drawer support components for wear and replace any damaged parts as needed to restore smooth, reliable drawer operation.
Read less

$64.69
In Stock
Door Bin
Part #WPW10308869
This clear plastic door bin attaches to the inside of the refrigerator door and holds jars and bottles. Door bins can crack and break due to frequent and heavy use, and faulty bins should be replaced.

$17.15
In Stock
Refrigerator Track
Part #WPW10468555
This track is a genuine OEM replacement part for your refrigerator. It is made of white plastic. The track supports the shelf within your fridge, and can be snapped in and out of place, which makes replacing this part very easy. Simply remove the shelf which is supported by the track, and replace your old track with the new one.

$7.47
In Stock

$7.47
In Stock

$7.47
In Stock
Common Symptoms of the 5VM1BXGFYA00
How this model fails, and the parts that fix it.
Light not working
Fixed by
these parts
these parts


Show All
Door won’t open or close
Fixed by
these parts
these parts


Show All
Fridge too warm
Fixed by
these parts
these parts


Show All
Noisy
Fixed by
these parts
these parts

Show All
Frost buildup
Fixed by
these parts
these parts

Show All
Freezer not defrosting
Fixed by
these parts
these parts
Show All
Fridge too cold
Fixed by
these parts
these parts
Show All
Leaking
Fixed by
these parts
these parts

Show All
Ice maker not making ice
Fixed by
these parts
these parts

Show All
Too warm
Fixed by
these parts
these parts
Show All
Clicking sound
Fixed by
these parts
these parts
Show All
Door Sweating
Fixed by
these parts
these parts
Show All
Watch our pros, then fix it yourself.
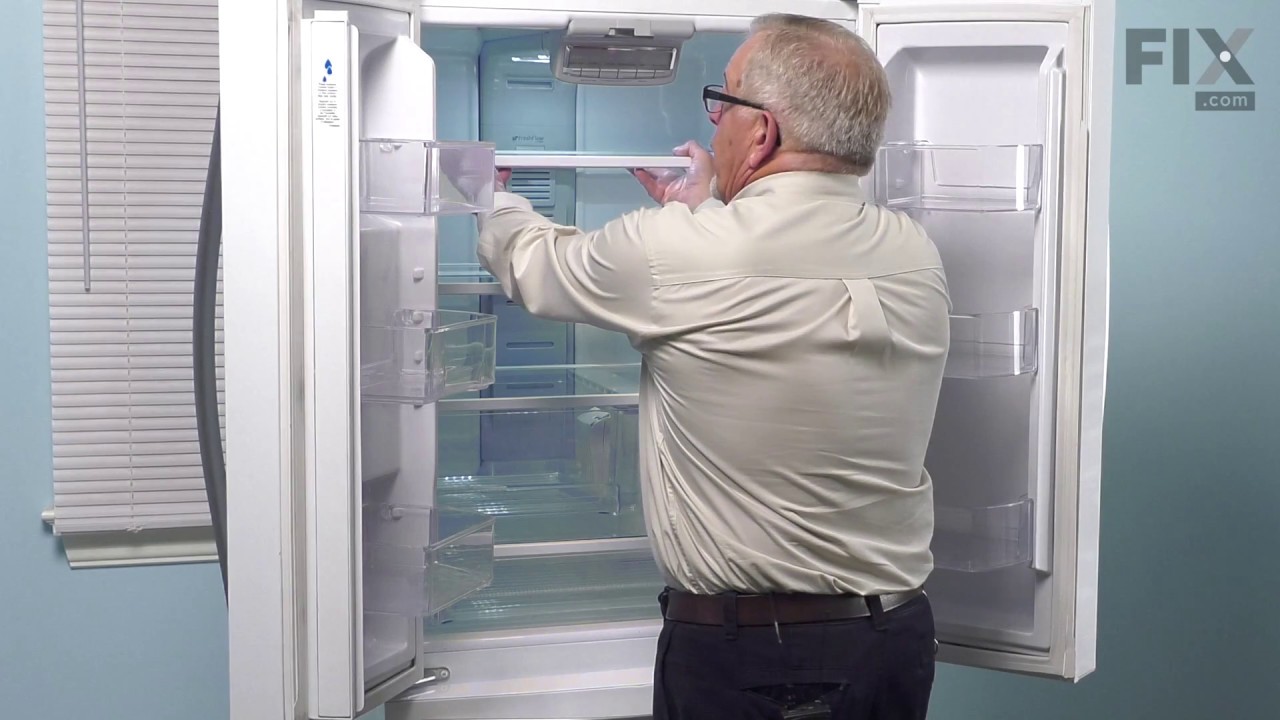

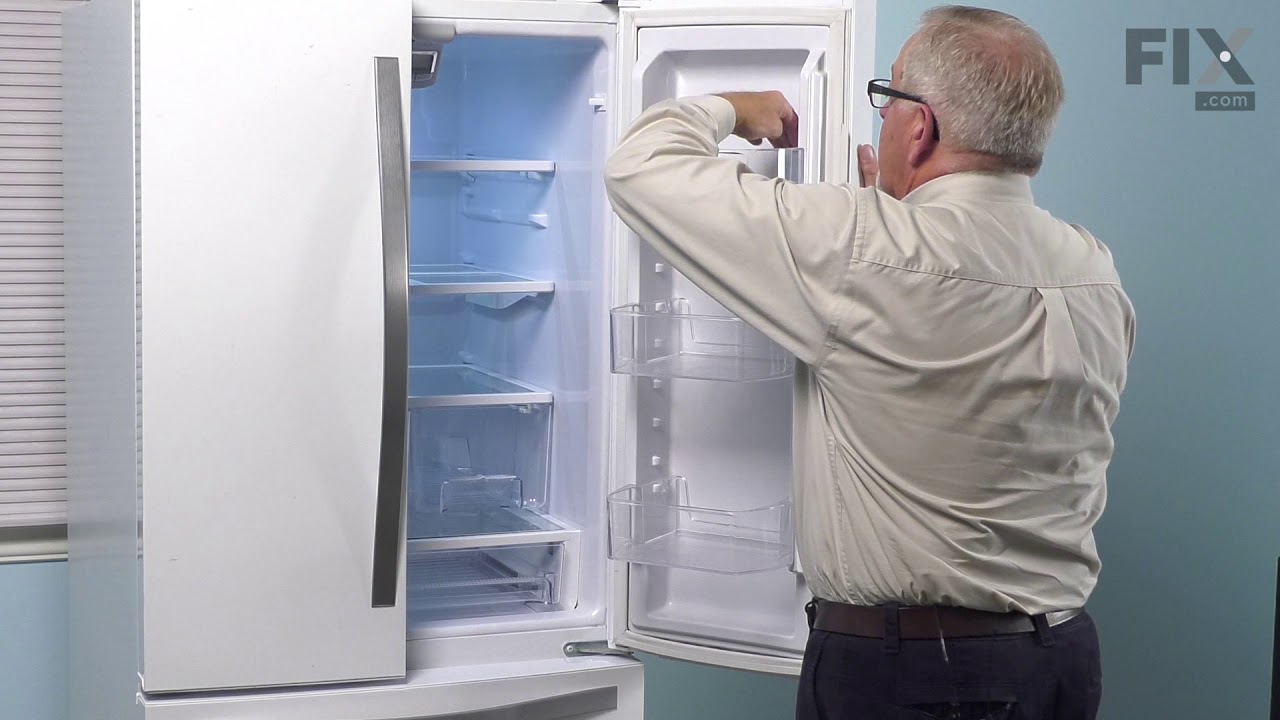
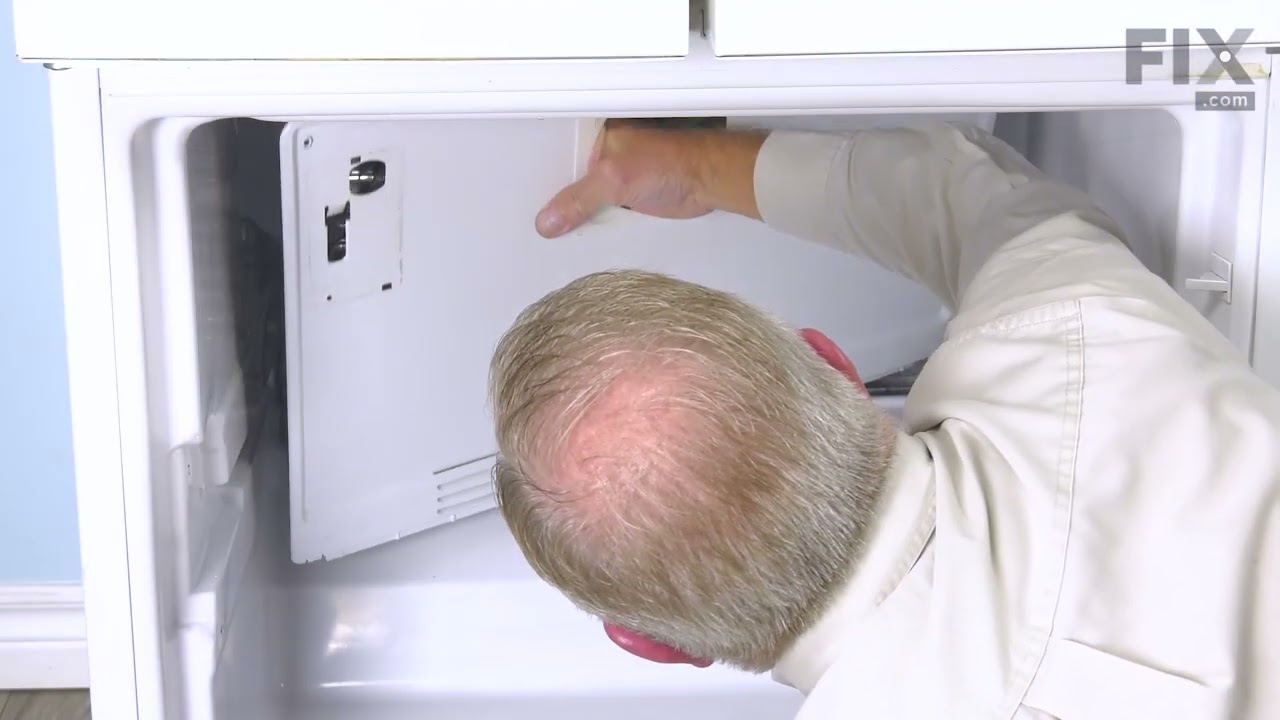
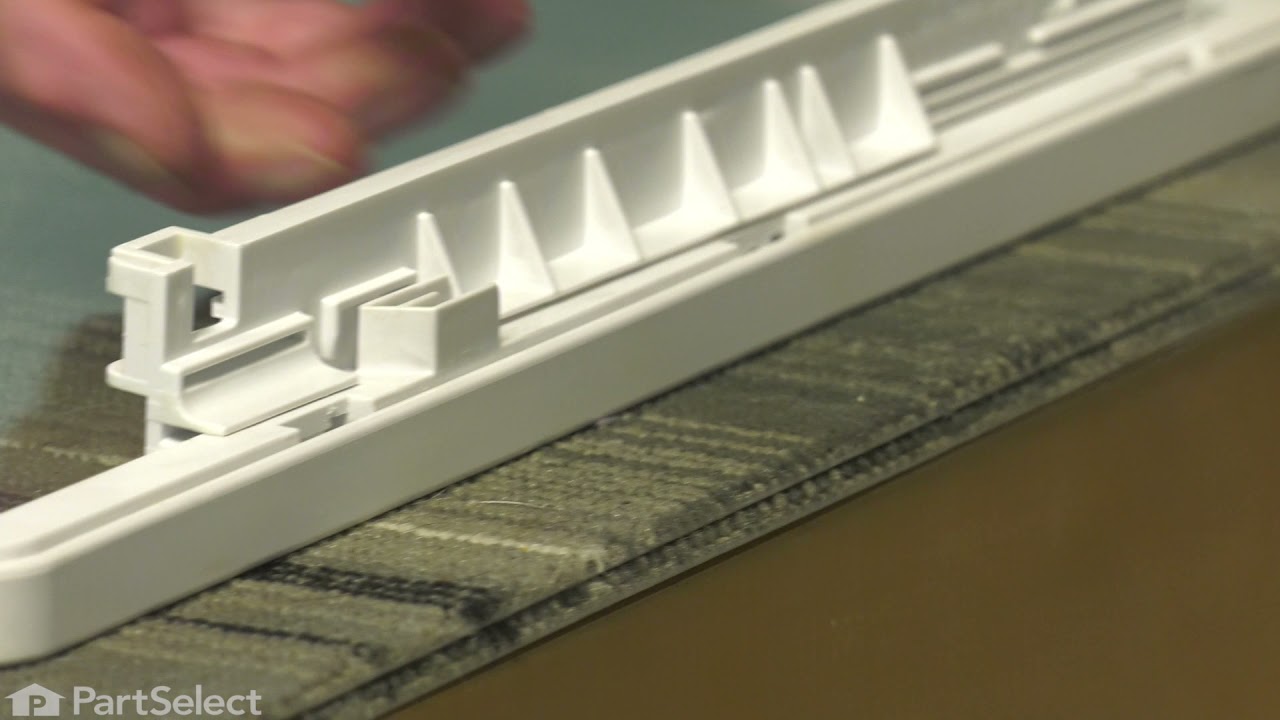
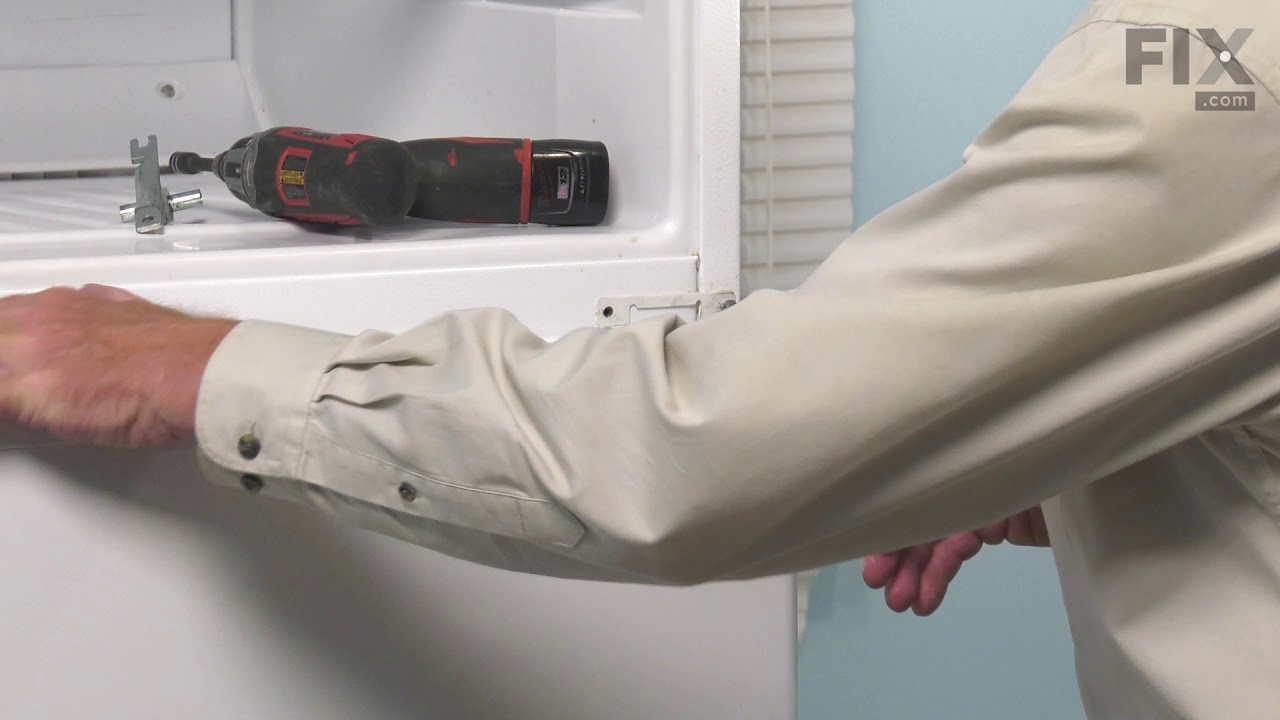
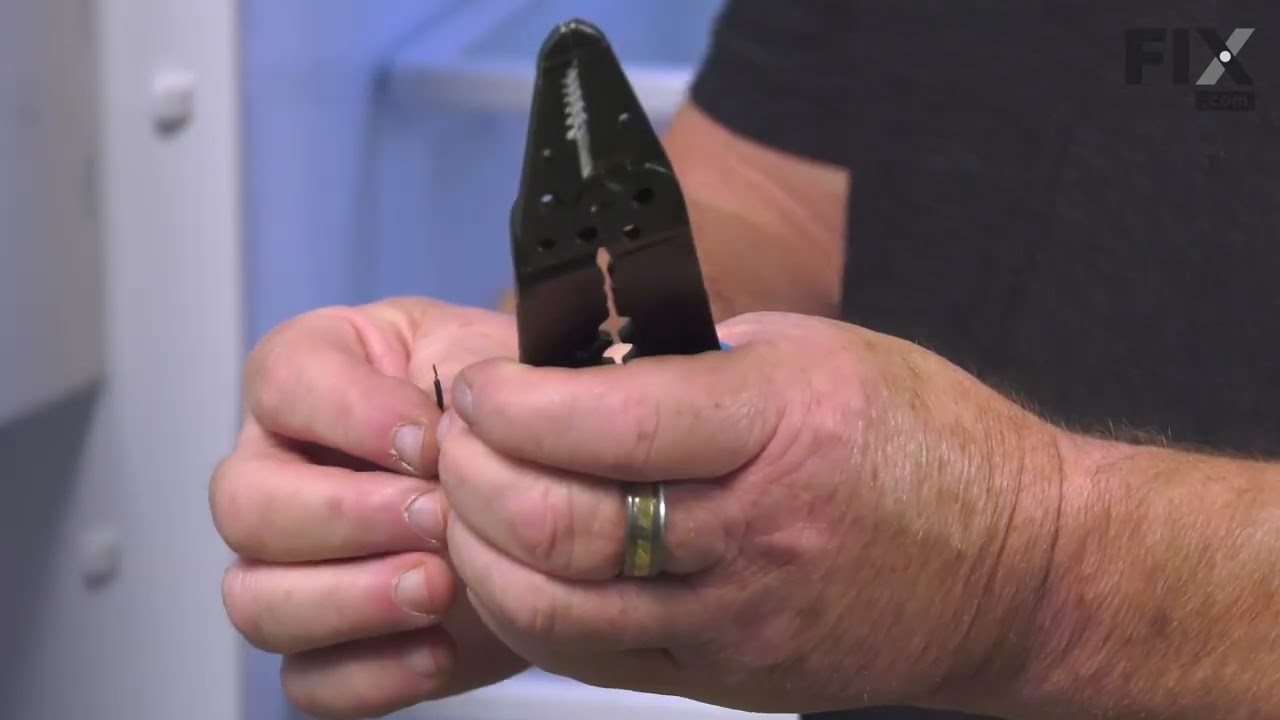
See how others fixed this model. Time, tools, difficulty, and steps that lead to victory!
View More
Search repair tips from other customers using simple keywords like "replace", "fit", "remove", "inspect". DIY doesn't mean you have to do it alone!
Search filter:
Clear Filter
Your search term must have 3 or more characters.
Replacements
47 of 66 people
found this instruction helpful.
Nothing to it!!!
Other Parts Used:
Was this helpful?
Thank you for voting!