


 My Orders




5KSM156AQG0 KitchenAid Mixer - Overview
Diagrams for 5KSM156AQG0
See every part. Know exactly what you need.


Enter a part description. DIY Heroes keep it simple, eg. "belt" or "pump".
Search filter:
Clear Filter
Your search term must have 3 or more characters.

$6.40
In Stock
Dryer Retaining Ring
Part #WP9703438
This part is a retaining ring, sometimes called a retaining clip, that holds the drum support roller onto the shaft of a dryer. It is made entirely of metal and measures less than an inch in diameter. The retaining ring is a genuine OEM part sourced directly from the manufacturer. The ring may vary in appearance due to manufacturer substi...Read moretution, but the function is the same. You may need to replace this part if the dryer is noisy during tumbling, will not tumble, or takes too long to dry. Be sure to check drum support roller kit and shaft before ordering parts.
Read less

$9.62
In Stock

$19.30
In Stock
Worm Gear
Part #WPW10112253
This worm gear is an inch and a half in diameter. It is used for some of Whirlpool's brands of mixers.

$28.42
In Stock
Mixer Flat Beater
Part #WPW10672617
This Flat Beater Part Number WPW10672617 is for Stand Mixers. Attaches to the beater shaft and is for normal to heavy mixtures such as cake batters or cookie dough. This has a powder coated finish.

$33.69
In Stock
Wire Whip Mixer
Part #WP9704329
This wire whip is for stand mixers.
Wire whip attaches to the beater shaft and incorporates air into cream, eggs and frostings.
Follow the instructions in the owner's manual for using and installing this part.

$8.55
In Stock

$43.18
In Stock

$27.36
In Stock
Mixer Thumb Screw
Part #WP9709194
This part is used with the stand mixers attachments, as well as to hold the end cap to the front of the mixer.

$24.67
In Stock

$8.55
In Stock

$49.95
Special Order

$9.62
In Stock
Mixer Speed Control Lever
Part #WP9709276
The speed control lever on your stand mixer allows you to adjust the speed that the mixer is running at. The lever is approximately 3.5 inches long, with a black plastic handle at the top. The speed control lever connects to the interior of your stand mixer, so you will have to take it apart to access the bar that the lever is attached to...Read more. Once you’ve opened the mixer, you can unscrew the old lever, taking care not to misplace the screw or washer that holds it in place. Replace the old lever with the new one, and then put the mixer back together.
Read less
Common Symptoms of the 5KSM156AQG0
How this model fails, and the parts that fix it.
Noisy
Fixed by
these parts
these parts

Show All
Touchpad does not respond
Fixed by
these parts
these parts


Show All
Grinding or squealing sound
Fixed by
these parts
these parts

Show All
Watch our pros, then fix it yourself.
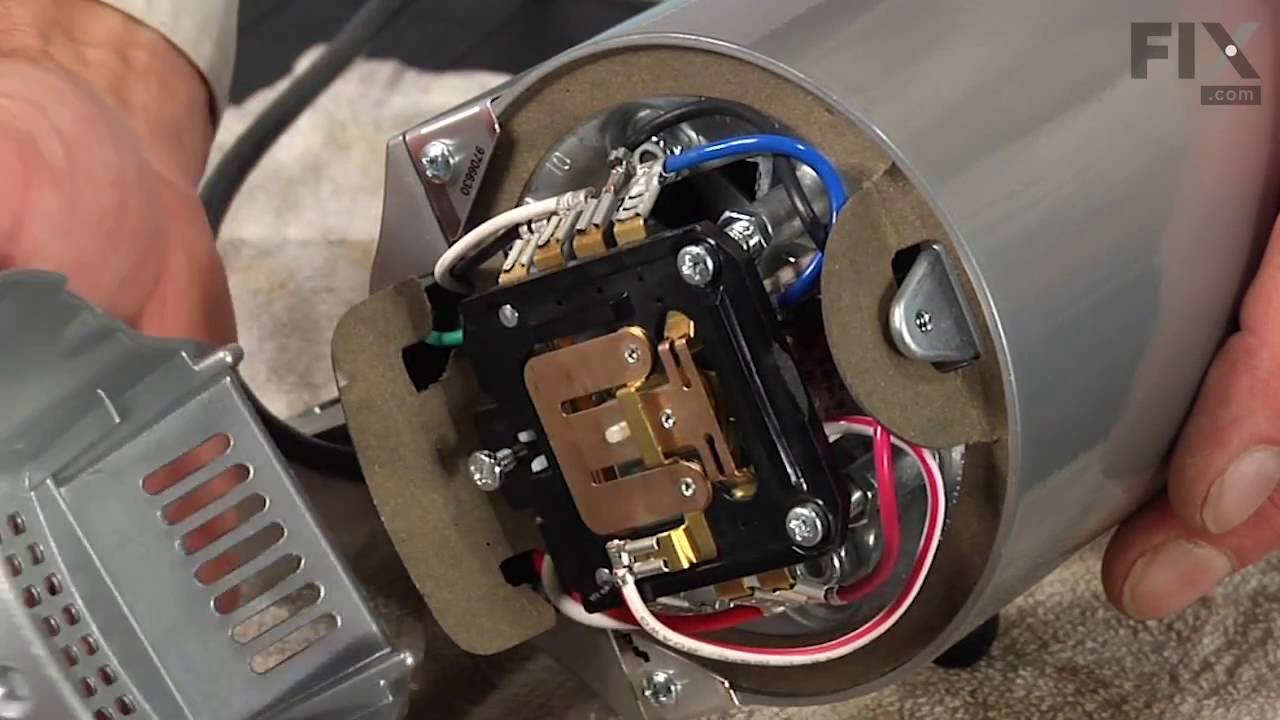
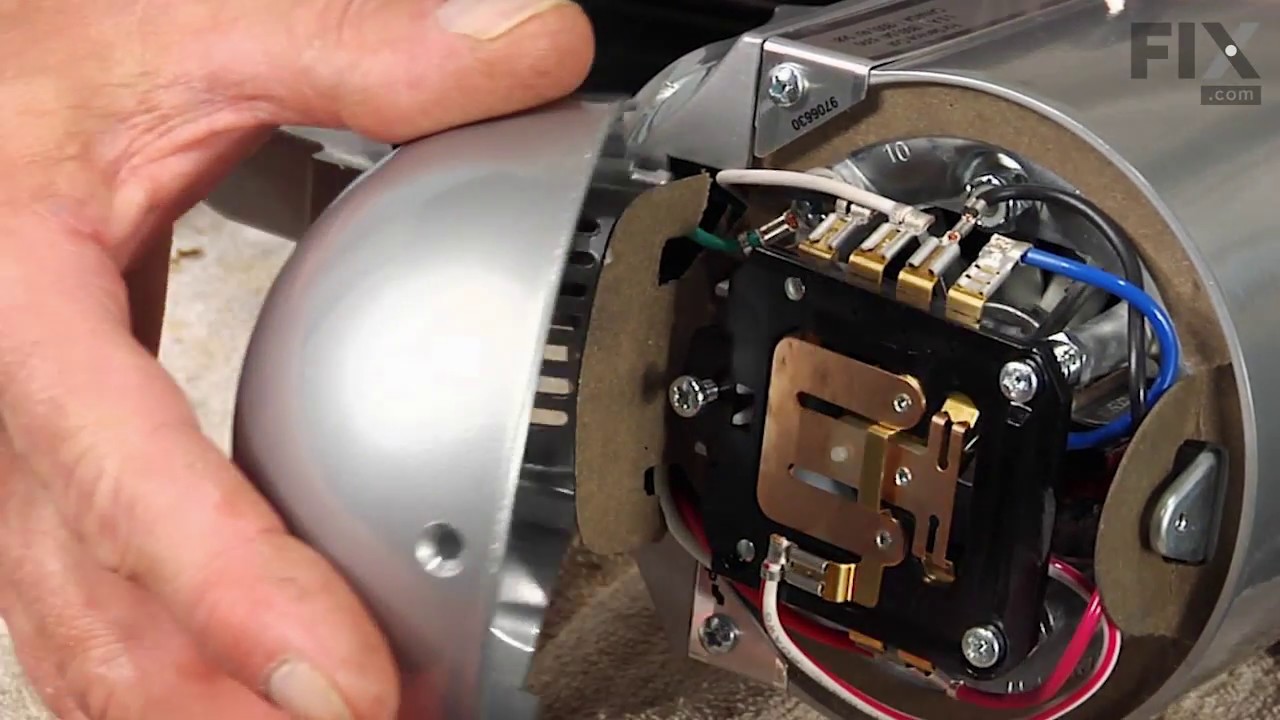
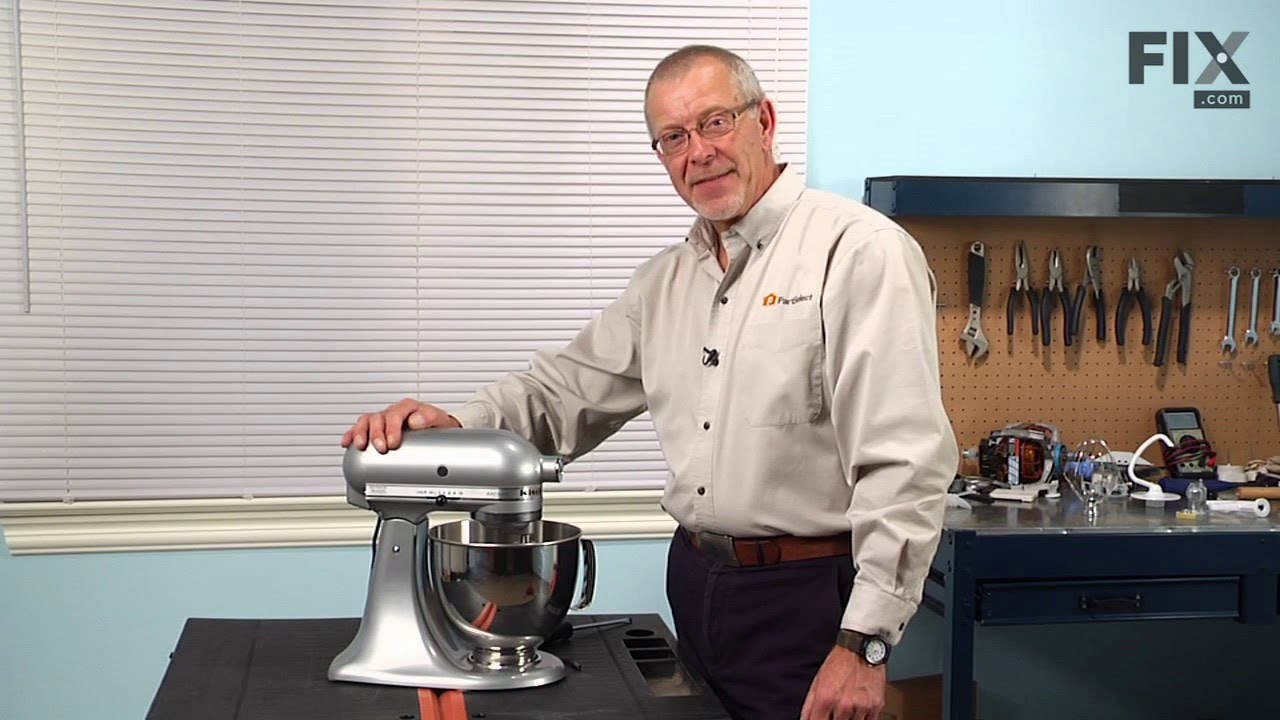
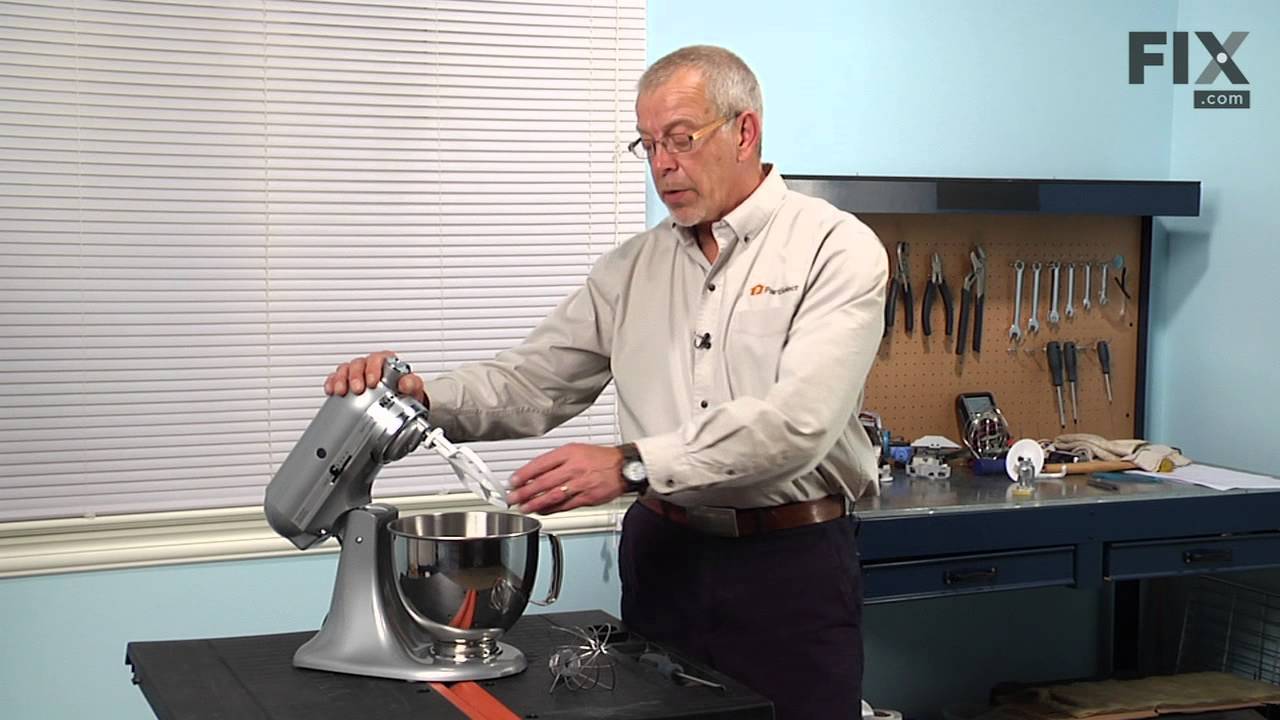
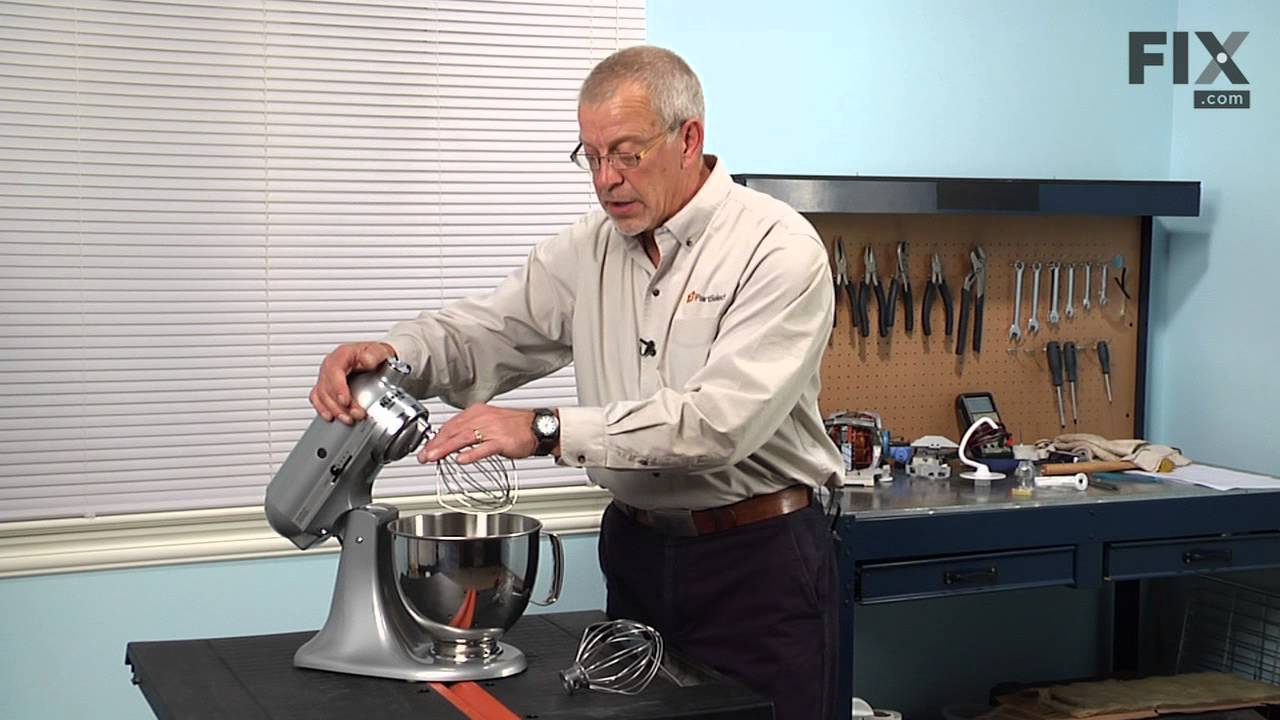
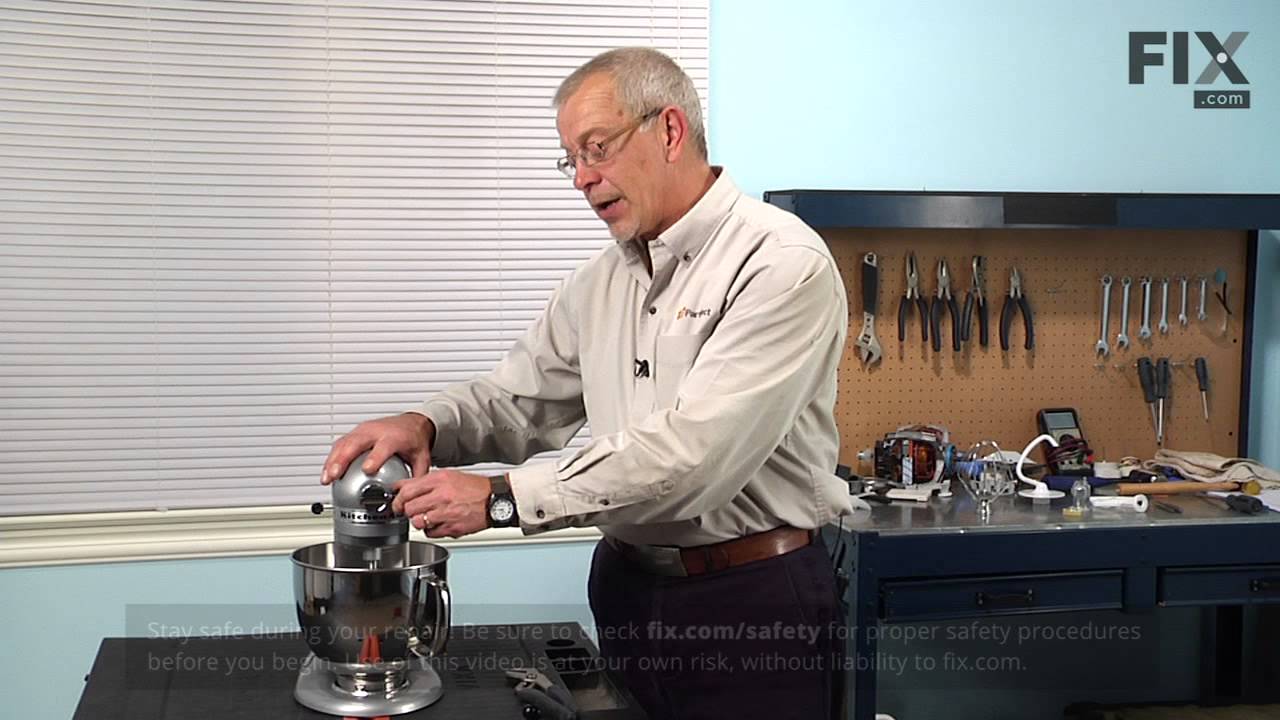
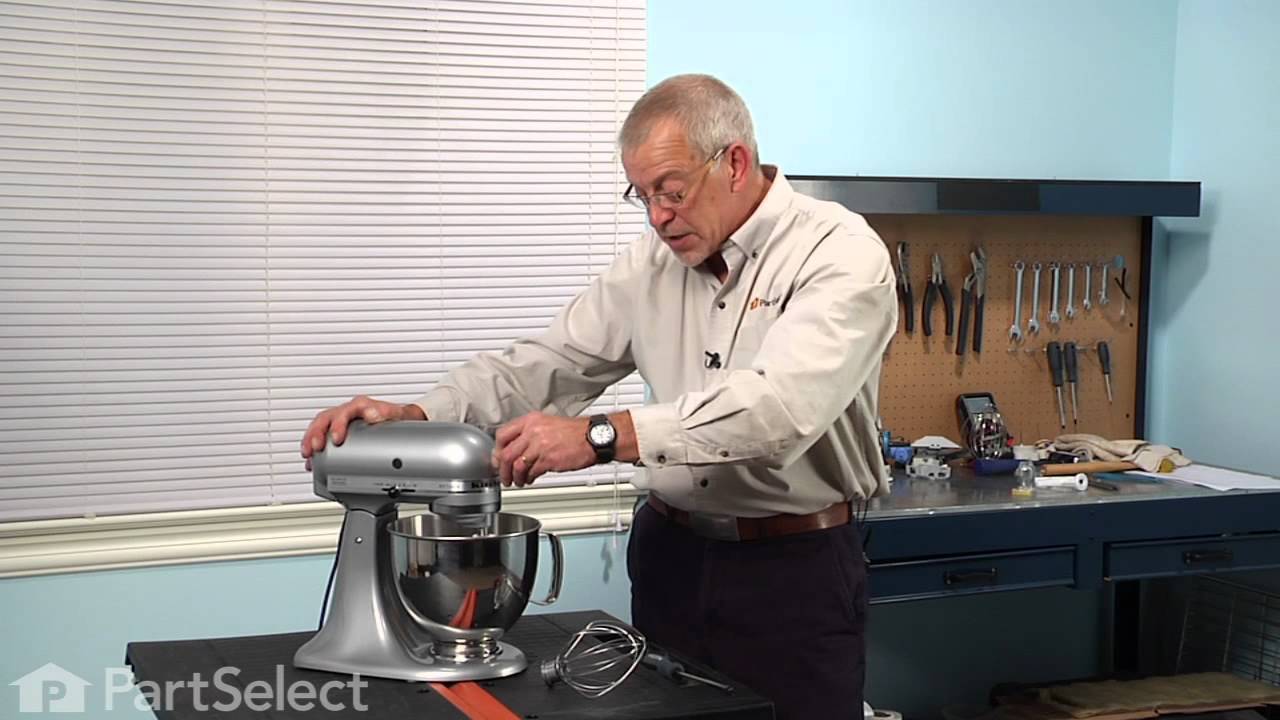
See how others fixed this model. Time, tools, difficulty, and steps that lead to victory!
View More
Search repair tips from other customers using simple keywords like "replace", "fit", "remove", "inspect". DIY doesn't mean you have to do it alone!
Search filter:
Clear Filter
Your search term must have 3 or more characters.
Mixer was making clunking sounds and shaking
90 of 109 people
found this instruction helpful.
I removed screws in a sequence that I felt wouldn't further damage the mixer until I had it completely unassembled. When I found the broken worm gear, I went online to find a part. I found an exploded view, but the part numbering was old, and the salesperson couldn't tell me what the worm gear and bracket assembly consisted of, as I only
... Read more
wanted the worm gear. After trying to drive the pin out of the assembly, and failing, I decided to back online and see if anyone else had a photo of the assembly. Luckily (and wisely) PartSelect,com did and that answered any questions I had. The price was better, too. Reassembly of the mixer was a cinch with the exploded view. It's working like new, and we're hoping for another 35 years of service from it! Thanks.
Read less
Other Parts Used:

Was this helpful?
Thank you for voting!