This part is used for the shaft on the rear of the tub and is sold individually. The head bolt is part of the spider arm assembly, and they are generally changed at the same time. If you are replacing the entire spider arm assembly, make sure you order as many hex bolts as you will need. The spider arm assembly contains 6 of these hex bol...Read morets. The hex bolt or spider arm assembly may need to be replaced if you notice that your inner tub is going out of balance. The hex bolt measures 1.5 by 0.5 inches.
This is an individually sold front shock absorber designed for use with Samsung dryers. Shock absorbers are used to distribute the weight of the dryer drum evenly and ensure that the different bumps and bounces that occur during the drying cycle are smoothed and counter acted. A broken shock absorber is noticeable by the amount of noise y...Read moreour dryer will make during operation. Replacing this absorber and its rear counterpart may even be necessary to the lifespan of the other dryer parts, so be sure to inspect both absorbers before ordering. To install this OEM shock absorber in your dryer, you will need to disassemble the dryer, which requires a screwdriver and wrench.
This is an outer seal clamp for the washer door boot of your Samsung washing machine. This clamp tightly seals the boot of the drum within the door of the washer to prevent leaks. This clamp is made of metal and features a spring in the middle, but over time can be worn down or break, and result in water leaking out of the washing machine...Read more and into your home. Replacing this clamp will require a screwdriver, pliers, and safety gloves. This clamp is an OEM part that comes individually, without any other parts or accessories.
This is the drain pump assembly for various models of Samsung washing machines. The drain pump is used to remove any water from the washer after it has completed its washing cycle. If your washer still has water left in the tub after it has finished washing this drain pump assembly is likely bad defective or worn out and in need of replac...Read moreing immediately. It is important that you do not use your washer with a bad drain pump as that could lead to further damage to your washer clothes or home. This drain pump assembly is approximately 4.5 inches tall and will require tools such as a wrench and screwdriver to access and replace. This drain pump is sold as an individual OEM part and does not include any securing screws.
Shipping bolts are installed through the back of the washing machine, and hold the wash tub and basket in place while your washer is being transported. The tub suspension holds the tub correctly in place during the wash, rinse, and spin cycles. If this suspension is damaged during shipping, the tub can shake and move, tilt to one side, or...Read more spin incorrectly. This could lead to the suspension or motor failing. When moving your washer, it is suggested that you insert the shipping bolts back into place before moving the machine. This part is also called a washer transit bolt. Remember that this part is sold separately, and to check your model to see how many you require.
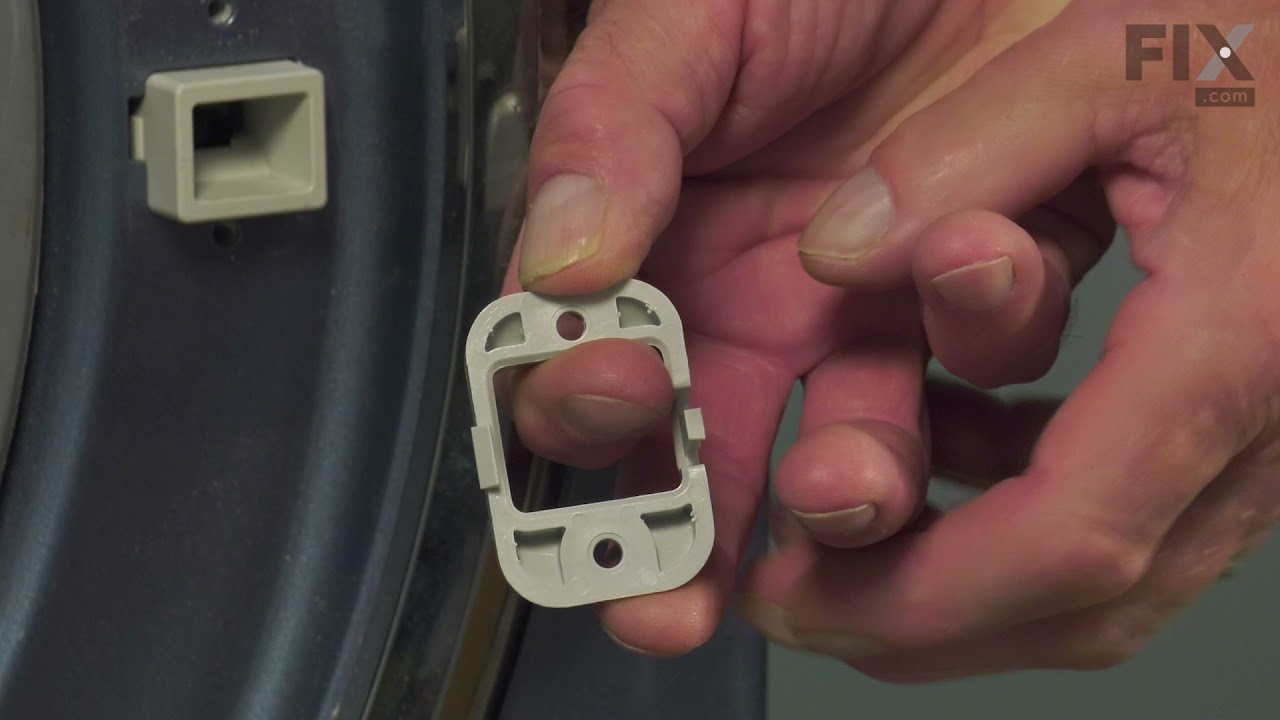
This part is a door lock switch assembly and it is made to work with your washing machine. The purpose of your door switch is to lock the door of your washer during the washing cycle. This will prevent the door from opening during this time. If your current part is faulty you may be experiencing leaking the door not staying closed or your...Read more appliance having trouble starting. This assembly includes the door switch and the lock. To make this installation you will need a Phillips screwdriver a flat-head screwdriver and locking pliers.
Ask our experts a question about this model and we'll get back to you as soon as possible!
We may have answered a similar question already! Search questions and answers left by others using simple keywords like "fit", "broken", "easy", or "quality" to find questions that match.
Search filter:
Clear Filter
Your search term must have 3 or more characters.
Sort by:
Prev
1
Next
Sorry, we couldn't find any existing answers that matched.Try using some different or simpler keywords, or submit your new question by using the "Ask a Question" button above!
Warren - For model number 592-49196
November 29, 2024
water level error on machine.
Should i just clean the water inlet fiter first before need ing to chsange water level switch?
Hi Warren,
Thank you for your question. If you get a water fill error code, remove the water inlet hoses from the back of the washer and use a bucket to see if the water flows through them. If there is not a lot of water following through the hoses, check and make sure that the water supply is completely turned on. If they are, you may have a water pressure issue in your home and you may need to have a plumber inspect the water pressure. If the water pressure is fine, inspect the screens on the water inlet valve. If screens do have sediment, try gently cleaning them with a fine brush to see if you can remove it. Using too much force may damage the screens. If they become damaged, you will need to replace the water inlet valve. If the screens are free of sediment, check the water inlet valve for continuity with a multimeter on the Rx1 setting. You should receive a reading of 200-500 ohms. If you get any other reading, you will need a replacement water inlet valve. We hope this helps!
See how others fixed this model. Time, tools, difficulty, and steps that lead to victory!View More
Search repair tips from other customers using simple keywords like "replace", "fit", "remove", "inspect". DIY doesn't mean you have to do it alone!
Search filter:
Clear Filter
Your search term must have 3 or more characters.
The drain check valve leaked
1 personfound this instruction helpful.
scott from DEERFIELD, OH
A Bit Difficult
30 - 60 mins
Pliers, Screw drivers, Socket set
The part did not fit this model. The flap part fit the hole but the seal ring is too big. I cut 1\4inch out and used super glue the make it small enough to fit and seal the hose. Make sure you only use a drop of glue and keep the seal even and flat so it will seal
Was this helpful?
Thank you for voting!
The water level was lower than normal.
3 of 10 peoplefound this instruction helpful.
Fredric from ROCKMART, GA
Really Easy
15 - 30 mins
Pliers, Screw drivers
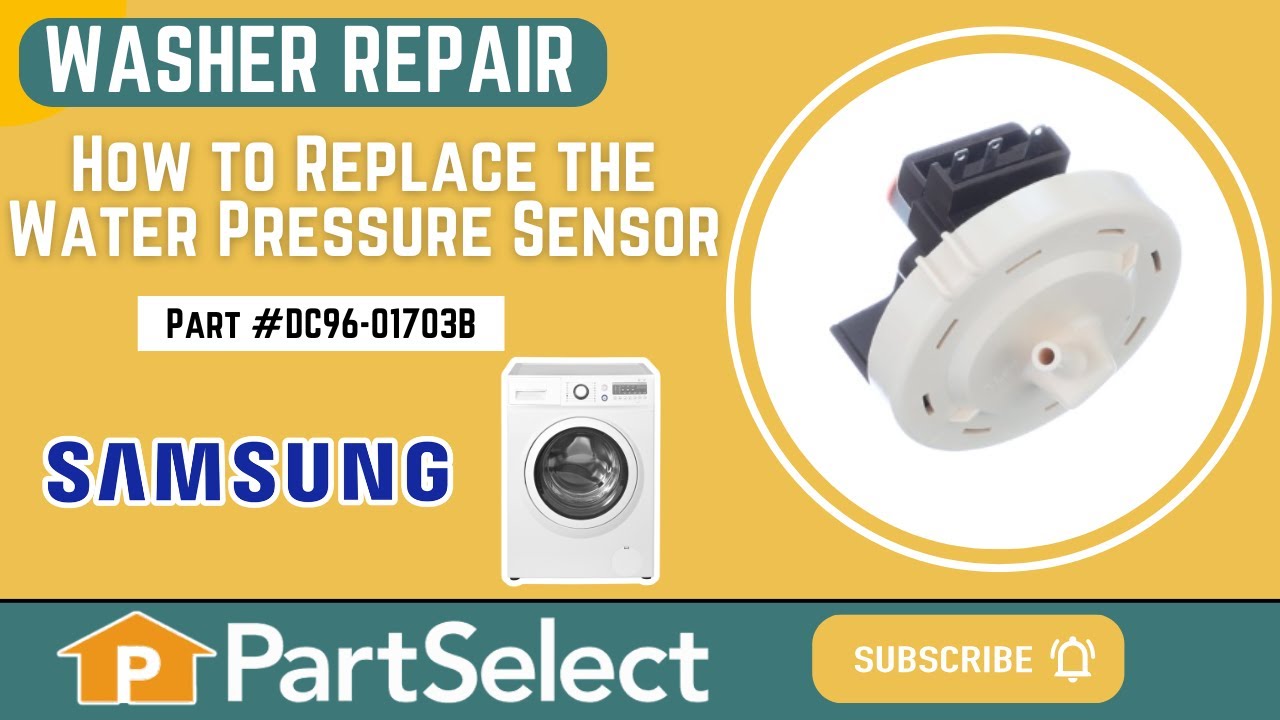
First unplug or turn off thee circuit breaker. Then remove the two screws to the top cover. Slide the cover back about three inches then remove the cover. Next take out the screw to the old sensor. Then unplug the electrical connection by squeezing and the pulling to disengage. Now set the old unit aside. You then grad your eight inch wi
... Read morere tie and hold the with flat side to the right and just to the right of the screw hole for the bracket is a square hole. Feed to wire tie into the square hole with your left hand then loop down left side of the end of new sensor and back up threw the square hole and tighten with the pliers. Your new sensor will be positioned just like it was mounted to the metal bracket. And pretty ridged. Now connect the vacuum hose and electrical connector.
Read less
Was this helpful?
Thank you for voting!
The drain hose disappeared.
1 of 7 peoplefound this instruction helpful.
Thomas from Leesburg, FL
Really Easy
Less than 15 mins
The new hose arrived without a plug, so I found a golf tee that fit securely. I put a few drops of dish soap on the machine end and it slid on with a little resistance. I ran a few light cycles, and the leak has stopped. Thank you



 My Orders