EasyApplianceParts is now PartSelect! We've merged our sites to provide a better shopping experience for you.   Full Details

Find Parts

Parts Departments

Top Model Types

Top Brands

Repair Help

Expert Repair Videos

Keep typing for more specific results...

53180129 General Electric Washer - Overview

Diagrams for 53180129

See every part. Know exactly what you need.

Enter a part description. DIY Heroes keep it simple, eg. "belt" or "pump".

Search filter:
Clear Filter
Your search term must have 3 or more characters.
Timer Knob Clip – Part Number: WH1X2117
$16.05
In Stock
Timer Knob Clip
★★★★★
★★★★★
(14)
Part #WH1X2117
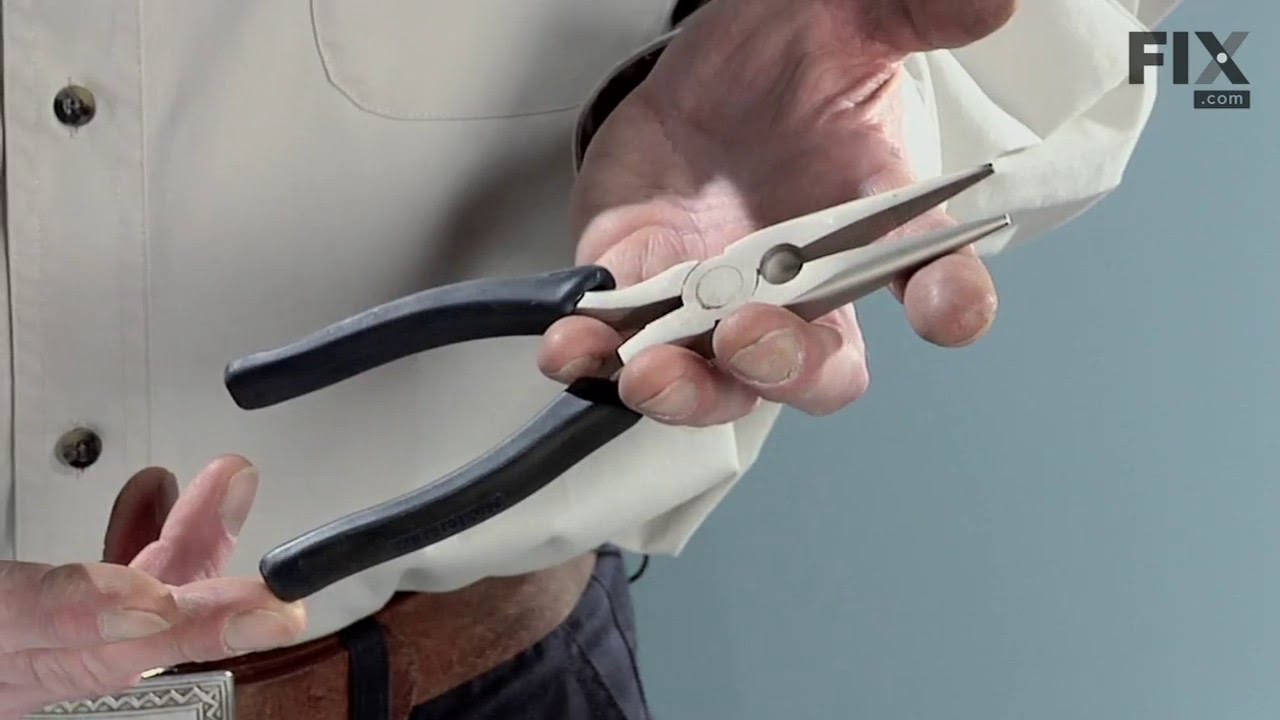
The timer knob clip on your washing machine connects the timer knob to the control panel. If your timer knob is damaged or will not stay in place, you may need to replace the clip. If the timer does not advance or the washing machine will not start, this may also be a symptom of a damaged timer knob clip. This part is clear plastic and is about 1 inch in size. Many of our customers have rated this repair as easy, and the only tools you may require are a set of needle-nose pliers. This is an OEM part sourced directly from the manufacturer.
Water Inlet Valve with Outlet Insert – Part Number: WH13X81
$70.95
In Stock
Water Inlet Valve with Outlet Insert
★★★★★
★★★★★
(7)
Part #WH13X81
This washing machine water inlet valve has two ports for water to enter.
Compression Ring – Part Number: WH2X650
No Longer Available
Compression Ring
★★★★★
★★★★★
(2)
Part #WH2X650
This compression ring works in conjunction with the timer dial.
Agitator Coupling – Part Number: WH1X1944
No Longer Available
Agitator Coupling
★★★★★
★★★★★
(2)
Part #WH1X1944
This coupling is used for 20 spline drive shaft transmissions.
Dishwasher Hose Clamp Kit – Part Number: WH1X2036
$26.40
In Stock
Dishwasher Hose Clamp Kit
★★★★★
★★★★★
(2)
Part #WH1X2036
This is a water hose clamp kit for a variety of appliances including dishwashers and washers. This is a genuine replacement part. The kit includes two hose clamps. The smaller of the two is 1 inch in diameter while the larger one is 2 inches in diameter. The hose clamps secure the end of the water hose in place to prevent the hose from leaking. If you notice leaking from the hose of your appliance, you may need to replace this kit. Protect your hands with work gloves during this repair to avoid injury.
Washer Package of 12 – Part Number: WH2X42D
$15.35
In Stock
Washer Package of 12
Part #WH2X42D
FILT&WASHER – Part Number: WH1X2267
No Longer Available
Screw Kit - Package of 12 – Part Number: WE2X263D
$25.26
Special Order
Screw Kit - Package of 12
Part #WE2X263D
Tub Gasket – Part Number: WH8X305
No Longer Available
Tub Gasket
Part #WH8X305
BUMPER – Part Number: WH1X1654
No Longer Available
BUMPER
Part #WH1X1654
Agitator with Coupling – Part Number: WH43X102
No Longer Available
Agitator with Coupling
Part #WH43X102
U CLIP – Part Number: WE1M140
$15.00
Special Order
U CLIP
Part #WE1M140

Common Symptoms of the 53180129

How this model fails, and the parts that fix it.

Watch our pros, then fix it yourself.

See how others fixed this model. Time, tools, difficulty, and steps that lead to victory! View More

Search repair tips from other customers using simple keywords like "replace", "fit", "remove", "inspect". DIY doesn't mean you have to do it alone!

Search filter:
Clear Filter
Your search term must have 3 or more characters.
Replaced the Agitator coupling
51 of 63 people found this instruction helpful.
  • jose from lAREDO, TX
  • Difficult
  • 15 - 30 mins
First, you will need to remove the agitator, if it hasn't fallen off by itself. Than, you will need a pulley to remove the coupling from the spinning pole . I used one of those pulleys with three arms to remove it , Second, I lubricated the inside of the new coupling with a little oil, and sided it down on the spinning pole. It was a little hard to installed but, I used a hammer and tapped it in. Third, I also put some lubricant on the new coupling to help the agitator slide down a little easier on the new coupling.

P.S. Check inside agitator for old rubber of the old coupling and remove it. (only if it has fallen off the old coupling.)
Was this helpful?
Thank you for voting!
Hot Water side barely running
26 of 30 people found this instruction helpful.
  • Anthony from Tyler, TX
  • Really Easy
  • Less than 15 mins
  • Nutdriver, Pliers
First cut off both incoming water supplys. Next remove the water hoses to the inlet. Then remove some of the screws that are holding the back panel on that will give you access to the inlet plate remove those screws and that are holding the inlet in. when you remove the inlet mark the wires take of the water hose and remove inlet now do t he opposite to assemble There was no Rocket Scientist needed and the funny part $12. cheaper than literally going around the corner to the appliance store Thank You and my wife thanks You
Was this helpful?
Thank you for voting!
Agitator coupling rubber separated from metal part
23 of 30 people found this instruction helpful.
  • Arlene from Oak Ridge, NC
  • Difficult
  • More than 2 hours
  • Screw drivers, Socket set
In my case the rubber bonded to the agitator coupling had stuck inside the agitator cover (plastic part that comes in contact with clothes). The metal part with the splines could not be removed by gripping with pliers. A pulling tool needed to be used to remove the tool. I used a valve spring compressor tool for overhead cam engines, b ut any pulling type tool with a center bolt and jaws that will fit between the rubber seal and the bottom of the agitator coupling would work. After removing metal part of coupling from agitator shaft and cleaning up the rusted teeth on the agitator shaft that caused the difficult removal, I pried out the rubber part of the agitator coupling from the plastic agitator cover by inserting a screw driver from the top hole in the agitator cover and getting it under the rubber to separate the toothed parts of the rubber from the matching grooves and then pushed it out the bottom of the agitator coupling. Then came the difficult part of the project - inserting the new coupling. I found the instructions that came with the new part very unrealistic and was not able to simply wet the rubber on the new coupling after installing it on top of agitator shaft and then push it into the plastic agitator cover - it simply would not go down more than 1/8" in the cover. If you attempt to do this job using the method described in the instructions you will likely end up with a damaged agitator, or cover as you will likely resort to hammering the cover on which is not recommended because of shock to agitator teeth. In my solution this is where a long bolt, 2 large diameter washers that the bolt fit through, several nuts larger than the bolt diameter and finally a nut that fit the long bolt came into play. Using these parts and a socket set with several long socket extensions I used the bolt, washers and nuts to draw the agitator coupling into position in the plastic coupling. This worked extremely easily once all the parts were in the right place and put no stress on any of the parts being assembled. To do this, first I installed the new agitator coupling on the agitator shaft - making sure it would remove fairly easily before continuing, then I pushed the agitator cover over the agitator coupling as far as I could to get it connected well enough to the agitator coupling so that when I pulled the agitator cover back off the agitator shaft the coupling would come with it (still in place with the rubber teeth from the coupling started in the corresponding grooves on the inside of the cover). With the agitator cover removed I placed a washer that was wider than the top of the agitator cover onto the long bolt (the bolt must be about 8 inches long) and then passed the bolt through the hole in the top of the agitator cover, through the splined hole in the agitator coupling (the bolt must be small enough in diameter to fit through the agitator couping hole). With the bolt and washer pushed all the way down on top of the agitator cover I turned the cover over and placed it upside down on the floor so that the cover pushed down on the washer and bolt and held them in place. I then used an extracting tool (something with little claws that protrude or retract) to lower first another washer large enough in diameter to cover the diameter of the agitator coupling bottom and then several nuts larger than the bolt diameter onto the exposed end of the bolt that comes out on the other side of the agitator coupling inside the long narrow tube of the agitator cover. Once I had enough nuts in place to leave only enough threads on the bolt for the washer and nut that fit that bolt, I set the nut on the end of the bolt and used the correct sized socket with several long socket extensions attached to it to hand tighten the nut onto the end of the bolt. Then securing the head of the bolt with a wrench to keep the bolt from turning, I placed a socket wrench on the extensions and socket that covered the nut and then tightened th
Was this helpful?
Thank you for voting!