













53-4457-00 (06) Frigidaire Range - Overview
Sections of the 53-4457-00
[Viewing 1 of 1]
Keep searches simple, eg. "belt" or "pump".

Drip Bowl - 8"
PartSelect #: PS437595
Manufacturer #: 316048413
This chrome drip bowl is designed for use with electric cooktops and ranges. This drip bowl is sold individually. At the widest point this part has a diameter of approximately 10 inches. It sits benea...
$14.25
In Stock

Chrome Drip Bowl - 6"
PartSelect #: PS437596
Manufacturer #: 316048414
The drip bowl catches grease and spills that come from cooking on your stove top. They are located under the heating elements. Drip bowls are often neglected and can become rusted and cracked. If your...
$13.15
In Stock

Terminal Block Kit
PartSelect #: PS470125
Manufacturer #: 5303935058
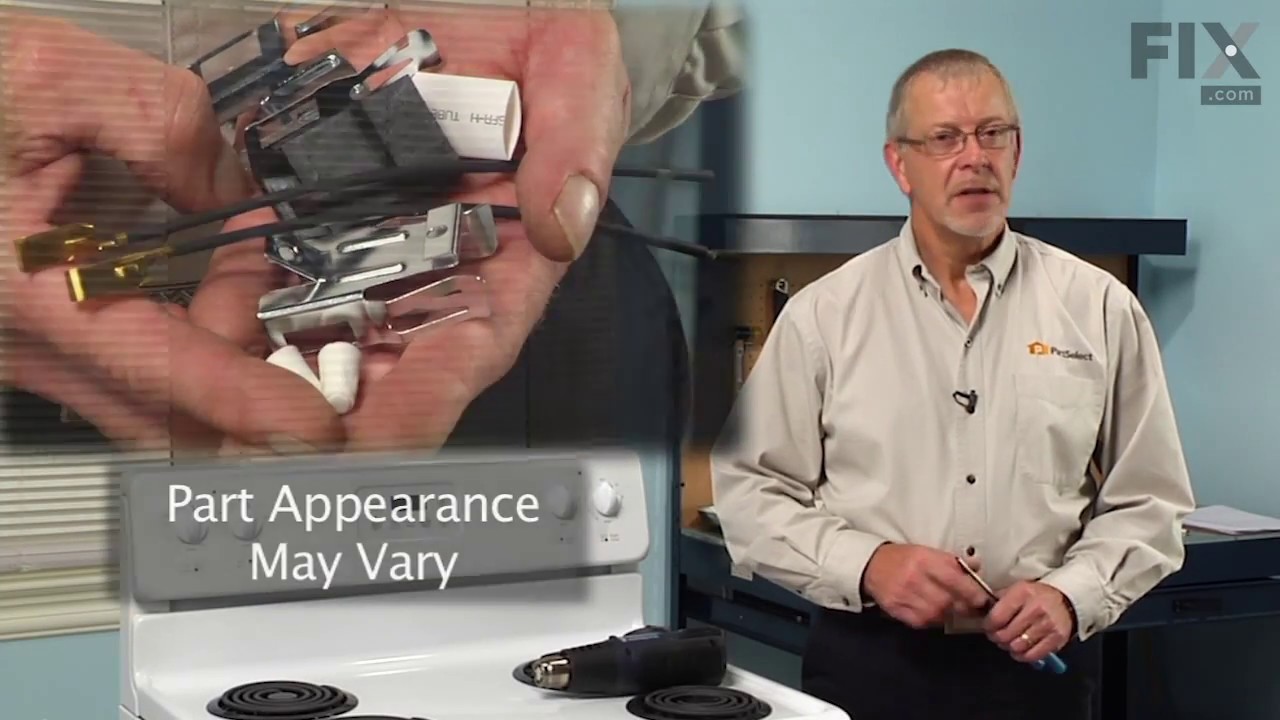
This part connects the wire harness to the surface element and is used for ranges. The kit includes interchangeable mounting brackets, ceramic wire nuts, heat shrink protective tubing, and wires. If y...
$15.20
In Stock

Surface Element - 8 Inch - 2600W
PartSelect #: PS2339242
Manufacturer #: 316442301
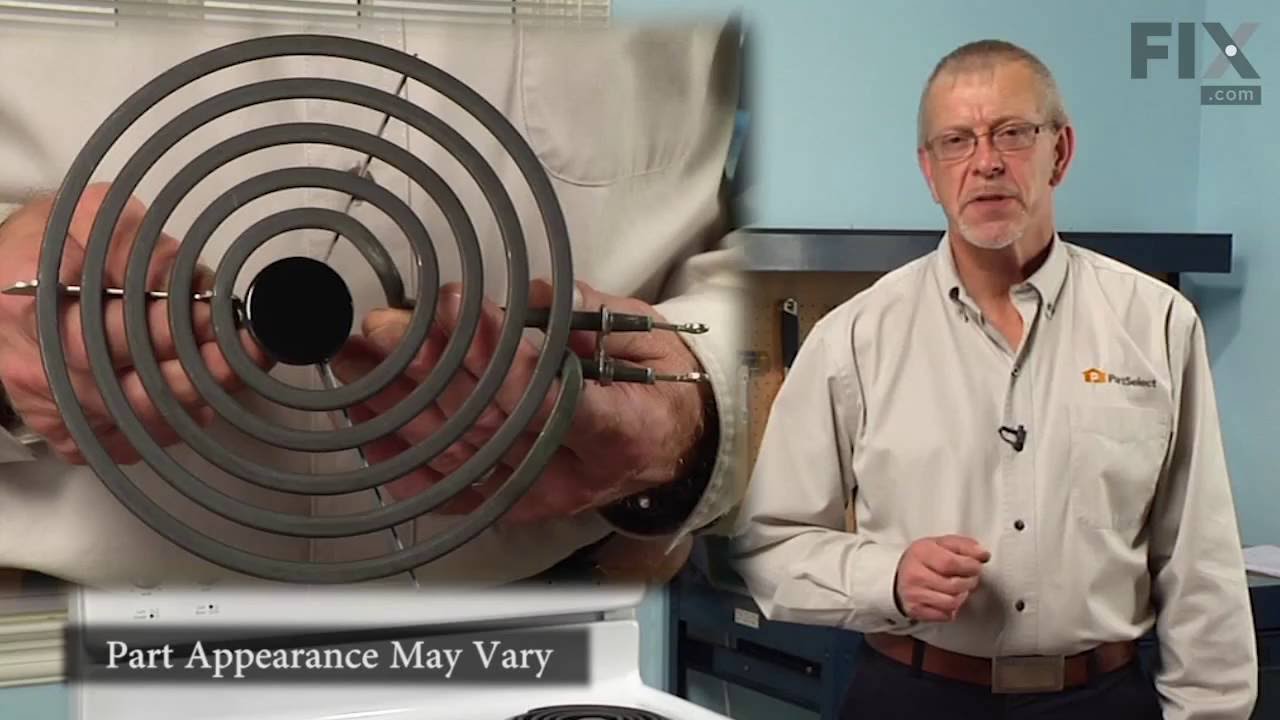
The range surface element provides heat to the cooking surface on top of the range. The element has a universal plug, is 8 inches in diameter, spans 5 coils in width and reaches 2600 watts. Before you...
$62.84
In Stock

6-Inch Coil Burner Element
PartSelect #: PS2368974
Manufacturer #: 318372211
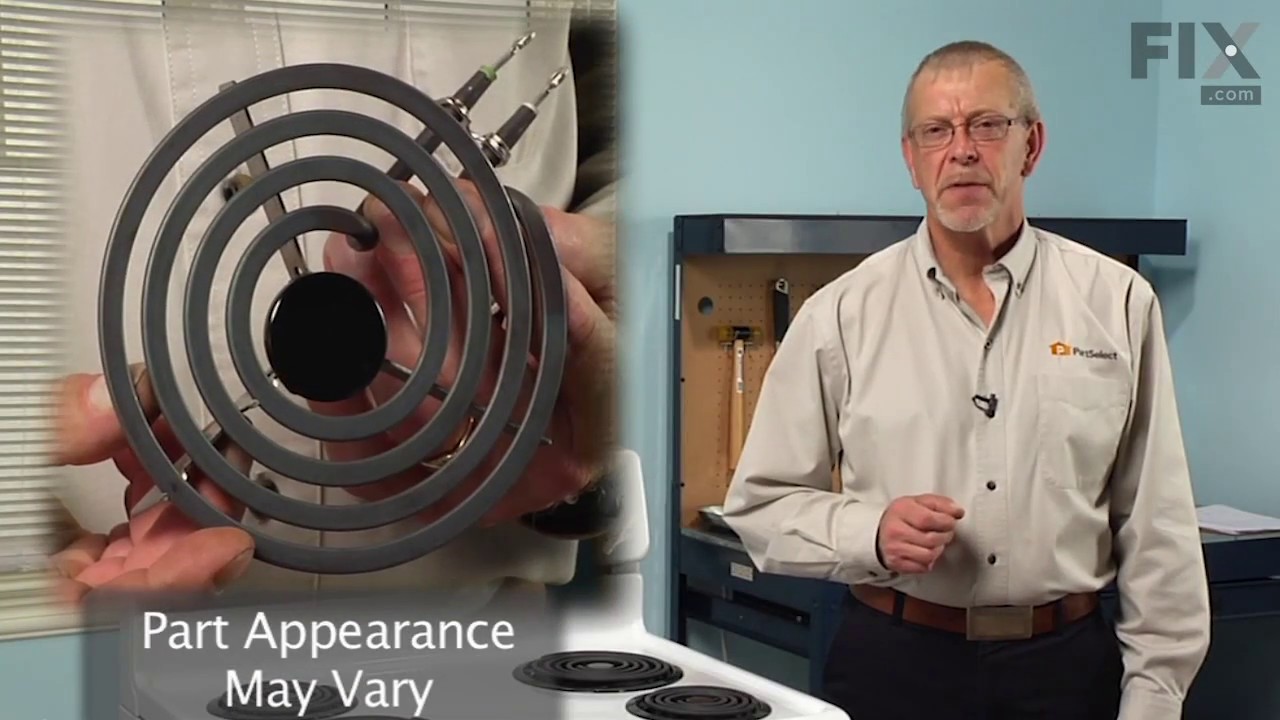
This element is a genuine OEM replacement part, has looped terminal ends, comes with a black medallion center, and fits most electric ranges. All burners are made of a heating wire that produces heat ...
$57.70
In Stock

ELEMENT
PartSelect #: PS455044
Manufacturer #: 5303207152
Enhance the performance of your oven with the Frigidaire Broil Element. Particularly designed for homeowners seeking reliable and quality spare parts for their electrical appliances, this broil elemen...
$118.97
Special Order

Common Symptoms of the 53-4457-00
[Viewing 3 of 3]Element will not heat
Fixed by
these parts
these parts


Show All
Will Not Start
Fixed by
these parts
these parts
Show All
Oven not heating evenly
Fixed by
these parts
these parts
Show All
Keep searches simple. Use keywords, e.g. "leaking", "pump", "broken" or "fit".
burner shorted out
I followed the directions by clipping wires to old burner socket, splicing the wires to new terminal block, screwing down new "block bracket," and plugging in new burner.
Parts Used:
-
David from Encinitas, CA
-
Difficulty Level:Easy
-
Total Repair Time:15 - 30 mins
-
Tools:Pliers, Screw drivers
61 of 75 people
found this instruction helpful.
Was this instruction helpful to you?
Thank you for voting!
Old pans/bowls were corroded
Very easy---simply unplug the burners, remove the old pans and replace with the new ones
I was extremely pleased with the easy ordering and prompt delivery of parts that actually fit as they should!
I was extremely pleased with the easy ordering and prompt delivery of parts that actually fit as they should!
Parts Used:


-
John from Nisswa, MN
-
Difficulty Level:Really Easy
-
Total Repair Time:Less than 15 mins
48 of 55 people
found this instruction helpful.
Was this instruction helpful to you?
Thank you for voting!
Burners on 53 year old range kept going out
When we bought our home less than a year ago, we had three functional burners on our 40" wide 50's classic Kelvinator (not close to standard size these-a-days). After a few months of use, two more burners went out for good and we were stuck using the back left burner for all of our cooking. I opted for the premium burners and made sure to
... Read more
compare my terminals with the ones online to be sure they mounted the same. I removed the burners and terminals, clipped the wires going into the terminals, and removed the top of the stove. I followed the directions that came with the new terminals, pushed in the new burners and viola! All four burners now work. I gave the stove a general cleaning and now my 1954 Kelvinator looks and cooks like it is brand new. It was easily the best $109 I've spent on my home.
Read less
Parts Used:
-
Matthew from Columbus, IN
-
Difficulty Level:Easy
-
Total Repair Time:1- 2 hours
-
Tools:Screw drivers
34 of 45 people
found this instruction helpful.
Was this instruction helpful to you?
Thank you for voting!