


 My Orders




4KWFC120MAW3 Whirlpool Range - Overview

Enter a part description. DIY Heroes keep it simple, eg. "belt" or "pump".
Search filter:
Clear Filter
Your search term must have 3 or more characters.

No Longer Available
Touch-Up Paint - White
Part #72017
This touch-up paint can be used on a wide variety of household appliances. It is most often used on washers, dryer, refrigerators, dishwashers, ranges, freezers, trash compactors, or microwaves. It is an 18 ml, or.6 fluid ounces, bottle of touch-up paint. It also features a brush for easy application. This quick-drying, long-lasting paint...Read more is perfect for fixing any nicks, scratches, or chips on the exterior of your appliance. This paint is white in color, and provides a durable finish.
Read less

$49.50
In Stock
2 Piece Broiler Pan
Part #4396923
This broiler pan and roasting rack set is designed to help reduce mess while cooking by allowing grease to drain away from food. Its durable porcelain-coated construction stands up to high temperatures and makes cleanup simple. With approximate dimensions of 16 3/4 inches long, 12 3/4 inches wide, and 1 3/4 inches high, it offers a convenient size for everyday broiling and roasting.

$134.64
In Stock
Broil Element
Part #W10856603
This broil element supplies heat for cooking purposes and is located in the roof of an oven. If you find there is little to no heat when cooking, a burned-out element, or food is taking too long to cook, these symptoms could be solved by replacing this part. Before starting this replacement, make sure you unplug the range from the power s...Read moreource or shut off from the house circuit breaker. All you need to complete this repair is a Phillips screwdriver. For safety reasons, make sure to wear gloves. Refer to the manual provided by the manufacturer for more instruction.
Read less

No Longer Available
Cooktop Cleaner
Part #W10355051
This bottle of non-abrasive cooktop cleaner breaks down and gets rid of the hardest baked-on stains and residue without causing any harm to your appliance. The bottle is 10 oz and does not require a large amount of product to do the job. This cleaner is perfectly safe to use on any glass, ceramic, stainless steel, chrome, or porcelain coo...Read morektop surface. The cleaner is creamy in texture and provides a protective coat of silicone on smooth surfaces. To apply, use a gentle scrub, sponge, or rag and gently press in a circular motion until the stains are removed.
Read less

$36.85
In Stock
Spray Paint - 12 oz. - White
Part #350930
Appliance spray paint is a great way to cover up any chips and scratches that have appeared on your appliances. Instead of replacing the part entirely, this is an easy fix. This is also a great way to give a fresh new look to any handles or areas that have discoloring due to wear. Make sure to clean the area before you begin and wear a pr...Read moreotective mask for safety. Give the can a good shake and spray a few inches away from the surface. Apply the paint until the area is fully covered as desired. Wait until the paint has dried before using the appliance.
Read less

$50.56
In Stock
Range Insulation
Part #WPW10208653
This insulation is also known as oven wrap insulation, and is used in conjunction with your range. Its purpose is to be installed in between the oven and the cabinets that surround it. This will help prevent the heat from escaping while cooking and essentially keep it locked inside the oven. The most common reason for needing to replace t...Read morehe insulation in your oven is that it becomes a comfy place for vermin to nest. Before making this installation, it would be best to disconnect the electrical power to your appliance, and to make sure that your range is cool to the touch.
Read less

$11.77
In Stock
Appliance Scraper
Part #WA906B
Use this scraper for your ceramic/glass cooktop. It has a retractable blade and is an all-purpose tool for cooktops, mirrors, windows and tile. Use it to also remove paint, paper, dirt, stickers and more.

$82.56
In Stock

$24.15
On Order

$50.56
In Stock
Door Hinge
Part #WPW10299227
This passive oven door hinge is designed for use on either the left or right side of select ranges, ensuring smooth and controlled door movement. As a genuine OEM component, it helps restore proper door function by allowing the oven door to open and remain at a stable angle. The passive designation indicates that the spring mechanism is s...Read moreold separately. Constructed for durability and precision, this hinge is compatible with a wide range of models across Whirlpool and affiliated brands. Replacement is recommended when the door no longer opens or closes smoothly. Before installation, consult your appliance’s service manual to confirm compatibility and follow safety procedures.
Read less

$11.77
In Stock
CLEANER
Part #W10336909

$9.62
In Stock
Plate Nut
Part #WP3400029
This size 10 plate nut with 32 threads per inch is located in your household appliances. It securely fastens various parts together, such as panels, brackets, and accessories, to the frame. It features a built-in washer and is also known as a captured nut or a caged nut. If the secured components feel loose, wobbly, or are coming apart, i...Read moret may indicate that the nut has lost its grip or become stripped. To maintain stability and safety, it is crucial to replace a broken or faulty plate nut. Refer to your user guide to access the plate nut on your specific appliance model, which could be near the console, along the door, or on the tub support. Once located, loosen it using a wrench or pliers. Keep in mind that this OEM fastener is sold individually, so make sure to determine the quantity needed before making a purchase. It is also advisable to keep spare plate nuts on hand for future repairs.
Read less
Common Symptoms of the 4KWFC120MAW3
How this model fails, and the parts that fix it.
Little to no heat when broiling
Fixed by
these parts
these parts

Show All
Element will not heat
Fixed by
these parts
these parts
Show All
Door won’t close
Fixed by
these parts
these parts

Show All
Little to no heat when baking
Fixed by
these parts
these parts
Show All
Oven not heating evenly
Fixed by
these parts
these parts
Show All
Watch our pros, then fix it yourself.
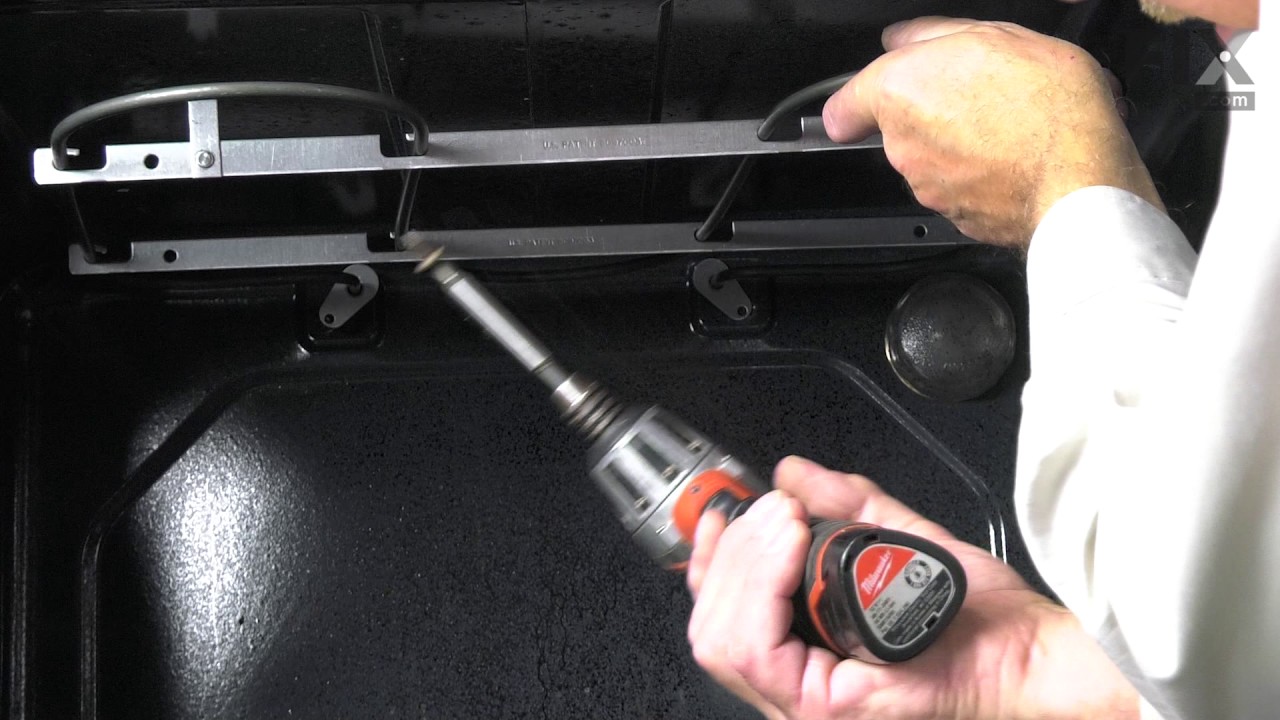


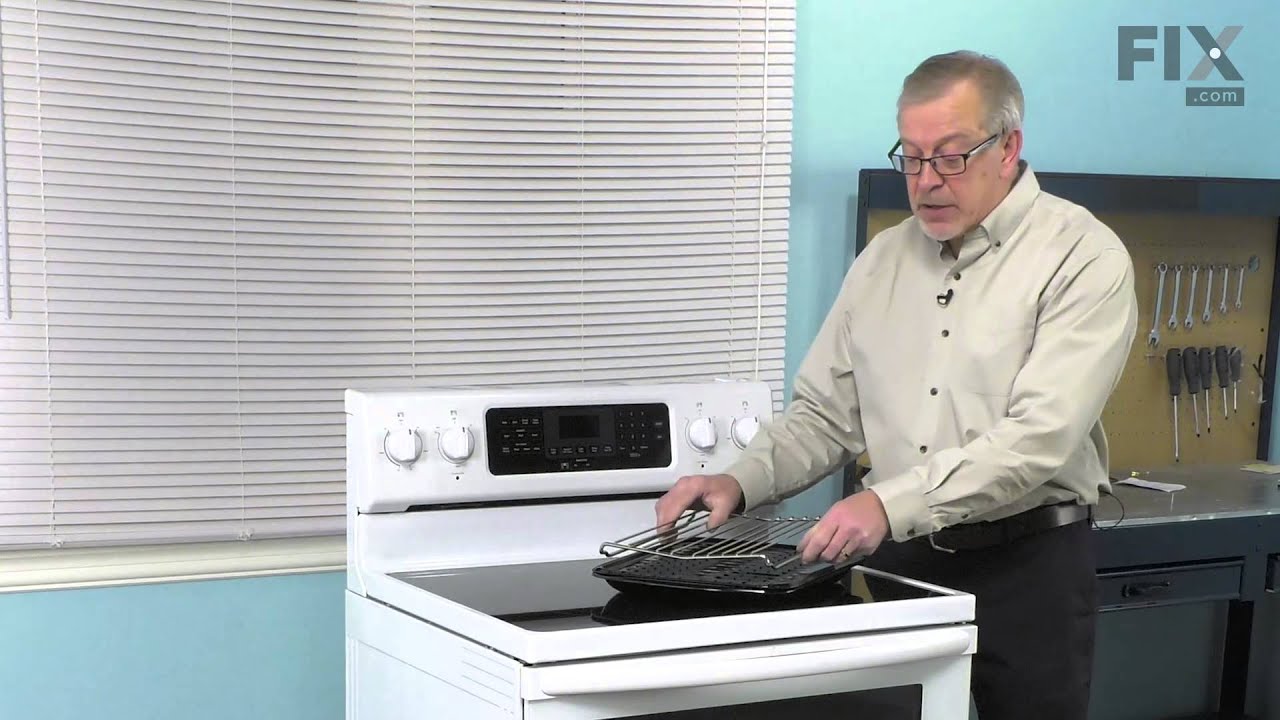
See how others fixed this model. Time, tools, difficulty, and steps that lead to victory!
View More