


 My Orders




4ECKMF87 Whirlpool Ice Maker - Overview

Enter a part description. DIY Heroes keep it simple, eg. "belt" or "pump".
Search filter:
Clear Filter
Your search term must have 3 or more characters.

$18.65
In Stock
Ice Maker Water Fill Tube Kit
Part #WP2196157
The icemaker water fill tube provides water to the icemaker so it can produce ice and dispense water. If you notice that your ice maker is not making or dispensing ice, or is leaking, you may need to replace the water fill tube. This water fill tube kit comes with a fill tube and a compression nut. This part is made of white plastic and i...Read mores approximately 10 inches in length. The ice maker water fill tube is in the rear of the fridge. To complete this repair, you will need a 1/4 inch nut driver and a utility knife. Before beginning this repair, you may want to disconnect the water and power supply to the refrigerator.
Read less

$35.80
In Stock
Refrigerator Water Fill Cup & Bearing
Part #WP628356
This refrigerator ice maker fill cup dispenses the water into the ice cube mold during the fill cycle. Replacing the water fill cup is a possible solution if you notice that the ice maker is leaking, or not making/dispensing ice. If you notice the fill cup has been damaged or cracked; replace the part straight away. This water fill cup is...Read more a genuine OEM part and will fit most refrigerators, but check the list of compatible brands to make sure yours is included before purchasing.
Read less

$27.36
In Stock
Water Tube Kit
Part #W10823511
This is the replacement water tube kit for your refrigerator. This tubing is made of plastic, is 1/4 inch in diameter, and comes with 2 inserts. This tube may be longer than the original tube, and may need to be cut. This water tube transports water to the ice and water dispensers. If your refrigerator is leaking, or if the ice and water ...Read moredispensers are not dispensing properly, you may need to replace this tube. This part is sold individually and is an OEM part sourced directly from the manufacturer.
Read less

$7.47
In Stock

$60.51
In Stock
Cycling thermostat
Part #WP627985
The ice maker thermostat, also known as the cycling thermostat, controls and regulates the ice maker ejection cycle by monitoring the temperature inside the freezer to determine when to release the ice into the bin and start the ice making cycle again. If your ice maker is making unusual noises, or if the ice maker is not making or dispen...Read moresing ice, there could be an issue with the thermostat. Before you begin this repair, make sure the power is disconnected from your refrigerator, and that any food that may spoil is safely stored. This is an OEM part and is sourced directly from the manufacturer. This thermostat is sold individually, and comes with two attachment clips.
Read less

$11.77
In Stock
Refrigerator Compression Nut
Part #WP627018
The compression nut is used as a connection between the water supply line and other components in your refrigerator such as your ice maker and your water dispenser. Tools required for this repair include a pair of pliers and a socket set. Before installing this part you should take all perishable foods out of your refrigerator and store t...Read morehem somewhere cool, unplug the refrigerator from the power source, and shut off the water supply. This repair may require you to wear work gloves to protect your hands, and is considered an easy do-it-yourself fix.
Read less

$7.47
In Stock

$52.67
On Order
Refrigerator Shut Off Arm
Part #WP627792
This is a shut off arm for the ice maker in a refrigerator. When the shut off arm has reached maximum height, it triggers the switch to shut off the ice maker so it does not continue to make ice until the level of ice in the ice bucket begins to drop. The ice maker can also be shut off by lifting the shut off arm past the maximum height a...Read morend into the locked position. This part is made of metal, and measures approximately 9 inches wide and 4 inches tall. This is an OEM replacement part.
Read less

$47.40
Special Order
Refrigerator Ice Stripper
Part #WP2182124
This is an authentic appliance part that is sourced directly from the genuine manufacturer. This ice stripper functions by stripping the ice maker mold of ice during the ejection cycle, after the water has frozen into cubes. The ice stripper rotates to push the cubes into the ice bucket and prevents the ice from falling back into the mold...Read more. You may need to replace the ice stripper if your ice maker is no longer making ice. This part is approximately 9 inches long and is sold individually.
Read less

$9.62
In Stock
Plastic Tubing Inserts - 4 Included
Part #4387491
This is a plastic tubing insert kit for a refrigerator ice maker. This kit includes a package of four tubing inserts. The kit does not include other parts such as the ice maker water fill tube kit or ice maker fill tube gasket, so consider ordering those parts if necessary. The inserts are used with 1/4-inch plastic tubing. The inserts at...Read moretach on the end of the water tubing to provide a smooth and solid connection between the water tubing and the clamp that attaches the tubing to the water fill valve. This is an OEM part from the genuine manufacturer.
Read less

$7.47
In Stock
Refrigerator Single Hex Head Screw
Part #WP489069
Sold individually. The size of this screw is 1/4" hex head and 10-12 x 1/2".

$11.77
Special Order
Refrigerator Water Hose Clamp
Part #WP488878
This water hose clamp is used in your refrigerator to support the water tube. If the tubing or hose is working, but is loose inside the unit, the clamp, which is supposed to support it in place, could be broken or damaged. If this is a symptom of yours, you should replace the clamp. These tube clamps are sold individually, the screw is no...Read moret included. Make sure to unplug your refrigerator from the power source before installing this part. Refer to the manual provided by the manufacturer for further instructions.
Read less
Manuals & Care Guides for 4ECKMF87
Click to downloadCommon Symptoms of the 4ECKMF87
How this model fails, and the parts that fix it.
Leaking
Fixed by
these parts
these parts


Show All
Ice maker not making ice
Fixed by
these parts
these parts

Show All
Ice maker won’t dispense ice
Fixed by
these parts
these parts
Show All
Not dispensing water
Fixed by
these parts
these parts
Show All
Ice maker dispenses too much ice
Fixed by
these parts
these parts
Show All
Watch our pros, then fix it yourself.
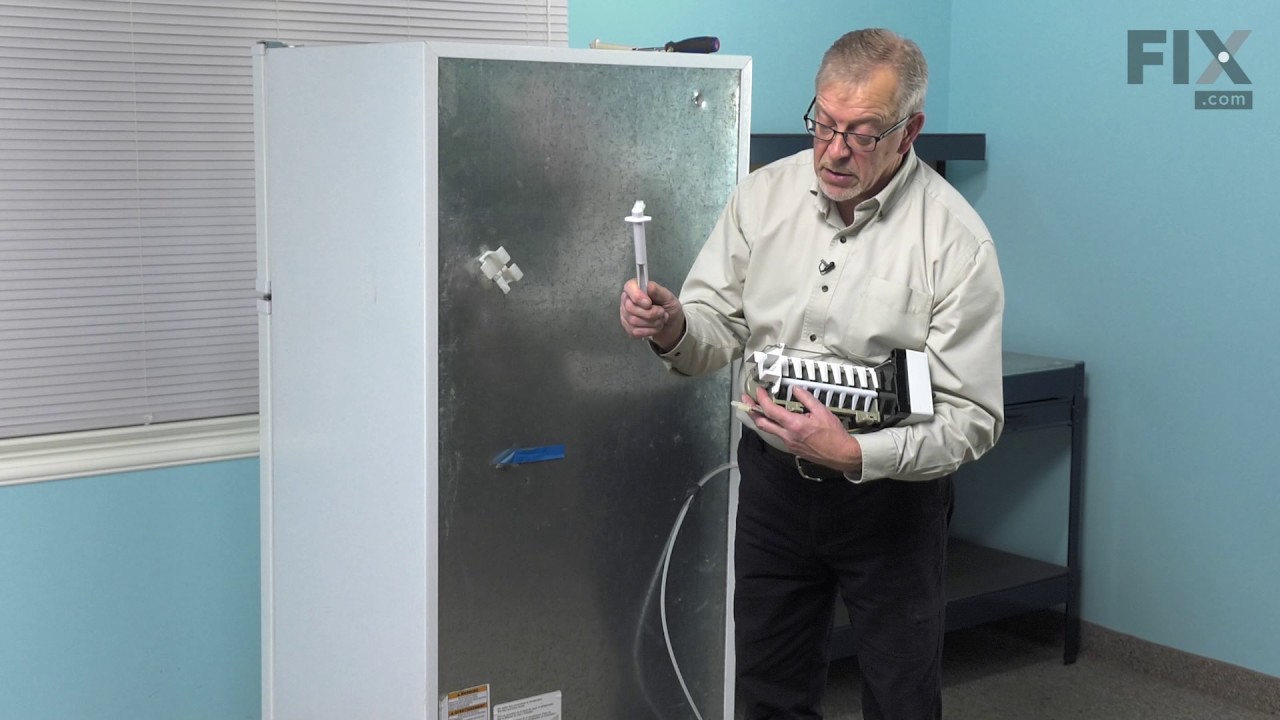
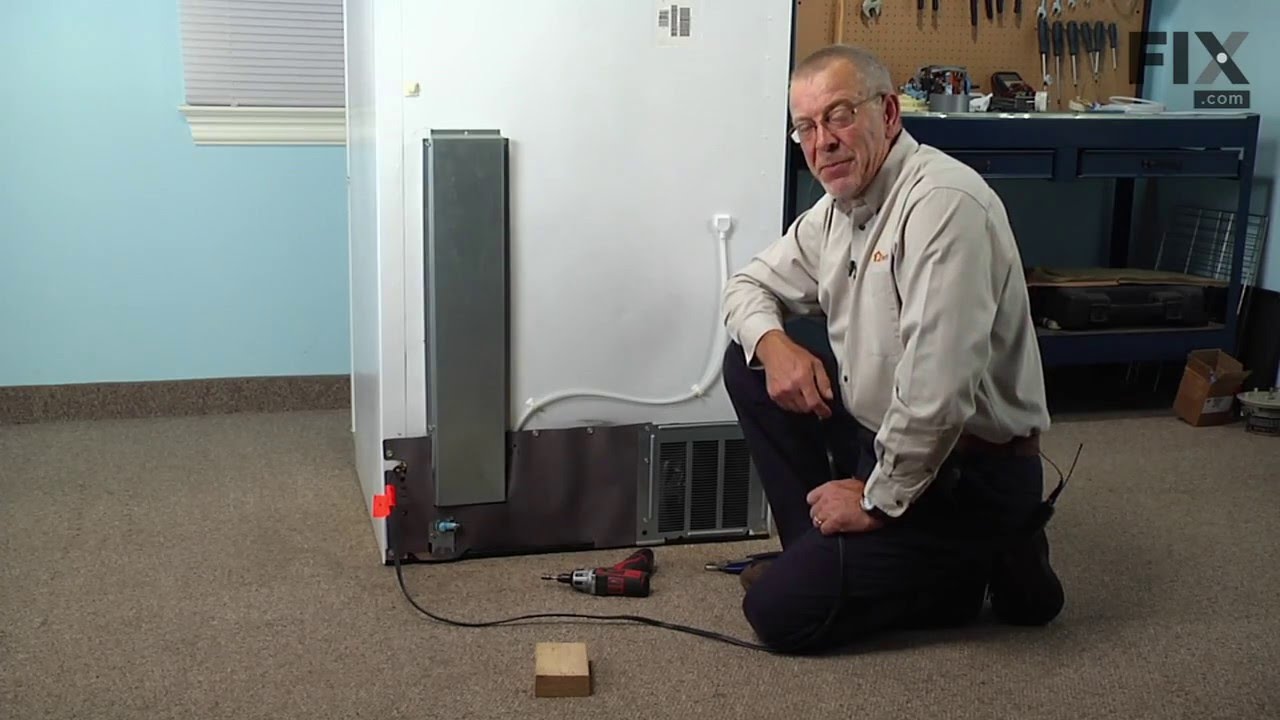

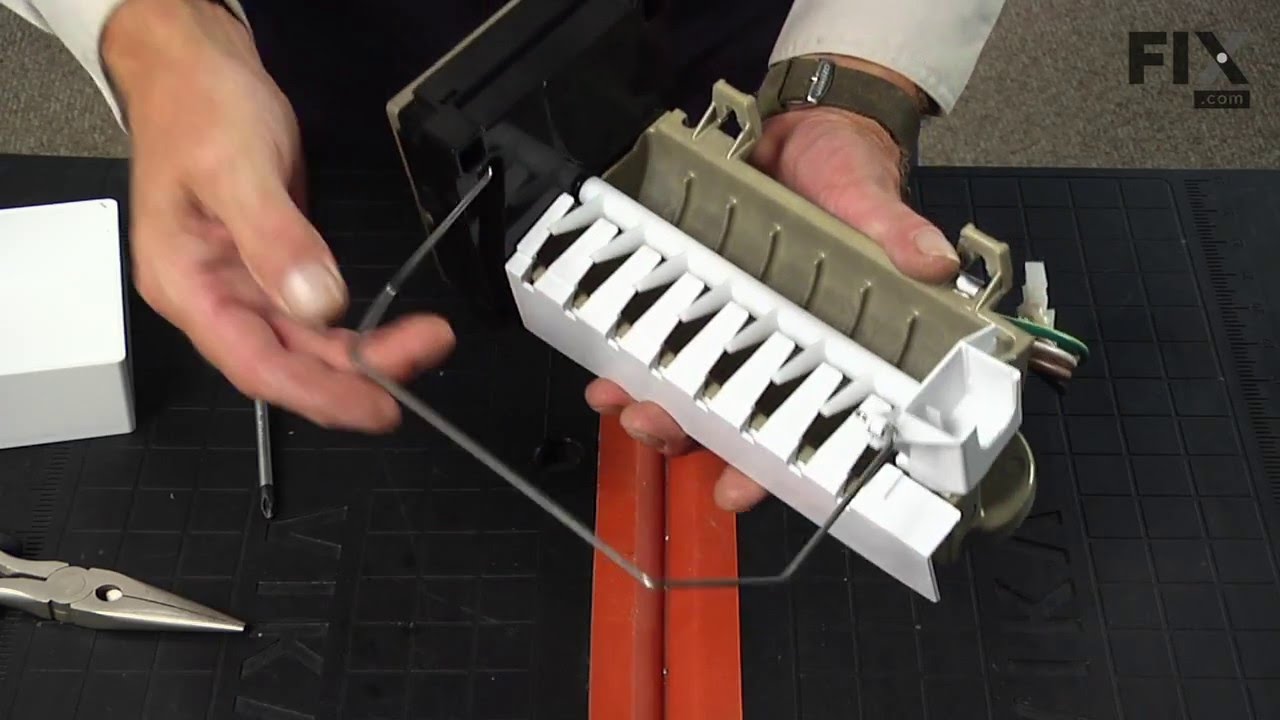
See how others fixed this model. Time, tools, difficulty, and steps that lead to victory!
View More