


 My Orders




49-2707-23-01 Tappan Dryer - Overview
Diagrams for 49-2707-23-01
See every part. Know exactly what you need.


Enter a part description. DIY Heroes keep it simple, eg. "belt" or "pump".
Search filter:
Clear Filter
Your search term must have 3 or more characters.

$43.77
In Stock
Rear Drum Bearing Kit
Part #5303281153
This rear drum bearing kit is designed for use with dryers. It supports the rear of the drum in your appliance as it tumbles your clothes during the drying cycle. If your drum will not tumble, or if it is making a lot of noise, it could be an issue with this part. This is a ball-and-socket style bearing. You will need to replace this if t...Read morehe bushing has worn out, or if the ball support is damaged. This kit includes one bearing, one ball shaft, one ball bearing, one ball bearing retainer, a small tube of high temperature lubricant and installation screws. Unplug your dryer before you begin this repair.
Read less

$10.93
In Stock
Drum Support Bearing
Part #131825900
If your dryer does not tumble, will not start, is noisy, or is leaving marks on your clothing, you may need to replace the drum support bearing. The drum is supported at the rear by a bearing, which attaches onto the inside of the rear panel of the cabinet. You will need to remove the dryer drum before completing this repair. Although rep...Read morelacing the drum support bearing is a fairly easy job, you will need tools to complete it. For this repair, you will need a putty knife, a Phillips screw driver, a 5/16 nut driver and maybe a small flat blade screw driver.
Read less

$62.37
In Stock
Door Catch
Part #131658800
The door catch on your dryer is an important part as it keeps your dryer door closed, in order to ensure no air or clothes can escape. This part works by holding the door strike, which allows the door to stay secure. Before you begin this repair make sure to disconnect the power supply to the dryer. The tools you will need for this instal...Read morelation include a Phillips screwdriver and a small flat blade screwdriver. A pair of pliers may also come in handy. Users ranked this repair as easy, and say that it will take fifteen minutes or less to complete.
Read less

$60.45
In Stock
Door Latch Kit
Part #5366021400
The door latch is designed to keep your dryer door closed, even during the drying cycle. If your dryer door will not stay closed, the drying cycle might not start, or it could stop suddenly. If you notice this is happening, check the latch itself for any physical damage. If you notice that it is damaged, the latch should be replaced strai...Read moreght away. This genuine OEM part is compatible with different brands and models, so check to make sure it will properly fit yours before ordering. This door latch kit comes with both the strike and the catch. We suggest replacing both parts of the door latch at the same time.
Read less

$27.74
In Stock
M Series Ignition Coil Kit
Part #5303931775
This kit contains two coils, one is a two-wire secondary coil and the other is a three-wire booster coil. Both coils in the ignition coil kit should be used together in the clothes dryer. Some of the symptoms that this kit could be a solution for are: If there is no heat, not enough heat, or clothes takes too long to dry. In this case, th...Read moree gas valve coils can be defective and replacing this part will help. Customers rate this project as easy. Refer to the installation diagram for further instructions. For safety, unplug your dryer before repair.
Read less

No Longer Available
Lint Screen and Frame
Part #131390300
This filter collects lint as it passes through the dryer vent.

$22.97
In Stock
Dryer Drum Bearing Bracket
Part #131724301
This drum bearing bracket is for dryers. Drum bearing bracket holds and supports the drum bearing

$24.15
In Stock

No Longer Available
Idler Pulley Assembly
Part #5303212849
Use this idler pulley assembly with gas or electric clothes dryer that has a flat dryer belt.
***Please NOTE: This part has been redesigned by the manufacturer and may not fit your appliance.

$50.42
In Stock
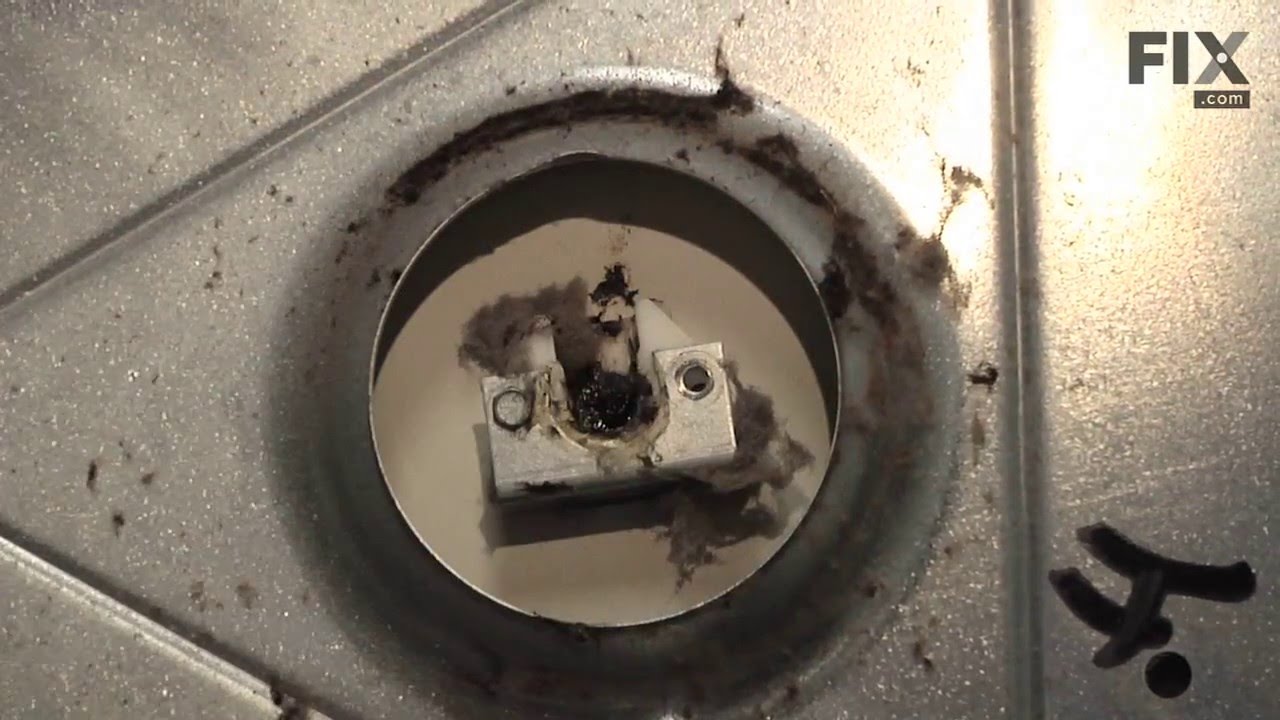
Flame Sensor
Part #5303281135
This part senses the flame for heat allowing the gas valve to open. The most common issue that might arise that would indicate the flame sensor needs to be replaced is your dryer is not giving off enough heat. If your clothes are not drying at a reasonable time, this might be your first indication of an issue. You will need to remove the ...Read moretwo screws underneath the lint cover to remove the top of the appliance. Release the door switch wiring, remove the front panel, and remove the belt off the pully. You should now be able to completely remove the drum from the dryer. This will give you access to the sensor for the repair.
Read less

No Longer Available

$76.78
In Stock
Igniter
Part #5303937186
The burner igniter is used in dryers and activates or lights the gas burner to heat the dryer during a cycle. *Please note: Do not handle this igniter by the gray part, because it is fragile. If your dryer is producing no heat, not enough heat, or it will not start, replacing this part may be the solution. Tools required for this repair p...Read moreroject are: putty knife, screwdriver, and wrench. Remember to unplug your appliance from the power source before beginning this installation project. Refer to the manual provided by the manufacturer for further installation instructions.
Read less
Common Symptoms of the 49-2707-23-01
How this model fails, and the parts that fix it.
Noisy
Fixed by
these parts
these parts


Show All
Door won’t close
Fixed by
these parts
these parts


Show All
Marks left on clothes
Fixed by
these parts
these parts

Show All
Not Heating
Fixed by
these parts
these parts


Show All
Drum Not Spinning
Fixed by
these parts
these parts

Show All
Door Pops Open
Fixed by
these parts
these parts
Show All
Won’t Start
Fixed by
these parts
these parts
Show All
Lid or door won’t close
Fixed by
these parts
these parts
Show All
Watch our pros, then fix it yourself.
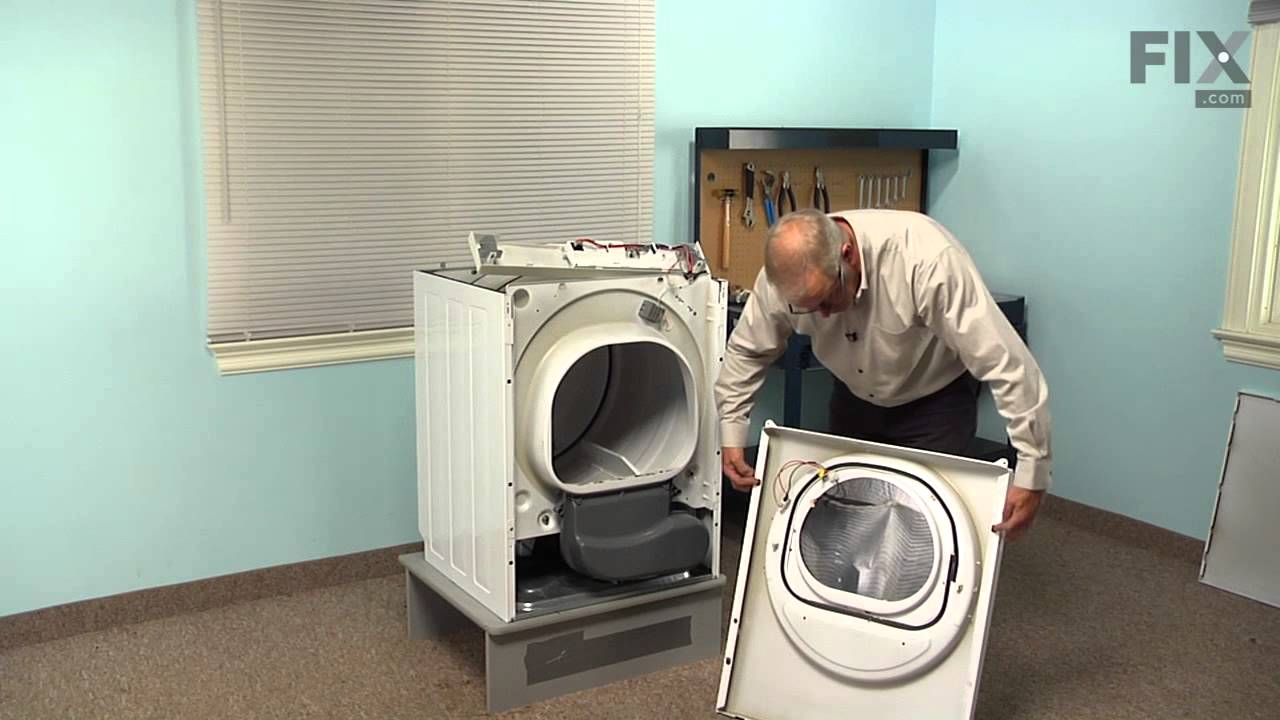
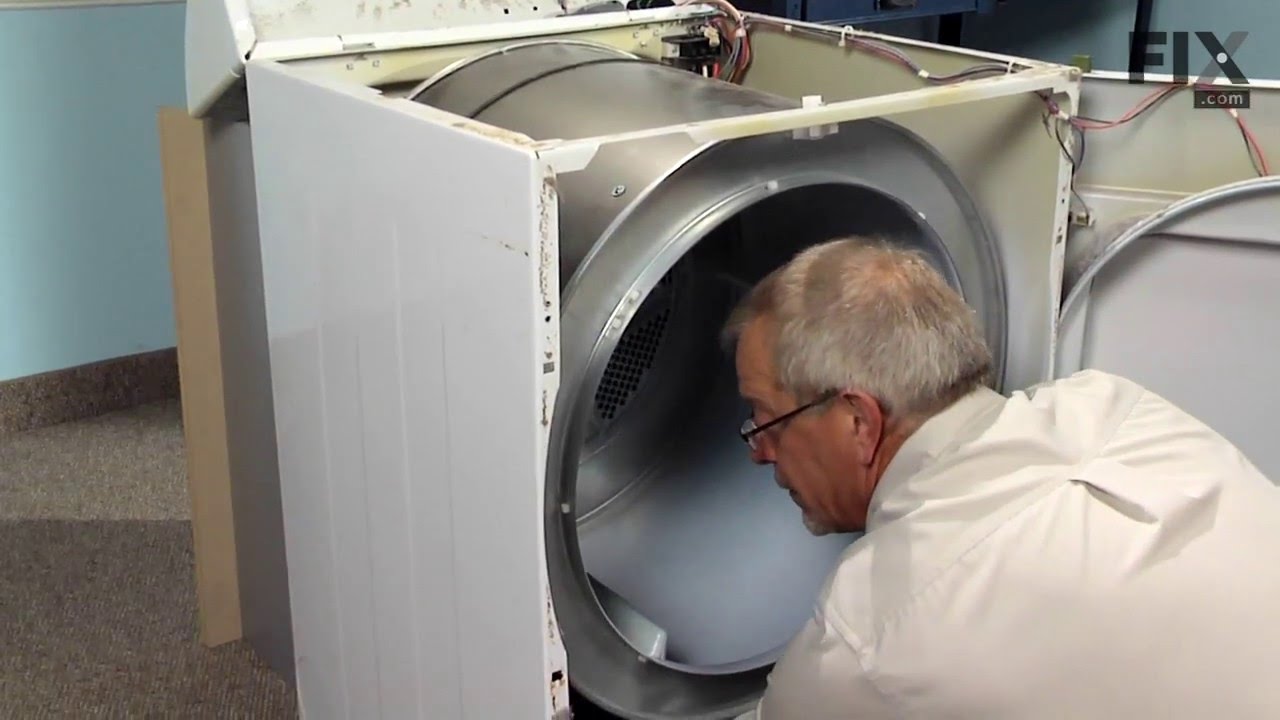
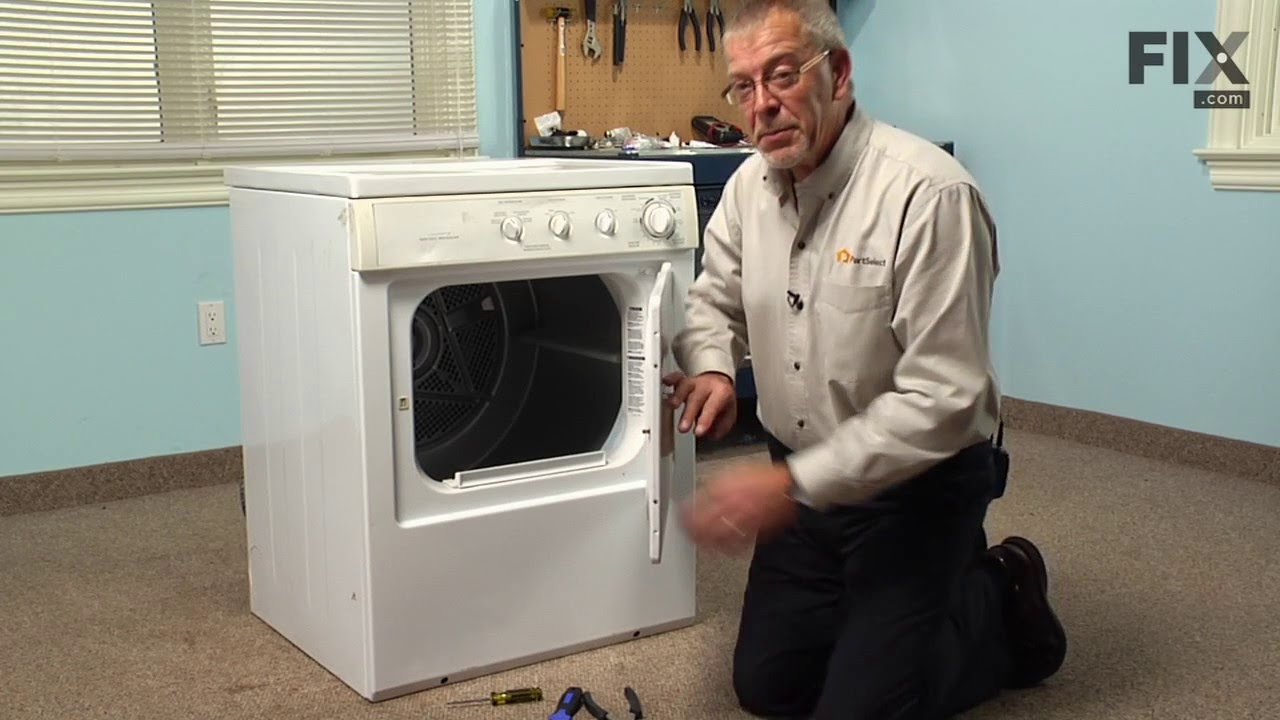
See how others fixed this model. Time, tools, difficulty, and steps that lead to victory!
View More