


 My Orders




4823 - Overview
Models starting with 4823
Click on the best match to narrow your results.
- 48231009799 (WM3001HWA) LG Washer
- 48231010009 (DLGX2802W) LG Dryer
- 48231010030 (DLGX2802R) LG Dryer
- 48231010108 (WM2601HR /00) LG Washer
- 48231014465 LG Washer (Washer)
- 48231017473 LG Washer (Washer)
- 48231364645 (ASWAUSL) LG Dehumidifier
- 48231364645 (ASWAOSL) LG Dehumidifier
- 48231784207 (ASTCNA1) LG Refrigerator
- 48231784214 (ASWCNA1) LG Refrigerator
- 48231784221 (AWBCNA1) LG Refrigerator
- 48231784412 (ASWCNA1) LG Refrigerator
- 4823A Frigidaire Range (ELECTRIC RANGE)
Enter a part description. DIY Heroes keep it simple, eg. "belt" or "pump".
Search filter:
Clear Filter
Your search term must have 3 or more characters.

$37.35
In Stock
Oven Bake Element
Part #316075103
The Oven Bake Element is a black, metal part which supplies heat to the oven. This element is 19-1/2" wide x 18-1/2" long and has 3-1/2" inserts. It is rated as "Easy" to install by users, and attaches to the bottom of the oven. If you notice visible damage, or that your oven is not receiving heat properly then it may be a problem with th...Read moreis part. Check your model number and user manual to see if this is the right part for you. It is important for you to disconnect your appliance from the power source before performing this repair. After disconnecting your appliance, remove the two screws/nuts connecting the old element, pull it out, and discard if faulty. Simply connect the new element prongs where the old element fit, and screw it back in. You may need a flashlight when making this repair.
Read less

$14.25
In Stock
Drip Bowl - 8"
Part #316048413
This chrome drip bowl is designed for use with electric cooktops and ranges. This drip bowl is sold individually. At the widest point this part has a diameter of approximately 10 inches. It sits beneath the surface burner element. It catches any drips or spills coming from the cookware on your burner. Because the cooktop is a high-traffic...Read more area of the kitchen, these bowls often get damaged, or get so dirty they can no longer be adequately cleaned. When replacing this part you need to remove the burner element. While you have it out we recommend inspecting the terminals and the element for any corrosion, arcing, or discoloration. Any of those things could be a sign of a bigger problem, and it indicates that the element and terminal block should be replaced.
Read less

$13.15
In Stock
Chrome Drip Bowl - 6"
Part #316048414
The drip bowl catches grease and spills that come from cooking on your stove top. They are located under the heating elements. Drip bowls are often neglected and can become rusted and cracked. If your drip bowl is damaged, it could allow grease, food, or other spills to drip inside your range. This could become a fire hazard. This 6 inch ...Read morechrome drip bowl fits most electric ranges. Before you replace your damaged drip bowl, make sure the element is turned off and cool to the touch. To replace the drip bowl, remove the element, replace the current drip bowl, and reattach the element. This part is sold individually.
Read less

$9.14
In Stock
Rear Drawer Glide
Part #3051163
If you are having trouble opening your drawer easily or it has been damaged/broken, replacing the rear drawer glide could be the solution. The glide attaches to the rear of the oven drawer and supports the sides of the drawer. This allows the drawer to slide in and out of range without difficulty. Only one tool is needed for this repair, ...Read morea flat blade screw driver. Make sure to unplug the oven and wear gloves before repair to protect hands in case range is not cooled before repairing. This an OEM part sourced directly from the manufacturer.
Read less

$58.42
In Stock
Washing Machine Drain Pump
Part #4681EA2001T
The drain pump and motor assembly may also be known as the washer drain pump and is a part for your washer. The drain pump helps expel water from the washing machine. The drain pump is activated after the spin cycle speed is maintained for a specific period of time. To make this installation you will need a Phillips screwdriver, a small f...Read morelat-blade screwdriver, a pair of needle-nose pliers, and a pair of slip-joint pliers. Note that the pump casing is not included. This medium-difficulty repair may vary, but can generally be started by disconnecting power, then removing the top of the washer by taking out the four back screws and two small brackets. Then, remove the front panel by taking out the two screws and eight tabs that should be taken from the top. Moving down the front of the washer, remove the door, latch, tub gasket, and drain cover. Disconnect the drain hoses and clip from under the drain assembly, and install new assembly from there. Reassemble parts in direct reverse order -- taking photos during disassembly and keeping parts clearly organized can help here. Despite the number of steps, you will only need a standard Phillips screwdriver to complete this repair.
Read less

$7.65
In Stock
Front Drawer Glide
Part #3051162
The front drawer glide is designed to help the bottom drawer on your range slide in and out smoothly. If the drawer is not operating as intended, or the drawer will not close all the way, the front drawer glide may require changing. Luckily this is a very easy repair, all you need is a flat head screwdriver. Simply snap the old drawer gli...Read morede out, and snap the new one in. Use the flat head screwdriver to pop out a stubborn old drawer glide. The front door glide differs in shape from the rear drawer glide, so ensure you have the correct part prior to installation. This product is sold individually.
Read less

$36.85
In Stock
Dryer Lint Filter
Part #ADQ56656401
The Dryer's Lint Filter is used to collect lint during the dryer cycle as it passes through the dryer vent, in order to prevent damage to the machine. This manufacturer-approved part comes in gray, measures around 12 inches wide by 11 inches high, and is easy to install. It slides into the lint filter slot in your dryer. If there is visib...Read morele damage to the screen then it's time to replace the part. We recommend that you thoroughly clean the lint filter before every load, but even with good maintenance, this hard-working part is often damaged or worn over time. If your dryer isn't drying quickly, the filter may be responsible. The manufacturer has made an authorized substitution to the lint filter. Special details: When replacing lint screen ADQ56656401 you may need to also replace lint screen housing MCK49049101 and lint screen guide MEA49050001 to prevent items from catching on the lint screen, depending on your model.
Read less

$138.79
In Stock
4 PACK ROLLER ASSEMBLY
Part #4581EL2002L
This part is sold individually. The drum support roller is found in your dryer. It is used to hold the drum in place in the cabinet while letting the drum rotate on the support rollers. It is recommended that you replace both rollers at once. You may notice that this part needs to be replaced if you are experiencing a squeaking noise, whi...Read morech could be due to the bearing going bad. The bearing could be severely damaged if you hear a very loud thumping noise, much like you would when you are drying a pair of shoes.
Read less

$15.20
In Stock
Terminal Block Kit
Part #5303935058
This part connects the wire harness to the surface element and is used for ranges. The kit includes interchangeable mounting brackets, ceramic wire nuts, heat shrink protective tubing, and wires. If your range/oven is having symptoms such as burner not heating, heating elements not working, burning smell, or if the oven is making a buzzin...Read moreg noise then this could be the solution. The tools needed to replace the kit are wire strippers, a heat gun or hair dryer, and #1 square heard screw driver. Refer to the installation/instructional video for further guidance to accurately replace the element.
Read less

$40.64
In Stock
Surface Element - 8 Inch - 220V
Part #316442300
If the burner element on your range will not heat up, or is damaged, it may need to be replaced. This part is 8 inches in diameter, and should not be confused with the smaller 6-inch model. The part is 220 Volts and 4 Turn. The burner element connects to the terminal block inside the range. To do this repair, simply remove the old surface...Read more element and replace it with the new part. This product is sold individually. As the surface element is hot when it is on, be sure to unplug the range from the power source before completing this repair.
Read less

$35.80
In Stock
Water Inlet Valve - Hot
Part #5220FR2006H
The hot water inlet valve on your washing machine controls the water flow into the washer. This inlet valve has a standard hose fitting inlet and one water outlet. The water inlet valve opens to allow water to enter the washing machine. If the water inlet valve is defective, the washer may leak, fill slowly, or not fill at all. To test yo...Read moreur valve, unplug the washer when the symptom occurs. If the washer continues to fill, then your inlet valve is defective. This part is approximately 3 inches long x 3 inches wide.
Read less

$19.30
In Stock
Thermal Fuse
Part #6931EL3003D
This thermal fuse acts as a high-limit thermostat, and shuts off the heating element when the dryer overheats by cutting off power to the dryer. If the thermal fuse has blown, the dryer will not start. These fuses cannot be reset, so if yours has blown, you will need to replace it. A common reason for the thermal fuse to blow on a dryer i...Read mores if the exhaust vent on your dryer is restricted or blocked. Hot air will be confined in the dryer and the fuse will trip and stop the electricity from flowing to the gas valve or heating element.
Read less
Exact Part matches for your search term

No Longer Available
No Longer Available
$44.91
Special Order
Common Symptoms of models starting with 4823
How this model fails, and the parts that fix it.
Element will not heat
Fixed by
these parts
these parts


Show All
Little to no heat when baking
Fixed by
these parts
these parts


Show All
Will not drain
Fixed by
these parts
these parts


Show All
Leaking
Fixed by
these parts
these parts


Show All
Noisy
Fixed by
these parts
these parts


Show All
Marks left on clothes
Fixed by
these parts
these parts


Show All
Not Heating
Fixed by
these parts
these parts


Show All
Will Not Start
Fixed by
these parts
these parts

Show All
Door won’t close
Fixed by
these parts
these parts


Show All
Light not working
Fixed by
these parts
these parts

Show All
Oven not heating evenly
Fixed by
these parts
these parts
Show All
Draining Issues
Fixed by
these parts
these parts

Show All
Lid or door won’t close
Fixed by
these parts
these parts


Show All
Door won’t open or close
Fixed by
these parts
these parts


Show All
Water Filling Issues
Fixed by
these parts
these parts

Show All
Locking Issues
Fixed by
these parts
these parts
Show All
Little to no heat when broiling
Fixed by
these parts
these parts
Show All
Oven is too hot
Fixed by
these parts
these parts
Show All
Door Sweating
Fixed by
these parts
these parts


Show All
Ice maker not making ice
Fixed by
these parts
these parts


Show All
Spinning Issues
Fixed by
these parts
these parts


Show All
Will not agitate
Fixed by
these parts
these parts
Show All
Unit says bucket is full when it isn’t
Fixed by
these parts
these parts


Show All
Does not dispense fabric softener or detergent
Fixed by
these parts
these parts


Show All
Door won’t close
Fixed by
these parts
these parts


Show All
Won’t Start
Fixed by
these parts
these parts

Show All
Not dispensing water
Fixed by
these parts
these parts

Show All
Not draining
Fixed by
these parts
these parts
Show All
Ice maker won’t dispense ice
Fixed by
these parts
these parts

Show All
Shaking and Moving
Fixed by
these parts
these parts

Show All
No hot or cold water
Fixed by
these parts
these parts
Show All
Engine runs but does not pump water
Fixed by
these parts
these parts
Show All
Burning smell
Fixed by
these parts
these parts

Show All
Drum Not Spinning
Fixed by
these parts
these parts

Show All
Noisy and Marks Left on Clothes
Fixed by
these parts
these parts

Show All
Frost buildup
Fixed by
these parts
these parts

Show All
Won’t stay on
Fixed by
these parts
these parts
Show All
Spins slowly
Fixed by
these parts
these parts
Show All
Noisy
Fixed by
these parts
these parts
Show All
Touchpad does not respond
Fixed by
these parts
these parts
Show All
Fridge and Freezer are too warm
Fixed by
these parts
these parts

Show All
Clothes Still Wrinkled
Fixed by
these parts
these parts
Show All
Freezer section too warm
Fixed by
these parts
these parts
Show All
Door Pops Open
Fixed by
these parts
these parts
Show All
Timer Not Working
Fixed by
these parts
these parts
Show All
Watch our pros, then fix it yourself.
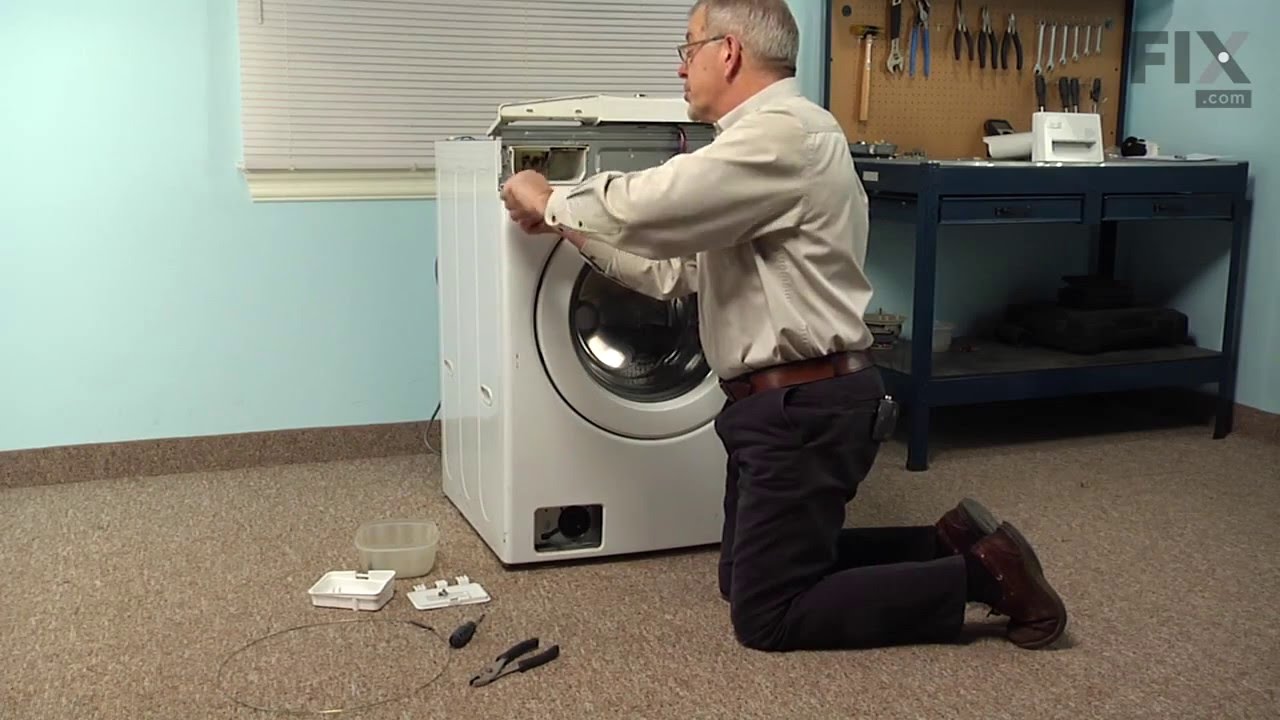
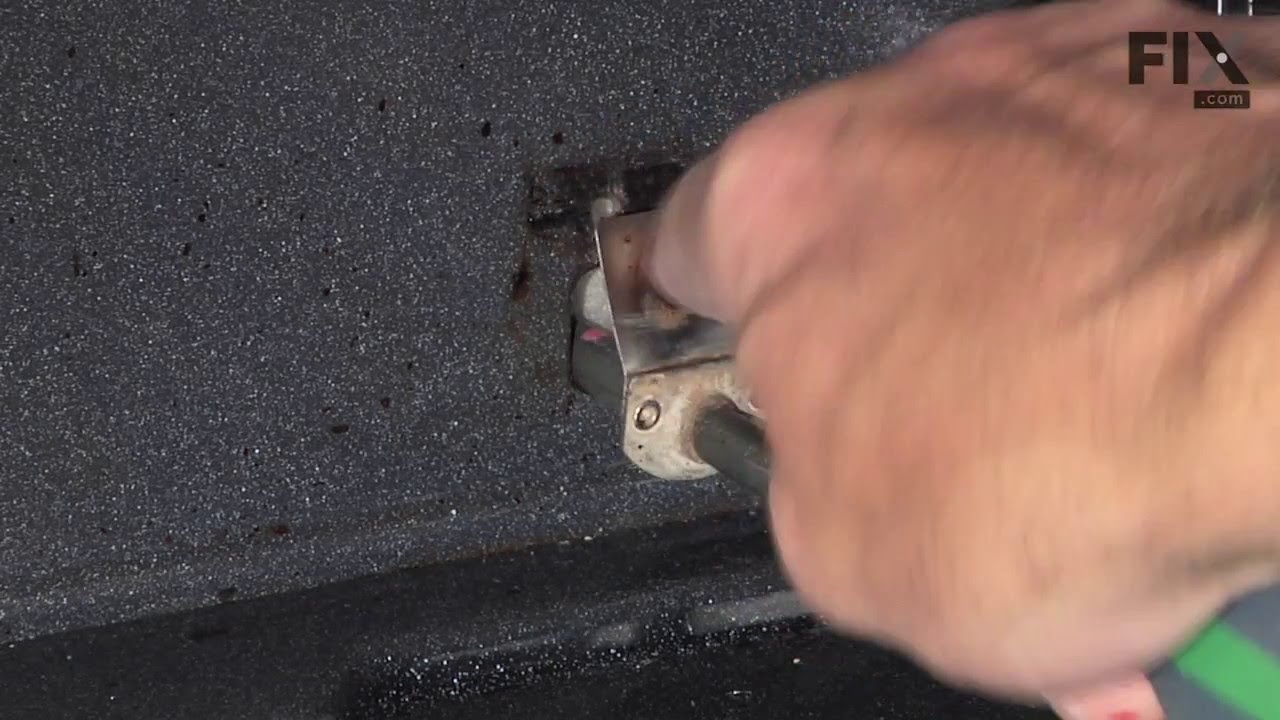
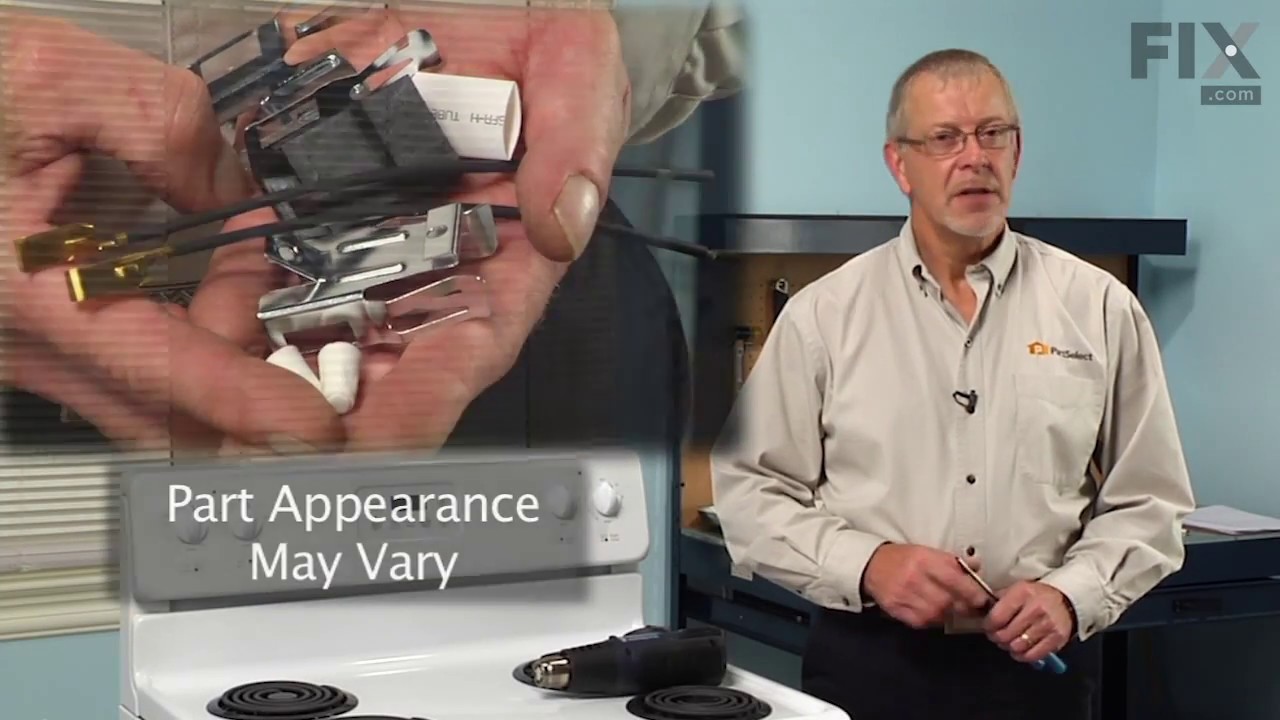
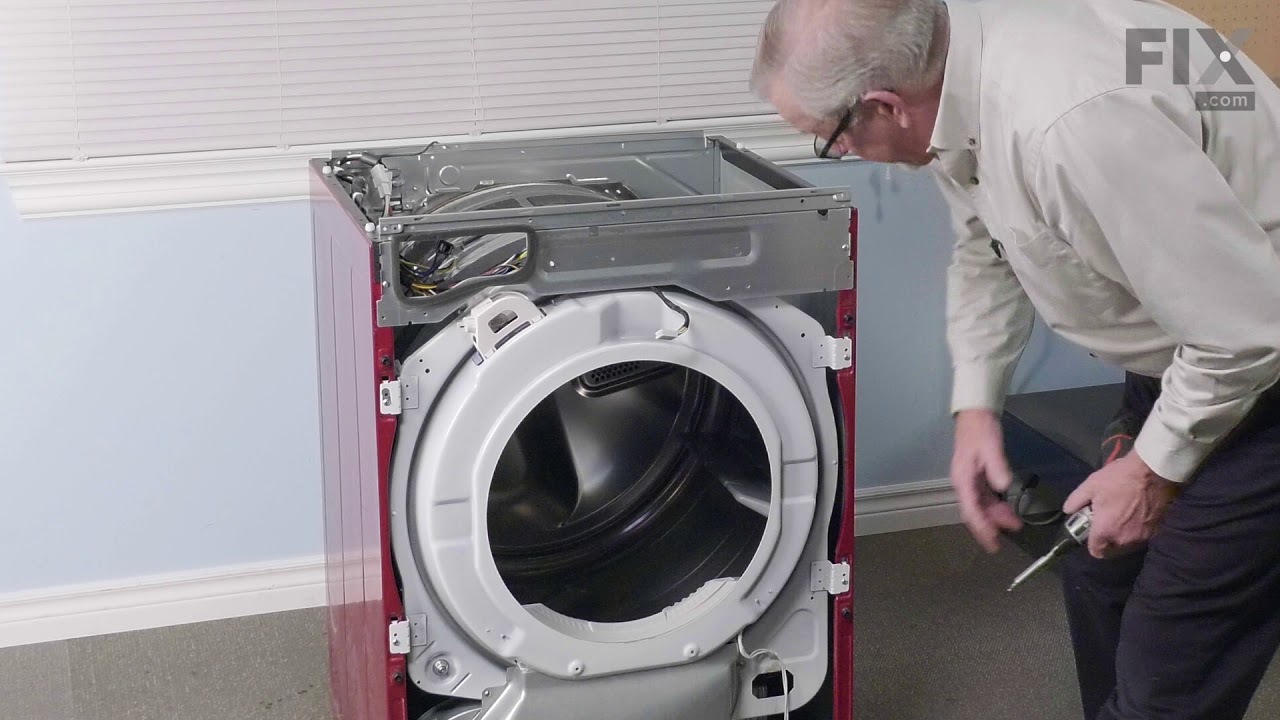
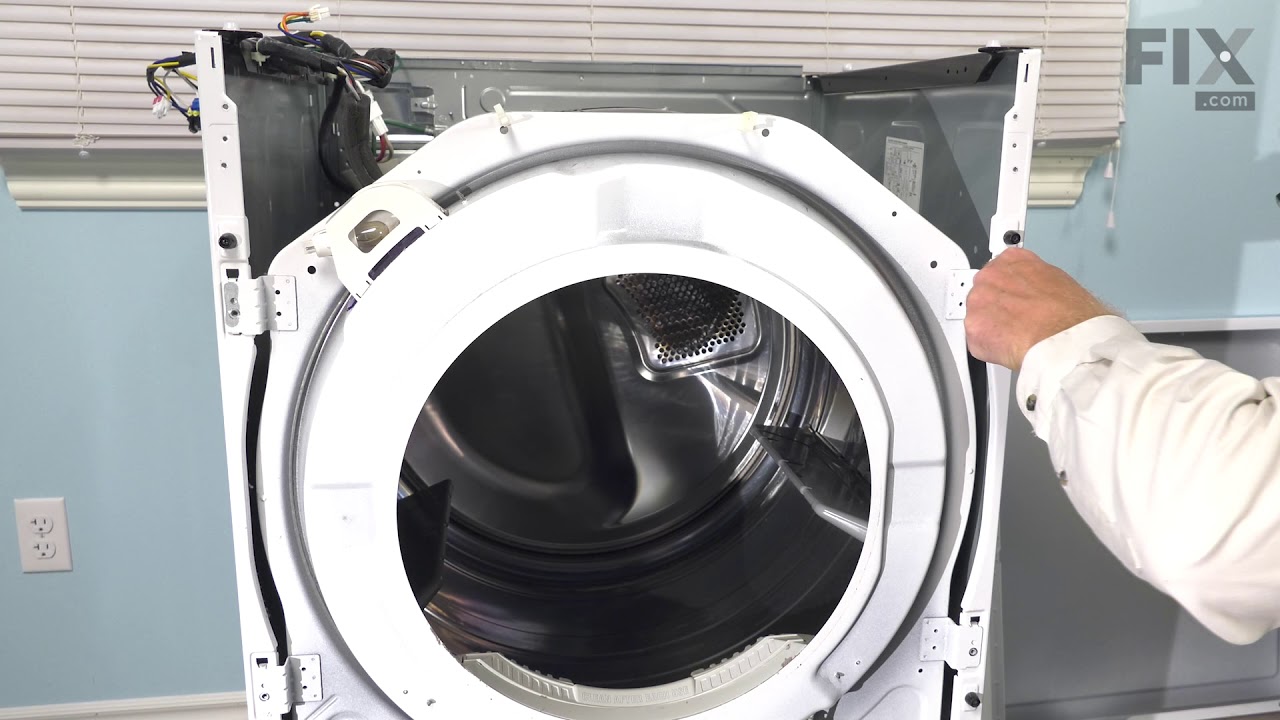
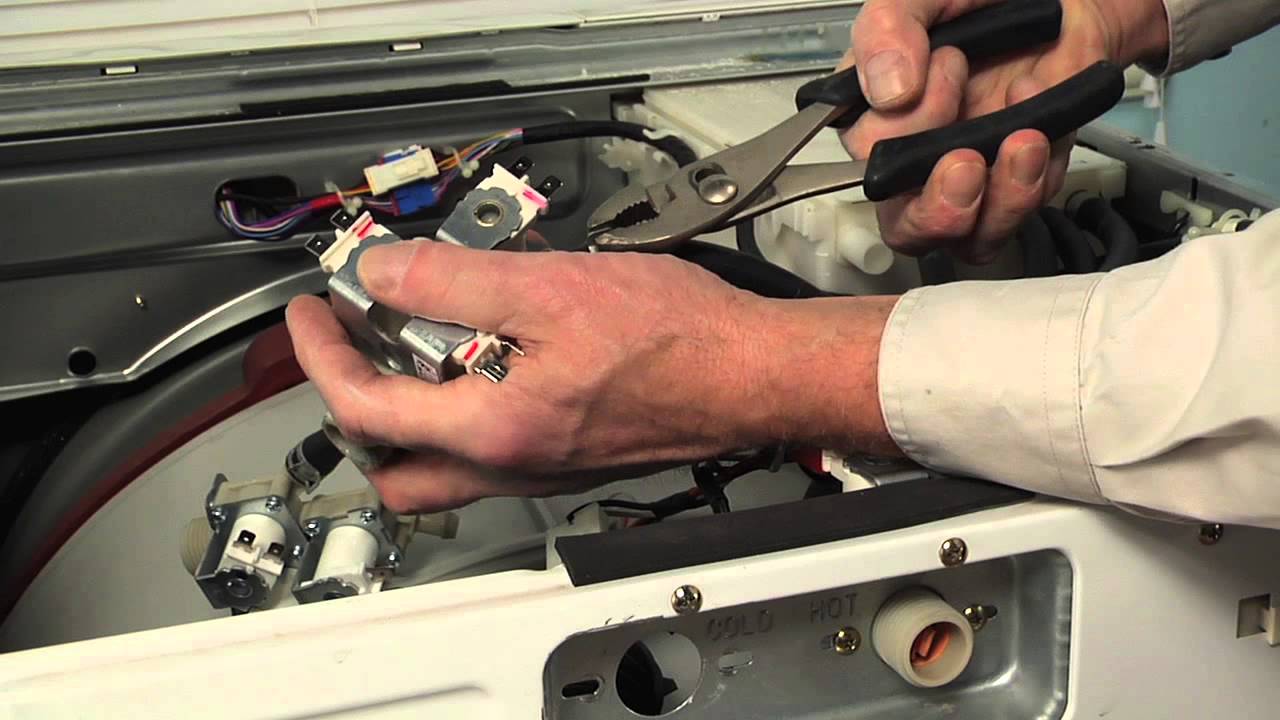
See how others fixed this model. Time, tools, difficulty, and steps that lead to victory!
View More
Search repair tips from other customers using simple keywords like "replace", "fit", "remove", "inspect". DIY doesn't mean you have to do it alone!
Search filter:
Clear Filter
Your search term must have 3 or more characters.
drawer glides were broke on front and back
576 of 600 people
found this instruction helpful.
used a screwdriver pushed the old ones out put the new in. the video instructions were great.
Other Parts Used:
Was this helpful?
Thank you for voting!