


 My Orders




455R Husqvarna Chainsaw - Overview
Models starting with 455R
Click on the best match to narrow your results.
- 455RANCHER (2006-06) Husqvarna Chainsaw (Husqvarna Chainsaw Model 455RANCHER/2006-06 (455RANCHER/200606, 455RANCHER/2006 06) Parts)
- 455RANCHER (2013-01) Husqvarna Chainsaw (Husqvarna Chainsaw Model 455RANCHER/2013-01 (455RANCHER/201301, 455RANCHER/2013 01) Parts)
- 455RANCHER (2005-01) Husqvarna Chainsaw (Husqvarna Chainsaw Model 455RANCHER/2005-01 (455RANCHER/200501, 455RANCHER/2005 01) Parts)
- 455RANCHER (2004-10) Husqvarna Chainsaw (Husqvarna Chainsaw Model 455RANCHER/2004-10 (455RANCHER/200410, 455RANCHER/2004 10) Parts)
- 455RANCHER (2011-01) Husqvarna Chainsaw (Husqvarna Chainsaw Model 455RANCHER/2011-01 (455RANCHER/201101, 455RANCHER/2011 01) Parts)
- 455RANCHER (2007-01) Husqvarna Chainsaw (Husqvarna Chainsaw Model 455RANCHER/2007-01 (455RANCHER/200701, 455RANCHER/2007 01) Parts)
- 455RANCHER (2005-03) Husqvarna Chainsaw (Husqvarna Chainsaw Model 455RANCHER/2005-03 (455RANCHER/200503, 455RANCHER/2005 03) Parts)
- 455RANCHER (2009-10) Husqvarna Chainsaw (Husqvarna Chainsaw Model 455RANCHER/2009-10 (455RANCHER/200910, 455RANCHER/2009 10) Parts)
- 455RANCHER (2006-02) Husqvarna Chainsaw (Husqvarna Chainsaw Model 455RANCHER/2006-02 (455RANCHER/200602, 455RANCHER/2006 02) Parts)
- 455RANCHERII Husqvarna Chainsaw (Husqvarna Chainsaw Model 455RANCHERII Parts)
Enter a part description. DIY Heroes keep it simple, eg. "belt" or "pump".
Search filter:
Clear Filter
Your search term must have 3 or more characters.

$6.72
In Stock
Fuel Tank Bushing
Part #580457501
Used to seal the fuel tank to prevent leaks and allow the fuel line to enter through it, this Fuel Tank Bushing is sourced directly from the manufacturer. It is made of black rubber, is not part of a kit or assembly, and is sold individually.
This part will wear through regular use and should be replaced if you notice signs of damage or...Read more wear. When it malfunctions, you will see fuel leaking from the bushing. You will need a screwdriver and pliers to complete this repair.
Customers rate this repair as Easy.
Read less

$6.72
In Stock
Recoil Starter Screw
Part #503217321
Genuine OEM Husqvarna replacement part, this item is sold individually. This screw is used to secure the Starter Housing on the Husqvarna Chainsaws. Use a Flat head Screwdriver or a Hex Key to tighten or loosen the screw.

$6.72
In Stock
Screw
Part #503216220
This is an authentic OEM sourced replacement screw designed for use with a variety of Husqvarna power equipment. It is a standard hardware which has multiple applications based on your tool. This part is made out of Metal and it is Sold Individually. Requires a Hex Key or a Wrench to tighten/loosen this Screw.

$13.92
In Stock
Primer Bulb
Part #188-512-1
This is a rubber primer bulb with a plastic adapter attachment that is used on a variety of lawn and garden equipment models. This bulb attaches to the carburetor and is used to pump gasoline from the fuel tank into the gas chamber of the carburetor. Over time and through regular use, the primer bulb will lose its elasticity and may crack...Read more, requiring it to be replaced. To replace your primer bulb, you simply need to locate the bulb on your machine, unscrew the housing and remove the bulb, and secure the new one. This bulb is sold as an individual part and has a 2.25cm (7/8-inch) outer-diameter and a 3.33cm (1.3125-inch) height.
Read less

$6.72
In Stock
Bar Adjustment Retainer
Part #530038593
This OEM bar adjustment retainer is a metal component that securely holds the adjustment screw and pin in place, allowing you to adjust the chain tension. It is typically located near the front of the chainsaw, close to the guide bar. If the guide bar is over-pressured, the retainer can become stressed and fail, causing it to ride up on t...Read morehe screw. Signs of a damaged retainer include visible breaks or deformations. You may also have trouble in tightening or loosening the chain, as the screw may become loose during adjustment. To remove a faulty retainer, remove the side cover by loosening the nuts and the tension screw on it with a socket. Unscrew the guide bar and replace the damaged retainer. When installing the new retainer, ensure the cone points towards the adjustment pin. Please note that the replacement retainer is sold separately from the guide bar and adjustment pin.
Read less

$13.15
In Stock
Chainsaw Fuel Filter
Part #591375401
This is a genuine Husqvarna replacement part, it is sold individually. The Fuel Filter is inside of the fuel tank. Its purpose is to filter out dirt and other debris from contaminating the carburetor. It will at sometime become clogged and restrict the fuel getting to the carburetor,and will have to be replaced. We do have an article an...Read mored video on How to Replace the Fuel Filters in Your Outdoor Power Equipment.. You can see this by going to the front page of our site and clicking on Repair Center.
Read less

$44.49
In Stock
Lawn Mower Blade
Part #532419274
This is a genuine OEM part from Husqvarna. The mower/mulch blade is compatible with many riding lawn mowers. The metal component is fitted to the mandrel assembly under the mower, and used to cut grass. This blade is sold individually, and a wrench is needed for the installation.

$7.65
In Stock
Trimmer Check Valve
Part #530026119
This check valve, also known as a one-way valve, is a genuine OEM part that regulates the flow of fuel/oil in the equipment engine to prevent it from flowing backwards. It is made of plastic and designed for use in a variety of lawn and garden power equipment. If the valve is jammed, worn down, or contaminated with dirt and debris, it wil...Read morel be unable to open and close properly, thus restricting the flow of fuel and compromising the engine combustion process. You will likely notice fuel leaks around the carburetor, engine stalling, hard starting, and overall lower performance from your equipment. To remove the faulty valve, carefully disconnect any hoses or fasteners connected to it. Place the new valve in position and secure it appropriately.
Read less

$12.05
In Stock
Chainsaw Starter Rope
Part #505305125
Primarily used in chainsaws, this Starter Rope is an exact replacement part for hundreds of models. It is white and sold individually, not as part of a kit or assembly.
The Starter Rope will need to be replaced once you notice signs of it fraying, wearing, or it breaks off.
Customers rate this repair as Easy.

$6.55
In Stock
Flange Nut
Part #503220001
This M8 flange nut secures the guide bar and chain assembly in place, ensuring proper alignment and safe operation of your equipment. Designed with an integrated flange and anti-slip teeth to resist loosening from vibration, it provides a reliable, secure hold during heavy use. Made from durable, corrosion-resistant steel with an M8 threa...Read mored and 1.25?mm pitch, replacing a worn or missing nut helps maintain stability and dependable performance.
Read less

$9.63
In Stock
Oil Hose
Part #585514001
This oil hose is an OEM direct from Husqvarna. The durable plastic part is made for use with many chainsaws. The hose secures the oil pump assembly to the oil screen, sending oil to lubricate the chain components. The oil hose is sold individually. A screwdriver and a socket set are helpful in the repair. Please refer to the specific manual for further instructions.

$6.72
In Stock
Chainsaw Screw
Part #503200216
This screw is an authentic OEM part which made for Husqvarna chainsaws. It is designed for multiple uses based on your tool. Please refer to diagrams for correct location and applied use of this screw. It includes one (1) metal screw per order. This is a hex head item so you would need a hex key/allen wrench to install or remove it.
Watch our pros, then fix it yourself.
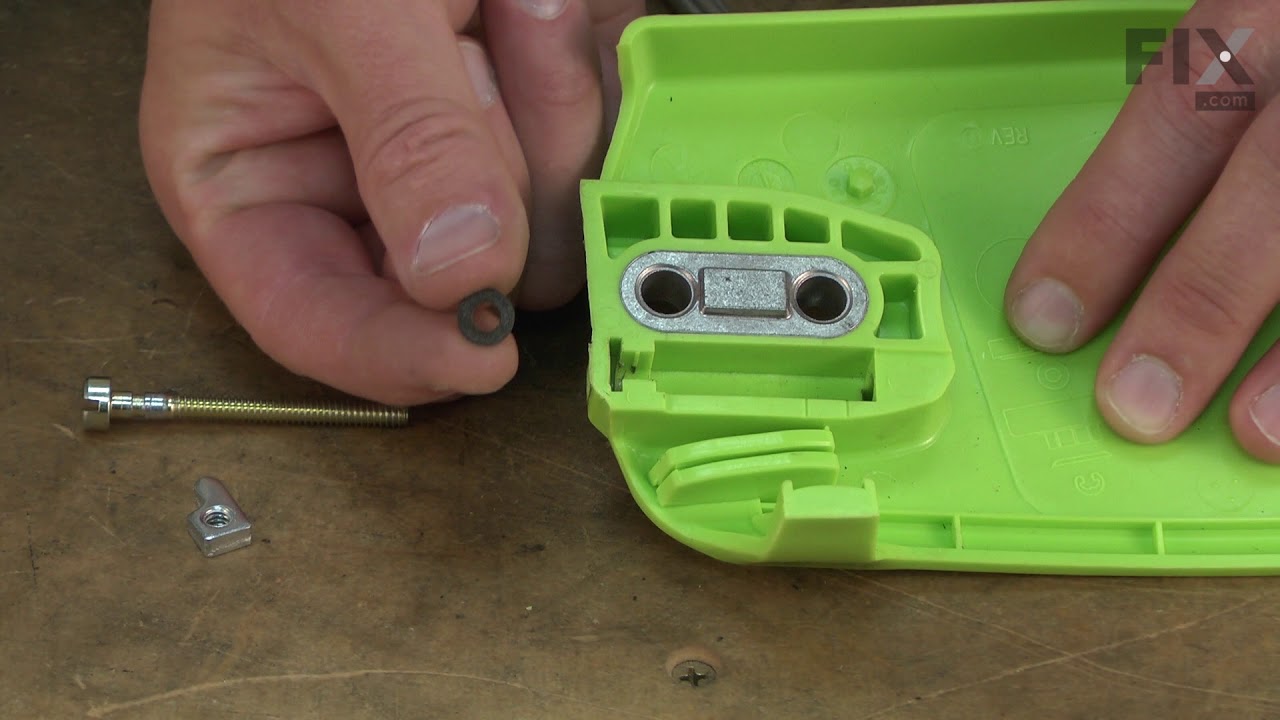
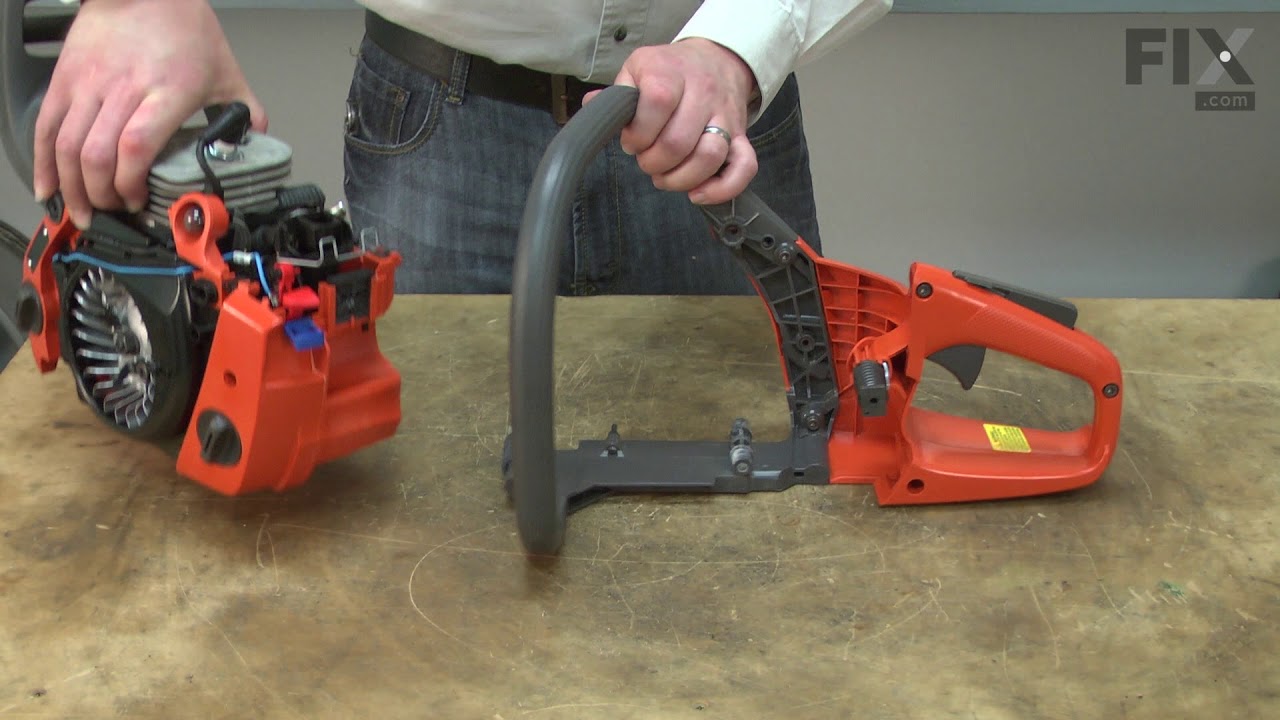
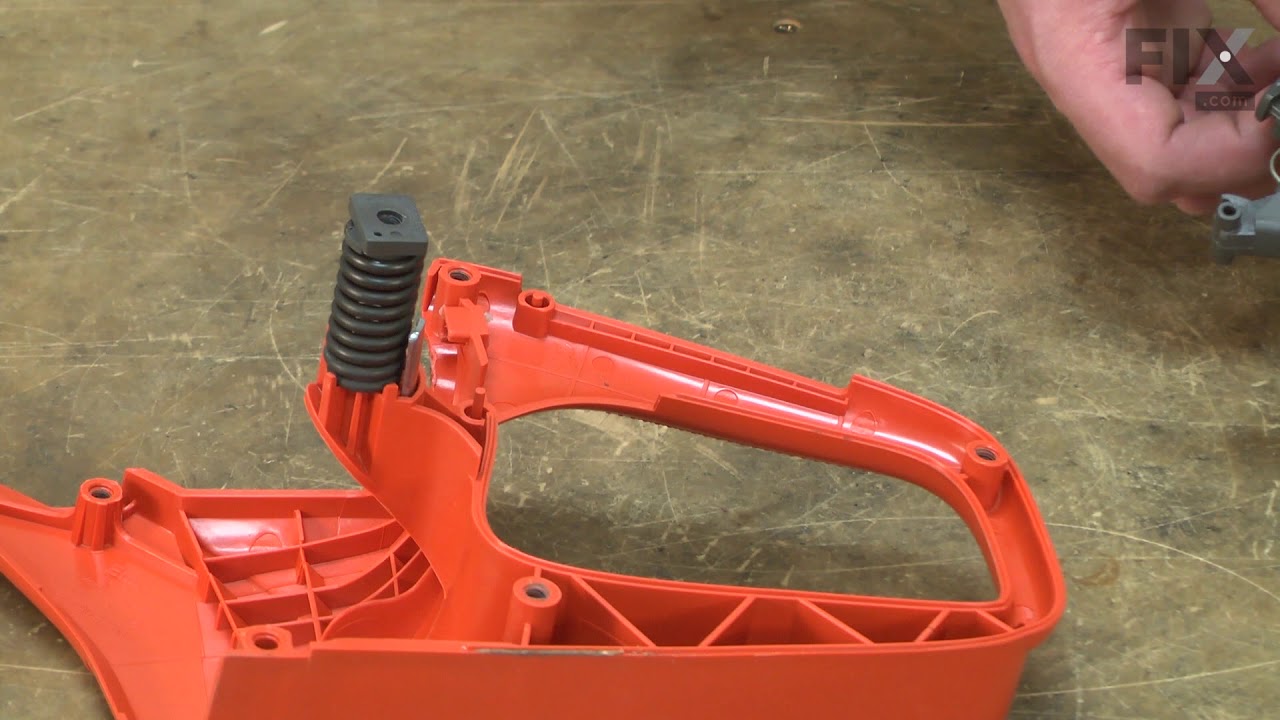
See how others fixed this model. Time, tools, difficulty, and steps that lead to victory!
View More