


 My Orders




426E499 Coleman Camping Equipment - Overview

Enter a part description. DIY Heroes keep it simple, eg. "belt" or "pump".
Search filter:
Clear Filter
Your search term must have 3 or more characters.

$12.11
In Stock
Pump Plunger
Part #242J5201
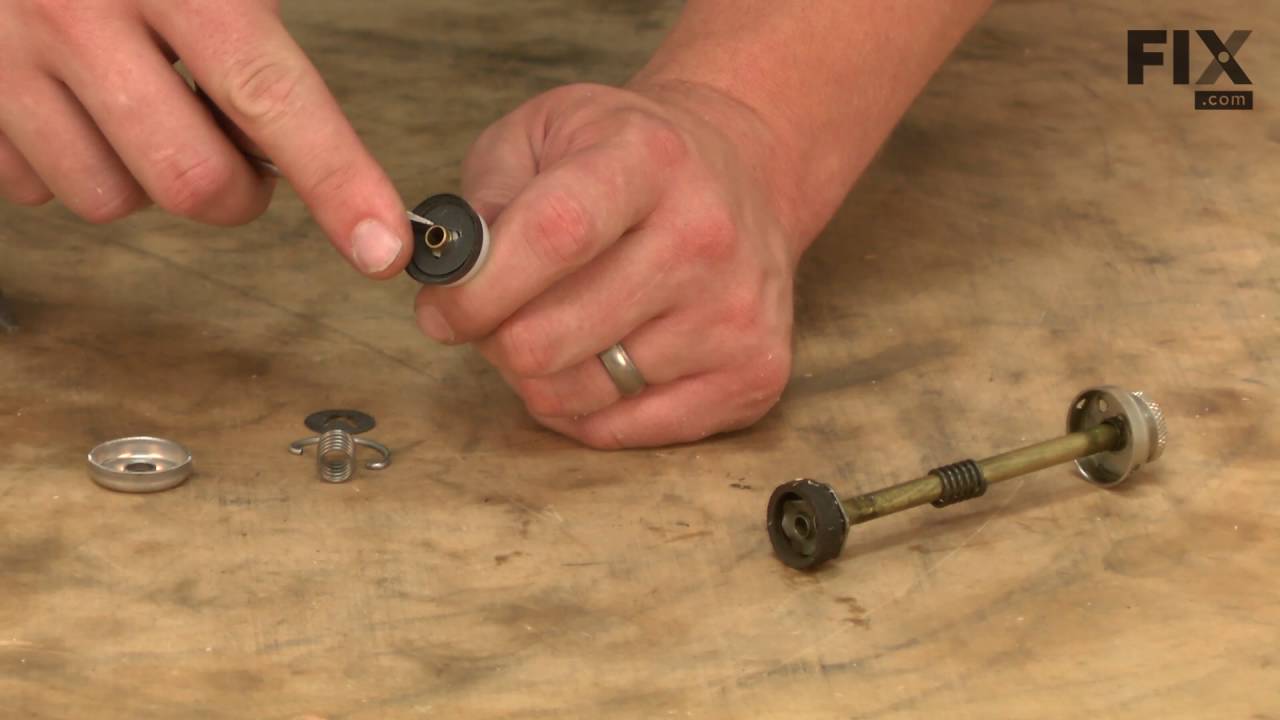
Genuine Coleman replacement part, it is sold individually. This part keeps the lantern pressurized. Includes: Plunger, spring clip, metal cap, spring, and clip. Installation is fairly easy, requiring needle-nose pliers, oil, and a flat-head screwdriver, or similar tool, to pry to the spring clip off of the pump. Compatible with the Coleman lanterns shown below.

$6.88
On Order
Valve Stem Packing
Part #118D6201
This is a genuine OEM sourced replacement part for Coleman lanterns or stoves. It acts as a spacer and a seal for the valve stem. This item is made out of graphite and it is sold individually. Please note it does not include valve stem or a wheel.

$8.38
Special Order
Check Valve and Air Stem
Part #2006381ZCL
This genuine manufacturer-sourced check valve assembly is designed for use with select Coleman lanterns and stoves. Made of durable brass, the assembly includes both the check valve and the air stem. The air stem threads into the check valve and is operated using the hollow pump shaft. When turned counter-clockwise, it opens the valve to ...Read moreallow air to pass through, regulated by the internal check ball. When turned fully clockwise, it securely closes the valve. This OEM part is sold as a complete unit and is essential for maintaining proper pressure control in compatible Coleman fuel systems.
Read less

$18.41
In Stock
Auxiliary Burner Assembly
Part #413D3461
This authentic Coleman replacement kit is used with stoves. This kit includes a burner cap, a burner bowl, 3 rings, 2 fillers, and a screw. This part is attached onto the manifold in order to hold the flame.

$51.77
Special Order
Valve Assembly
Part #426-6561
This is an authentic Coleman replacement part designed for use with gas camp stoves. It attaches between the generator and the fuel tank. The dial adjusts the flow of fuel through the generator to the burners, controlling the strength of the flame. This Assembly Includes the Following Parts: • Fuel Tube, Part Number: 426-5021 • Knob ...Read moreAssembly, Part Number: R413-149T • Screw, Part Number: 1146B0406 • Direction Disc, Part Number: 201-172
Read less

$7.47
In Stock
Pump Cup & Clip
Part #6391091
This genuine Coleman replacement part is designed for use with liquid fuel lanterns and is installed inside the generator pump. The assembly includes a neoprene rubber pump cup and a metal pump clip (also known as a pump nut). The pump cup forms a seal within the pump to prevent air leakage and maintain pressure, while the pump clip secur...Read morees the cup in place on the plunger shaft, positioned closer to the interior of the lantern. Before installation, the pump cup should be coated with Pump Lube (part #200K2251) to ensure proper function. This replacement set includes one pump cup and one pump clip.
Read less

No Longer Available
Filler Cap
Part #3000005086
This is a manufacturer-sourced replacement part designed for fuel tanks used with Coleman heaters and lanterns. This filler cap covers a valve opening on the tank that is found as part # 424-5601. This metal part is sold individually.

$73.58
In Stock
Valve & Gen
Part #426-6611

No Longer Available
Knob Assembly
Part #R413-149T

No Longer Available
Pump Lube
Part #200K2251
This genuine Coleman-made lubricant is used on the pump in the gas lanterns. This part assists in creating an air tight seal inside of the pump. Inside the pump is a leather or neoprene pump cup; the pump cup needs to be coated in lubricant in order to seal it effectively. This lube is made of neatsfoot oil, a thin animal oil primarily used to condition and soften leather. This part is sold individually.

$6.40
In Stock
Pump Clip
Part #530A5071
This is a genuine Coleman replacement part used with lantern pumps. It is a small metal piece that is designed to hold the pump in place on the fuel tank. To install, slide the pump into place and align the two small holes on the pump with the holes in the tank; fit the clips through the holes to lock everything into place. This part is sold individually, and is usually included with the plunger assembly.

$10.88
In Stock
BURNER CAPS & RINGS/FILLERS
Part #4253451
Watch our pros, then fix it yourself.
See how others fixed this model. Time, tools, difficulty, and steps that lead to victory!
View More