


 My Orders




41BDY70C901 MTD Trimmer - Overview

Enter a part description. DIY Heroes keep it simple, eg. "belt" or "pump".
Search filter:
Clear Filter
Your search term must have 3 or more characters.

$35.70
In Stock
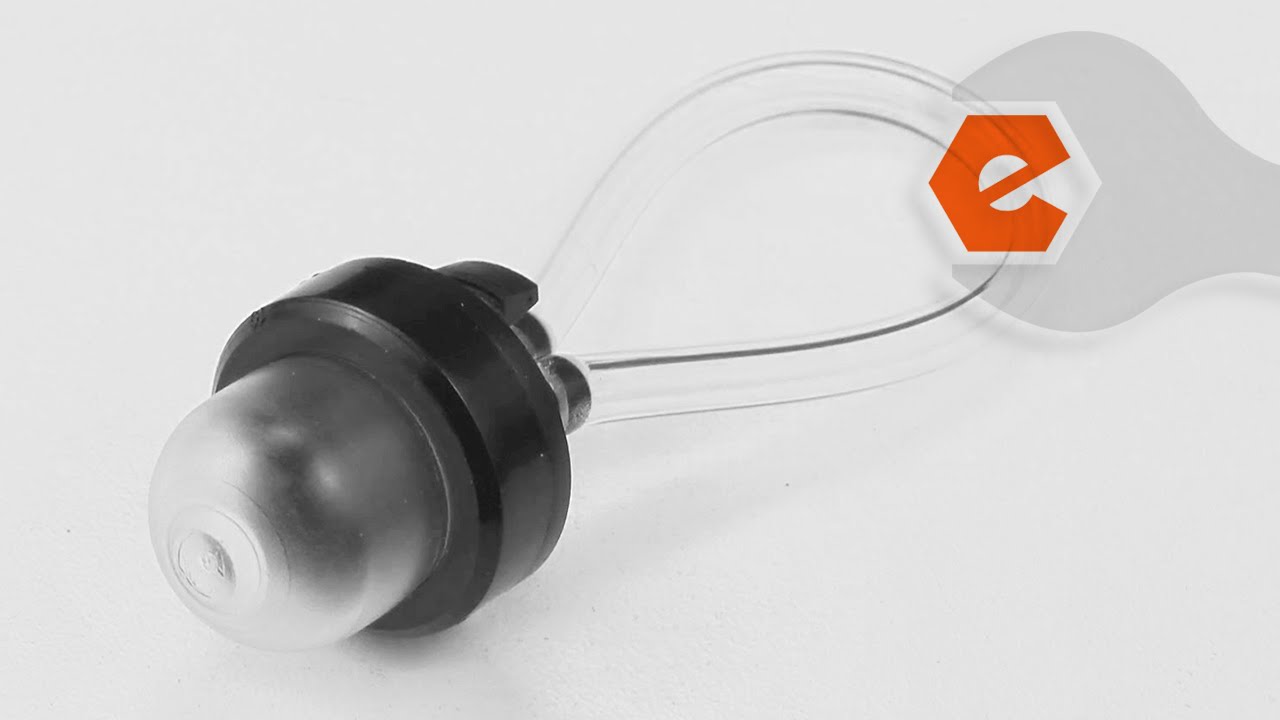
Primer and Hose Assembly
Part #791-683974B
This manufacturer-certified primer and hose assembly includes the primer bulb, the primer bulb housing, and the fuel line. Any or all of the clear plastic parts in this assembly may experience wear and tear over time that cause fuel to leak due to cracking or blockages.
If they are not functioning, these parts will fail in their functio...Read moren of supplying fuel from the tank to the carburetor.
This is an easy repair, which can be made by identifying the location of the parts, between the fuel tank and the carburetor, and reinstalling them with no special tools required. When installing, make sure the fuel lines are tight to prevent leaks and fire hazards.
Read less

$20.88
In Stock
Trimmer Bump Head Knob
Part #791-153066B
This genuine bump head knob assembly, sometimes known simply as the bump head, is black and approximately 2 inches long. Sold individually, this plastic part releases the cutting line. Over time, this part may break due to wear, and you will know it is broken because it will completely stop functioning.
A troubleshooting tip is to tap t...Read morehe part on theg round to see if the cutting line advances. This is an easy repair to make, and does not require any tools. You will need to look for the bump head attachment point on the bottom of the cutting head assembly.
Read less

No Longer Available
Trimmer Gear Box Assembly
Part #753-06571
This gearbox is for line trimmers.
Gearbox contains the gears that turn the line spool for cutting.

$36.65
In Stock
Clutch Asm Small
Part #753-05860
This clutch assembly is a genuine OEM replacement kit for outdoor lawn equipment. The kit includes the clutch drum, clutch, clutch washer, and screw. The clutch assembly transfers power from the engine to the cutting attachment which allows you to operate the equipment. Over time, the clutch assembly may malfunction due to normal wear and...Read more tear or accidental damage. If the small clutch assembly fails, the engine will likely stall, and the cutting attachment will not be able to engage. To remove the clutch assembly, first bind the piston to prevent it from rotating. You can do this by removing the spark plug and inserting a length of rope into the cylinder with a few inches remaining outside. Remove the clutch cover and use a clutch removal tool to remove the nut that secures the assembly. Pull the old assembly from the crankshaft and position the new assembly in its place, ensuring it is securely fitted.
Read less

$11.75
On Order
Throttle Trigger
Part #753-04119
This plastic throttle trigger measures 2.5-inches in length and controls the power, speed, and intensity of the motor for your lawn equipment through the throttle cable and carburetor it is attached to. Sold as an individual part without any securing hardware, this trigger, although made of durable plastic, is a high-use part that will ne...Read moreed to be replaced more often than other parts. Check the user manual for your model for exact placement and installation location of this trigger.
Read less

$29.57
In Stock
Line Trimmer Spool
Part #753-1155
This spool is for line trimmers.
Spool houses the cutting line and fits inside the cutting head to cut grass and weeds.
Wear work gloves to protect your hands when installing this part.

$32.86
In Stock

$14.19
Special Order
Filter, Air Cleane
Part #791-180350B
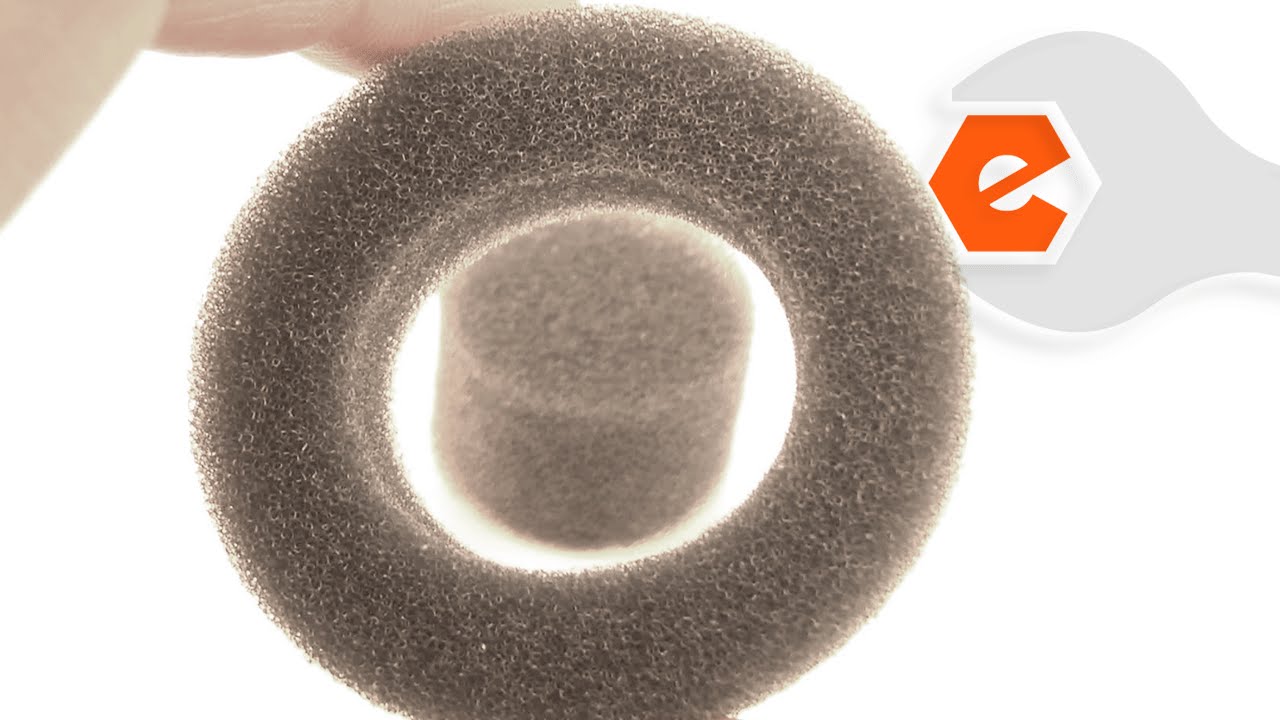
The manufacturer-certified Air Cleaner Filter is a grey foam filter used to prevent debris and dirt from entering the carburetor and engine, causing damage. Installation is rated as "Easy". This filter may become clogged and cause the engine to run rough due the restricted air flow, at which time the filter should be replaced. This filter is placed inside the air cleaner housing.

$16.96
In Stock
Spring-spool
Part #791-610317B
Genuine OEM replacement part, this item is sold individually. This spring is used on all of the trimmers listed below. It is installed between the inner reel and the outer spool assembly. Its purpose is to keep pressure on the Bump Head Knob Assembly.

$7.83
In Stock
Screw, 8-32 X .312 P
Part #791-182519
This is a genuine anti-rotation screw from the Ryobi manufacturer. The metal screw is compatible with many lawn and garden trimmers. This item works to help secure the clutch cover assembly. This part is sold individually. A screwdriver is needed in making the repair.

$36.35
In Stock
Outer Spool w/Retainer
Part #753-04284

$7.68
In Stock
Retainer
Part #791-610660
This retainer clip is a metal piece used to secure components and provide stability inside trimmers. It is an authentic manufacturer replacement clip which is positioned on the trimmer hub and designed to hold the spool in position during use. If the retaining clip is worn down or broken, the trimmer head and outer spool will come loose a...Read morend may slip off the shaft, the trimmer line will tangle and jam, and the trimmer may experience reduced power. You will need a small screwdriver and set of pliers to remove the faulty clip, and a retainer ring tool to lock the new one in position. This part is sold individually.
Read less
Common Symptoms of the 41BDY70C901
How this model fails, and the parts that fix it.
Engine revs but trimmer head will not turn
Fixed by
these parts
these parts


Show All
Will Not Start
Fixed by
these parts
these parts

Show All
Cutting line does not come out
Fixed by
these parts
these parts

Show All
Watch our pros, then fix it yourself.
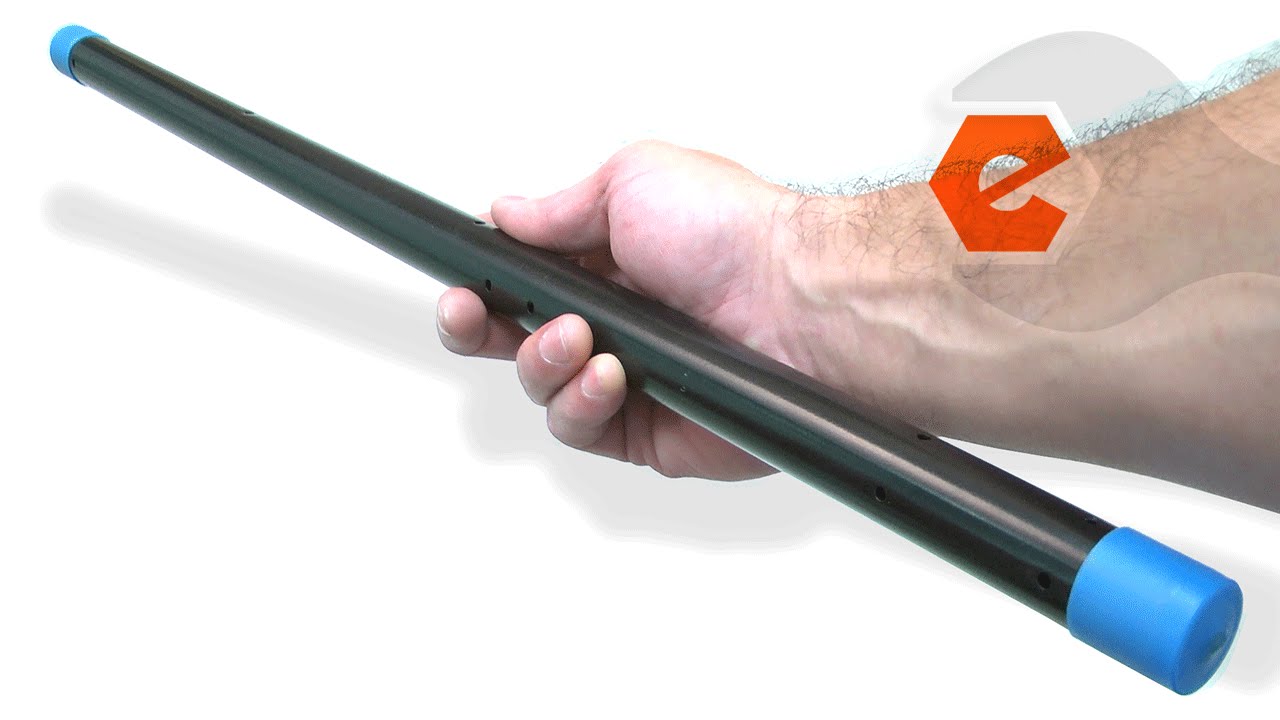
See how others fixed this model. Time, tools, difficulty, and steps that lead to victory!
View More
Search repair tips from other customers using simple keywords like "replace", "fit", "remove", "inspect". DIY doesn't mean you have to do it alone!
Search filter:
Clear Filter
Your search term must have 3 or more characters.
The gear ssembley was not turning
4 of 6 people
found this instruction helpful.
I ordered the gear assembley and the boom assembley and I stalled them.
Other Parts Used:
Was this helpful?
Thank you for voting!