


 My Orders




41AD591C912 (2012) Cub Cadet Trimmer - Overview

Enter a part description. DIY Heroes keep it simple, eg. "belt" or "pump".
Search filter:
Clear Filter
Your search term must have 3 or more characters.

$34.40
On Order
Fuel Tank Asm
Part #753-06797
The fuel tank assembly is responsible for storing and supplying fuel to the engine in lawn and outdoor power equipment. It includes the tank, fuel cap, and fuel lines. The fuel tank assembly will fail if the tank develops cracks or leaks, or if the fuel lines can become clogged. When the fuel tank assembly fails, you will notice fuel leak...Read moreage, restricted fuel supply, stalling, difficulties starting and overall lower performance. Before beginning any repairs, first drain any remaining fuel from the tank for your safety. Disconnect the fuel lines from the tank and remove the fuel tank from the equipment. Position the new tank on to the mounting holes and secure it in place. Connect the fuel lines to the engine and vent to complete your repair.
Read less

$34.80
On Order
$34.80
On Order

$7.83
In Stock
Screw, 8-32 X .312 P
Part #791-182519
This is a genuine anti-rotation screw from the Ryobi manufacturer. The metal screw is compatible with many lawn and garden trimmers. This item works to help secure the clutch cover assembly. This part is sold individually. A screwdriver is needed in making the repair.

No Longer Available
Air Filter
Part #753-05252
This is a manufacturer approved replacement cover designed for use with gas string trimmers. The purpose of this cover is to secure air filter element which is sold separately and it protect internal parts like carburetor from dirt and debris. It is made out of plastic and it is sold individually. This part includes the blue choke lever. Replacing this part does not require any tools. It simply snaps into place.

$7.01
In Stock
O-Ring, Carburetor
Part #791-181751
This is a genuine replacement part from original manufacturer. It is compatible with Ryobi, MTD, Troy-Bilt, Yard Man, and Bolens machines. It\\\'s used with a variety of power tools including trimmers, tillers, and blowers. O-rings create a seal between solid parts, retaining pressure. Because many machines use more than one type of O-rin...Read moreg, use care to ensure that the right one is being used in the right spot. This ring is sold individually.
Read less

$8.45
In Stock

$35.64
In Stock
Trimmer Fuel Cap
Part #753-1229
This is a replacement part sourced directly from the manufacturer for Craftsman trimmers and edgers. The fuel cap prevents fuel from spilling out of the fuel tank by covering the opening on the fuel tank. To install the fuel cap requires no tools, simply twits it into place. This part is made of plastic and is sold individually.

$34.40
In Stock
Lower Boom Hsg
Part #753-07016
This is a genuine OEM sourced part that is intended to be used with gas-powered trimmers from Troy-Bilt and Cub Cadet. The drive shaft is used to link the upper drive shaft and the gearcase/cutter head. This is a complete part that is pre-assembled and ready to be installed. The shaft includes the inner drive shaft, inner spacers, and lubricant. This drive shaft is priced as a single item.

$8.75
In Stock
Air Filter
Part #753-05254

$7.04
In Stock
Screw
Part #791-182057
$15.31
In Stock
Nut
Part #712-04105
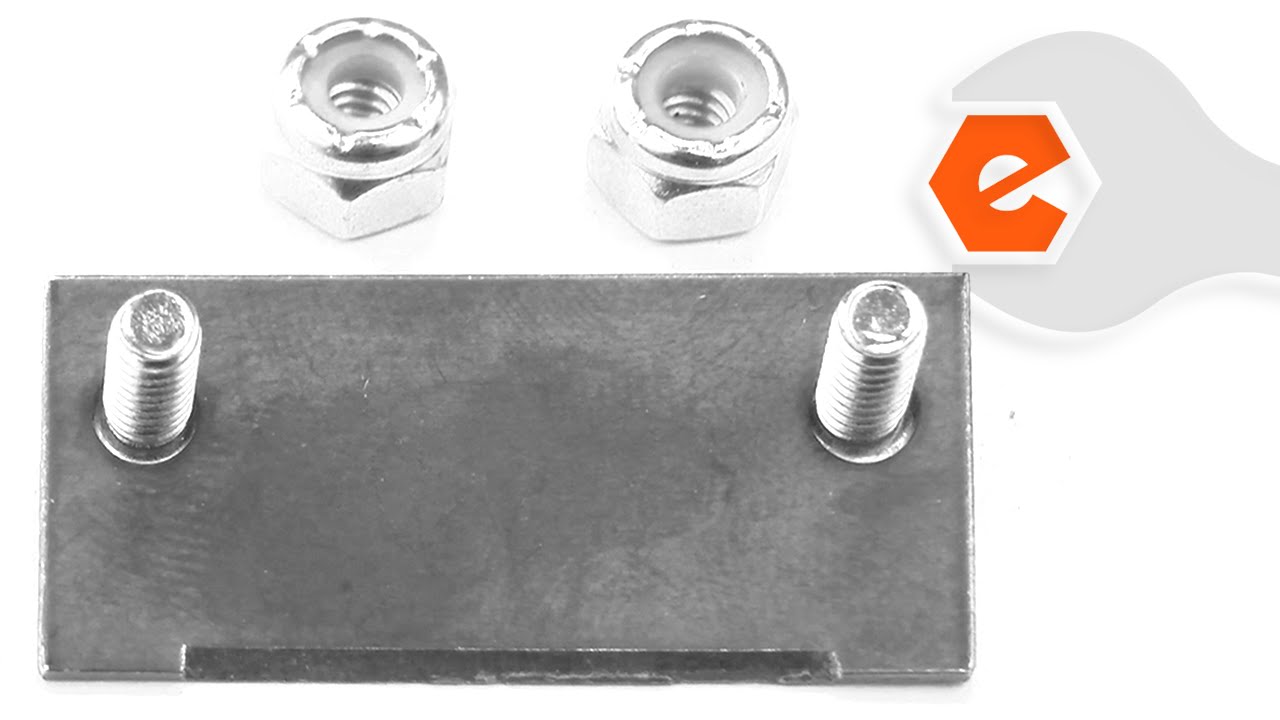
This is an authentic part which is sourced from original equipment manufacturer. It is generally used on handheld trimmers/edgers. This nut is designed to secure cutting blade to the trimmer shaft. Please note you would need a properly sized wrench when installing/removing this nut. Includes one (1) nut per order.

$11.12
In Stock
Screws
Part #791-182195
The metal screw attaches to the gear box housing assembly. This is a genuine Ryobi, Troy-Bilt, Bolens, Yard Man, MTD, and Cub Cadet replacement part for use in tillers and trimmers. This item is available as an individual replacement part even though several may be needed. A torx screwdriver will be needed during the replacement of this part. It will require replacing if it becomes stripped or broken.
Common Symptoms of the 41AD591C912
How this model fails, and the parts that fix it.

Watch our pros, then fix it yourself.

See how others fixed this model. Time, tools, difficulty, and steps that lead to victory!
View More