



 My Orders




41799170100 Kenmore Washer Dryer Combo - Overview
Diagrams for 41799170100
See every part. Know exactly what you need.

Enter a part description. DIY Heroes keep it simple, eg. "belt" or "pump".
Search filter:
Clear Filter
Your search term must have 3 or more characters.

$37.35
In Stock
Rear Drum Bearing Kit
Part #5303281153
This rear drum bearing kit is designed for use with dryers. It supports the rear of the drum in your appliance as it tumbles your clothes during the drying cycle. If your drum will not tumble, or if it is making a lot of noise, it could be an issue with this part. This is a ball-and-socket style bearing. You will need to replace this if t...Read morehe bushing has worn out, or if the ball support is damaged. This kit includes one bearing, one ball shaft, one ball bearing, one ball bearing retainer, a small tube of high temperature lubricant and installation screws. Unplug your dryer before you begin this repair.
Read less

$10.93
In Stock
Drum Support Bearing
Part #131825900
If your dryer does not tumble, will not start, is noisy, or is leaving marks on your clothing, you may need to replace the drum support bearing. The drum is supported at the rear by a bearing, which attaches onto the inside of the rear panel of the cabinet. You will need to remove the dryer drum before completing this repair. Although rep...Read morelacing the drum support bearing is a fairly easy job, you will need tools to complete it. For this repair, you will need a putty knife, a Phillips screw driver, a 5/16 nut driver and maybe a small flat blade screw driver.
Read less

$24.41
In Stock
Drive V-Belt
Part #134511600
This rubber V-style drive belt slips on the motor pulley to bring the basket to the required speed. If you notice a burning rubber smell or grinding noises coming from your washer, your washer does not start, drain, spin properly (will not spin/spins slowly/will not agitate properly), or if your washer shakes or moves during the cycle; ch...Read moreeck your drive belt for signs of wear and tear. Replace the drive belt if you notice that the belt looks damaged. This OEM part is approximately 35 inches in length, and sold individually.
Read less

$62.37
In Stock
Door Catch
Part #131658800
The door catch on your dryer is an important part as it keeps your dryer door closed, in order to ensure no air or clothes can escape. This part works by holding the door strike, which allows the door to stay secure. Before you begin this repair make sure to disconnect the power supply to the dryer. The tools you will need for this instal...Read morelation include a Phillips screwdriver and a small flat blade screwdriver. A pair of pliers may also come in handy. Users ranked this repair as easy, and say that it will take fifteen minutes or less to complete.
Read less

$22.97
In Stock
Dryer Drum Bearing Bracket
Part #131724301
This drum bearing bracket is for dryers. Drum bearing bracket holds and supports the drum bearing

$57.15
In Stock
High Limit Thermostat
Part #3204267
This high limit thermostat is used in a dryer and monitors the temperature to make sure it does not exceed 260 degrees Fahrenheit. When your dryer temperature reaches 260 it will cut it out and only comes back when it drops by at least 70 degrees Fahrenheit. If your dryer is overheating, taking too long to dry clothes, or is not producing...Read more enough heat, replacing the thermostat could be the solution to your problem. The tools needed for this part are a Phillips screwdriver, putty knife, and needle nose pliers. Refer to the manual provided by the manufacturer for installation instructions and guidance.
Read less

$117.66
In Stock
Water Inlet Valve
Part #134190200
The water inlet valve has two ports for water to enter and controls the flow of water into a washing machine. Hot, cold, and warm water can easily enter the washer this way. If the water inlet valve is in any way damaged or defective, it may be slow to fill or even leak. Before beginning this replacement, make sure to unplug the washer fr...Read moreom the power range or shut off the house circuit breaker. Remember to wear gloves for safety. Refer to the installation instructions and the diagram provided by the manufacturer for best results and accuracy.
Read less

$35.13
In Stock
Door Strike
Part #5303207102
The door strike is attached to the door of your dryer and holds the door closed. If your dryer door is not closing, this might be due to the door strike needing to be replaced. This is a simple repair that should only take a few minutes to complete. The package contains one strike. Open the dryer door, and use a flat head screw driver to ...Read moresnap the old strike out if it has not fallen out already. Simply push the gasket out of the way, squeeze together the strike and place inside of the opening. Wiggle to ensure it is set in place properly.
Read less

No Longer Available
Tension Idler Pulley
Part #131862900
The idler pulley on your washing machine allows the drive belt to operate smoothly. If your washer is not spinning or agitating, makes too much noise, or you notice a burning smell when it is operating, you might need to replace the tension idler pulley. The tension idler pulley works in conjunction with the drive belt, so you might need ...Read moreto replace the belt as well as the pulley. Once the old pulley has been removed from the washer, you will need to transfer the spring and bushing from the old pulley to the new one before re-attaching it to the washer.
Read less

$25.25
In Stock
Screw
Part #131302800
This is a replacement screw for your washer or dryer. The screw is approximately half an inch in length and is a Phillips-head screw. It screws in from the outside of the drum, into the vane/baffle. The main reason you would replace this screw is if the old screw is missing or damaged. This part is sold individually and is an OEM part sourced directly from the manufacturer.

$26.35
In Stock

No Longer Available
Washer Lid Lock with External Safety Switch
Part #134101800
Mounting bracket on this part replaces old style ( You may need to drill off old bracket before mounting new lock).
Common Symptoms of the 41799170100
How this model fails, and the parts that fix it.
Noisy
Fixed by
these parts
these parts


Show All
Door won’t close
Fixed by
these parts
these parts


Show All
Will not agitate
Fixed by
these parts
these parts


Show All
Burning smell
Fixed by
these parts
these parts


Show All
Leaking
Fixed by
these parts
these parts


Show All
Marks left on clothes
Fixed by
these parts
these parts
Show All
Will not drain
Fixed by
these parts
these parts
Show All
Too hot
Fixed by
these parts
these parts

Show All
No hot or cold water
Fixed by
these parts
these parts
Show All
Spins slowly
Fixed by
these parts
these parts
Show All
Drum Not Spinning
Fixed by
these parts
these parts
Show All
Door Pops Open
Fixed by
these parts
these parts
Show All
Not Heating
Fixed by
these parts
these parts
Show All
Will Not Start
Fixed by
these parts
these parts

Show All
Spinning Issues
Fixed by
these parts
these parts
Show All
Won’t Start
Fixed by
these parts
these parts
Show All
Watch our pros, then fix it yourself.
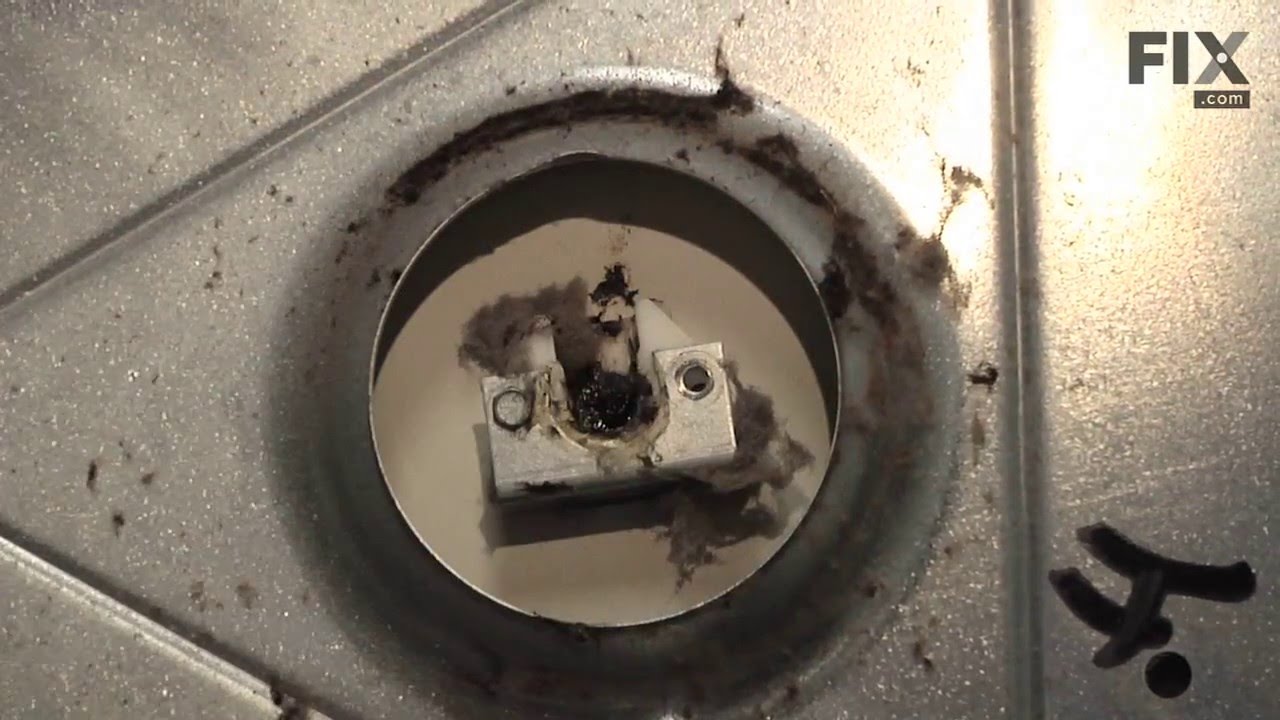
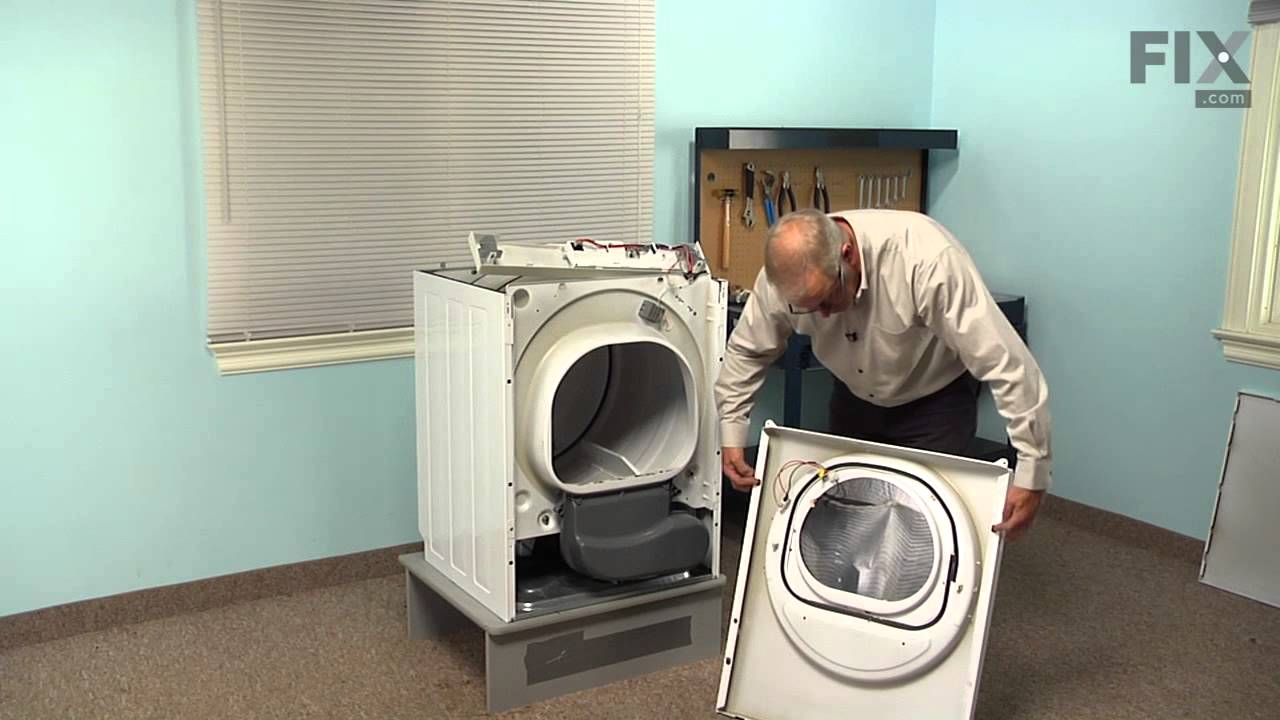
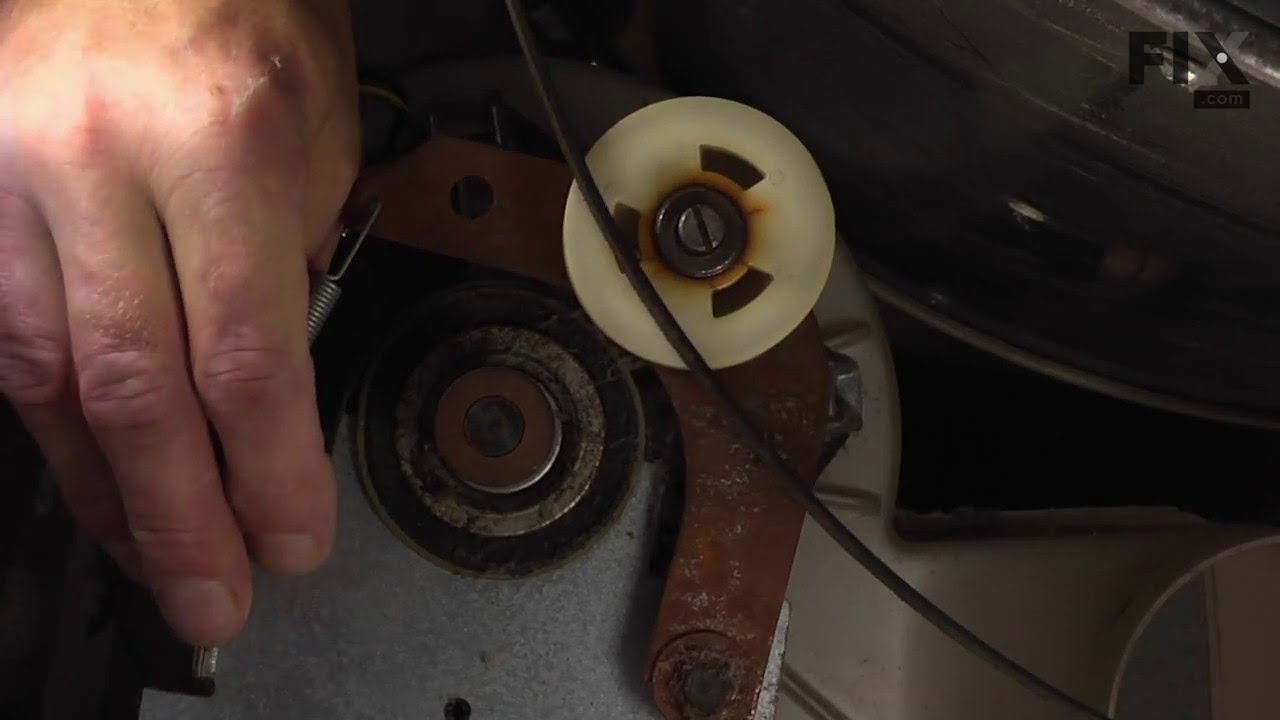
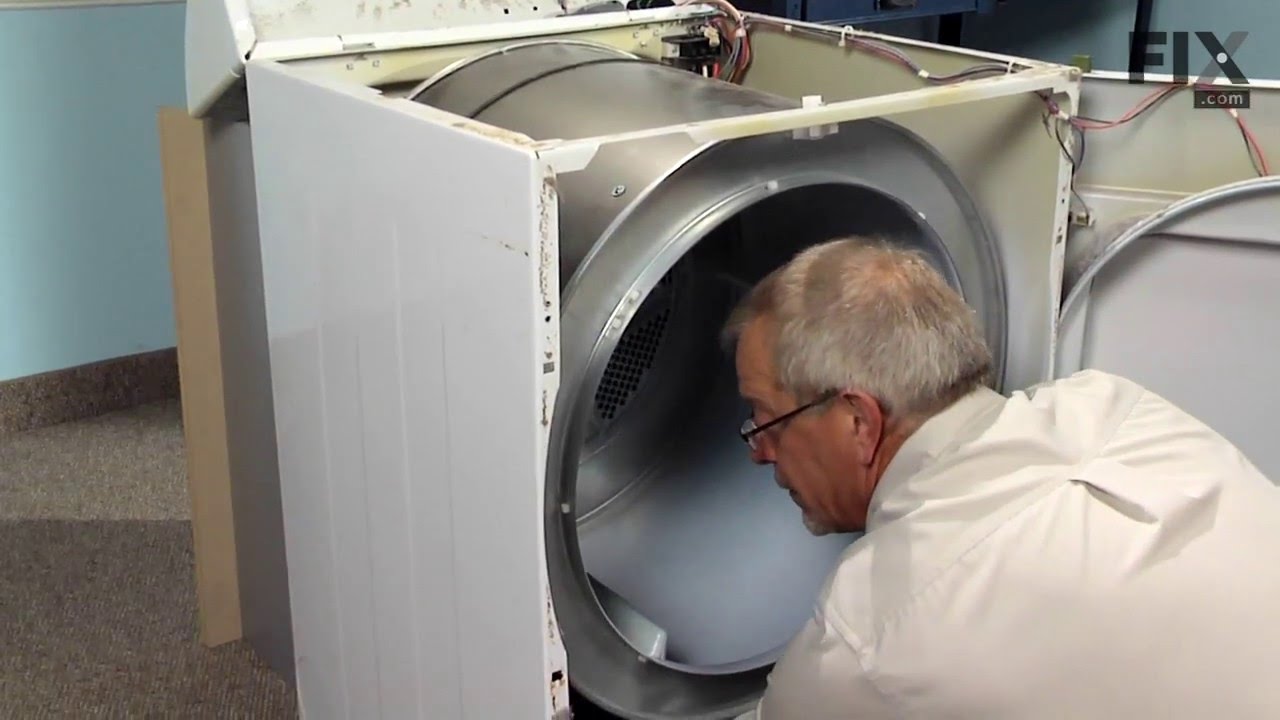
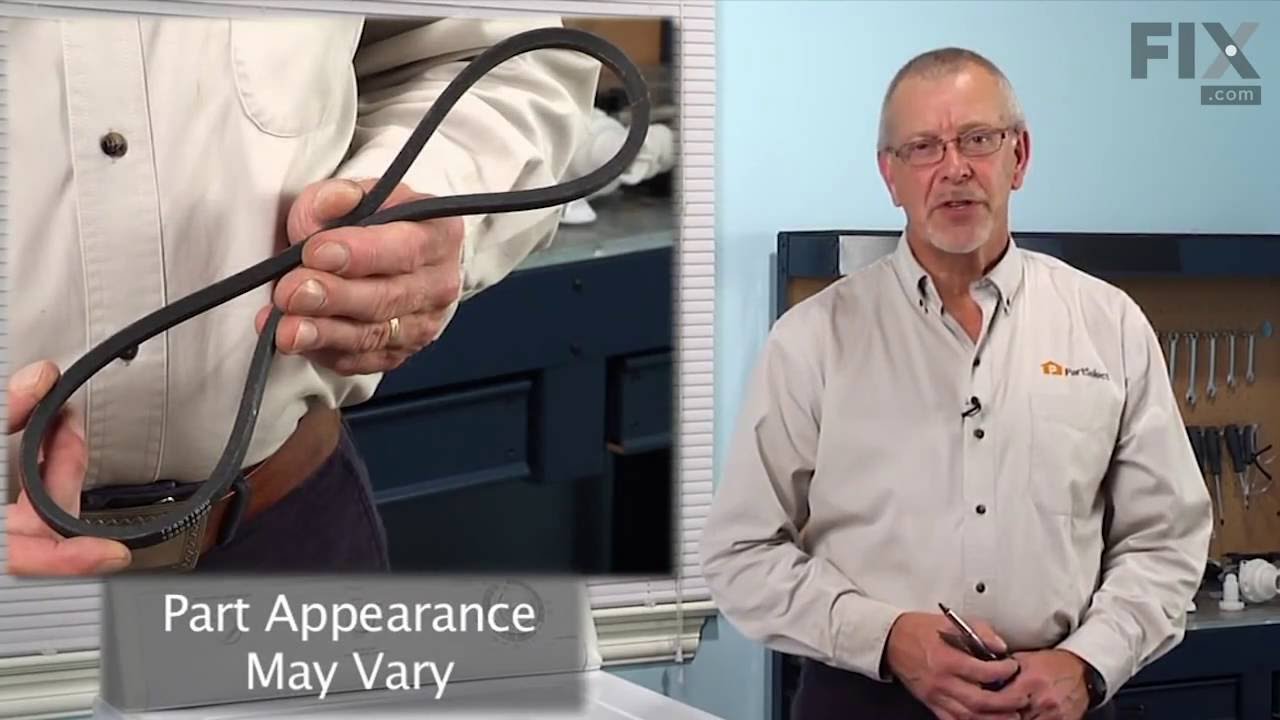
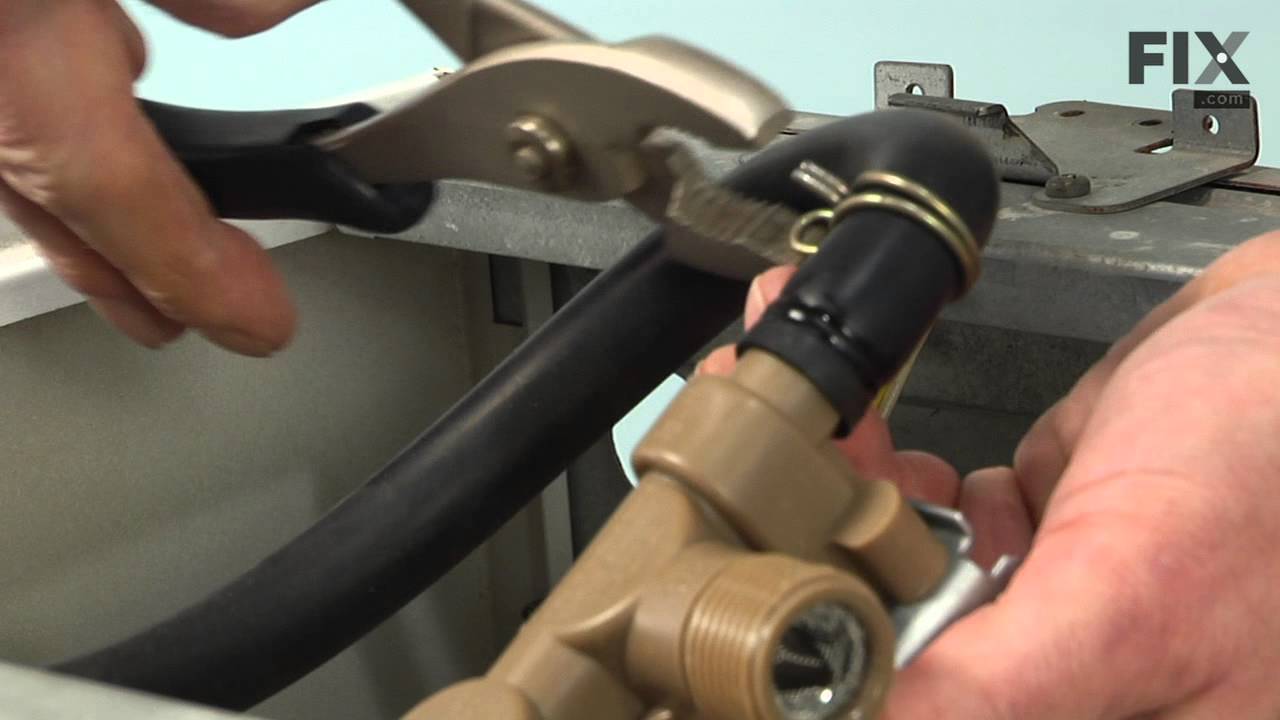

See how others fixed this model. Time, tools, difficulty, and steps that lead to victory!
View More