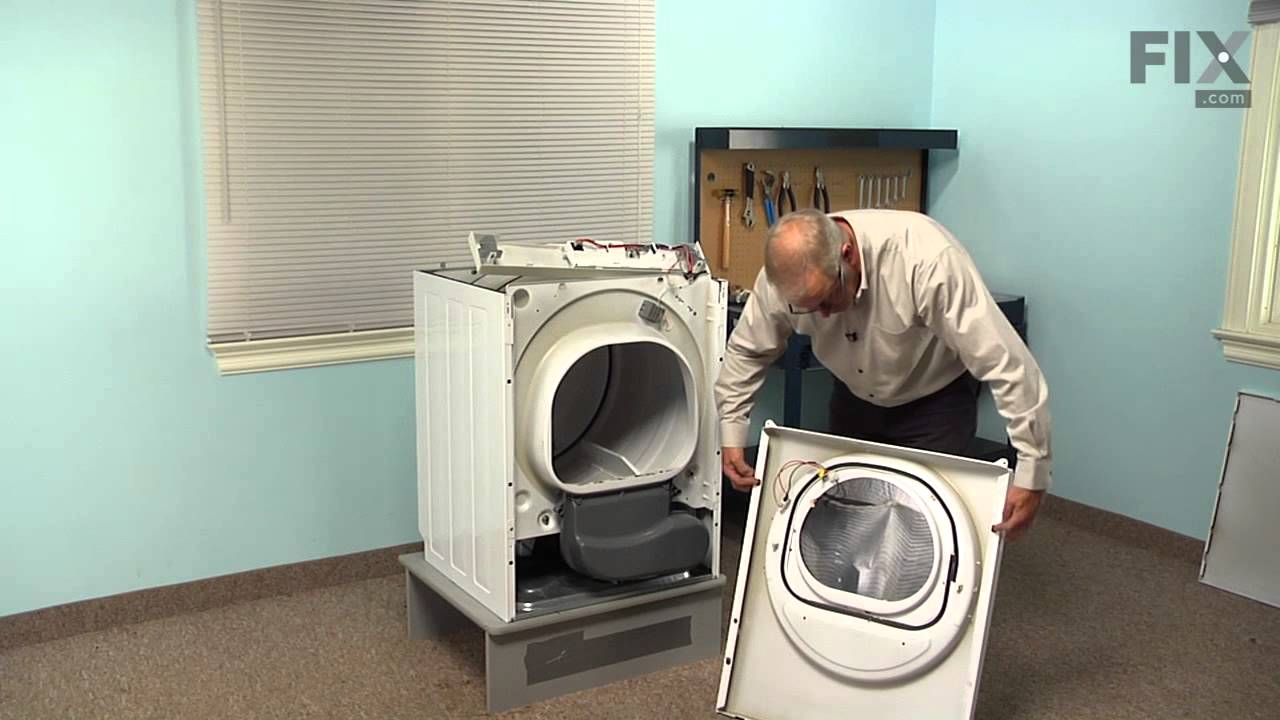
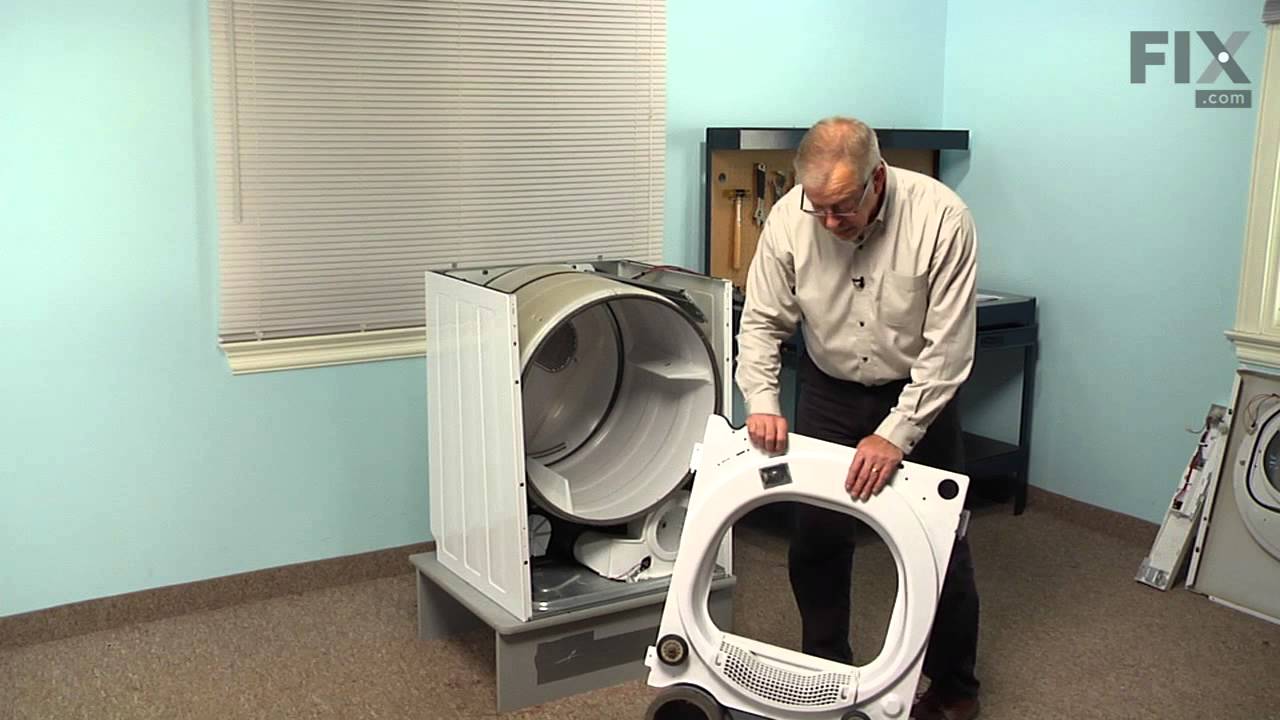
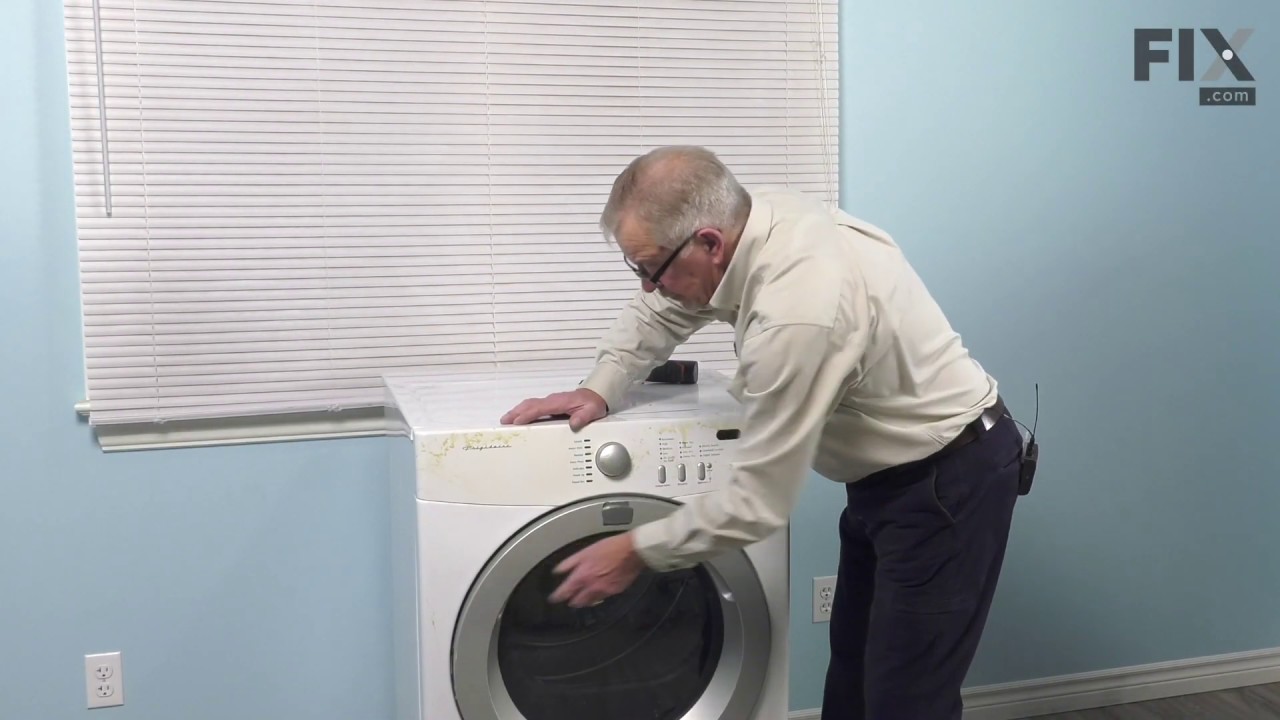
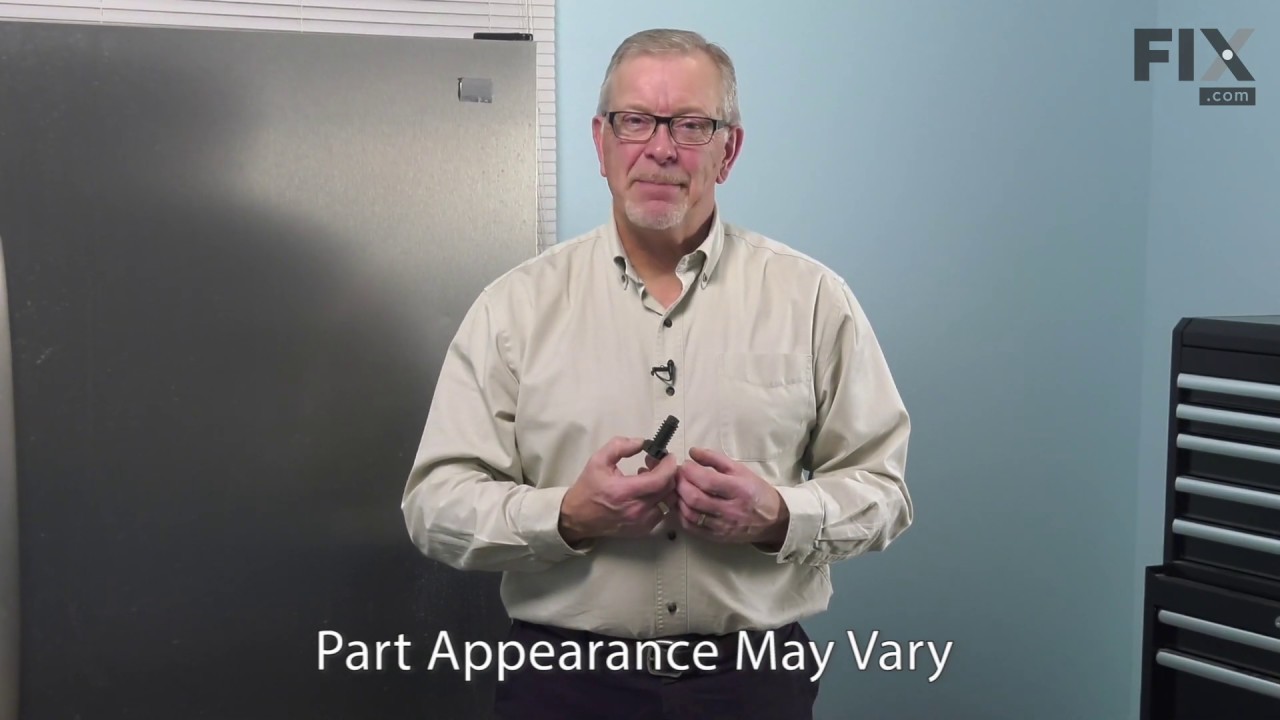
The door catch on your dryer is an important part as it keeps your dryer door closed, in order to ensure no air or clothes can escape. This part works by holding the door strike, which allows the door to stay secure. Before you begin this repair make sure to disconnect the power supply to the dryer. The tools you will need for this instal...Read morelation include a Phillips screwdriver and a small flat blade screwdriver. A pair of pliers may also come in handy. Users ranked this repair as easy, and say that it will take fifteen minutes or less to complete.
This high limit thermostat is used in a dryer and monitors the temperature to make sure it does not exceed 260 degrees Fahrenheit. When your dryer temperature reaches 260 it will cut it out and only comes back when it drops by at least 70 degrees Fahrenheit. If your dryer is overheating, taking too long to dry clothes, or is not producing...Read more enough heat, replacing the thermostat could be the solution to your problem. The tools needed for this part are a Phillips screwdriver, putty knife, and needle nose pliers. Refer to the manual provided by the manufacturer for installation instructions and guidance.
The door strike is attached to the door of your dryer and holds the door closed. If your dryer door is not closing, this might be due to the door strike needing to be replaced. This is a simple repair that should only take a few minutes to complete. The package contains one strike. Open the dryer door, and use a flat head screw driver to ...Read moresnap the old strike out if it has not fallen out already. Simply push the gasket out of the way, squeeze together the strike and place inside of the opening. Wiggle to ensure it is set in place properly.
This part could be found underneath a fridge, dryer, or freezer. The original foot may be cracked, broken, or perhaps missing altogether. If you notice the appliance is uneven to the floor or wobbling, it may indicate that the levelling foot needs to be replaced. You will need pliers and a block of wood to perform this task. There will be...Read more one adjustable foot found in the package. Lift the dryer and place the wood to keep it propped up. You may need to use the pliers to remove the old foot. Screw the new foot into place using your hand. Once the new leveling foot is in place, lift the appliance and remove the block. Test the machine out to ensure it is now sitting level.
This is a replacement screw for your washer or dryer. The screw is approximately half an inch in length and is a Phillips-head screw. It screws in from the outside of the drum, into the vane/baffle. The main reason you would replace this screw is if the old screw is missing or damaged. This part is sold individually and is an OEM part sourced directly from the manufacturer.
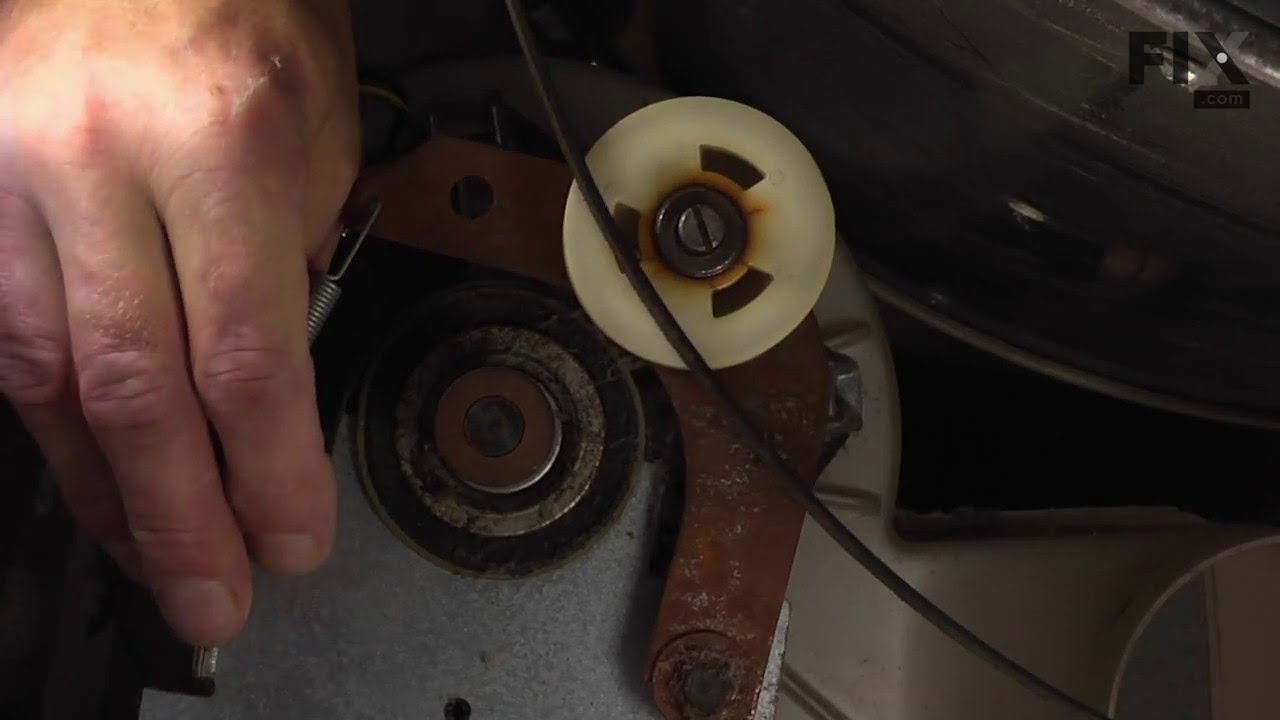
This dryer belt is one of the most important parts in a dryer and is what allows the dryer drum to spin/rotate. If the dryer belt is damaged or broken, the drum will not spin or will have difficulty in doing so, and your clothes will still be damp after a cycle as a result. This belt is made of durable material and can wear down over time...Read more and extended use of the dryer. Replacing a dryer belt will require some disassembly of your dryer, so a screwdriver and wrench will be needed to access and replace it. This belt is an individual OEM part.
This part controls the temperature of the inside of the dryer drum and prevents the dryer from overheating. This part is located in the blower housing.
This is a gasket, but you may also know it as a door seal, for your dryer. This part prevents heat loss during a drying cycle by keeping the area around the door sealed. This gasket is all black, and is made of extremely flexible material. The surface of this part is roughly half an inch wide, and a quarter inch thick. One side of the mat...Read moreerial is smooth, while the other side has clips to make your installation easier.
This dryer thermal fuse is a critical safety component designed to protect the appliance from overheating. It automatically shuts off power to the motor or heating system if excessive temperatures are detected, helping prevent damage or potential fire hazards. Once the fuse is triggered, it cannot be reset and must be replaced. A faulty t...Read morehermal fuse may cause the dryer not to start, run without heat, shut off prematurely, or operate at unsafe temperatures. Replacing this component helps restore safe and proper dryer operation.
This is a genuine replacement drum roller for a dryer. This part includes a roller which has an axle and two tri-rings. The dryer drum roller holds the drum in place while it rotates on the dryer support wheels. If rollers are worn out, the dryer will be noisy. This is a genuine OEM replacement part. If your dryer has more than one drum s...Read moreupport roller, it is recommended to replace both at the same time to ensure proper rotation. They often wear at the same rate. You will need to remove the outer front panel to access this part. This replacement part is sold separately.
Ask our experts a question about this model and we'll get back to you as soon as possible!
We may have answered a similar question already! Search questions and answers left by others using simple keywords like "fit", "broken", "easy", or "quality" to find questions that match.
Search filter:
Clear Filter
Your search term must have 3 or more characters.
Sort by:
Prev
1
2
3
Next
Sorry, we couldn't find any existing answers that matched.Try using some different or simpler keywords, or submit your new question by using the "Ask a Question" button above!
Gene - For model number 41781122310
November 30, 2019
Dryer has a continuous knocking sound while being used. What parts should i replace? Drum support roller (x3) and idler arm spring? Any other parts i should change or worry about?
Hello Gene and thanks for writing.
The idler arm spring by itself might solve this problem, however while you have the unit apart you might want to replace the drum rollers as well. Spring Part Number: PS418263 is in the list of compatible items for your model. We hope this helps. Please contact us anytime.
dryer powers up, but goes immediately to pause and wont run. Is it a board issue. Thermal switch tested ok.
Hi Craig, thank you for the question. We have concluded that the issue is with the door switch, part number PS2330880. You may need to check this part. If it is faulty, you may need to replace it. Let us know if you have further questions!
Door sags and I have to lift up slightly to get it to close properly. It appears to be a faulty hinge?
Hi Curt, thank you for your inquiry. Yes, replacing the door hinge usually fixes this problem. We would recommend replacing the door hinge, part number PS2581349. Before replacing it, make sure the door screws are not loose or worn. Good luck with this repair!
Timer display flashes- does not show digital display
Hi Frank, unplug your unit and plug it back in, if it is not working you may need to replace the control board. Thank you for your question and good luck with your repair!
My dryer is staining my white blankets because of a batch that is already rusty, which part number is that?
Hi Manuel,
Thank you for your question. If you are seeing rust stains on your clothes, it may be coming from the seals inside your dryer. If the seals along the edges of the dryer are folded over and there is rust located along the seals, this rust may be rubbing off on clothes that get caught in the seals. You will need to use rust remover on a damp cloth to remove any residue from inside the dryer. We hope this helps. Thank you and have a great day.
Was this helpful?
Thank you for voting!
Prev
1
2
3
Next
✖
Ask a Question
Ask our experts a question on this model and we'll respond as soon as we can.
My husband ruined the old latch by trying to shut the door too hard, and the old latch fell down into the inside of the dryer.
28 of 35 peoplefound this instruction helpful.
Michelle from Dallas, TX
Really Easy
Less than 15 mins
I took the new latch out of the package and snapped it into place. It took about 15 seconds, and that included the walk to the laundry room!
Was this helpful?
Thank you for voting!
Dryer cut off before the clothes were dry.
18 of 24 peoplefound this instruction helpful.
Don from RUIDOSO, NM
Really Easy
30 - 60 mins
Screw drivers
All the symptoms indicated the thermister (located in the exhaust air stream of the dryer) was the problem. Pulled the lower panel off the dryer. Took out the two lower screws holding the door panel on so I could pull the front panel out just enough to get a screwdriver on the screws holding the thermister on. Unhooked the two wires co
... Read morennected to it and hooked them to the new thermister(no need to observe polarity). Put the new thermister in, screwed the door panel back down, put the lower panel on and started drying clothes.




 My Orders