


 My Orders




41779042991 Kenmore Dryer - Overview
Diagrams for 41779042991
See every part. Know exactly what you need.

Enter a part description. DIY Heroes keep it simple, eg. "belt" or "pump".
Search filter:
Clear Filter
Your search term must have 3 or more characters.

$43.77
In Stock
Rear Drum Bearing Kit
Part #5303281153
This rear drum bearing kit is designed for use with dryers. It supports the rear of the drum in your appliance as it tumbles your clothes during the drying cycle. If your drum will not tumble, or if it is making a lot of noise, it could be an issue with this part. This is a ball-and-socket style bearing. You will need to replace this if t...Read morehe bushing has worn out, or if the ball support is damaged. This kit includes one bearing, one ball shaft, one ball bearing, one ball bearing retainer, a small tube of high temperature lubricant and installation screws. Unplug your dryer before you begin this repair.
Read less

No Longer Available
Upper Drum Glide
Part #5303937139
The upper drum glide is attached to the front panel of your dryer, you can locate it by removing the top portion of your dryer. The drum glide allows the drum to rotate with ease and little sound. The front upper felt glide pad with three nylon glides also includes adhesive, essential for mounting accurately. For this project you will nee...Read mored a putty knife, Phillips screwdriver, and a wire brush. This repair is meant to fix issues such as an abnormal amount of noise or the dryer not tumbling as it should. Consider replacing your belt at the same time if you have a dryer more than 5 years old, as it is likely worn.
Read less

$10.93
In Stock
Drum Support Bearing
Part #131825900
If your dryer does not tumble, will not start, is noisy, or is leaving marks on your clothing, you may need to replace the drum support bearing. The drum is supported at the rear by a bearing, which attaches onto the inside of the rear panel of the cabinet. You will need to remove the dryer drum before completing this repair. Although rep...Read morelacing the drum support bearing is a fairly easy job, you will need tools to complete it. For this repair, you will need a putty knife, a Phillips screw driver, a 5/16 nut driver and maybe a small flat blade screw driver.
Read less

$62.37
In Stock
Door Catch
Part #131658800
The door catch on your dryer is an important part as it keeps your dryer door closed, in order to ensure no air or clothes can escape. This part works by holding the door strike, which allows the door to stay secure. Before you begin this repair make sure to disconnect the power supply to the dryer. The tools you will need for this instal...Read morelation include a Phillips screwdriver and a small flat blade screwdriver. A pair of pliers may also come in handy. Users ranked this repair as easy, and say that it will take fifteen minutes or less to complete.
Read less

$46.95
Special Order
Front Lower Drum Seal
Part #5303283286
The front lower drum seal is used in the assembly of dryers. This seal helps keep your appliance running quietly. It allows the drum to smoothly rotate on the front panel. If you notice brown marks on your clothing, if the dry cycle is taking long, or if there are unusually loud noises, the seal might be worn down. If that is the case, yo...Read moreu will need to replace the seal. This replacement part is made out of felt. The high temperature adhesive required to install this seal is sold separately. Before you begin any repair work, make sure the appliance has been unplugged.
Read less

$73.19
In Stock
Turn - Type Start Switch
Part #134398300
This part is used to start the dryer once you have selected a setting on the timer.

$27.74
In Stock
M Series Ignition Coil Kit
Part #5303931775
This kit contains two coils, one is a two-wire secondary coil and the other is a three-wire booster coil. Both coils in the ignition coil kit should be used together in the clothes dryer. Some of the symptoms that this kit could be a solution for are: If there is no heat, not enough heat, or clothes takes too long to dry. In this case, th...Read moree gas valve coils can be defective and replacing this part will help. Customers rate this project as easy. Refer to the installation diagram for further instructions. For safety, unplug your dryer before repair.
Read less

$22.97
In Stock
Dryer Drum Bearing Bracket
Part #131724301
This drum bearing bracket is for dryers. Drum bearing bracket holds and supports the drum bearing

$36.92
In Stock
Lint Filter
Part #131450300
Located at the front of the dryer, this lint filter traps lint and debris from the exhaust air flowing out of the dryer drum. This part measures approximately 12 inches long x 7 inches high, has a plastic frame, and a mesh body to catch debris. If your filter needs cleaning, the dryer cycle will take longer due to a buildup of lint or fab...Read moreric softener affecting the air flow through the filter. If there is a buildup, try scrubbing the filter with hot water and soap. If the filter is damaged or torn, it should be replaced. Cleaning the lint filter before starting the drying cycle is a great way to ensure your dryer performs properly.
Read less

$35.13
In Stock
Door Strike
Part #5303207102
The door strike is attached to the door of your dryer and holds the door closed. If your dryer door is not closing, this might be due to the door strike needing to be replaced. This is a simple repair that should only take a few minutes to complete. The package contains one strike. Open the dryer door, and use a flat head screw driver to ...Read moresnap the old strike out if it has not fallen out already. Simply push the gasket out of the way, squeeze together the strike and place inside of the opening. Wiggle to ensure it is set in place properly.
Read less

$60.45
In Stock
Idler Arm Assembly
Part #131863007
Part may differ in color from image. Please note that this is only a cosmetic difference.

No Longer Available
Manuals & Care Guides for 41779042991
Click to downloadCommon Symptoms of the 41779042991
How this model fails, and the parts that fix it.
Noisy
Fixed by
these parts
these parts


Show All
Marks left on clothes
Fixed by
these parts
these parts

Show All
Door won’t close
Fixed by
these parts
these parts


Show All
Not Heating
Fixed by
these parts
these parts


Show All
Drum Not Spinning
Fixed by
these parts
these parts
Show All
Door Pops Open
Fixed by
these parts
these parts
Show All
Won’t Start
Fixed by
these parts
these parts

Show All
Watch our pros, then fix it yourself.
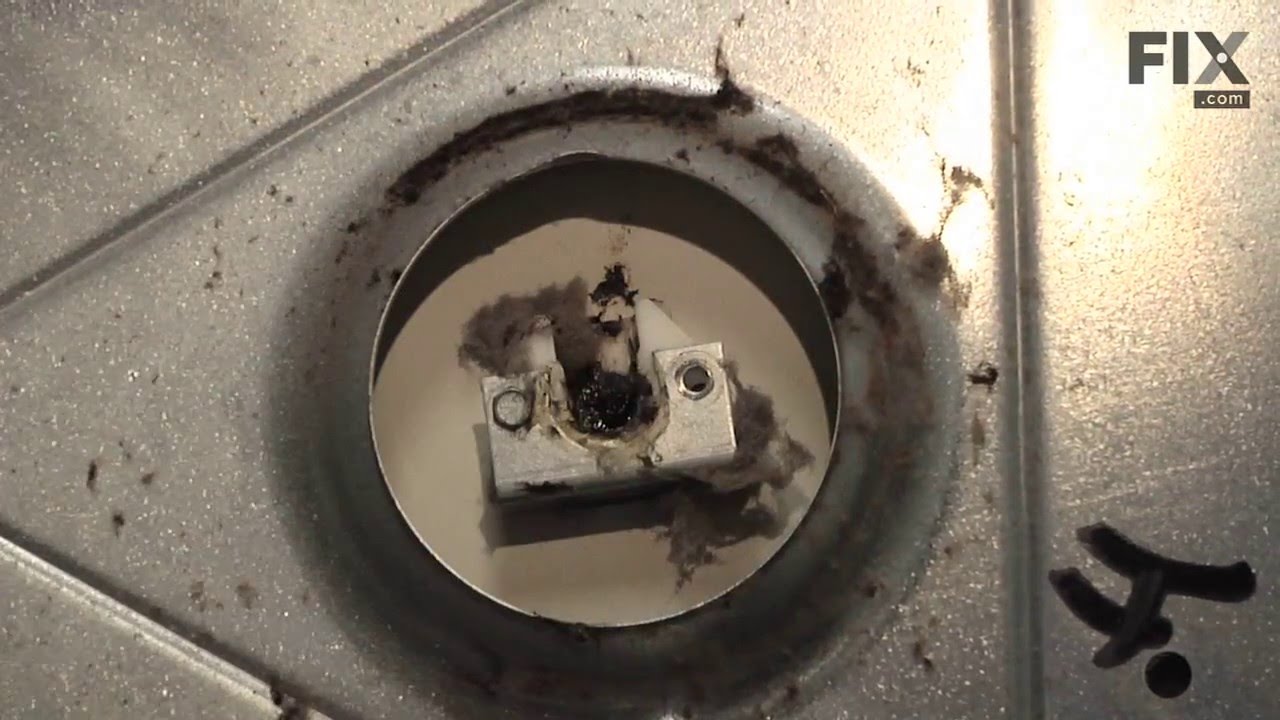
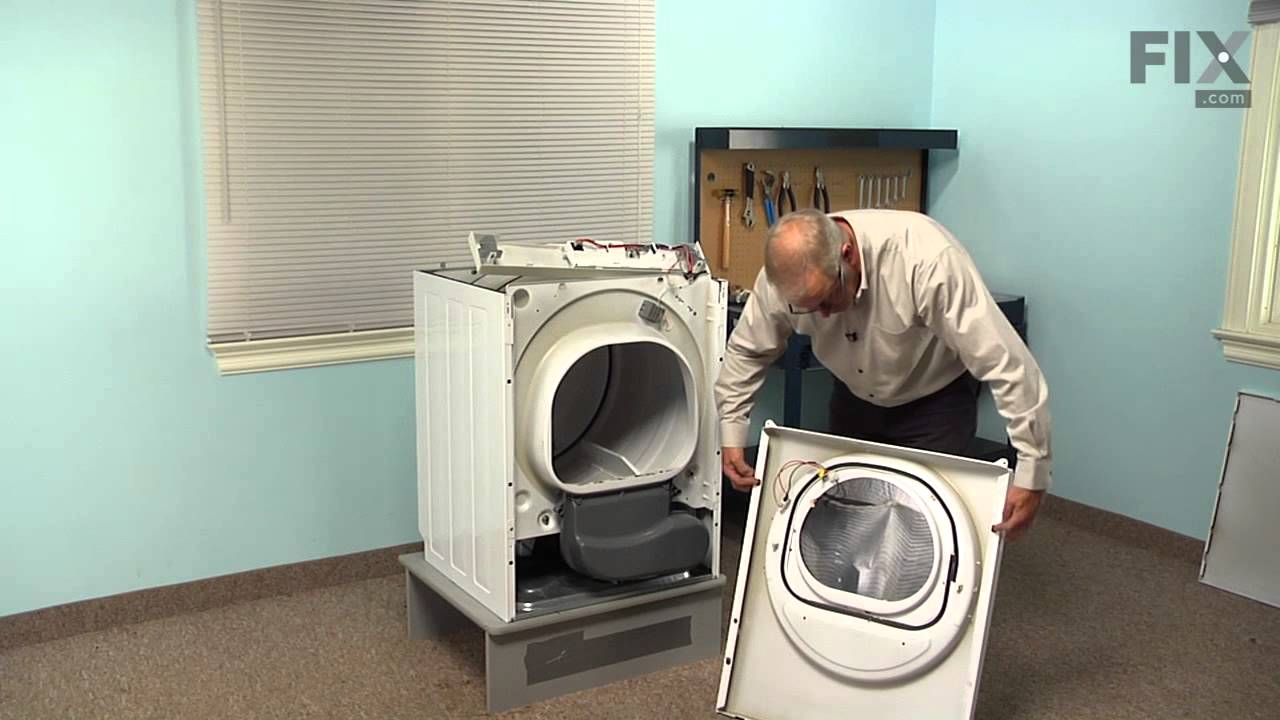
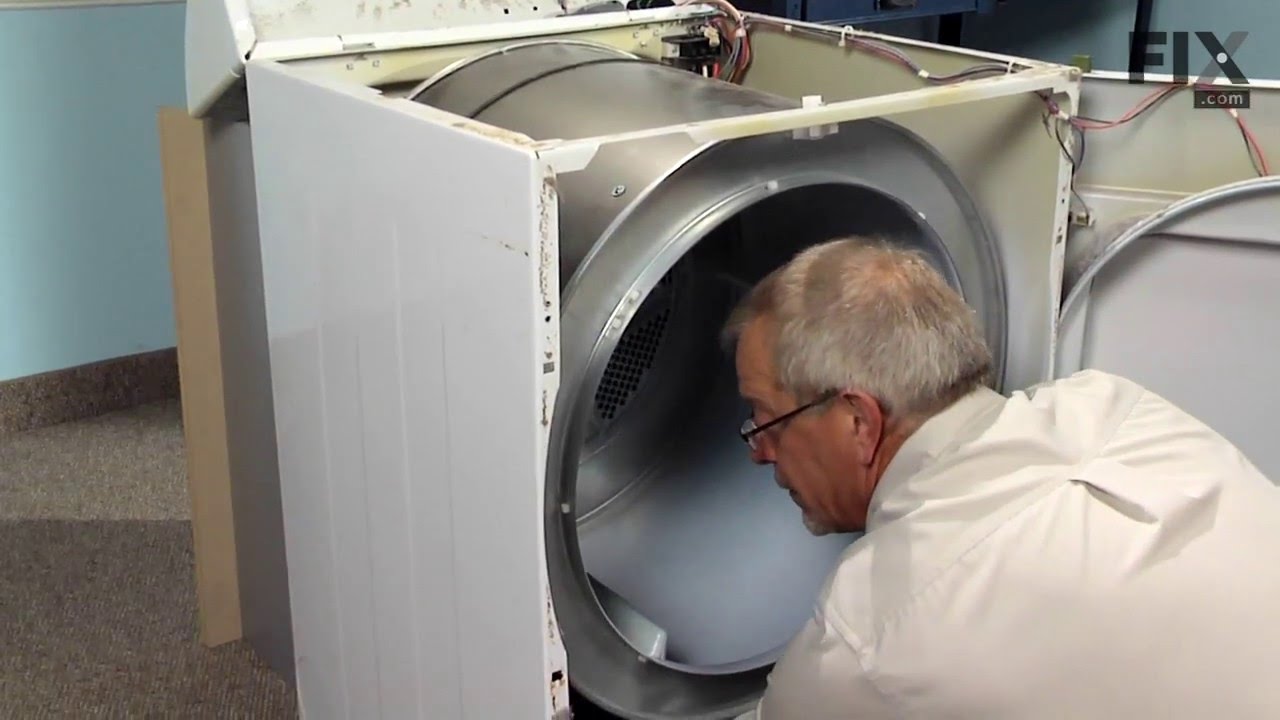
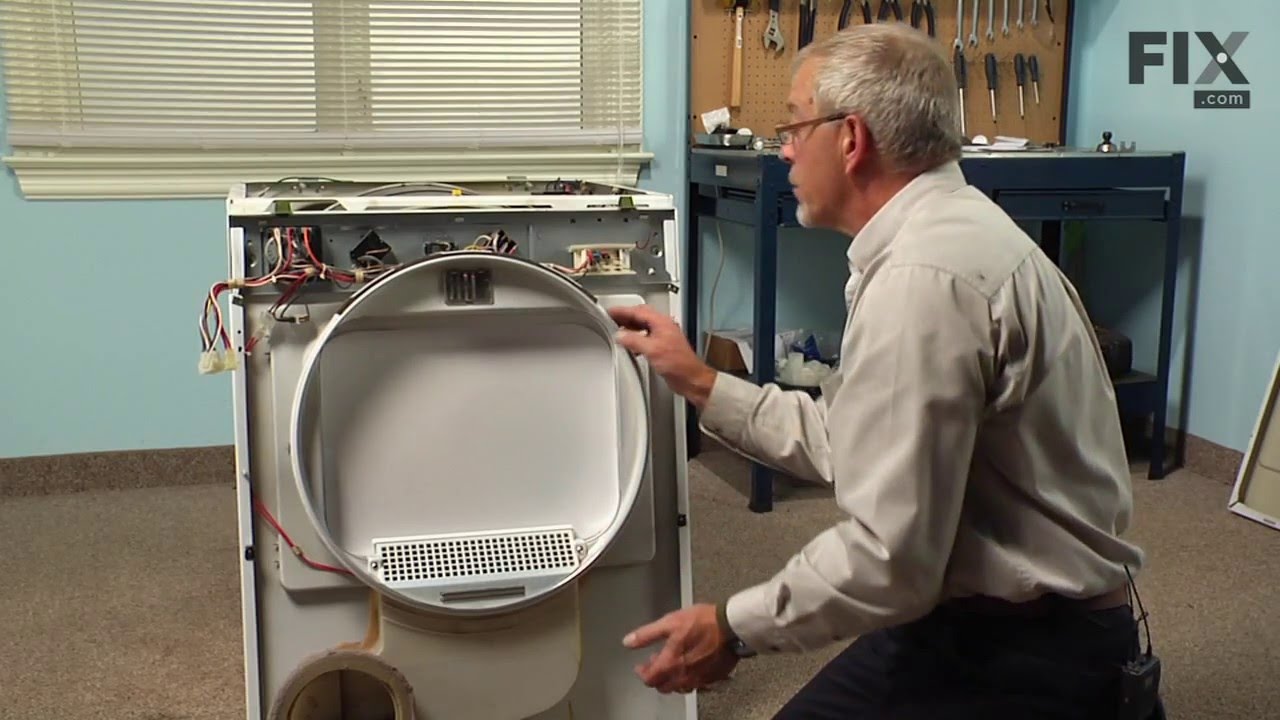
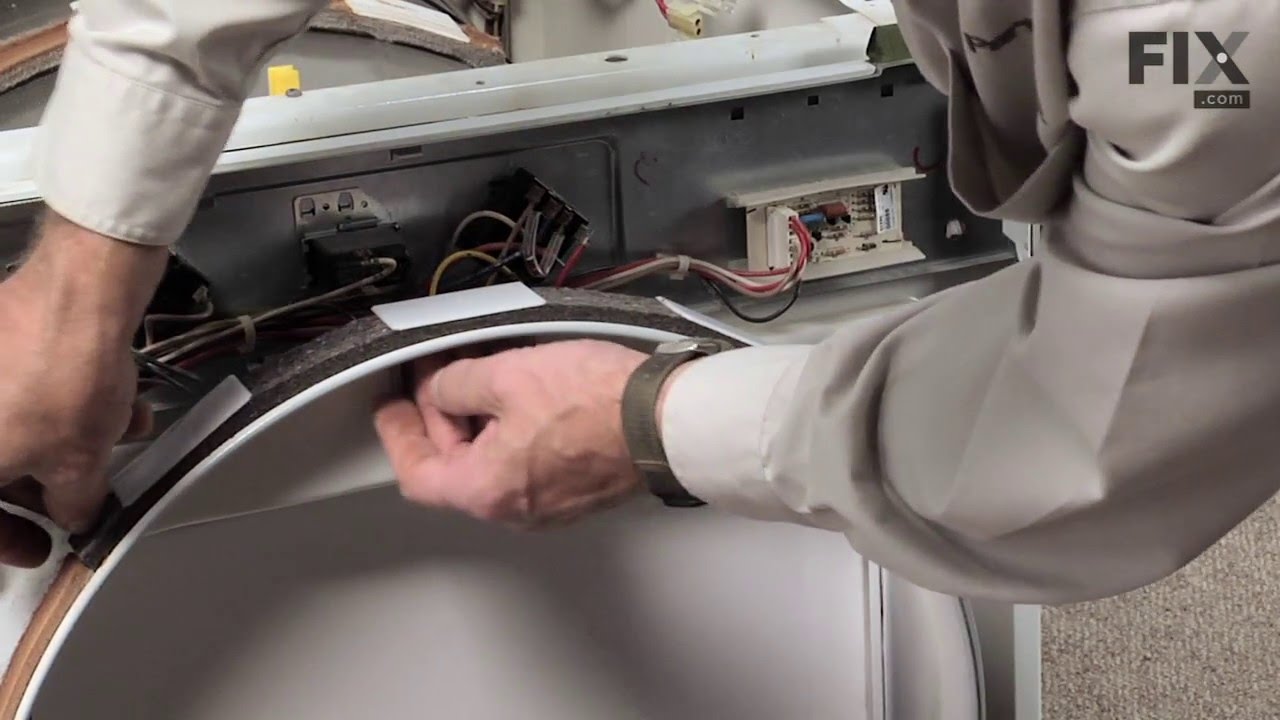
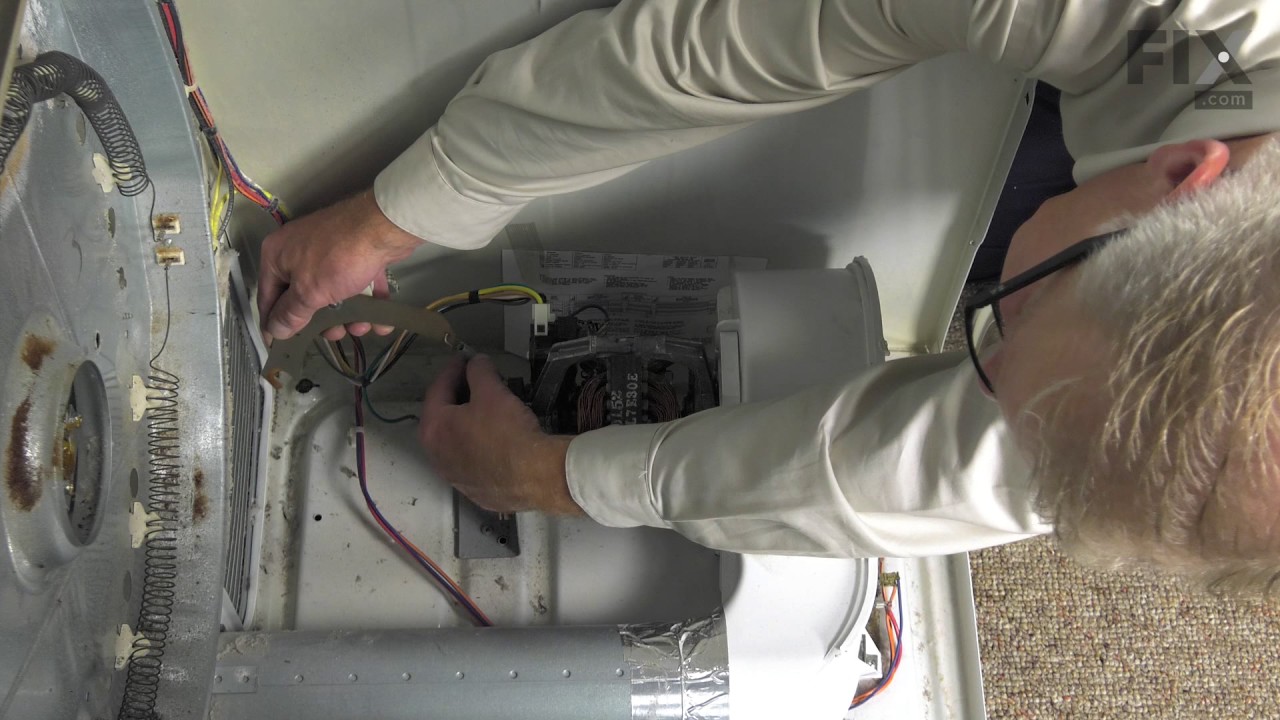
See how others fixed this model. Time, tools, difficulty, and steps that lead to victory!
View More