This rear drum bearing kit is designed for use with dryers. It supports the rear of the drum in your appliance as it tumbles your clothes during the drying cycle. If your drum will not tumble, or if it is making a lot of noise, it could be an issue with this part. This is a ball-and-socket style bearing. You will need to replace this if t...Read morehe bushing has worn out, or if the ball support is damaged. This kit includes one bearing, one ball shaft, one ball bearing, one ball bearing retainer, a small tube of high temperature lubricant and installation screws. Unplug your dryer before you begin this repair.
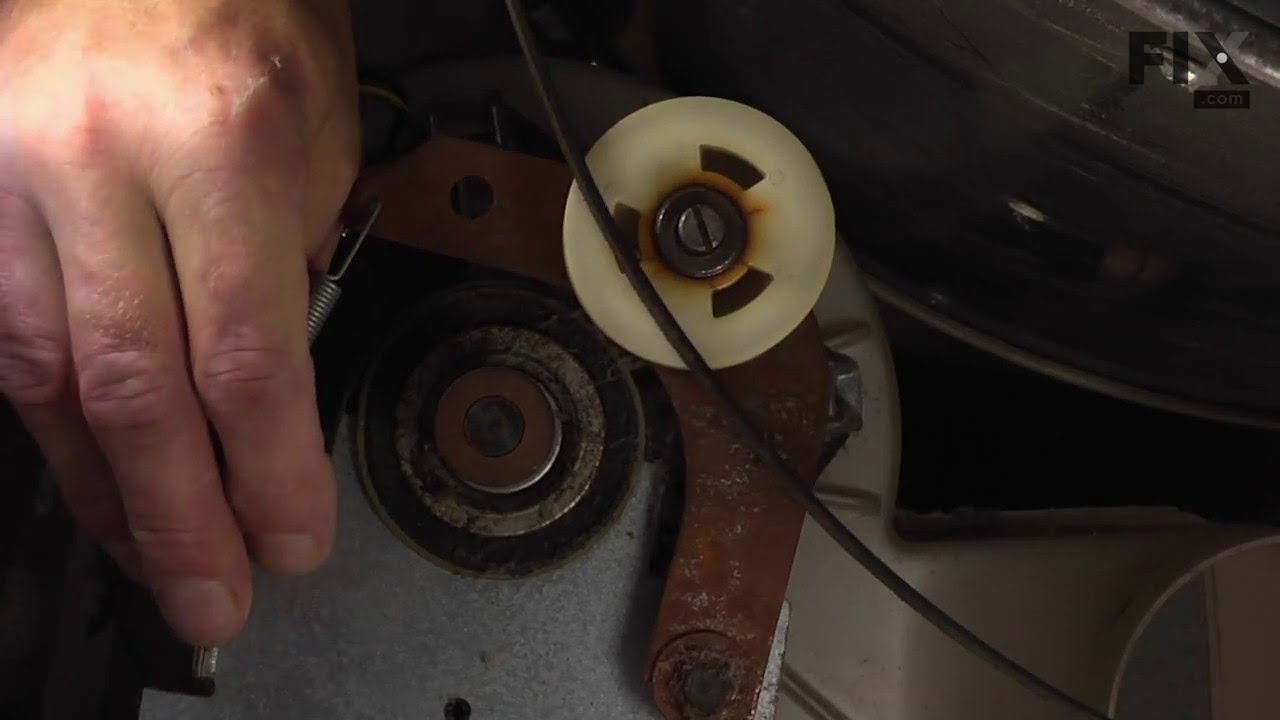
This drum belt, often referred to as a drive belt, is used in the assembly of dryers. It goes around the drum, the idler pulley, and the motor pulley. As the armature on the motor spins, this belt is what rotates the drum and tumbles your clothes during the dry cycle. If you can hear the motor running but the drum is not moving, that is a...Read more sign your belt is broken, stretched, or damaged, and can no longer grip the drum. This belt is 88 3/4 inches long, and is 1/4 inch wide. Because it is made of rubber it is common for this part to become brittle and need to be replaced. This is an authentic OEM replacement part, and it is sold individually. Remember to unplug your dryer before you begin this repair.
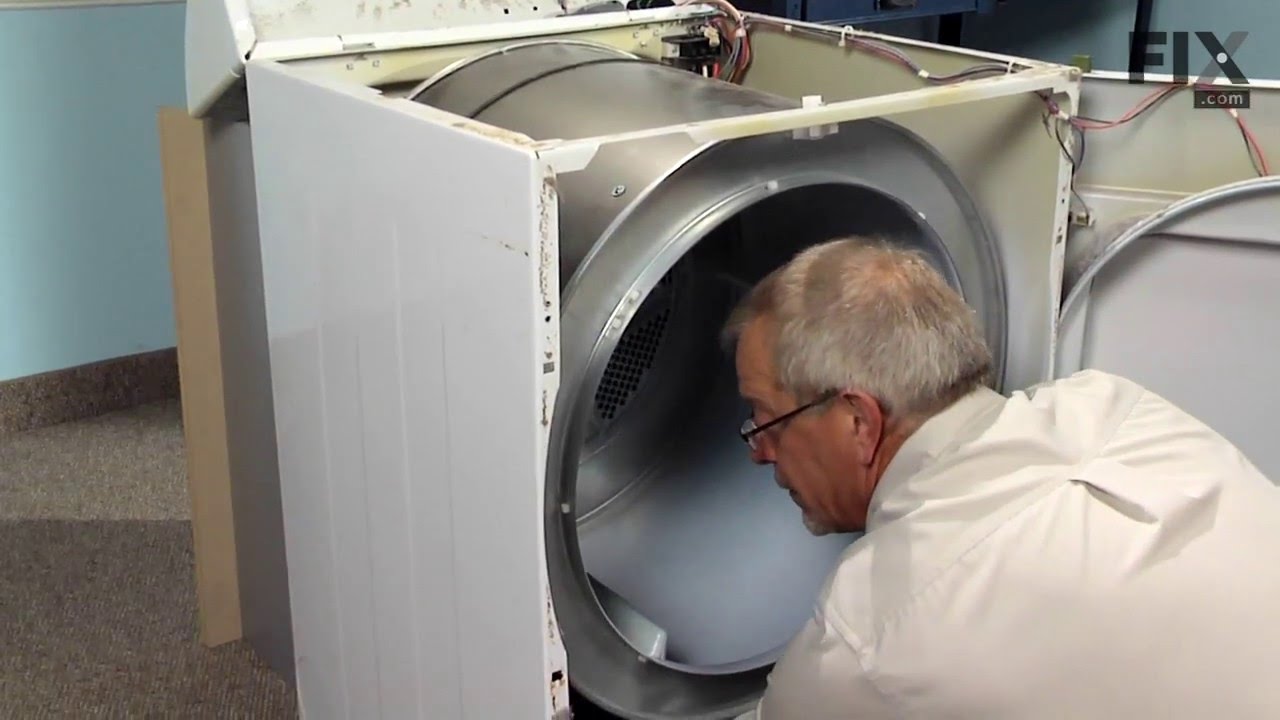
If your dryer does not tumble, will not start, is noisy, or is leaving marks on your clothing, you may need to replace the drum support bearing. The drum is supported at the rear by a bearing, which attaches onto the inside of the rear panel of the cabinet. You will need to remove the dryer drum before completing this repair. Although rep...Read morelacing the drum support bearing is a fairly easy job, you will need tools to complete it. For this repair, you will need a putty knife, a Phillips screw driver, a 5/16 nut driver and maybe a small flat blade screw driver.
This white drum glide is used in a clothes dryer to ensure the front of the dryer drum is supported as it does rotations. *Please note: these are sold individually, however there are two of these in your appliance. We recommend that these be replaced at the same time, this allows for optimal performance and ensures they wear evenly. Each ...Read moredrum glide is approximately 33 inches in length. If the following symptoms occur, consider replacing the drum guide as a solution: dryer is noisy, will not tumble, or leaves marks on clothes. Remember to unplug the power source to the dryer before installing this part. Refer to the diagram provided by the manufacturer for further instructions and guidance.
The door catch on your dryer is an important part as it keeps your dryer door closed, in order to ensure no air or clothes can escape. This part works by holding the door strike, which allows the door to stay secure. Before you begin this repair make sure to disconnect the power supply to the dryer. The tools you will need for this instal...Read morelation include a Phillips screwdriver and a small flat blade screwdriver. A pair of pliers may also come in handy. Users ranked this repair as easy, and say that it will take fifteen minutes or less to complete.
This dryer lint screen is for laundry centers.
Dryer lint screen captures lint and debris from the exhaust air flowing from the dryer.
Follow the instructions in the owner's manual when installing this part.
The lower front felt seal with adhesive, also known as a drum felt seal, is used in dyers and allows the drum to easily glide on the front panel. For this repair project, you will need the following tools: #2 Phillips screw driver, #2 square head screw driver, putty knife, and wire bush. If your dryer will not tumble, or makes a squeaking...Read more noise when running, replacing this part could solve the problem. Remember to unplug your appliance from the power source for safety before you begin this installation project. Refer to the manual provided by the manufacturer for further installation instructions.
This high limit thermostat is used in a dryer and monitors the temperature to make sure it does not exceed 260 degrees Fahrenheit. When your dryer temperature reaches 260 it will cut it out and only comes back when it drops by at least 70 degrees Fahrenheit. If your dryer is overheating, taking too long to dry clothes, or is not producing...Read more enough heat, replacing the thermostat could be the solution to your problem. The tools needed for this part are a Phillips screwdriver, putty knife, and needle nose pliers. Refer to the manual provided by the manufacturer for installation instructions and guidance.
The upper felt seal for your dryer is attached to the top edge of the drum support area, and is held there by a high temperature adhesive. It creates a seal where the dryer door opens and closes, so that heat remains in the dryer while it tumbles. If your old upper felt seal is coming apart, you notice that hot air is leaking out the drye...Read morer door, or your clothes are taking too long to dry, you may need to replace the seal. When you order this part, it comes with the upper felt seal, as well as the required high-temperature adhesive.
The door strike is attached to the door of your dryer and holds the door closed. If your dryer door is not closing, this might be due to the door strike needing to be replaced. This is a simple repair that should only take a few minutes to complete. The package contains one strike. Open the dryer door, and use a flat head screw driver to ...Read moresnap the old strike out if it has not fallen out already. Simply push the gasket out of the way, squeeze together the strike and place inside of the opening. Wiggle to ensure it is set in place properly.
This is a screw in leveling leg for your washing machine. It supports the appliance by screwing in place to create a stable and flat surface. Take note that you are able to adjust the height of your appliance to make it leveled. This model is made entirely of plastic and is white in color. It is just under 2.5 inches long, 1.5 inches wide, and the head has a diameter of roughly 1.5 inches.
Ask our experts a question about this model and we'll get back to you as soon as possible!
We may have answered a similar question already! Search questions and answers left by others using simple keywords like "fit", "broken", "easy", or "quality" to find questions that match.
Search filter:
Clear Filter
Your search term must have 3 or more characters.
Sort by:
Prev
1
2
3
Next
Sorry, we couldn't find any existing answers that matched.Try using some different or simpler keywords, or submit your new question by using the "Ask a Question" button above!
Dan - For model number 41761722510
December 27, 2019
The washer runs thru the cycle fills up washes , then drains. Fills up again then stops and beeps 3 times
Hello Dan and thank you for writing.
3 beeps. Water leak in the tub or air leak in the water level pressure sensor air hose
Check/Repair
Check the drain hose for proper installation. An improperly installed drain hose causes fill water to siphon out through the washer drain. Manually drain the water out of the washer. Unplug the laundry center and check the washer outer tub for cracks or leaks such as water dripping from the bottom of the washer tub or a hose. Replace the tub if it leaks. If you don't find any water leaks, check the water level sensor air hose for air leaks. Replace the air hose if it leaks. If the hose doesn't leak, replace the water valve PS11703547 because it's not detecting the water level in the washer. We hope this helps. Please contact us anytime if you require further assistance.
When I start my dryer it shuts off after only a few seconds.
Hello Kert, Thank you for the question. This can be caused by a clogged exhaust vent or Lint Duct preventing the Air Flow. We hope this helps!
1 personfound this instruction helpful.
Was this helpful?
Thank you for voting!
Trish - For model number 41761722510
May 11, 2023
Hello! I just moved into a new home and I cannot get the washer to work! I put clothes in, and press the button. It makes 3 click sounds, then 2 beeps. Then- nothing! What am I doing wrong?
Hi Trish, thank you for reaching out. According to our research, the issue seems to be with the door catch, part number PS418433. This part works by holding the door strike, which allows the door to stay secure. The washer might be showing this error because it thinks that the door is not closed properly. As a result, the cycle may not start. We hope this information helps!
my washer/dryer combo beeps 3 times intermittently when not running. I ran thru the diagnostic test for both the washer and dryer and i believe there are no error codes recorded
Hi Steve, thank you for reaching out. Normally, when you push a button or turn any knob there will be three beeps which indicate the unit is ready to operate. If you do not turn the knob or press any button, then the issue seems to be with the user interface board, part number PS11703856. We would recommend checking it. We hope this solves your problem!
See how others fixed this model. Time, tools, difficulty, and steps that lead to victory!View More
Search repair tips from other customers using simple keywords like "replace", "fit", "remove", "inspect". DIY doesn't mean you have to do it alone!
Search filter:
Clear Filter
Your search term must have 3 or more characters.
Loud Squeaking
355 of 383 peoplefound this instruction helpful.
Frank from Boyertown, PA
Easy
15 - 30 mins
Nutdriver, Screw drivers
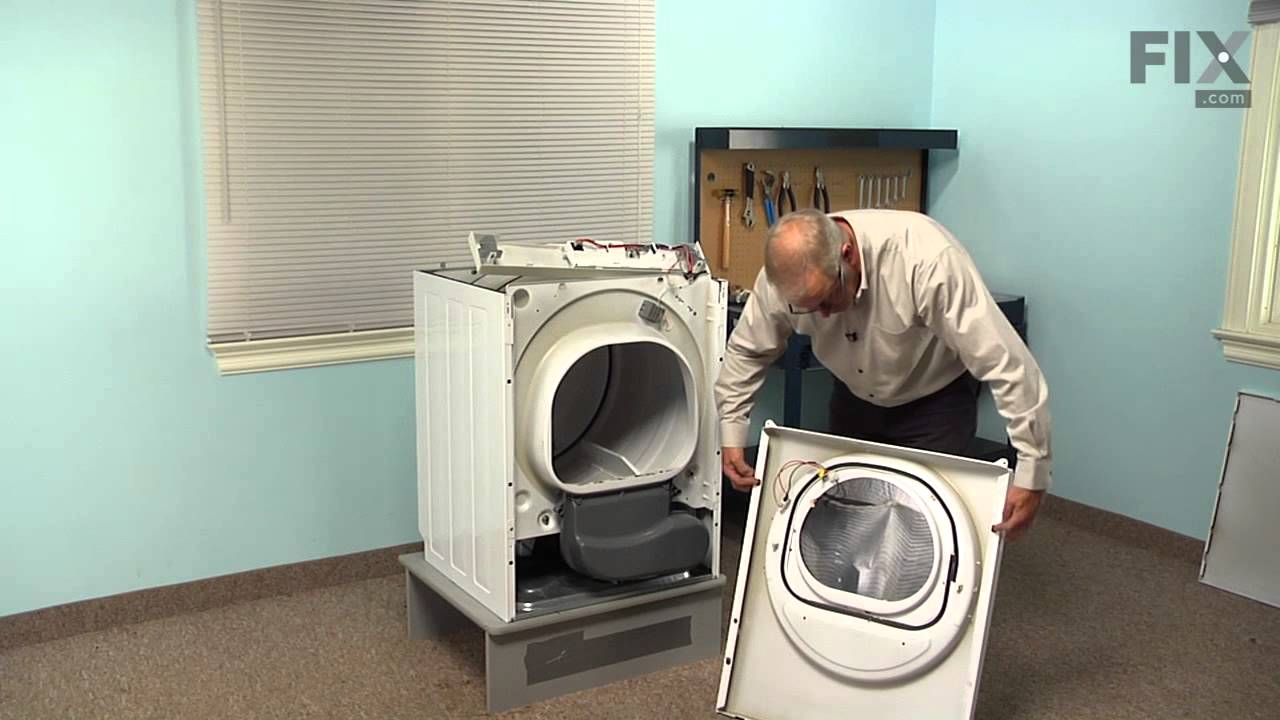
1. Unplug dryer from outlet 2. Using Lg. flat screwdriver, pry under the front edge of the top and release two spring tabs 3. Lift up top and tilt back out of your way 4. Unscrew two phillips scews on inside of front panel 5. Lift up and out the front panel. Two spring clips at bottom. 6. Rlease tension on drum be
... Read morelt at the motor. Access panel at rear of dryer. 7.Unscrew 3 screws from inside, center rear of drum. 8. Remove drum through the front of the dryer. You may have to spread the sides apart a little bit for it to fit 9. Lift up on the rear drum bearing to remove it from the bearing retainer. ( U shaped plastic socket) 10. unsrew 2 screws and remove the bearing retainer, ground ball. Ball retainer is on outside of dryer. 11. Vacuum everything--duct, blower, lint trap, ect. 12. Intall new bearing retainer and grounding ball, an assistant is helpful at this time, one to hold ball retainer on rear of dryer, one to screw it in from the inside 13. reassemble remainder of parts in reverse order.
Read less
Was this helpful?
Thank you for voting!
Felt pulling apart and glide not secured
75 of 83 peoplefound this instruction helpful.
Timothy from Pensacola, FL
Really Easy
Less than 15 mins
Screw drivers
For the glide, I want to advise people that to replace the entire glide you need to order two front drum glide parts as each is only half.
First, unplug the dryer. Then, open the top so that you can get access to the work area. On each side of the inside front, there is a screw that connects the front panel to the side panels
... Read more. Unscrew those screws and pull the front panel until it disconnects from the side panels. Be careful as there are wires that are secured to the bottom of the top inside lip of the front panel. One set of wires goes to the light bulb in the dryer door. You don't need to disconnect the wires, but be sure you don't damage the wires by pulling the front panel too far away from the dryer.
Once you have the front panel out of the way, you can see the front drum glide. In my case, one half was loose as the plastic plugs that pop into recesses to hold the glide in place had broken off. Remove the damaged glide section and replace it with the new section, popping the plastic plugs into the recesses. Don't be afraid to slap the glide to lock the plugs in place.
For the felt, I cut the part of the old felt that was pulling away from the front panel. I then used a flat-head screwdriver and wire brush to remove as much of the old adhesive as I could. Then, using the high-heat adhesive that came with the new felt, I put a generous amount on the front panel where the felt needed to go. I used a toothpick to spread the adhesive to get maximum area coverage. I let it set for a minute or two, and then placed the new felt. I used small clamps to keep the felt in place until the adhesive had time to bond. I only kept the clamps in place for 10 minutes.
Once I removed the clamps, I let the felt continue to adhere to the front panel for 24 hours before reassembling the dryer. Again, be careful of the wires connected to the front panel as it appears very easy for them to be pinched or cut when putting the front panel back in place.
When the dryer was reassembled, I plugged it back in and have had no more troubles.
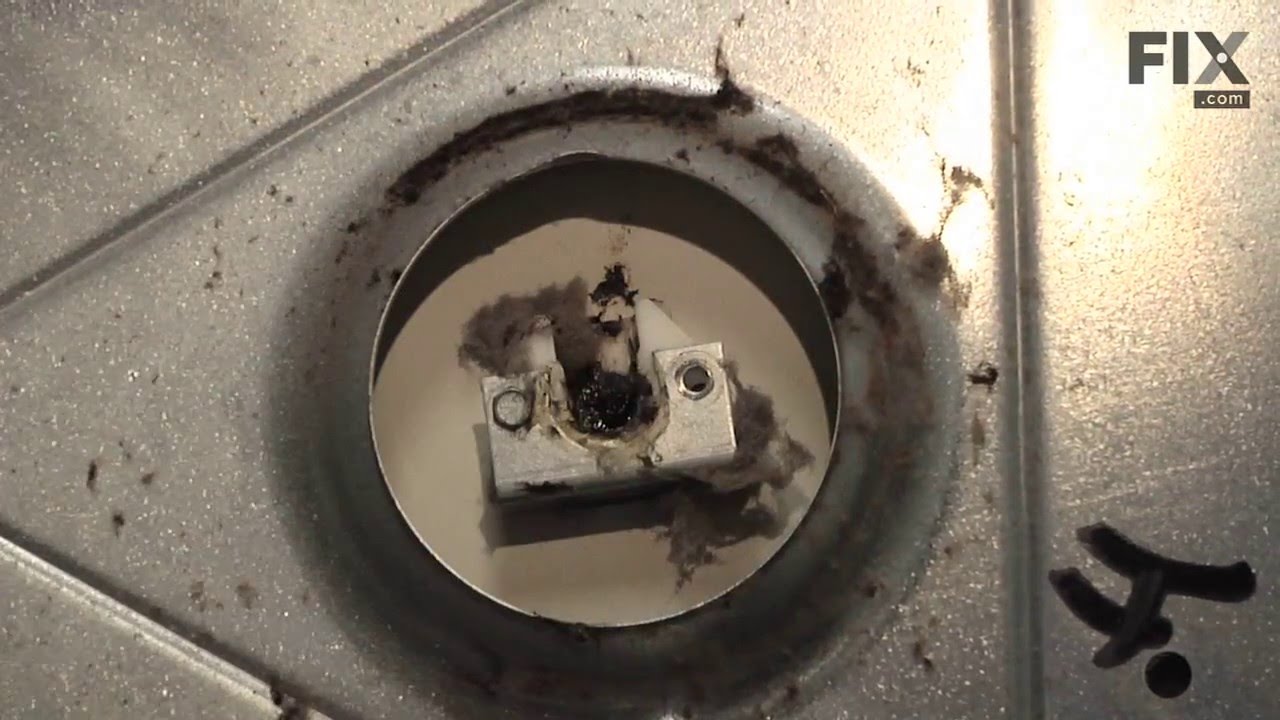
Terminal Block Melts when power cord connector is left loose by install crew.
47 of 67 peoplefound this instruction helpful.
Arthur from Grand Prairie, TX
Really Easy
30 - 60 mins
Nutdriver, Pliers, Screw drivers, Socket set
1) Removed Top Dryer Cover (pushed 2 compression clips on front side 1" from top and 2" in from each side) to gain access to terminal block in rear. 2) Removed 2 screws over terminal block cover and 2 screws holding bad terminal block in place. Removed 3 screws holding bad power cord, 3) Removed good terminal connectors from
... Read morebad terminal block and reinstalled them in the new terminal block. 4) Cut dryer wire from bad terminal block connector and soldered (optional) them to the new terminal block connector. Installed this connector into the new terminal block. 5) Installed new terminal block in dryer with 2 screws. 6) Installed new power cord on new terminal block ensuring contacts were tight and cord had pull guard properly installed. Reinstalled terminal block cover with 2 screws. 7) Reinstalled Dryer Top Cover.



 My Orders