


 My Orders




40441 - Overview
Models starting with 40441
Click on the best match to narrow your results.
- 40441 LG Washer (LG Washing Machine Model 40441 Parts)
- 40441 (ABWESEU) LG Washer Dryer Combo (Washer-Dryer)
- 40441 (ABWESEC) LG Washer
- 404410 (1996) MTD Lawn Mower (MTD Lawn Mower Model 404410/1996 Parts)
- 404410 (1993) Yard Man Lawn Mower (Yard-Man Lawn Mower Model 404410/1993 Parts)
- 404410 (1992) MTD Lawn Mower (MTD Lawn Mower Model 404410/1992 Parts)
- 40441119 General Electric Dishwasher
- 40441149 General Electric Dishwasher
- 40441159 General Electric Dishwasher
- 40441169 General Electric Dishwasher
- 404417-0109-99 Briggs and Stratton Engine (Engine)
- 404417-0109-XX Briggs and Stratton Engine (Horizontal Engine)
- 404417-1501-01 Briggs and Stratton Engine (Engine)
- 404417-1502-01 Briggs and Stratton Engine (Engine)
Enter a part description. DIY Heroes keep it simple, eg. "belt" or "pump".
Search filter:
Clear Filter
Your search term must have 3 or more characters.

$49.50
In Stock
Lower Rack Wheel Kit - 8 Pack
Part #WD35X21038
This lower rack wheel kit includes 8 wheels and 8 axles that allow the lower dishwasher rack to slide in and out smoothly. If your dishwasher door will not close, is noisy when operating, or the dishes are not cleaning properly, you might need to replace one or more of the wheels. Each wheel and axle are made of plastic, and fit into one ...Read moreanother so they can be clipped on to the lower dishwasher rack. Many of our customers found this repair to be quick and easy, and the only tool you should need to complete the repair is a pair of pliers.
Read less

$22.52
In Stock
Dishwasher Rack Slide End Cap
Part #WD12X10304
The Rack Slide End Cap is a white one-inch plastic part which replaces the end cap for your dishwasher rack, preventing your rack from sliding too far. If you find the dish rack is causing the door to not close properly, it may be due to the part being worn out or damaged. All you need to complete this repair is a small flat blade screw d...Read moreriver. Simply pop out the cap with a smaller flat-blade screwdriver and snap the new one into place. If the rear cap needs to be replaced you will need to remove both front caps and slide the rack completely off for full access. It is important to note that this part is sold individually, and more than one may be required, depending on your repair. An inexpensive part, it can be a good idea to purchase several at a time to have on-hand when needed.
Read less

$31.58
In Stock
Upper Roller and Axle - Kit of 4
Part #WD12X10327
The dishwasher roller assembly attaches to the upper dishrack. It allows the dishrack to slide out easily. If the upper rack keeps falling off the track in dishwasher, the door will not close, the door makes noises, and/or dishes are not cleaning properly, it is best to replace it for more security. A flat-blade screwdriver is the only to...Read moreol needed for this installation. Slide open the upper dishwasher rack and remove the retaining tabs from both ends of the rack and slide it out. Locate the older roll assembly, remove it, and replace the rollers. Remember to put back the tabs on each side before sliding it back in. Make sure the dishwasher is turned off before starting this repair.
Read less

$58.42
In Stock
Washing Machine Drain Pump
Part #4681EA2001T
The drain pump and motor assembly may also be known as the washer drain pump and is a part for your washer. The drain pump helps expel water from the washing machine. The drain pump is activated after the spin cycle speed is maintained for a specific period of time. To make this installation you will need a Phillips screwdriver, a small f...Read morelat-blade screwdriver, a pair of needle-nose pliers, and a pair of slip-joint pliers. Note that the pump casing is not included. This medium-difficulty repair may vary, but can generally be started by disconnecting power, then removing the top of the washer by taking out the four back screws and two small brackets. Then, remove the front panel by taking out the two screws and eight tabs that should be taken from the top. Moving down the front of the washer, remove the door, latch, tub gasket, and drain cover. Disconnect the drain hoses and clip from under the drain assembly, and install new assembly from there. Reassemble parts in direct reverse order -- taking photos during disassembly and keeping parts clearly organized can help here. Despite the number of steps, you will only need a standard Phillips screwdriver to complete this repair.
Read less

$30.53
In Stock
Lower Front Dishrack Wheel
Part #WD12X271
The lower dishrack wheel on your dishwasher allows the dishrack to roll in and out effectively. If your lower dishrack wheels are damaged, or the rack does not roll in and out, you may need to replace them. This wheel is located on the front lower rack and includes the axle. This part is sold individually. The wheel and the axle are made ...Read moreof white plastic. The lower front dishrack wheel is approximately 1.5 inches in diameter. To complete the repair, simply detach the damaged wheel and axle from the rack, and install the new one by snapping the axle in place.
Read less

$24.67
In Stock
Corner Tub Baffle - Lower Right
Part #WD8X227
This baffle fits the lower right hand corner of some dishwashers. It is black rubber and has a matching left hand lower corner baffle. It is recommended that you replace and install both left and right at the same time. It will become evident that this part needs to be replaced if you are experiencing leaking or lack of draining. This is ...Read morea very easy repair that requires no tools. Open the dishwasher door and simply use your hands to remove the baffle found in the lower right hand side of the dishwasher. Clean out any dirt and insert your new one into place.
Read less

$24.67
In Stock
Corner Tub Baffle - Lower Left
Part #WD8X228
The corner tub baffle may also be known as the door baffle and is a part used on your dishwasher. The left and right side baffle on your dishwasher should be installed and replaced at the same time. This specific part is for the lower left side of your appliance, the right-side is sold separately. The function of the tub corner baffle is ...Read moreto prevent water from leaking through your dishwasher door. The function of this specific one is to stop water from leaking through the bottom left hand side of your dishwasher door. You will not need any tools to make this installation.
Read less

$79.80
In Stock
Silverware Basket (Grey)
Part #WD28X265
The silverware basket, used for dishwashers, is in the bottom of the dishrack. The basket is used to hold eating utensils such as spoons, forks, and knives. If the basket is worn out or broken, you should replace it with this part. No tools are required as it is an easy replacement. If you need further guidance refer to the instructions p...Read morerovided by the manufacturer. For safety precautions make sure to unplug the dishwasher and wear gloves.
Read less

$144.57
In Stock

$35.80
In Stock
Water Inlet Valve - Hot
Part #5220FR2006H
The hot water inlet valve on your washing machine controls the water flow into the washer. This inlet valve has a standard hose fitting inlet and one water outlet. The water inlet valve opens to allow water to enter the washing machine. If the water inlet valve is defective, the washer may leak, fill slowly, or not fill at all. To test yo...Read moreur valve, unplug the washer when the symptom occurs. If the washer continues to fill, then your inlet valve is defective. This part is approximately 3 inches long x 3 inches wide.
Read less

$27.36
Special Order
Door Cable and Eyelet
Part #WD7X14
This part is sold individually. It is recommended that both sides are changed when replacing one.

$32.63
In Stock
Exact Part matches for your search term

No Longer Available
No Longer Available
No Longer Available
Common Symptoms of models starting with 40441
How this model fails, and the parts that fix it.
Leaking
Fixed by
these parts
these parts


Show All
Will not drain
Fixed by
these parts
these parts


Show All
Not draining
Fixed by
these parts
these parts


Show All
Not cleaning dishes properly
Fixed by
these parts
these parts


Show All
Will Not Start
Fixed by
these parts
these parts


Show All
Will not dispense detergent
Fixed by
these parts
these parts


Show All
Draining Issues
Fixed by
these parts
these parts
Show All
Door latch failure
Fixed by
these parts
these parts

Show All
Will not fill with water
Fixed by
these parts
these parts


Show All
Door won’t close
Fixed by
these parts
these parts

Show All
Water Filling Issues
Fixed by
these parts
these parts


Show All
Lid or door won’t close
Fixed by
these parts
these parts

Show All
Spinning Issues
Fixed by
these parts
these parts


Show All
Noisy
Fixed by
these parts
these parts
Show All
Will not agitate
Fixed by
these parts
these parts

Show All
Locking Issues
Fixed by
these parts
these parts
Show All
Does not dispense fabric softener or detergent
Fixed by
these parts
these parts


Show All
Noisy and Marks Left on Clothes
Fixed by
these parts
these parts


Show All
Engine runs but does not pump water
Fixed by
these parts
these parts
Show All
Burning smell
Fixed by
these parts
these parts

Show All
No hot or cold water
Fixed by
these parts
these parts
Show All
Won’t Start
Fixed by
these parts
these parts
Show All
Spins slowly
Fixed by
these parts
these parts
Show All
Not drying dishes properly
Fixed by
these parts
these parts
Show All
Noisy
Fixed by
these parts
these parts
Show All
Shaking and Moving
Fixed by
these parts
these parts
Show All
Watch our pros, then fix it yourself.
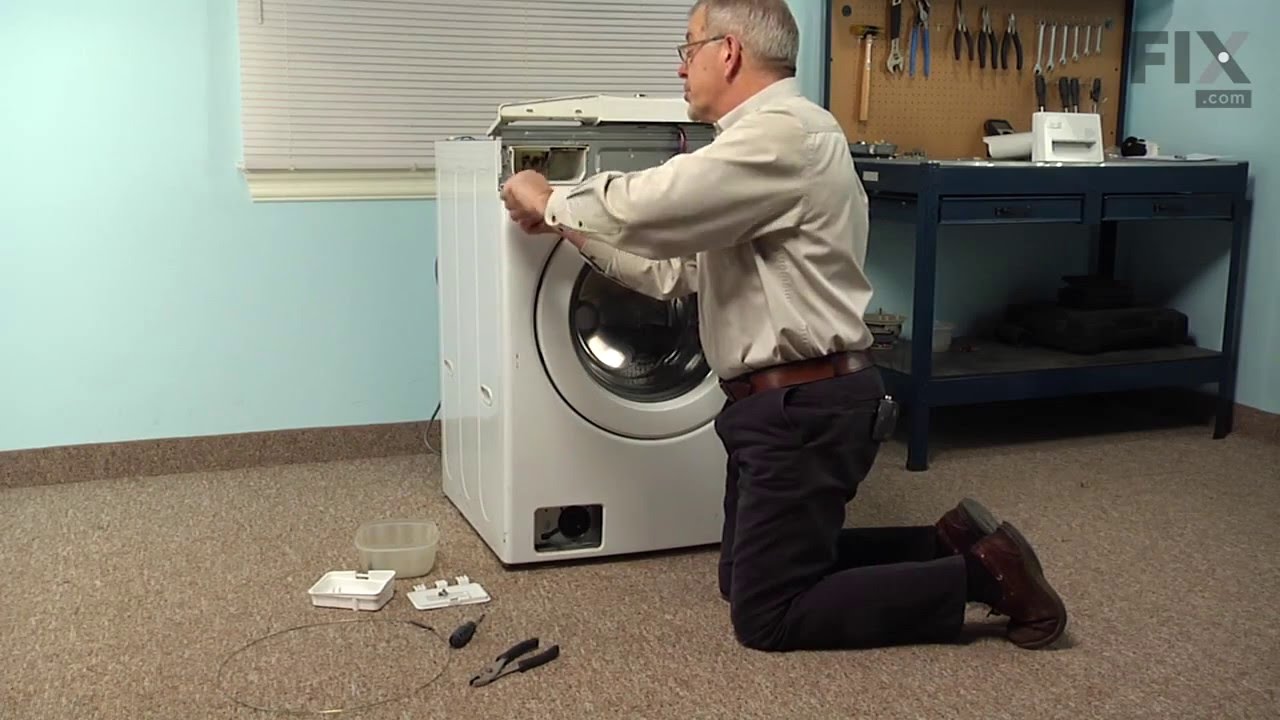
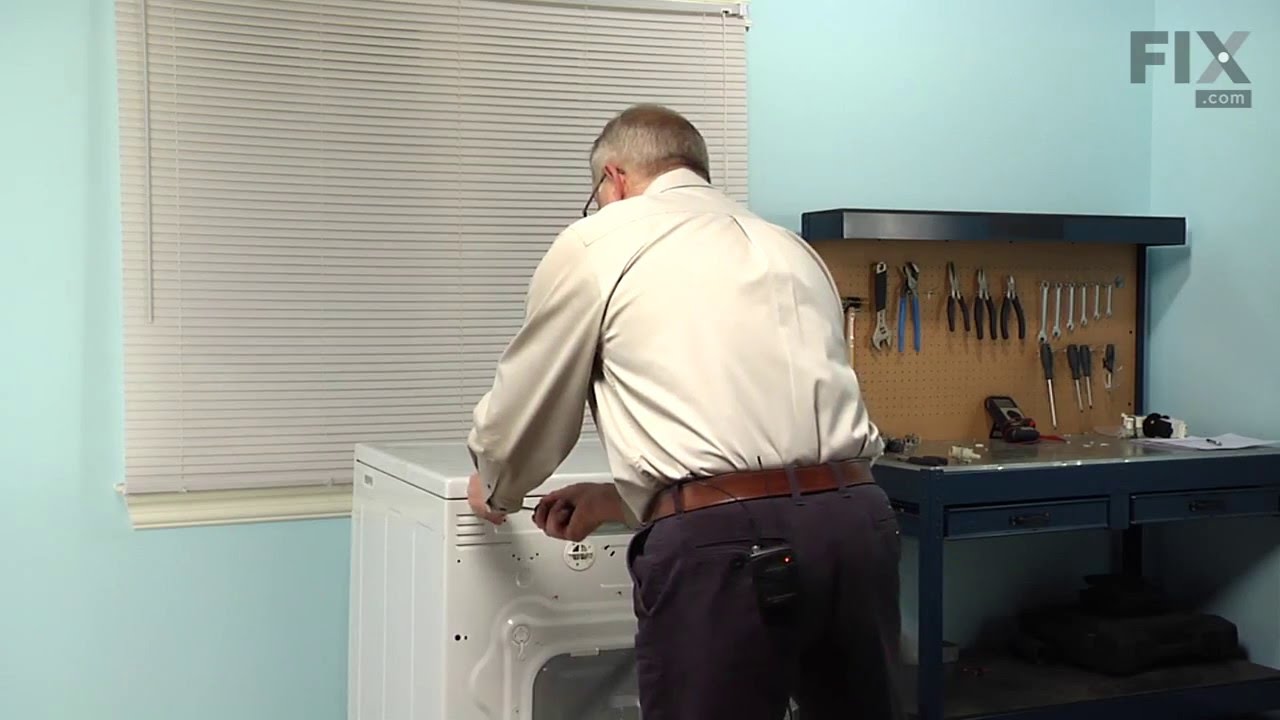
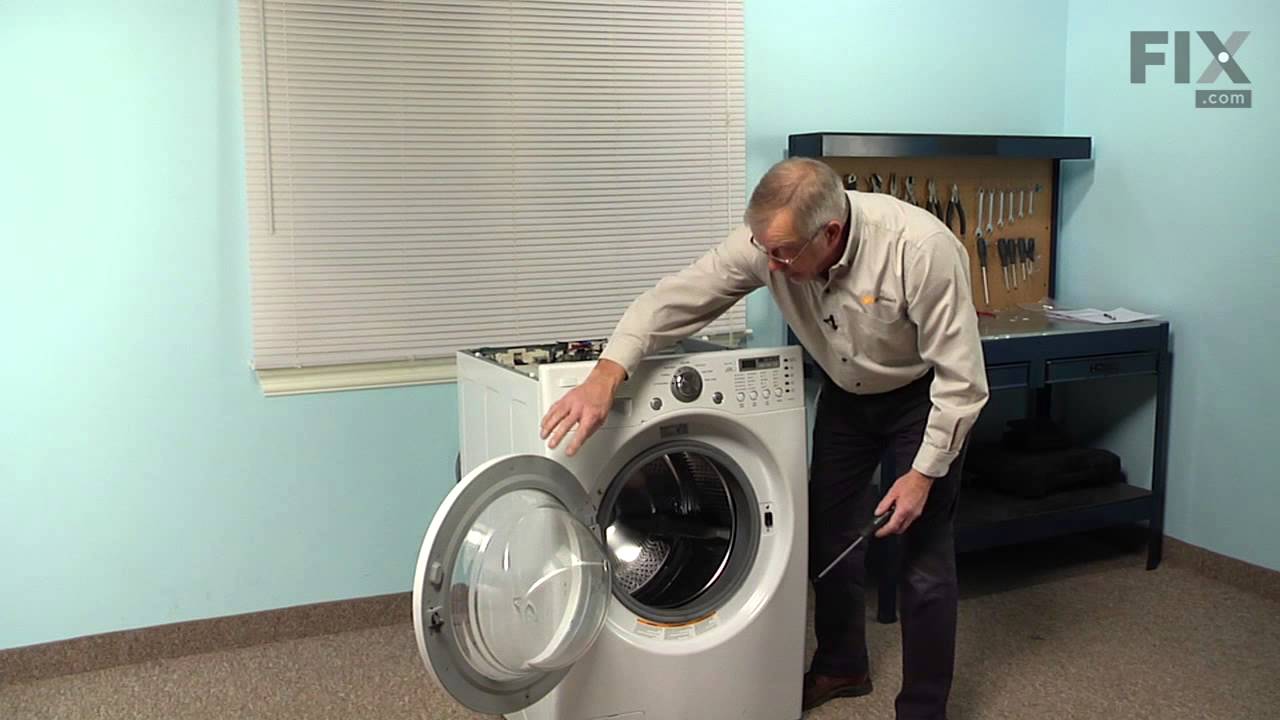
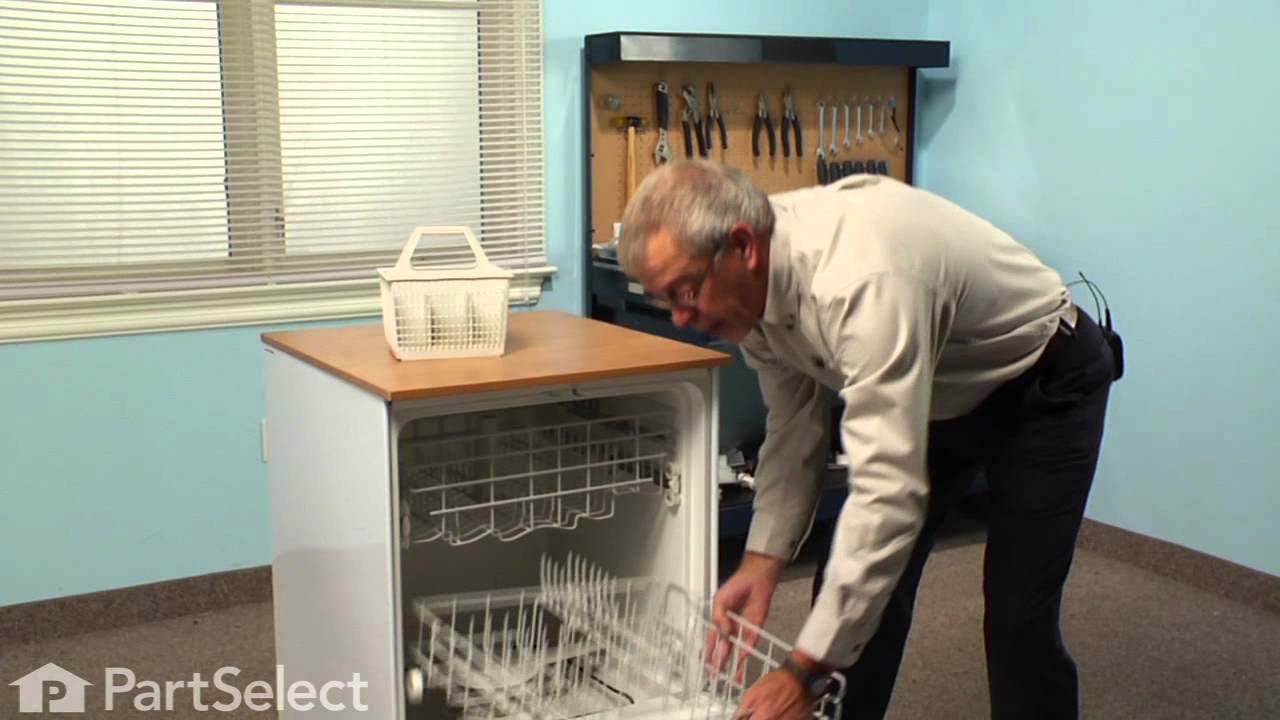
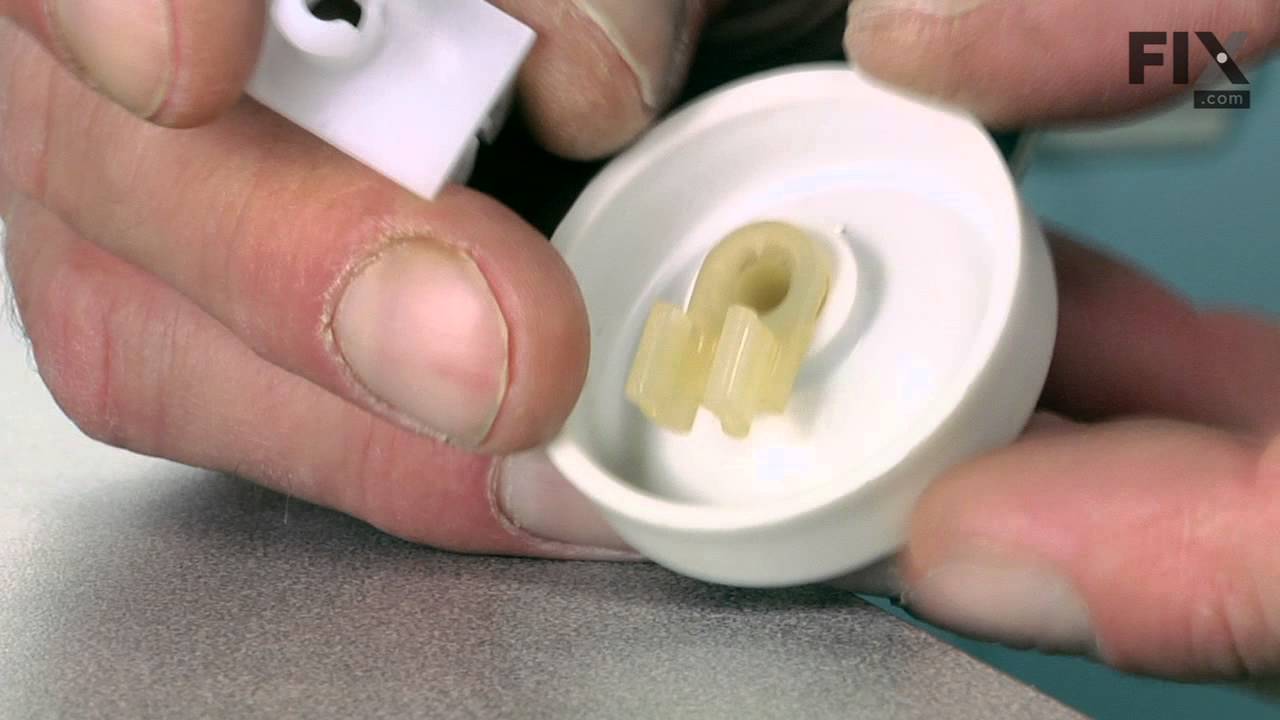
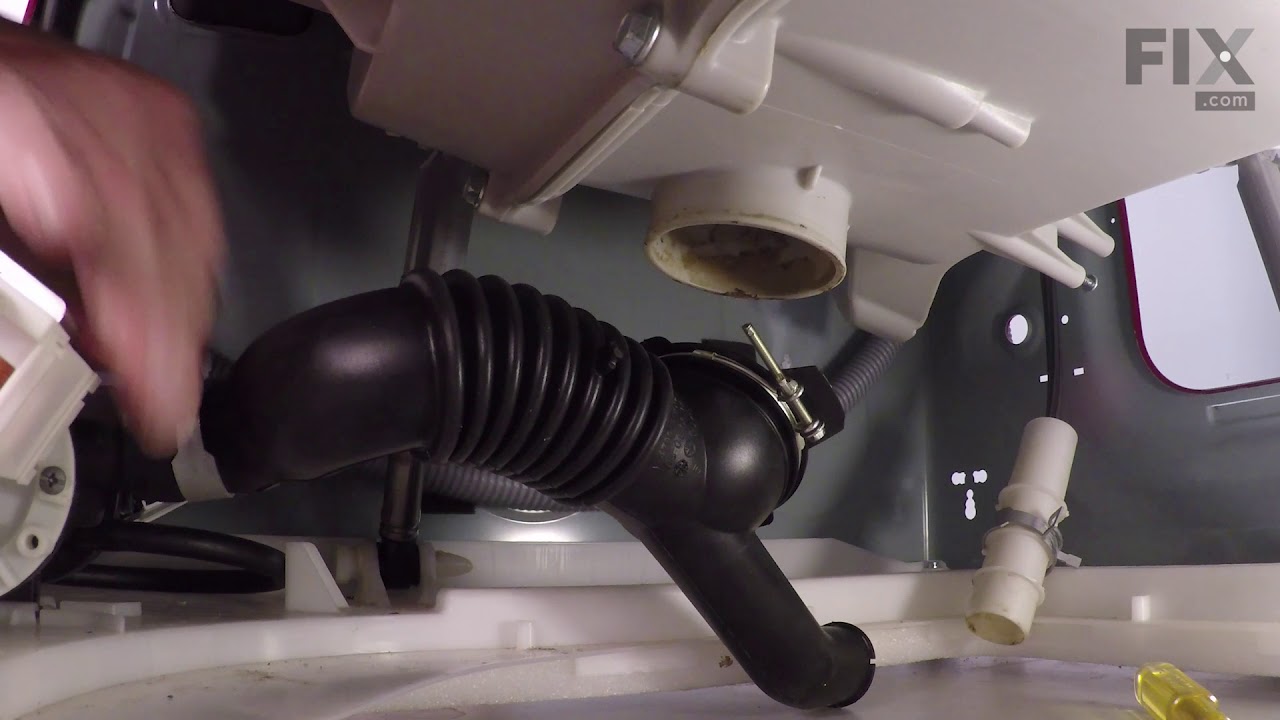
See how others fixed this model. Time, tools, difficulty, and steps that lead to victory!
View More