


 My Orders




4031 - Overview
Models starting with 4031
Click on the best match to narrow your results.
- 40311 (ABWESEC) LG Washer (Washer)
- 403110 General Electric Dishwasher
- 403111 General Electric Dishwasher
- 403131 Murray Lawn Tractor Accessories (Mower Deck)
- 403132 Murray Lawn Tractor Accessories (Mower Deck)
- 403133 Murray Lawn Mower (Murray Lawn Mower Model 403133 Parts)
- 403134 Murray Lawn Mower (Murray Lawn Mower Model 403134 Parts)
- 40315 LG Washer
- 40316X11B Murray Lawn Tractor (40316x11b - Riding Lawn Mowers And Lawn Tractors)
- 40317X50C Murray Lawn Mower (Murray Lawn Mower Model 40317X50C Parts)
- 40317X50C (2001) Briggs and Stratton Lawn Tractor (40317x50c - Lawn Tractor (2001))
- 40318 (APBESEC) LG Washer (Washer)
- 40318 LG Washer (LG Washing Machine Model 40318 Parts)
- 403180 Murray Lawn Tractor Accessories (Mower Deck)
- 40318X50A Murray Lawn Tractor (40318x50a - Riding Lawn Mowers And Lawn Tractors)
- 40318X50B Murray Lawn Tractor (40318x50b - Riding Lawn Mowers And Lawn Tractors)
- 40318X50C Murray Lawn Mower (Murray Lawn Mower Model 40318X50C Parts)
- 40318X50C (2001) Briggs and Stratton Lawn Tractor (40318x50c - Lawn Tractor (2001))
- 40319X51B Murray Lawn Tractor (40319x51b - Riding Lawn Mowers And Lawn Tractors)
- 40319X51C (2001) Briggs and Stratton Lawn Tractor (40319x51c - Lawn Tractor (2001))
- 40319X51C Murray Lawn Mower (Murray Lawn Mower Model 40319X51C Parts)
- 40319X88A Murray Lawn Tractor (40319x88a - Riding Lawn Mowers And Lawn Tractors)
- 40319X98B Murray Lawn Tractor (40319x98b - Riding Lawn Mowers And Lawn Tractors)
- 40319X98C (2001) Briggs and Stratton Lawn Tractor (40319x98c - Lawn Tractor (2001))
- 40319X98C Murray Lawn Mower (Murray Lawn Mower Model 40319X98C Parts)
- 4031A68 (1986) MTD Lawn Mower (Lawn Mower)
- 4031A78 (1987) MTD Lawn Mower (Lawn Mower)
Enter a part description. DIY Heroes keep it simple, eg. "belt" or "pump".
Search filter:
Clear Filter
Your search term must have 3 or more characters.

$49.50
In Stock
Lower Rack Wheel Kit - 8 Pack
Part #WD35X21038
This lower rack wheel kit includes 8 wheels and 8 axles that allow the lower dishwasher rack to slide in and out smoothly. If your dishwasher door will not close, is noisy when operating, or the dishes are not cleaning properly, you might need to replace one or more of the wheels. Each wheel and axle are made of plastic, and fit into one ...Read moreanother so they can be clipped on to the lower dishwasher rack. Many of our customers found this repair to be quick and easy, and the only tool you should need to complete the repair is a pair of pliers.
Read less

$15.30
In Stock
Single Lower Wheel Stud/Axle
Part #WD12X10278
This is a replacement axle for the wheel on your lower dish rack. The wheel must be ordered separately. All you need to complete this repair is a pair of needle nose pliers. Remove the rack stops and pull out the dish rack. Remove the axle and wheel, and use the pliers to undo the clip which holds them together. Replace the axle with your new part and reassemble.

$22.52
In Stock
Dishwasher Rack Slide End Cap
Part #WD12X10304
The Rack Slide End Cap is a white one-inch plastic part which replaces the end cap for your dishwasher rack, preventing your rack from sliding too far. If you find the dish rack is causing the door to not close properly, it may be due to the part being worn out or damaged. All you need to complete this repair is a small flat blade screw d...Read moreriver. Simply pop out the cap with a smaller flat-blade screwdriver and snap the new one into place. If the rear cap needs to be replaced you will need to remove both front caps and slide the rack completely off for full access. It is important to note that this part is sold individually, and more than one may be required, depending on your repair. An inexpensive part, it can be a good idea to purchase several at a time to have on-hand when needed.
Read less

$58.42
In Stock
Washing Machine Drain Pump
Part #4681EA2001T
The drain pump and motor assembly may also be known as the washer drain pump and is a part for your washer. The drain pump helps expel water from the washing machine. The drain pump is activated after the spin cycle speed is maintained for a specific period of time. To make this installation you will need a Phillips screwdriver, a small f...Read morelat-blade screwdriver, a pair of needle-nose pliers, and a pair of slip-joint pliers. Note that the pump casing is not included. This medium-difficulty repair may vary, but can generally be started by disconnecting power, then removing the top of the washer by taking out the four back screws and two small brackets. Then, remove the front panel by taking out the two screws and eight tabs that should be taken from the top. Moving down the front of the washer, remove the door, latch, tub gasket, and drain cover. Disconnect the drain hoses and clip from under the drain assembly, and install new assembly from there. Reassemble parts in direct reverse order -- taking photos during disassembly and keeping parts clearly organized can help here. Despite the number of steps, you will only need a standard Phillips screwdriver to complete this repair.
Read less

$52.98
In Stock
Dishwasher Dishrack Rollers and Axles
Part #WD35X20994
This is a kit of 4 which includes the wheels and axels.

$42.78
In Stock
Dishwasher Basket Assembly Silverware
Part #WD28X24469
This basket is part of a silverware basket that has 3 sections. This is the middle section of the basket.

$35.80
In Stock
Water Inlet Valve - Hot
Part #5220FR2006H
The hot water inlet valve on your washing machine controls the water flow into the washer. This inlet valve has a standard hose fitting inlet and one water outlet. The water inlet valve opens to allow water to enter the washing machine. If the water inlet valve is defective, the washer may leak, fill slowly, or not fill at all. To test yo...Read moreur valve, unplug the washer when the symptom occurs. If the washer continues to fill, then your inlet valve is defective. This part is approximately 3 inches long x 3 inches wide.
Read less

$160.61
In Stock
Complete Lower Service Rack Assembly
Part #WD28X25960
This complete lower rack assembly is a genuine replacement part designed for select GE dishwashers, including models sold under Hotpoint, Haier, Monogram, and Café brands. Engineered to securely hold plates, bowls, pots, and pans during the wash cycle, it ensures optimal water coverage and prevents breakage. Constructed from high-quality ...Read morematerials, the rack offers long-lasting durability and resistance to heat and detergent wear. Newer versions may feature an enhanced wheel assembly with protective coverings that keep the wheels aligned and prevent detachment, allowing for smoother sliding in and out of the dishwasher. Common signs that replacement is needed include difficulty moving the rack, rust or discoloration, broken tines, and poor cleaning performance due to misaligned dishware.
Read less

$139.65
Special Order
Water Inlet Valve - Cold
Part #5220FR2075L
The cold water inlet valve on your washing machine dispenses the cold water and bleach into the washer in the prewash cycle. This inlet valve has a standard hose fitting inlet and 2 water outlets facing 45 degrees to the left. The water inlet valve opens to allow water to enter the washing machine. If the water inlet valve is defective, t...Read morehe washer may leak, fill slowly, or not fill at all. To test your valve, unplug the washer when the symptom occurs. If the washer continues to fill, then your inlet valve is defective. This part is approximately 4 inches long x 3 inches wide.
Read less

$44.23
In Stock
Water Inlet Valve
Part #WD15X10014
This water inlet valve should be located behind the lower kickplate panel in either the right or left corner. The attaching solenoid on the valve open and close according to the desired amount of water needed.

$79.64
In Stock
Detergent Dispenser with Rinse Cap
Part #WD12X10163
This detergent dispenser assembly is attached to the inner door panel of a dishwasher. This part holds detergent and dishwasher rinse products in a covered container. If your dispenser will not open, close, dispense detergent properly, or the dishes are coming out of the dishwasher dirty, replacing this part can solve these problems. The ...Read moretools needed for this installation project are a #2 Phillips screwdriver and needle-nose pliers. To repair, first remove screws from the bottom of the inner door panel. Next, remove connecters, wires, and screws from the dispenser to access it and replace with new dispenser. Refer to the manual provided by the manufacturer for further installation instructions and guidance. Unplug dishwasher from power source as a safety precaution.
Read less

$78.26
In Stock
Water Inlet Valve
Part #WD15X10003
This water inlet valve should be located behind the lower kickplate panel in either the right or left corner. The attaching solenoids on the valve open and close according to the desired amount of water needed. This valve has a 3/8" inlet and comes with the mounting bracket.
Exact Part matches for your search term

No Longer Available
No Longer Available
$155.22
Special Order
$11.16
Special Order
$29.67
Special Order
Common Symptoms of models starting with 4031
How this model fails, and the parts that fix it.
Leaking
Fixed by
these parts
these parts


Show All
Will not drain
Fixed by
these parts
these parts


Show All
Not cleaning dishes properly
Fixed by
these parts
these parts


Show All
Door latch failure
Fixed by
these parts
these parts


Show All
Will not fill with water
Fixed by
these parts
these parts


Show All
Not draining
Fixed by
these parts
these parts


Show All
Will not dispense detergent
Fixed by
these parts
these parts

Show All
Will Not Start
Fixed by
these parts
these parts


Show All
Draining Issues
Fixed by
these parts
these parts
Show All
Noisy
Fixed by
these parts
these parts


Show All
Water Filling Issues
Fixed by
these parts
these parts

Show All
Door won’t close
Fixed by
these parts
these parts

Show All
Lid or door won’t close
Fixed by
these parts
these parts

Show All
Spinning Issues
Fixed by
these parts
these parts


Show All
Will not agitate
Fixed by
these parts
these parts

Show All
Locking Issues
Fixed by
these parts
these parts
Show All
Does not dispense fabric softener or detergent
Fixed by
these parts
these parts


Show All
Not drying dishes properly
Fixed by
these parts
these parts

Show All
Burning smell
Fixed by
these parts
these parts


Show All
No hot or cold water
Fixed by
these parts
these parts
Show All
Noisy and Marks Left on Clothes
Fixed by
these parts
these parts

Show All
Engine runs but does not pump water
Fixed by
these parts
these parts
Show All
Spins slowly
Fixed by
these parts
these parts
Show All
Marks left on clothes
Fixed by
these parts
these parts
Show All
Noisy
Fixed by
these parts
these parts
Show All
Shaking and Moving
Fixed by
these parts
these parts
Show All
Watch our pros, then fix it yourself.
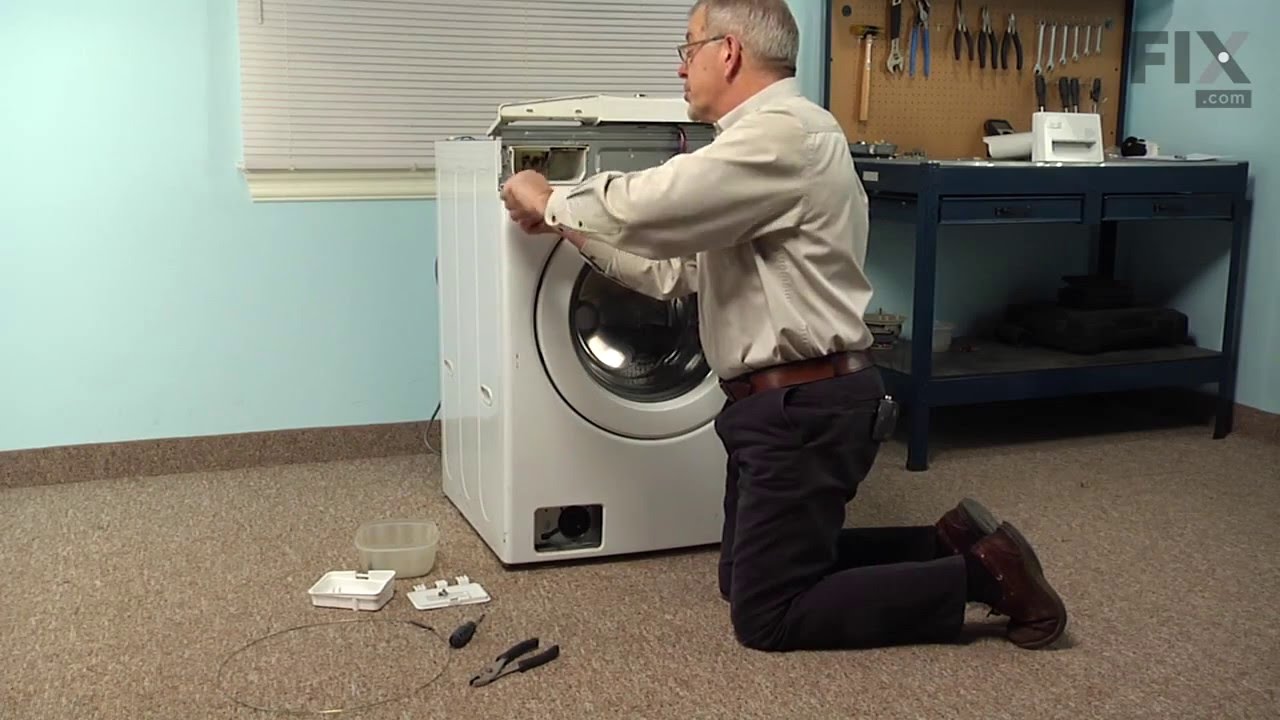
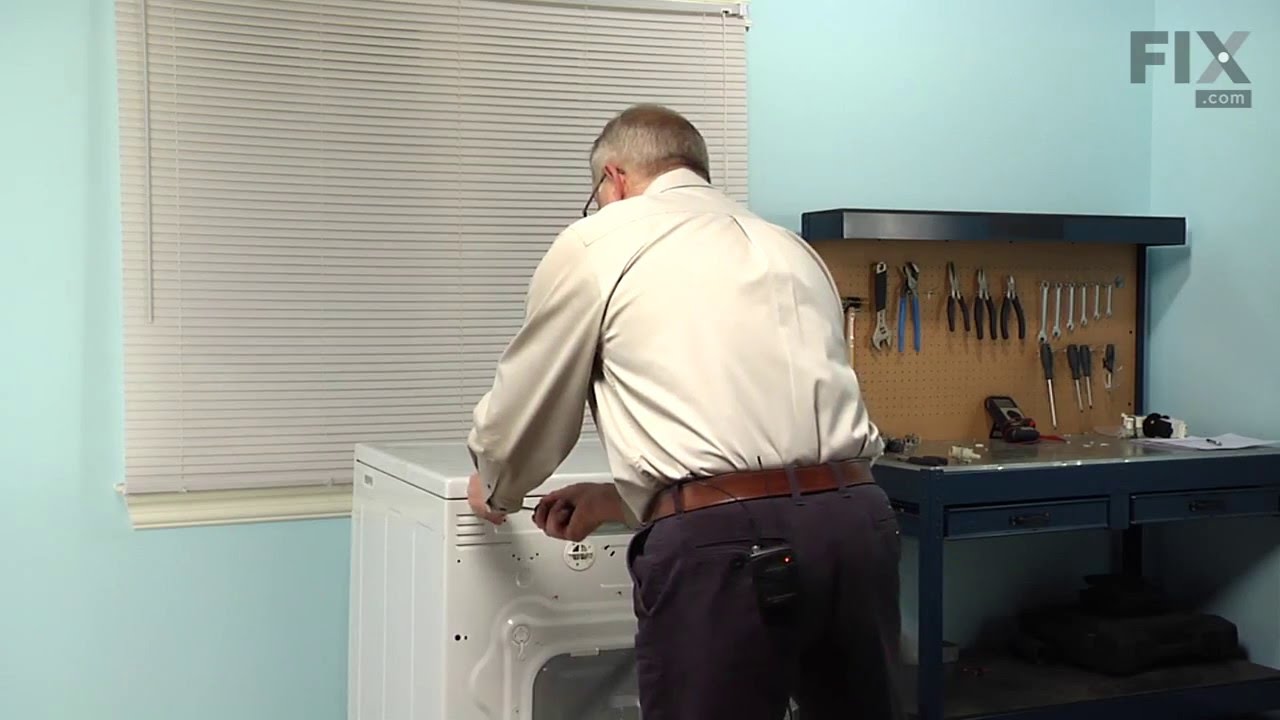
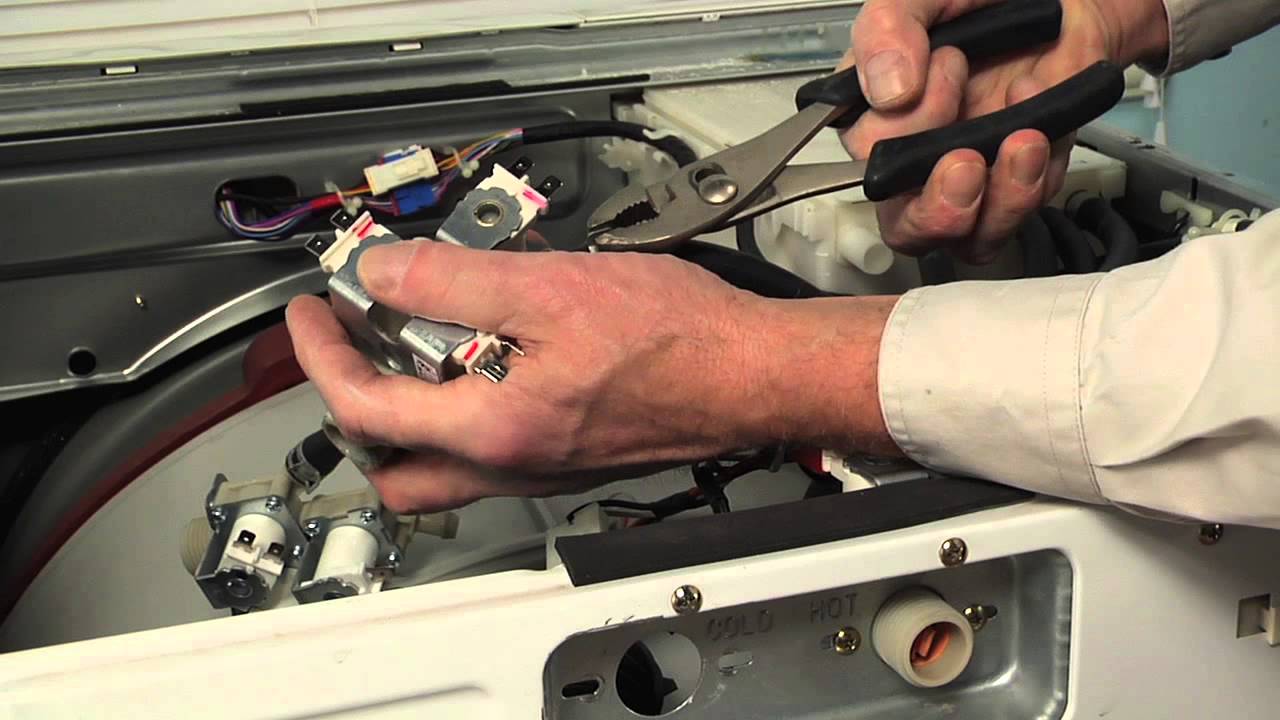
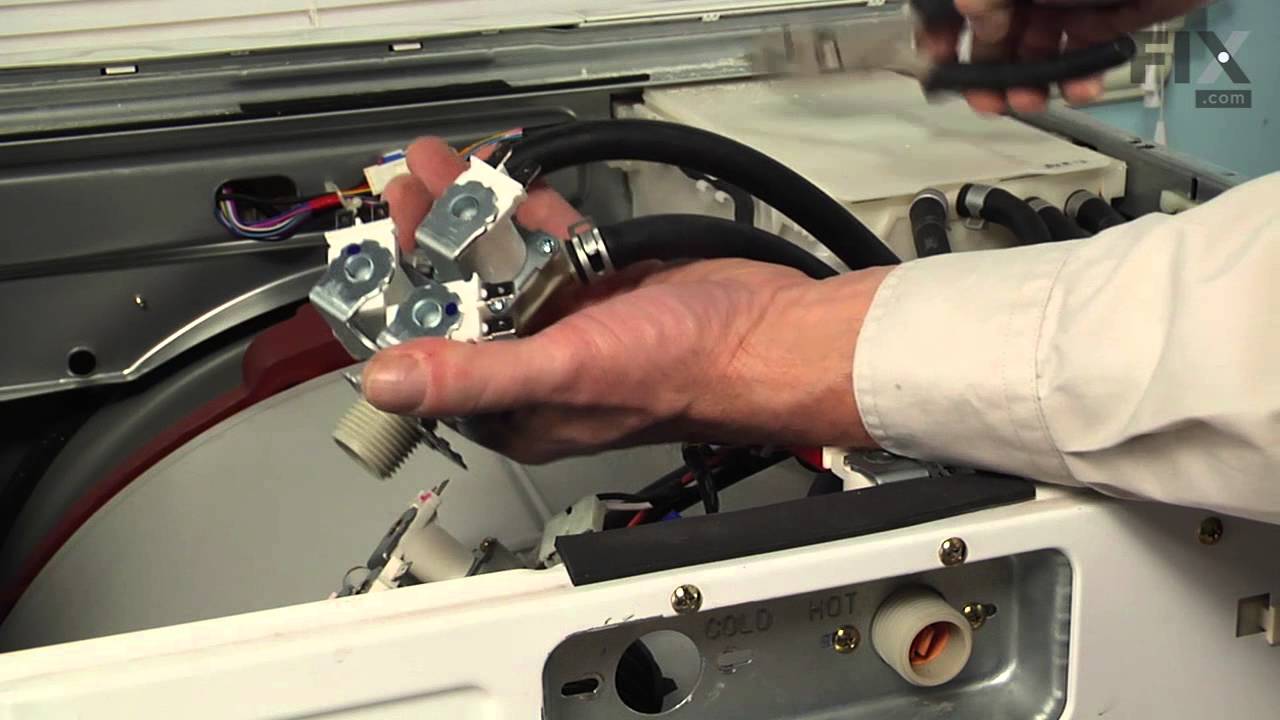
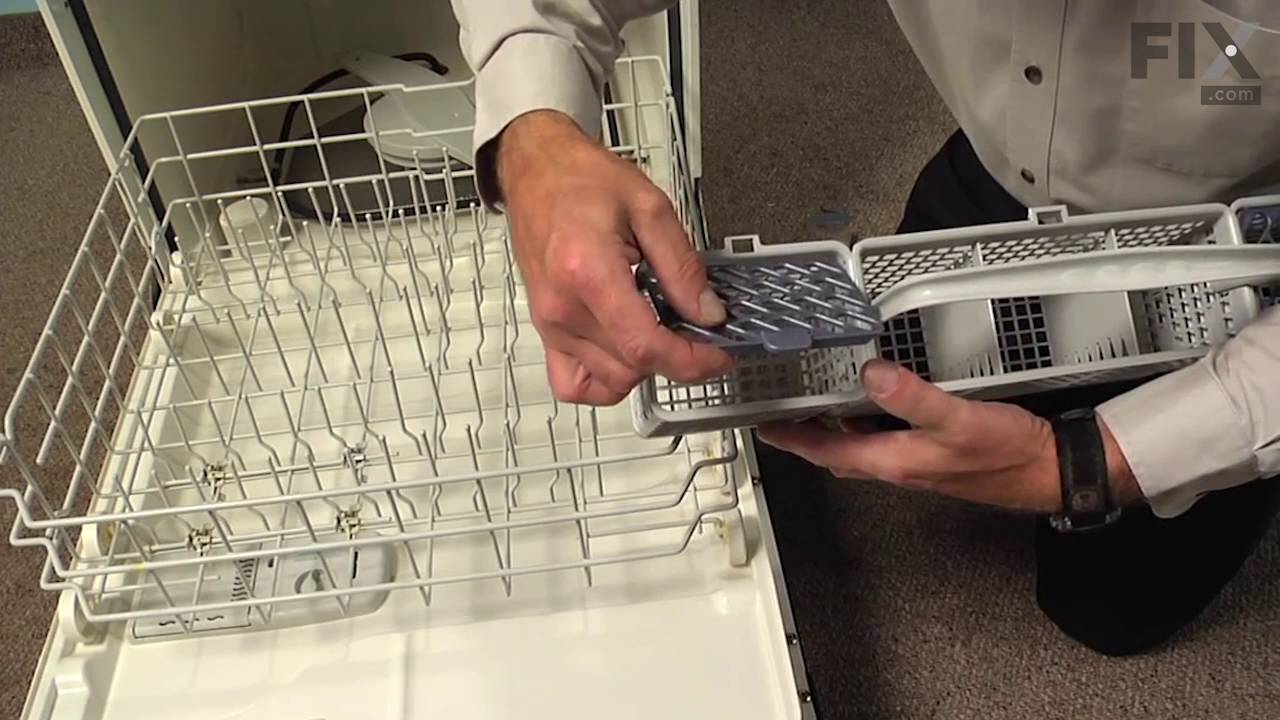
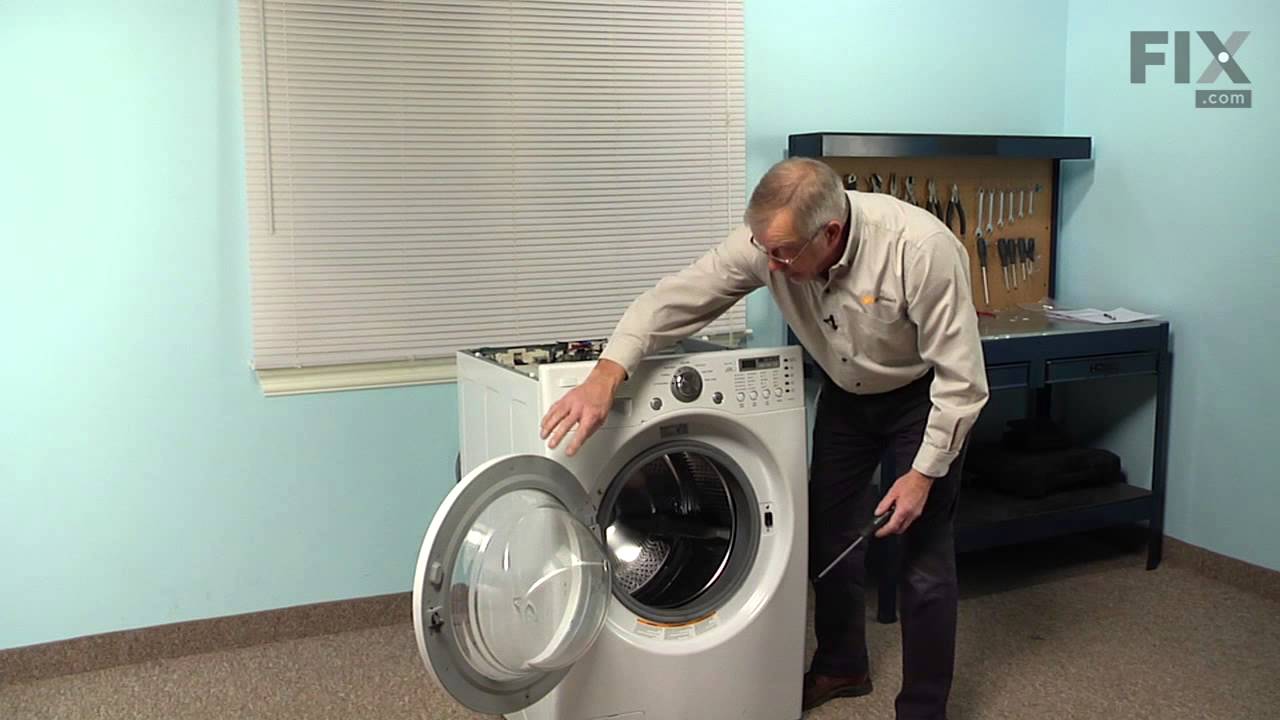
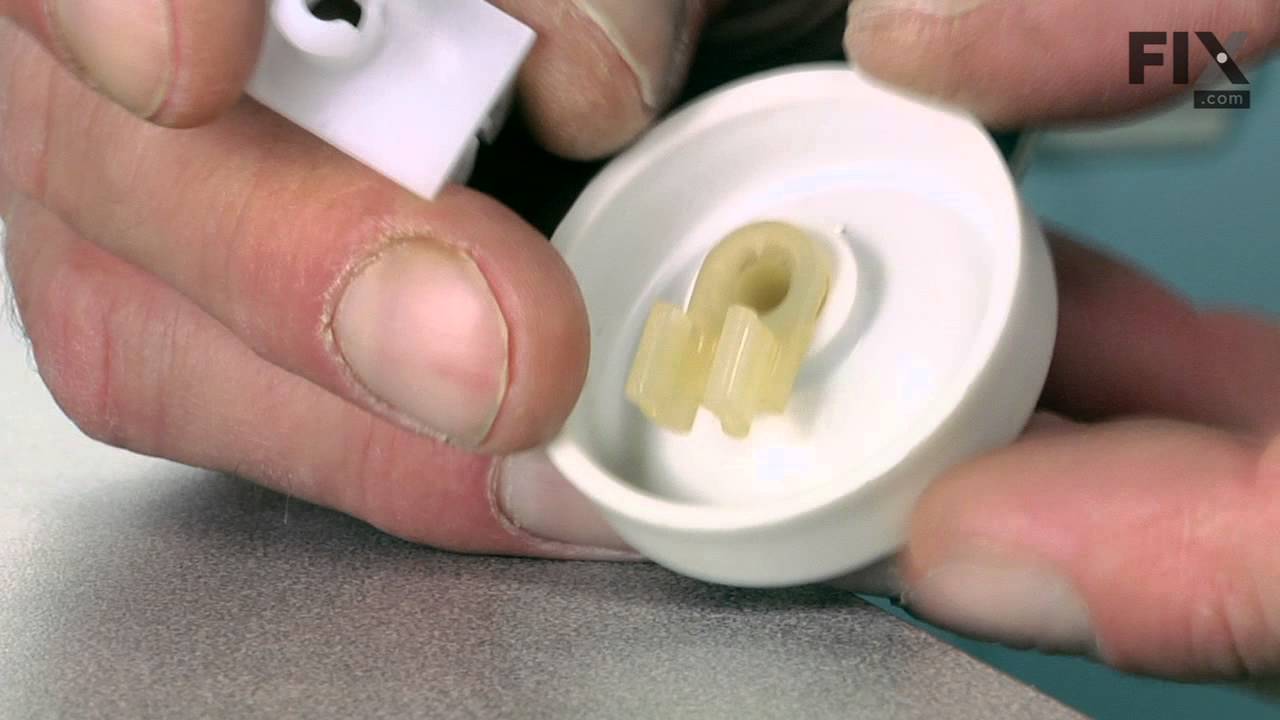
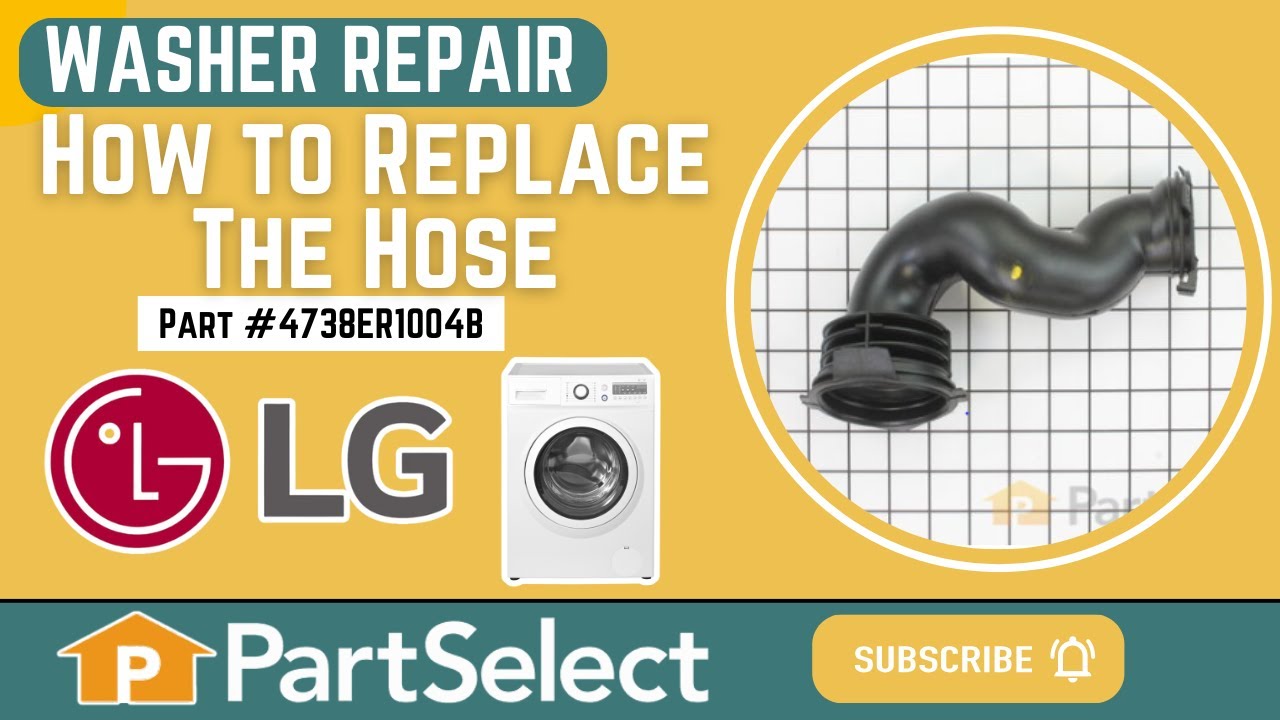
See how others fixed this model. Time, tools, difficulty, and steps that lead to victory!
View More