EasyApplianceParts is now PartSelect! We've merged our sites to provide a better shopping experience for you.   Full Details

Find Parts

Parts Departments

Top Model Types

Top Brands

Repair Help

Expert Repair Videos

Keep typing for more specific results...

4018912980 Kenmore Microwave - Overview

Diagrams for 4018912980

See every part. Know exactly what you need.

Enter a part description. DIY Heroes keep it simple, eg. "belt" or "pump".

Search filter:
Clear Filter
Your search term must have 3 or more characters.
Hose Clamp – Part Number: WP285655
$9.62
In Stock
Hose Clamp
★★★★★
★★★★★
(2)
Part #WP285655
The hose clamp is used to hold the water hose in place which will prevent the hose from leaking water. Sometimes the clamp may lose its ability to latch on, causing a leaking washer. For the installation, you will need a flat head screw driver to replace the clamp and a drill to access the screws to remove the front of the washer. Be careful if you do not have specific clamp pliers as the clamp could fly off. Once the front of the washer has been removed, take a quick look for water damage or any obvious signs of where the leak is coming from. If it is not obvious, run water to test.
Front Top Lock – Part Number: WP18776
$12.85
In Stock
Front Top Lock
★★★★★
★★★★★
(2)
Part #WP18776
This part is used to secure the top panel to the cabinet. Sold individually.
PAD – Part Number: 18849
$21.45
Special Order
PAD
Part #18849
TUBING-VALVE TO L FRONT – Part Number: 502455
No Longer Available
DISCONTINUED – Part Number: 502659
No Longer Available
DISCONTINUED
Part #502659
DISCONTINUED – Part Number: 502666
No Longer Available
DISCONTINUED
Part #502666
DISCONTINUED – Part Number: 502667
No Longer Available
DISCONTINUED
Part #502667
DISCONTINUED – Part Number: 502673
No Longer Available
DISCONTINUED
Part #502673
ADAPTER, STRAIN RELIEF – Part Number: 502496
No Longer Available
ADAPTER, STRAIN RELIEF
Part #502496
Engine – Part Number: N/P
No Longer Available
Engine
Part #N/P
Switch therm – Part Number: 501038
No Longer Available
Switch therm
Part #501038
Screw – Part Number: 501049
No Longer Available
Screw
Part #501049

Common Symptoms of the 4018912980

How this model fails, and the parts that fix it.

Watch our pros, then fix it yourself.

See how others fixed this model. Time, tools, difficulty, and steps that lead to victory! View More

Search repair tips from other customers using simple keywords like "replace", "fit", "remove", "inspect". DIY doesn't mean you have to do it alone!

Search filter:
Clear Filter
Your search term must have 3 or more characters.
broken clip on top panel hold down
15 of 26 people found this instruction helpful.
  • Mark from Huntington Station, NY
  • Easy
  • Less than 15 mins
  • Screw drivers
pressed clip into hole on top of front panel. first remove two philip screws that hold filter so you can lift top up.
Was this helpful?
Thank you for voting!
Dryer Top Panel is Loose
5 of 5 people found this instruction helpful.
  • MONTE from CHESAPEAKE, VA
  • Very Easy
  • Less than 15 mins
  • Pliers, Screw drivers
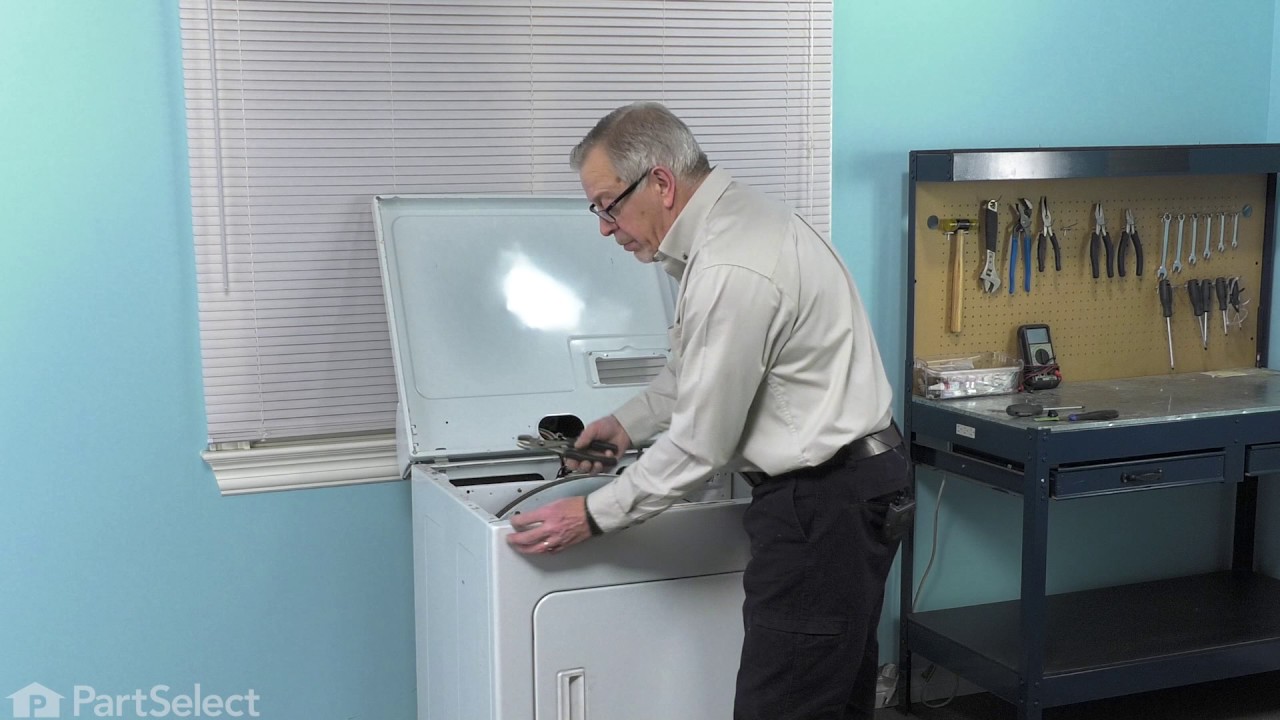
1) Unplug power cable from dryer.
2) Remove the 2 screws that secure the chute for lint filter screen with
Phillips head screwdriver.
3) Remove the lint filter screen.
4) Depress plastic locking clip on each side with putty knife to release
tension and lift up top panel to clear the locking clips. Each locking
clip is located 2-1/2 inches from the front edge of side panel.
5) Lift the top panel and lean against the wall for support. If dryer top
panel cannot be raised all the way due to cabinet(s) above, tape
the dryer top panel to cabinet above or have somebody hold the
top panel for temporary support.
6) Install the new metal locking clips. Ensure that the elongated tab
of the metal locking clip is towards the front of dryer. Compress
locking clip lightly with pliers and push down into the hole.
7) Lower the dryer top panel and press it down in place over the metal
locking clips for a tight fit.
8) Reinstall the 2 screws to secure the lint filter chute.
9) Reinstall lint filter screen.
10) Reconnect power cable for dryer.
11) Turn on dryer and inspect that all dryer panels (top, sides and
front) are tight and secured.
Repair Duration: 5 minutes
Was this helpful?
Thank you for voting!