


 My Orders




3VET2 Whirlpool Refrigerator - Overview
Models starting with 3VET2
Click on the best match to narrow your results.
- 3VET20DKFW00 Whirlpool Refrigerator (Top freezer)
- 3VET20DKFW01 Whirlpool Refrigerator (Top freezer)
- 3VET20DKFW02 Whirlpool Refrigerator (Top freezer)
- 3VET21DKAW00 Whirlpool Refrigerator (Top freezer)
- 3VET21DKBW00 Whirlpool Refrigerator (Top freezer)
- 3VET21DKDW03 Whirlpool Refrigerator (Top freezer)
- 3VET23DKAW00 Whirlpool Refrigerator (Top freezer)
- 3VET23DKBW00 Whirlpool Refrigerator (Top freezer)
- 3VET23DKDW00 Whirlpool Refrigerator (Top freezer)
- 3VET23DKFN00 Whirlpool Refrigerator (Top freezer)
- 3VET23DKFN01 Whirlpool Refrigerator (Top freezer)
- 3VET23DKFW00 Whirlpool Refrigerator (Top freezer)
- 3VET23DKFW01 Whirlpool Refrigerator (Top freezer)
- 3VET23DKFW02 Whirlpool Refrigerator (Top freezer)
Enter a part description. DIY Heroes keep it simple, eg. "belt" or "pump".
Search filter:
Clear Filter
Your search term must have 3 or more characters.

$109.58
In Stock
Refrigerator Crisper Drawer
Part #W10854037
A leaking crisper pan can be replaced to restore produce storage in your refrigerator. The pan is clear plastic and is an OEM part. Only the pan is included; the front white trim is not.

$30.53
In Stock
Refrigerator Door Switch
Part #W11384469
If your refrigerators interior light is not working, the door switch may be the cause. It turns the light off when the door closes. This is an OEM part. Confirm compatibility using your refrigerators model number.

$19.30
In Stock
Refrigerator Door Shelf End Cap
Part #4386917
This door shelf end cap set contains two white end caps. Each end cap can be used as either the right or the left side. These end caps also come with adhesive strips and an instructions sheet.

$18.65
In Stock
Ice Maker Water Fill Tube Kit
Part #WP2196157
The icemaker water fill tube provides water to the icemaker so it can produce ice and dispense water. If you notice that your ice maker is not making or dispensing ice, or is leaking, you may need to replace the water fill tube. This water fill tube kit comes with a fill tube and a compression nut. This part is made of white plastic and i...Read mores approximately 10 inches in length. The ice maker water fill tube is in the rear of the fridge. To complete this repair, you will need a 1/4 inch nut driver and a utility knife. Before beginning this repair, you may want to disconnect the water and power supply to the refrigerator.
Read less

$32.63
In Stock
Refrigerator Bimetal Defrost Thermostat
Part #WP4387503
This is a bimetal defrost thermostat for your refrigerator. It stops the fridge from overheating during the defrost cycle by protecting the evaporator. This clip-on thermostat will sense the temperature increase in the evaporator during the defrost process, and will cycle the defrost heater off after the ice or frost is melted. The most c...Read moreommon reasons for needing to replace this part are if your unit is leaking, has inconsistent temperatures (too hot or too cold), you are seeing buildup of ice, or your appliance is running too long.
Read less

$126.63
In Stock
Meat Drawer
Part #WP2218132K
This refrigerator meat drawer keeps meats, cheeses, and snacks organized in a separate storage area. Its clear plastic design makes contents easy to see, while the sliding shape provides convenient access beneath the shelf. Cracks, broken edges, or a warped base may cause sticking or leave food poorly supported. Replacing a damaged drawer...Read more restores useful storage and smoother movement. Transfer the original decorative trim if needed, and wash the new bin with mild soapy water before drying it and putting it into use. This is an OEM part sourced directly from the manufacturer.
Read less

No Longer Available

$10.70
In Stock

$17.15
In Stock

$26.82
In Stock
Refrigerator Crisper Drawer Rail
Part #WP2163835
This part goes in the center of the crisper shelf and acts as a support.

$58.42
In Stock
Refrigerator Door Shelf Retainer Bar
Part #WPW10421486
Keep bottles, jars, and condiments contained with this refrigerator door shelf retainer bar. The white rail spans the front of the shelf, creating a barrier that helps prevent items from sliding forward as the door moves. Cracks, bends, or damaged ends may leave the bar loose or unable to retain contents securely. Replacing a damaged rail...Read more helps restore usable door storage. End caps are sold separately, so retain undamaged original caps for transfer. Empty the shelf before removal and secure both ends before reloading. This is an OEM part sourced directly from the manufacturer.
Read less

$146.44
In Stock
Common Symptoms of models starting with 3VET2
How this model fails, and the parts that fix it.
Light not working
Fixed by
these parts
these parts


Show All
Leaking
Fixed by
these parts
these parts


Show All
Door won’t open or close
Fixed by
these parts
these parts


Show All
Freezer not defrosting
Fixed by
these parts
these parts
Show All
Fridge too warm
Fixed by
these parts
these parts

Show All
Ice maker not making ice
Fixed by
these parts
these parts

Show All
Door Sweating
Fixed by
these parts
these parts


Show All
Noisy
Fixed by
these parts
these parts


Show All
Freezer section too warm
Fixed by
these parts
these parts
Show All
Frost buildup
Fixed by
these parts
these parts

Show All
Fridge too cold
Fixed by
these parts
these parts


Show All
Freezer too cold
Fixed by
these parts
these parts
Show All
Not dispensing water
Fixed by
these parts
these parts
Show All
Fridge runs too long
Fixed by
these parts
these parts
Show All
Fridge and Freezer are too warm
Fixed by
these parts
these parts
Show All
Ice maker won’t dispense ice
Fixed by
these parts
these parts
Show All
Too warm
Fixed by
these parts
these parts
Show All
Clicking sound
Fixed by
these parts
these parts
Show All
Watch our pros, then fix it yourself.
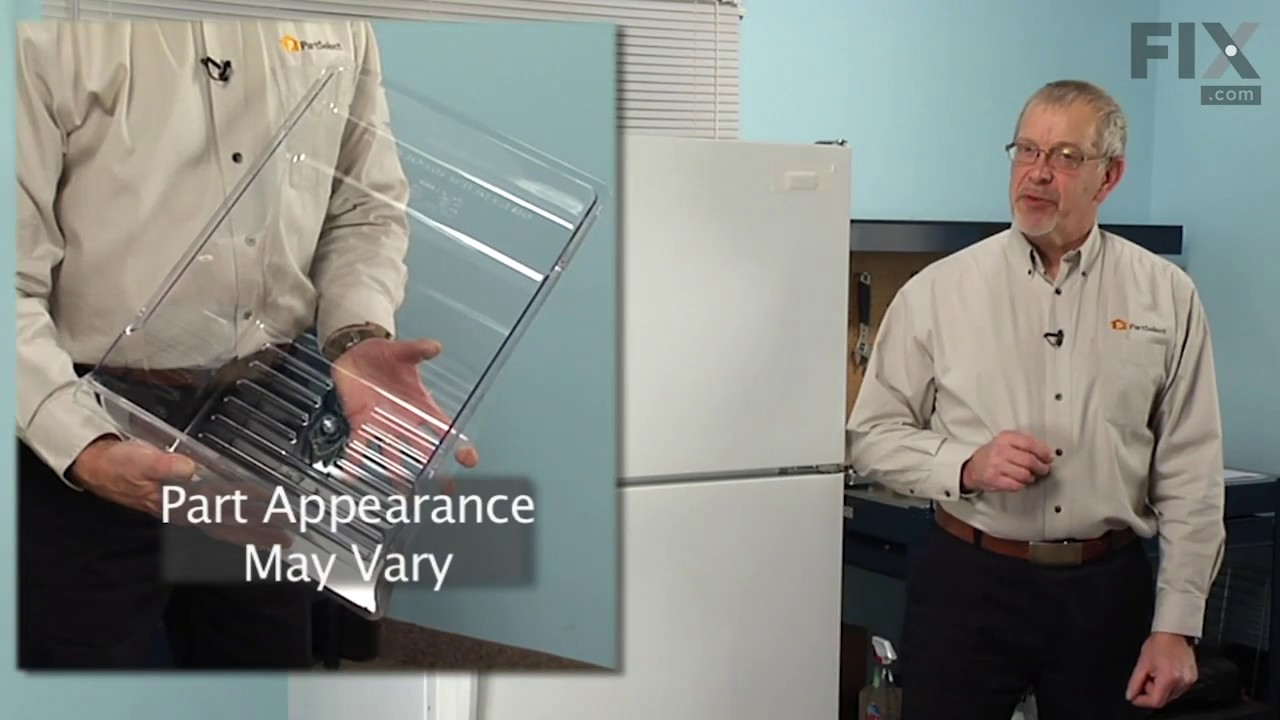
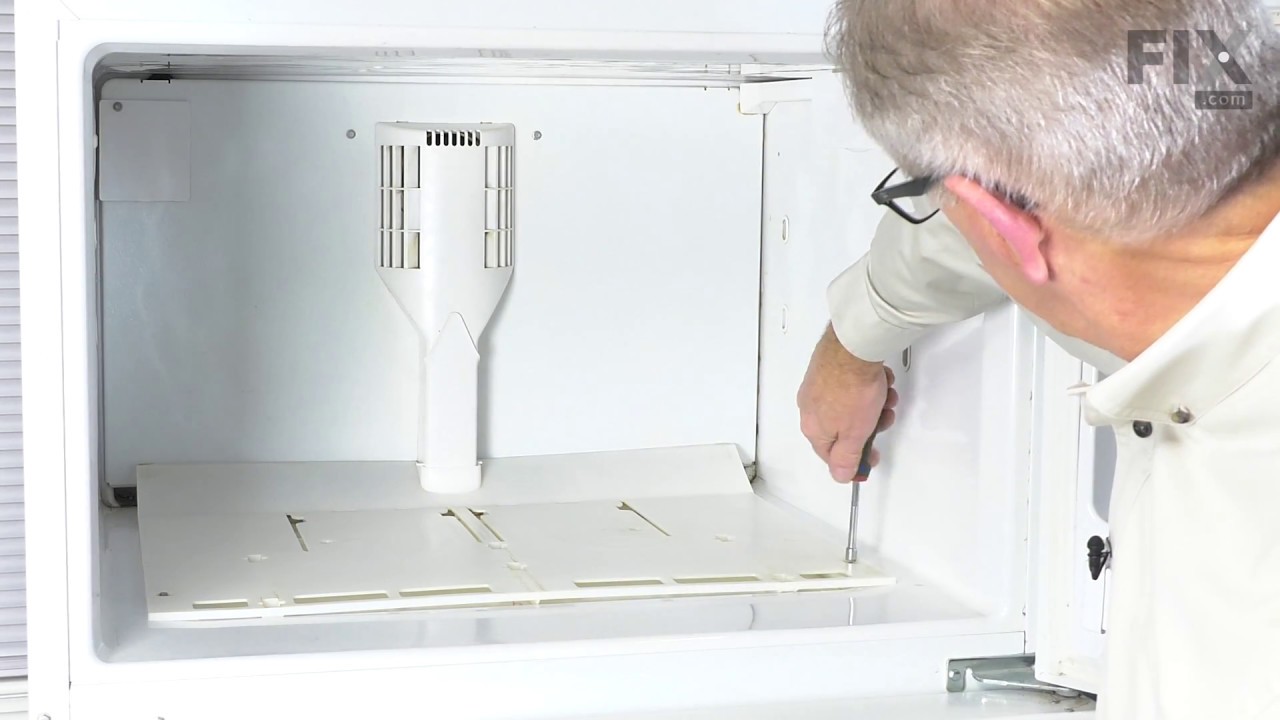

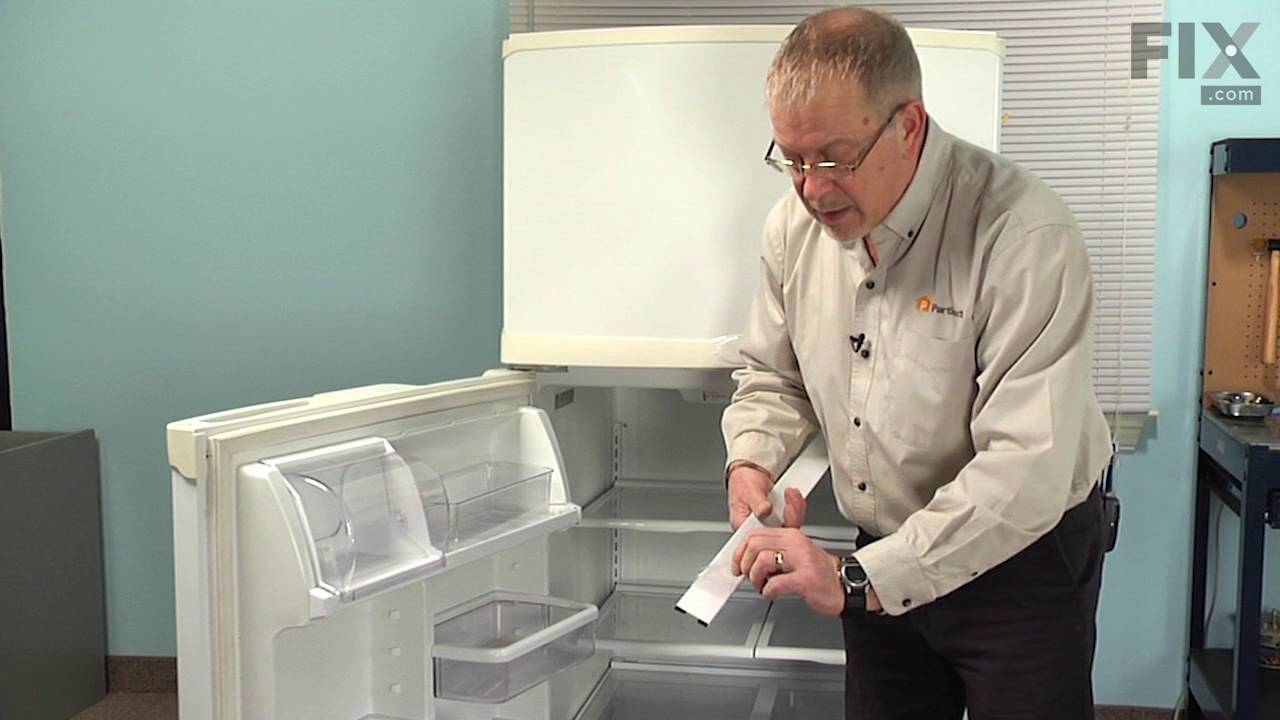
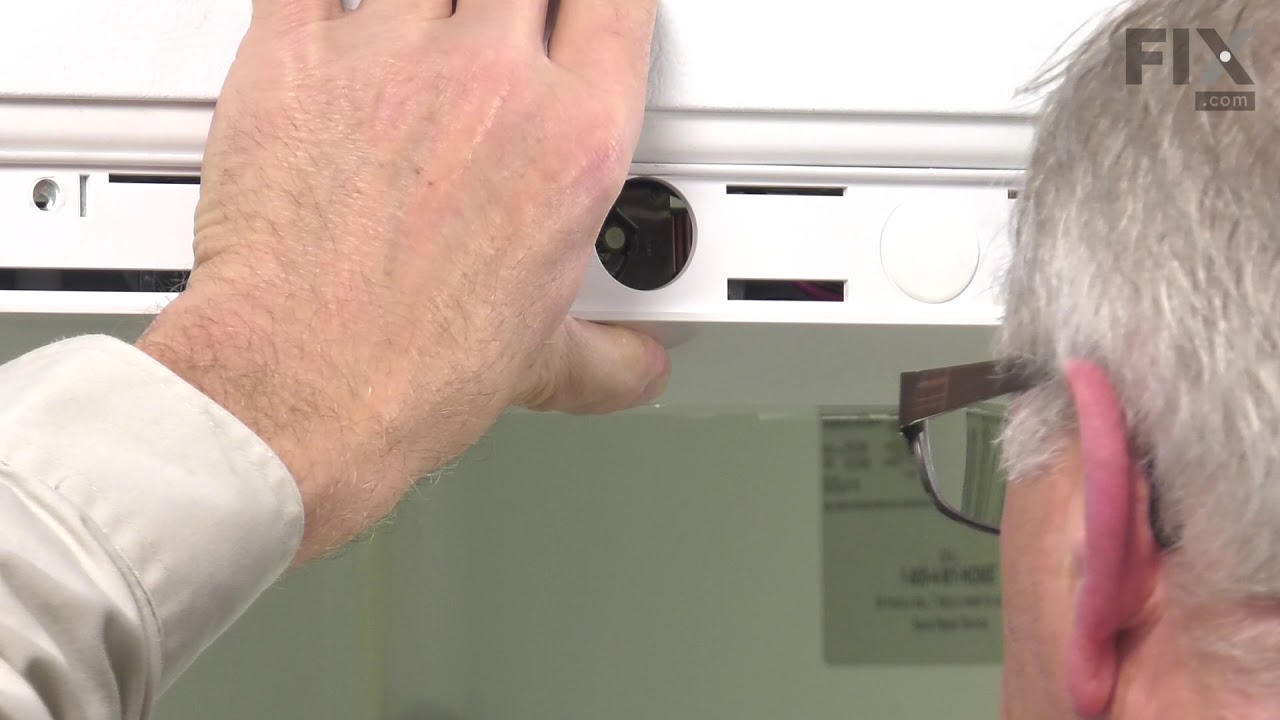
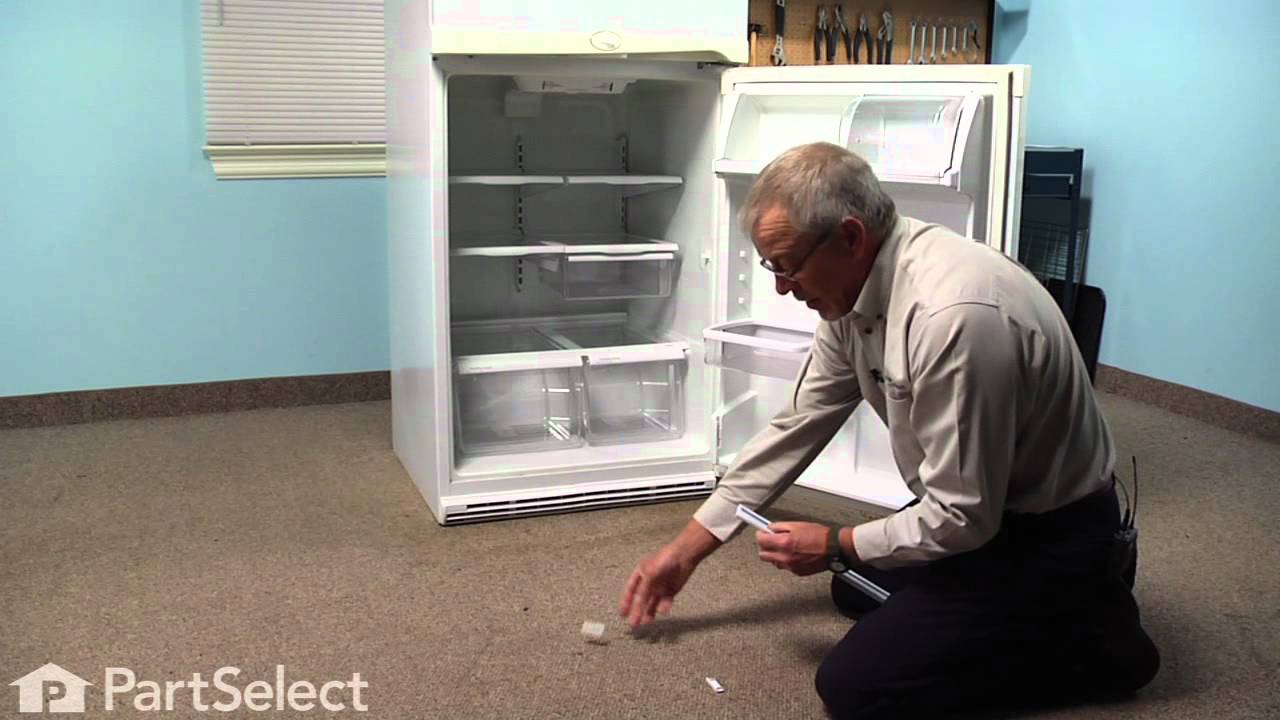
See how others fixed this model. Time, tools, difficulty, and steps that lead to victory!
View More
Search repair tips from other customers using simple keywords like "replace", "fit", "remove", "inspect". DIY doesn't mean you have to do it alone!
Search filter:
Clear Filter
Your search term must have 3 or more characters.
Drawers were cracked, trim had fallen off.
84 of 102 people
found this instruction helpful.
No need for tools.
Other Parts Used:


Was this helpful?
Thank you for voting!