


 My Orders




3J Compressor - Overview
Models starting with 3J
Click on the best match to narrow your results.
- 3JR69 (Type 0) DeVilbiss Compressor (Hand-Carry Compressor)
- 3JR69A (Type 0) DeVilbiss Compressor (Hand-Carry Compressor)
- 3JR70 (Type 1) DeVilbiss Compressor (Compressor)
- 3JR71 (Type 1) DeVilbiss Compressor (Workshop/Auto Compressor)
- 3JR71 (Type 0) DeVilbiss Compressor (Workshop/Auto Compressor)
- 3JR80FP Campbell Hausfeld Compressor (3jr80fp)
- 3JR84 (2008) Campbell Hausfeld Compressor (Speedaire Compressor Pump)
- 3JR85D (2006) Campbell Hausfeld Compressor (Westward Portable Air Compressor)
- 3JR85E Campbell Hausfeld Compressor (3jr85e)
Enter a part description. DIY Heroes keep it simple, eg. "belt" or "pump".
Search filter:
Clear Filter
Your search term must have 3 or more characters.

No Longer Available
DRAIN VALVE
Part #N286039
Frequently referred to as a Drain Plug, this Drain Valve is used to drain any condensation that has collected inside the tank to prevent the tank from rusting. It is not part of a kit or assembly, is sold individually, made of brass, is gold, and will be found at the bottom of the air tank.
This part will need to be replaced when it is ...Read moreno longer able to provide a proper seal, or if it is visibly worn or damaged. You will need a wrench to complete this repair.
Customers rate this repair as Easy.
Read less

$86.76
In Stock
KIT COMP RING REPLAC
Part #K-0650
Restore air pressure in a compatible oil free air compressor with this cylinder service kit, it includes a cylinder sleeve, compression ring, piston rod screw, and two sealing rings, replace worn parts when the compressor runs but makes little or no air, unplug the compressor and release all tank pressure before repair, check the model and type number before ordering.

$14.23
In Stock
Fan Blade
Part #AC-0108
This fan is an exact replacement part for use in air compressors and is sourced directly from the manufacturer. It is made of durable black plastic and is used to cool the compressor during operation. It is not part of a kit or assembly and is sold individually.
This part is located on the end of the motor shaft and will be visibly brok...Read moreen or worn when it needs to be replaced. You will need a screwdriver, a socket set, and a drill to complete this repair.
Customers rate this repair as Easy.
Read less

$48.88
In Stock
AC CORD
Part #D26615
This power cord is a genuine high quality item, it is not an aftermarket imitation. It is sourced directly from original equipment manufacturer for use with electric air compressors. It is connected to a standard US outlet to supply power to the unit. Please note, this rubber insulated power cord is sold individually. You will need a screwdriver to replace this item.

$6.40
In Stock
Ferrule
Part #ST085200AV
Designed for use in compressors, this genuine replacement part is used to provide a seal and prevent leaks. It is red, made of rubber, is not part of a kit or assembly, and is sold individually.
When this part is worn, you will notice leaks from your machine, and it will need to be replaced. As with most rubber seals, this part is known...Read more to wear with regular use of your compressor, and will no longer be able to properly seal when it needs to be replaced. It is found at the bottom of the air tank, and you will need a wrench to complete this repair.
Customers rate this repair as Easy.
Read less

$70.30
In Stock
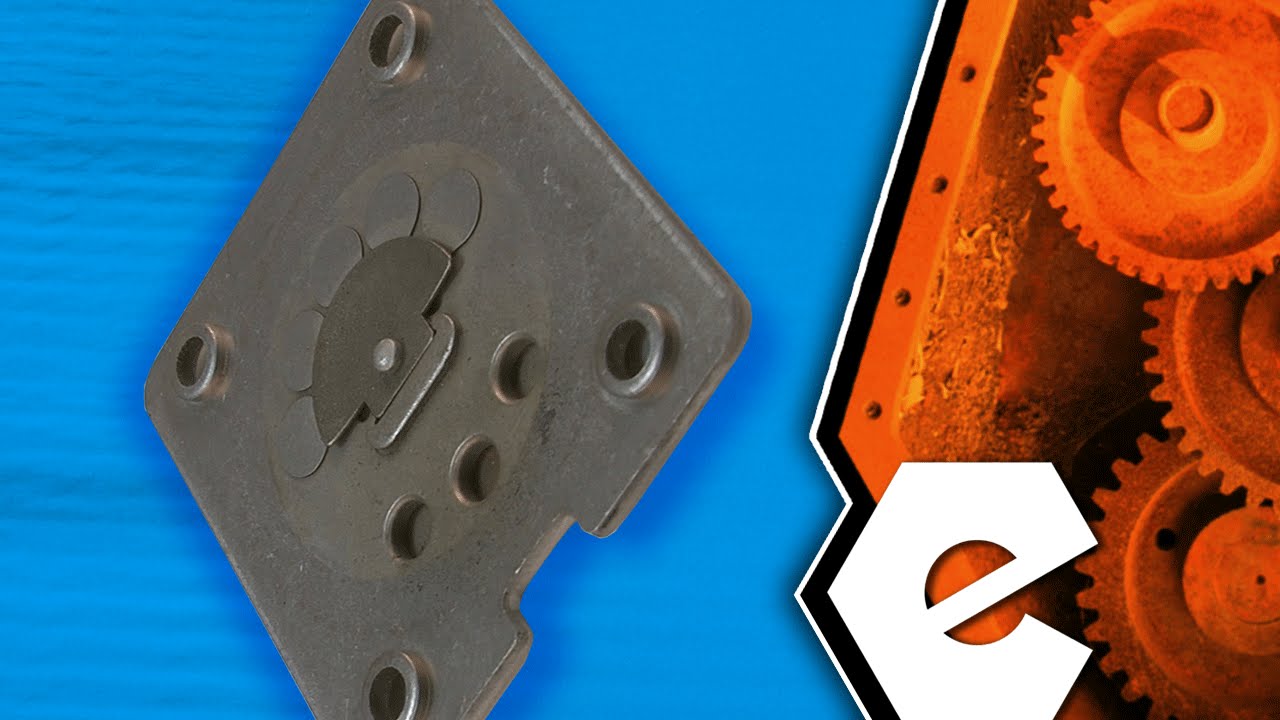
ASSY VALVE PLATE
Part #Z-AC-0032
Sourced directly from the manufacturer, this part is an exact replacement for various air compressors. Its primary purpose is to control the airflow through the pump. This part is an assembly that includes the plate gasket and seals.
When this part is malfunctioning, the tank will take longer to fill or will not be able to fill at all. I...Read moret will need to be replaced once it becomes damaged or worn. You will need a wrench set and a socket set to complete this repair.
Customers rated this repair as Easy.
Read less

No Longer Available
ASSY CORD POWER ST
Part #SUDL-413-2
This is an authentic Craftsman replacement part that has been sourced from the original manufacturer to be used with air compressors. The three wire cord is encased in a durable jacket and includes terminals at the end of the wires. The cord is used to relay electricity from the outlet to the switch assembly. This item is available as an individual replacement part.

$16.09
In Stock
Pres Ga 250psi Sd Mnt Nochlogo
Part #GA016306AV
The purpose of a gauge is to register the pressure readings inside the tank. This replacement gauge is sourced directly from original equipment manufacturer for use with Campbell Hausfeld air compressors. The dial reads 0-250 PSI. Please note this gauge has a durable metal body and it is sold individually. You should only need a wrench and a thread-sealing tape to complete this repair.

No Longer Available
WHEEL 9 BLACK SEMI-P
Part #D23138
This wheel is a genuine OEM replacement part used in portable air compressors. It consists of a plastic rim and rubber tire with an outer diameter of 9.5 inches. It is held in place on the compressor axle by a shoulder bolt and nut. The wheel allows the equipment to move smoothly during use. If the tire is punctured, or the rim is damaged...Read more, the wheel will need to be replaced to restore the portability of your equipment. If the nut and bolt are worn down, it is recommended to replace them at the same time. Remove the nut and bolt that secure the wheel and pull it off the axle. Place the new wheel in position and secure it with the fasteners (sold separately). Each wheel is sold individually.
Read less

No Longer Available
TUBE SEAL
Part #N044359
This replacement tube seal is a high quality item that is supplied by original equipment manufacturer for use with Craftsman air compressors. It is placed on the outlet tube coming from the head of the compressor. Please note this durable rubber tube seal is sold individually.

$8.48
In Stock
Sight Glass
Part #ST191700AV
The sight glass attaches to the crankcase and lets you check the level of the oil. This part is an OEM from Campbell Hausfeld for compressors. This item is available as an individual replacement part. A socket set may be needed when replacing the sight glass.

$6.40
On Order
ORING P/L HEAD
Part #ACG-45
O-rings are made to contain thousands of PSI pressure by creating a seal between two or more parts. O-ring measurements are defined by the inside diameter and the thickness. rnrnThere are many causes for O-Ring failure. The most common among power tools are: • Extrusion and Nibbling - The O-ring has ragged, tattered edges. ...Read moreThese are commonly caused by pressure spikes which shear off tiny "bites" from the o-ring, or caused by clearance gaps. • Abrasion - One or both sides of the o-ring appear rough and slightly flattened. Commonly caused by a contact surface that it too rough, contains grit or is too smooth to allow lubrication. • Over Compression - The O-ring is flattened on both sides and may have a "ring" split along its length. Commonly caused by excessive pressure or heat. • Heat Hardening - The O-ring has a pitted or cracked surface, and is often flattened on both sides. Caused by temperature exceeding o-ring capacity. • Weather/Ozone Cracking - The O-ring is covered in small surface cracks. Caused by exposure to ozone, UV rays and air pollution. Excessive seal stretching (greater that 5%) causes similar cracking.
Read less
Common Symptoms of models starting with 3J
How this model fails, and the parts that fix it.


Watch our pros, then fix it yourself.



See how others fixed this model. Time, tools, difficulty, and steps that lead to victory!
View More