



 My Orders




3H65A Admiral Refrigerator - Overview

Enter a part description. DIY Heroes keep it simple, eg. "belt" or "pump".
Search filter:
Clear Filter
Your search term must have 3 or more characters.

$65.73
In Stock
Refrigerator Condenser Fan Motor Kit
Part #833697
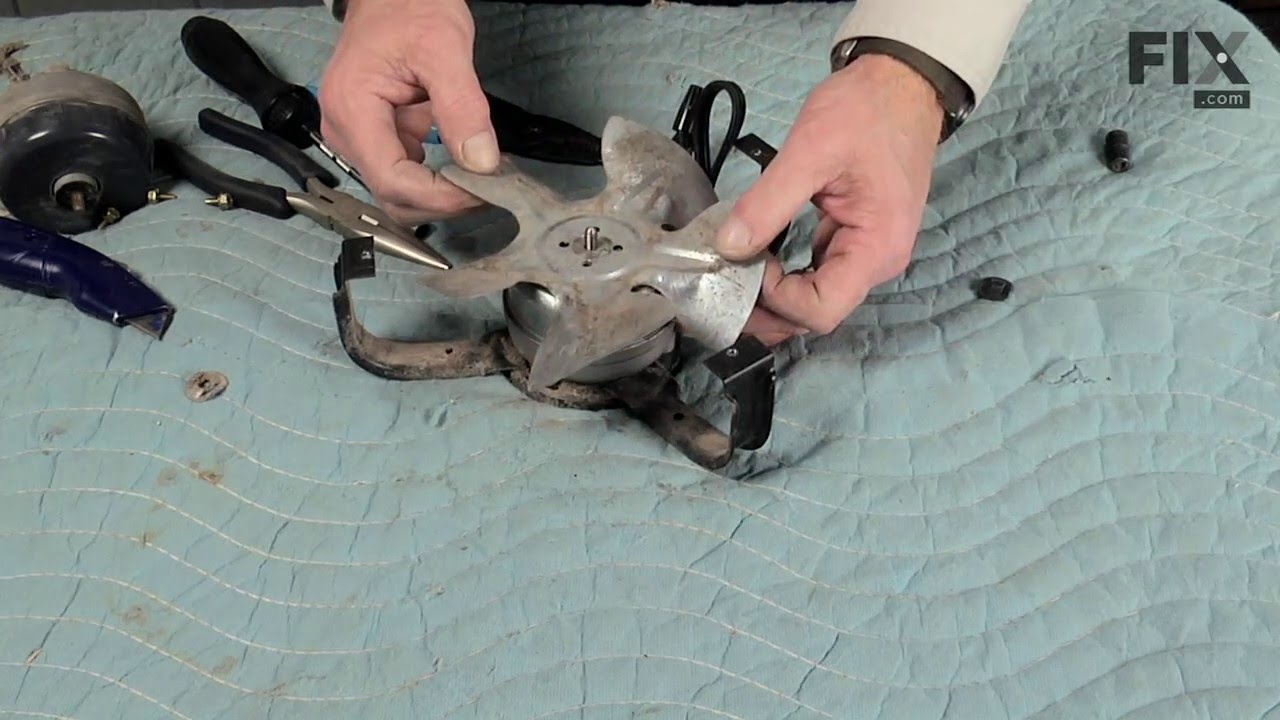
This condenser fan motor kit is designed for use with refrigerators. This fan draws air through the condenser coils and over the compressor. It does this with the goal of cooling the warm refrigerant before it enters the evaporator. When your fan or fan motor is not working your refrigerator will not cool properly. This is a 2-Watt, 115 V...Read moreolt motor that rotates the fan in a counter clockwise direction. This kit includes the hardware needed for installation, and a set of instructions. Before you begin any repair work make sure to unplug your appliance.
Read less

$76.03
In Stock
Evaporator Fan Motor - 115V 60Hz - Blade NOT Included
Part #WP61004888
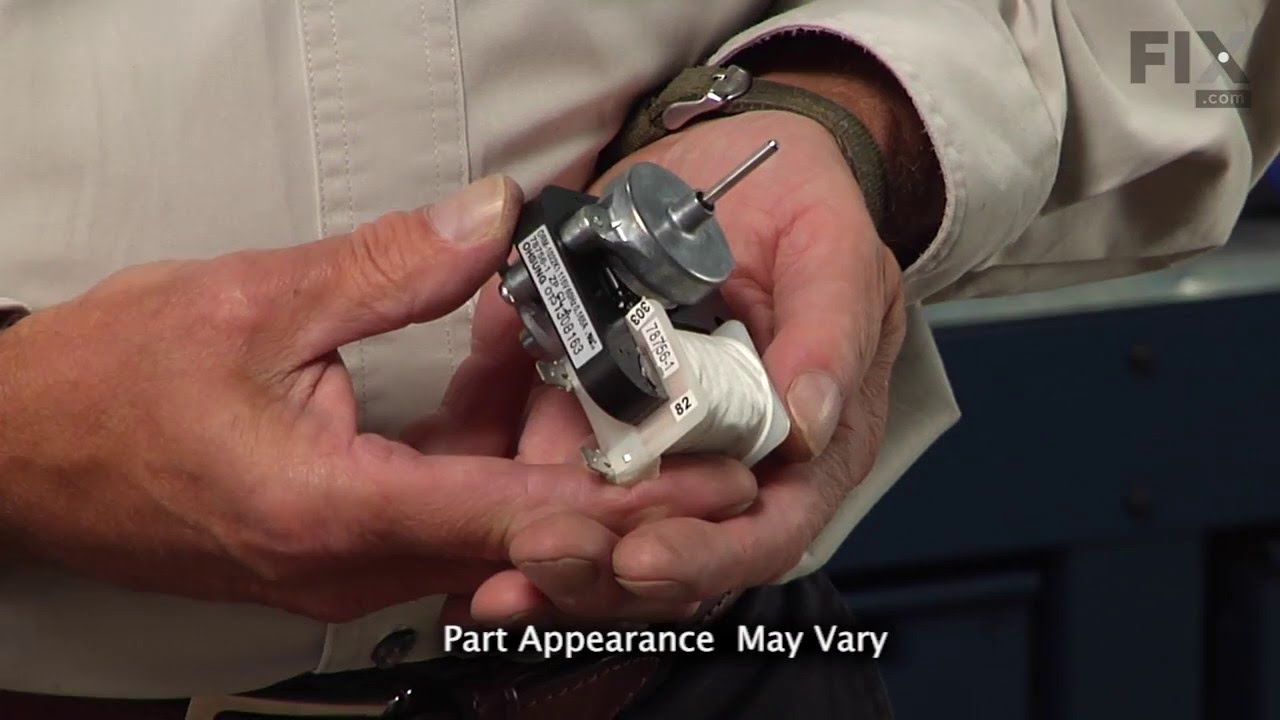
This is an evaporator fan motor for a refrigerator. The fan motor circulates air through the refrigerator to the fresh food compartment for efficient cooling. It is just over three inches long. It is made of both metal and plastic, and is made up of black, white, and metallic pieces. Disconnect power from your refrigerator before starting...Read more the repair because you will be working near electrical circuits. This is an authentic replacement part that is sourced directly from the original manufacturer. It is important to note that the blade is sold separately and is not included with the evaporator fan motor.
Read less

$40.65
In Stock
Refrigerator Tray
Part #WP841180A
This fourteen cube ice cube tray is eleven inches long. It is all white in color and is made entirely of plastic.

$115.48
Special Order
Refrigerator 6hour Defrost Timer
Part #WP4391974
This part may appear different than the original, but will function the same. This device acts like a clock. It continually advances and alternates between activating the cooling cycle and the defrost heater.

$17.15
Special Order
Refrigerator Leveler
Part #W11117769
This is an OEM part that is made of metal and sold individually. The leveling leg is generally used with refrigerators, dryers, freezers, ranges, cooktops, and microwaves. The leveling leg is meant to keep your appliance steady and level to the floor. If you notice your appliance is uneven to the floor it may need to have the leveling leg...Read more replaced. You will notice that the bottom of the leveling leg has a smooth surface to ensure moving your appliance does not require as much effort. This part screws into a pre-drilled hole underneath the appliance.
Read less

No Longer Available
Defrost Evaporator Pan
Part #WP68236-1
This defrost evaporator and water collection pan is almost sixteen inches long. It is all black in color and it is made entirely of plastic.

No Longer Available
Hinge Pin Bushing
Part #66036-1
This bushing is used with a 1/4-inch pin. This part is found in refrigerators (and sometimes freezers). The bushing provides a bearing surface for the hinge pin that rotates. Every time you are opening and closing your fridge, this part is acting as a bearing and makes it so that the door is swinging back and forth with ease. This bushing...Read more tends to wear down over time and will need to be replaced. You will notice that this part needs to be replaced if your door is off-kilter and not aligned properly. This part is sold separately. This is a genuine part sourced from the manufacturer directly.
Read less

$9.62
Special Order
Speed Nut
Part #WP486692
The speed nut (also referred to as a condenser motor fan nut), fits onto the condenser fan motor. The motor for this fan turns on simultaneously with the evaporator and the compressor motors, so a malfunction in the condenser fan motor could cause your fridge to cycle on and off more frequently or run too warm, or too noisily. Make sure t...Read morehat the speed nut is properly attached and tight. Check the nut for any signs of wear or damage. If the nut is damaged and refuses to tighten, you should replace the part immediately. Remember to unplug your refrigerator before starting this repair.
Read less

No Longer Available
Butter Dish
Part #67004412A

$11.77
Special Order
Washer
Part #WP52185-1
This door hinge washer is less than an inch in diameter. It is all white in color and it is made entirely of plastic.

$24.67
Special Order
BUSHING- L
Part #66034-1
The bushing is made of white plastic and is for a 3/8-inch pin. This bushing is part of your refrigerator assembly and is found on the top of the door. A worn-out bushing will cause your door to become misaligned. If you notice the fridge door is not opening or closing easily it could be due to the bushing being damaged. You will need to ...Read moreremove the entire refrigerator door by removing the upper hinge first. This will give you access to the bushing. This is a genuine OEM part that comes right from the manufacturer.
Read less

$29.47
In Stock
Refrigerator Drier (Service)
Part #WPW10143759
This drier may also be known as a refrigerator ultra-violet dye drier or a filter drier and is meant to be used with your fridge. This piece is a filter for the refrigerant that moves through the refrigerators sealed-system. The most common reason you will need to replace the filter is if your fridge/freezer is not starting. You should co...Read morensider having this piece installed by an appliance repair technician that is trained and licensed. Installing this part requires specialized knowledge and tools. The installation will require the service technician to recover and recharge the refrigerant in the refrigerators sealed-system.
Read less
Common Symptoms of the 3H65A
How this model fails, and the parts that fix it.
Fridge too warm
Fixed by
these parts
these parts


Show All
Noisy
Fixed by
these parts
these parts
Show All
Freezer section too warm
Fixed by
these parts
these parts
Show All
Fridge runs too long
Fixed by
these parts
these parts
Show All
Fridge and Freezer are too warm
Fixed by
these parts
these parts
Show All
Will Not Start
Fixed by
these parts
these parts
Show All
Leaking
Fixed by
these parts
these parts

Show All
Too warm
Fixed by
these parts
these parts
Show All
Watch our pros, then fix it yourself.
See how others fixed this model. Time, tools, difficulty, and steps that lead to victory!
View More