


 My Orders




3ET18D Whirlpool Refrigerator - Overview
Models starting with 3ET18D
Click on the best match to narrow your results.
- 3ET18DKXAN00 Whirlpool Refrigerator
- 3ET18DKXAN01 Whirlpool Refrigerator (Top freezer)
- 3ET18DKXAW00 Whirlpool Refrigerator (Top freezer)
- 3ET18DKXAW01 Whirlpool Refrigerator (Top freezer)
- 3ET18DKXBN00 Whirlpool Refrigerator (Top freezer)
- 3ET18DKXBW00 Whirlpool Refrigerator (Top freezer)
- 3ET18DKXXN00 Whirlpool Refrigerator
- 3ET18DKXXN01 Whirlpool Refrigerator (Top freezer)
- 3ET18DKXXW00 Whirlpool Refrigerator (Top freezer)
- 3ET18DKXXW01 Whirlpool Refrigerator (Top freezer)
Enter a part description. DIY Heroes keep it simple, eg. "belt" or "pump".
Search filter:
Clear Filter
Your search term must have 3 or more characters.

$19.30
In Stock
Refrigerator Door Shelf End Cap
Part #4386917
This door shelf end cap set contains two white end caps. Each end cap can be used as either the right or the left side. These end caps also come with adhesive strips and an instructions sheet.

$18.65
In Stock
Ice Maker Water Fill Tube Kit
Part #WP2196157
The icemaker water fill tube provides water to the icemaker so it can produce ice and dispense water. If you notice that your ice maker is not making or dispensing ice, or is leaking, you may need to replace the water fill tube. This water fill tube kit comes with a fill tube and a compression nut. This part is made of white plastic and i...Read mores approximately 10 inches in length. The ice maker water fill tube is in the rear of the fridge. To complete this repair, you will need a 1/4 inch nut driver and a utility knife. Before beginning this repair, you may want to disconnect the water and power supply to the refrigerator.
Read less

$21.45
In Stock
Screw
Part #W11233072
This is a multi-use and multi-appliance screw. It can be used on a microwave, refrigerator, range/oven, air conditioner, dehumidifier, washer, or dryer. The measurements of this screw are 8 x 1/2 inch. It has 6 threads. Refer to the manual provided by the manufacturer for further information on repair and accurate guidance. Remember to wear work gloves as a safety precaution.

$32.63
In Stock
Refrigerator Bimetal Defrost Thermostat
Part #WP4387503
This is a bimetal defrost thermostat for your refrigerator. It stops the fridge from overheating during the defrost cycle by protecting the evaporator. This clip-on thermostat will sense the temperature increase in the evaporator during the defrost process, and will cycle the defrost heater off after the ice or frost is melted. The most c...Read moreommon reasons for needing to replace this part are if your unit is leaking, has inconsistent temperatures (too hot or too cold), you are seeing buildup of ice, or your appliance is running too long.
Read less

No Longer Available

No Longer Available
Touch-Up Paint - White
Part #72017
This touch-up paint can be used on a wide variety of household appliances. It is most often used on washers, dryer, refrigerators, dishwashers, ranges, freezers, trash compactors, or microwaves. It is an 18 ml, or.6 fluid ounces, bottle of touch-up paint. It also features a brush for easy application. This quick-drying, long-lasting paint...Read more is perfect for fixing any nicks, scratches, or chips on the exterior of your appliance. This paint is white in color, and provides a durable finish.
Read less

$7.47
In Stock
Screw
Part #WP488729
Metallic screw that is less than an inch long. Does not include the plastic washer.

$12.85
In Stock
BRACKET-DOOR STOP,ZINC
Part #W11745278
This hinge bracket, also known as a door stop, is attached to the bottom of the door and is used to limit how far the door swings out to protect the refrigerator itself, and any surrounding cabinets from potential damage. If your fridge is having issues opening or staying closed, check the hinges for any damage or cracking. To replace thi...Read mores bracket, simply remove the door off your refrigerator, unscrew and remove this bracket from the bottom of the door, and install the new one. This hinge bracket is an OEM replacement and is compatible with several different makes and models of refrigerator.
Read less

$44.23
In Stock
Door Light Switch
Part #WP2149705
The purpose of the light switch in your refrigerator is to automatically turn on the light when the door is opened. If the light does not come on automatically when you open the door, the contacts inside the light switch may be burned out, meaning it is time to replace the switch. This package contains both the new light switch and a smal...Read morel plastic spacer. To complete this repair, you will need to remove the control panel section of your refrigerator. The only tools you will require for this repair are a 1/4-inch nut driver and maybe a small flat blade screwdriver. Be sure to disconnect the power source from the refrigerator before completing this repair.
Read less

$7.47
In Stock

$54.24
In Stock
Light Socket Kit
Part #4387478
The light socket in your refrigerator houses the light bulb and connects it to the power source. If your refrigerator light is not coming on when you open the door, you may need to replace the light socket. Before you replace the light socket, be sure that your light bulb is in working condition, as this may solve the same problem. This l...Read moreight socket kit comes with 2 wire connectors, a light shield, and the new socket. The wire connectors that come with this kit are included so your new socket can replace a variety of old ones. If this light socket is different than your original, you will need to use the connectors to make it fit your refrigerator. Be sure to follow the instructions provided, so this part will fit your refrigerator properly.
Read less

No Longer Available
Door Shelf Retainer Bar - Cut-To-Fit
Part #WP2157313
This part may be too long for your appliance and may need to be cut to fit your specific dimensions.
Common Symptoms of models starting with 3ET18D
How this model fails, and the parts that fix it.
Leaking
Fixed by
these parts
these parts


Show All
Light not working
Fixed by
these parts
these parts


Show All
Door won’t open or close
Fixed by
these parts
these parts


Show All
Freezer not defrosting
Fixed by
these parts
these parts
Show All
Fridge too warm
Fixed by
these parts
these parts

Show All
Ice maker not making ice
Fixed by
these parts
these parts

Show All
Freezer section too warm
Fixed by
these parts
these parts
Show All
Frost buildup
Fixed by
these parts
these parts
Show All
Fridge too cold
Fixed by
these parts
these parts
Show All
Freezer too cold
Fixed by
these parts
these parts
Show All
Not dispensing water
Fixed by
these parts
these parts
Show All
Fridge and Freezer are too warm
Fixed by
these parts
these parts
Show All
Ice maker won’t dispense ice
Fixed by
these parts
these parts
Show All
Fridge runs too long
Fixed by
these parts
these parts
Show All
Too warm
Fixed by
these parts
these parts
Show All
Clicking sound
Fixed by
these parts
these parts
Show All
Watch our pros, then fix it yourself.
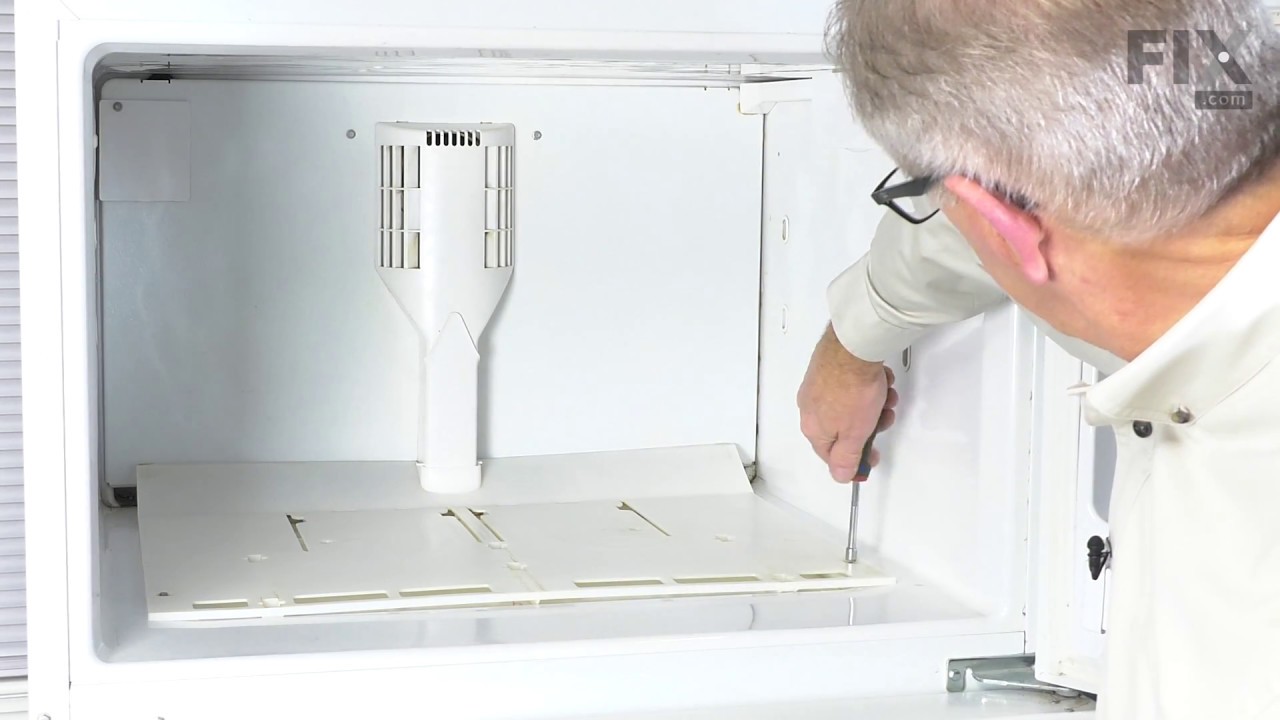
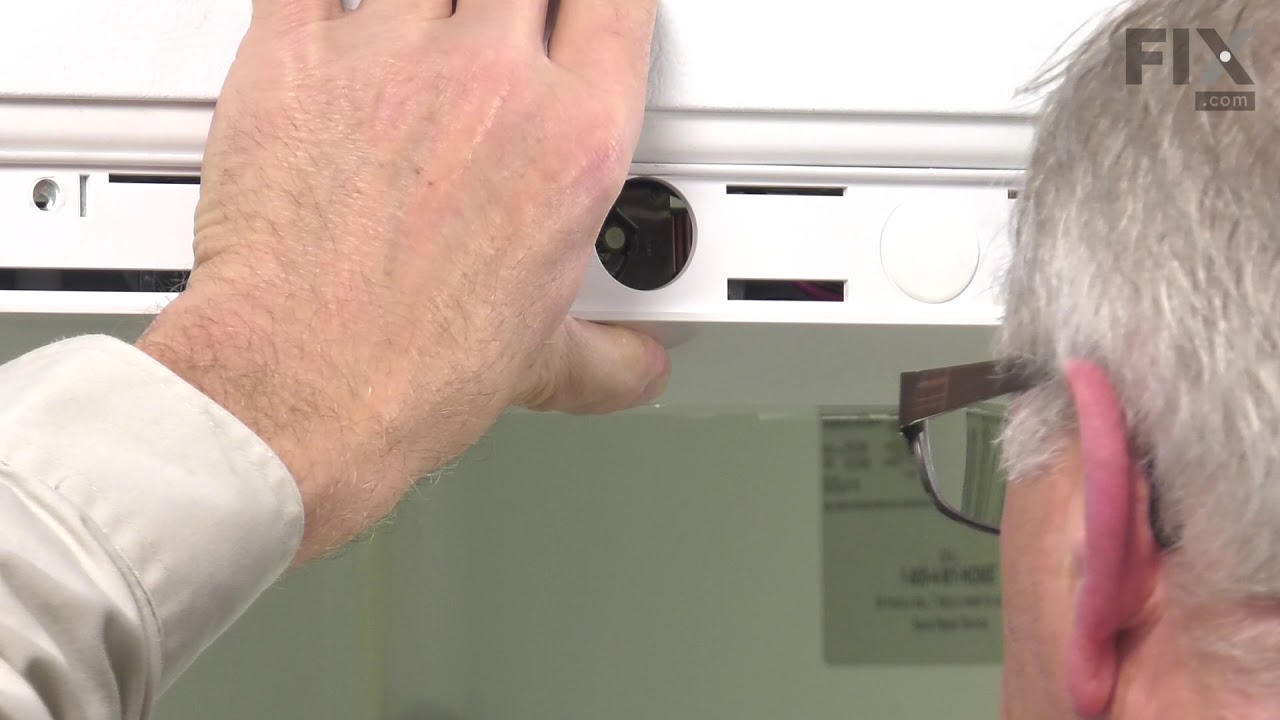
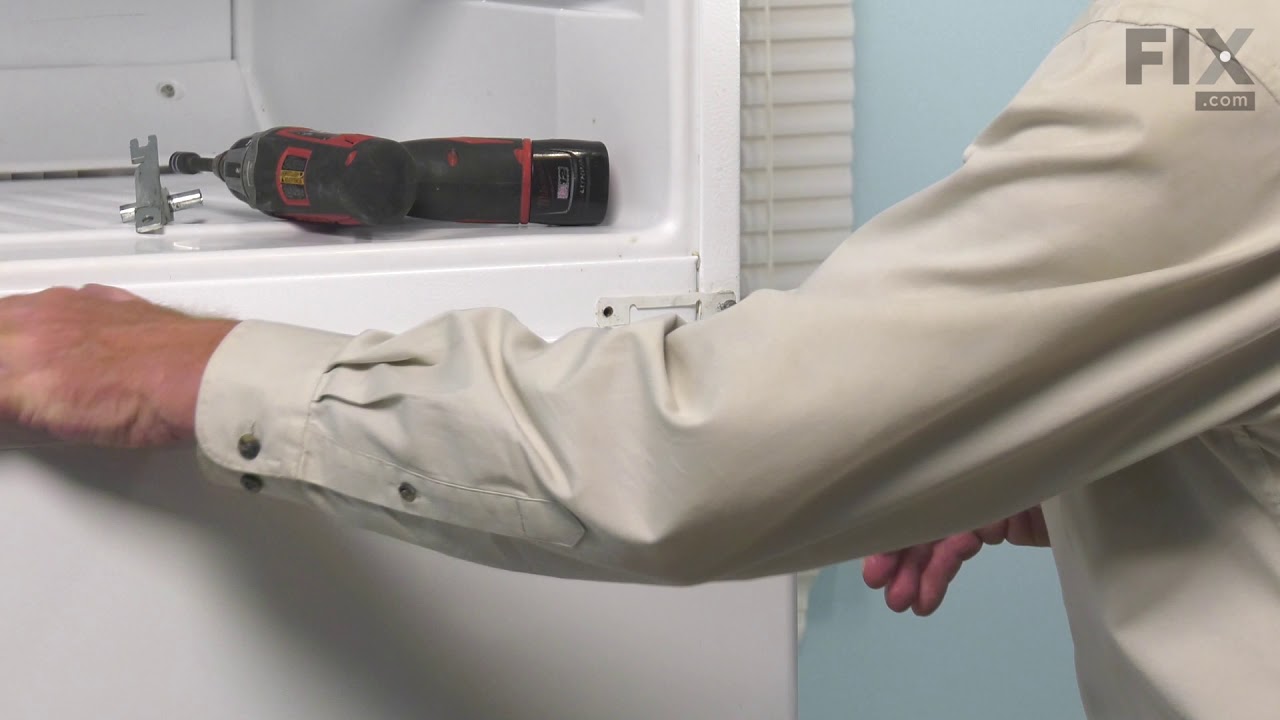
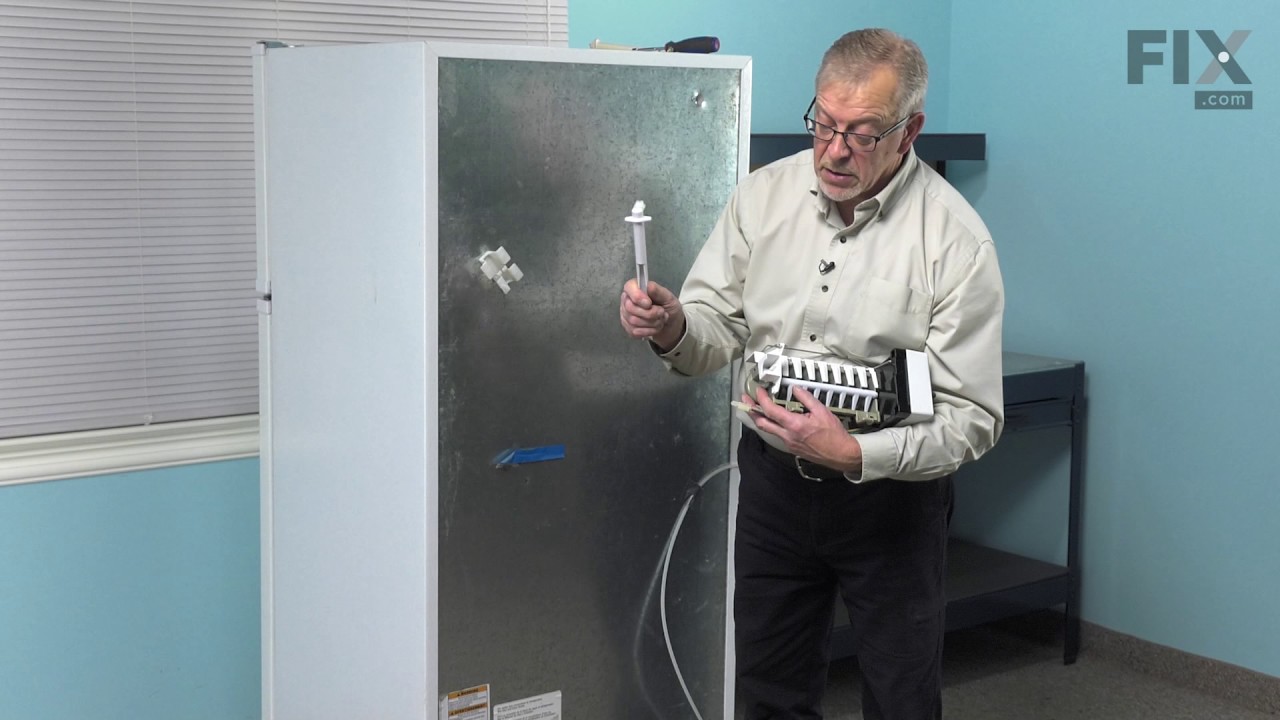
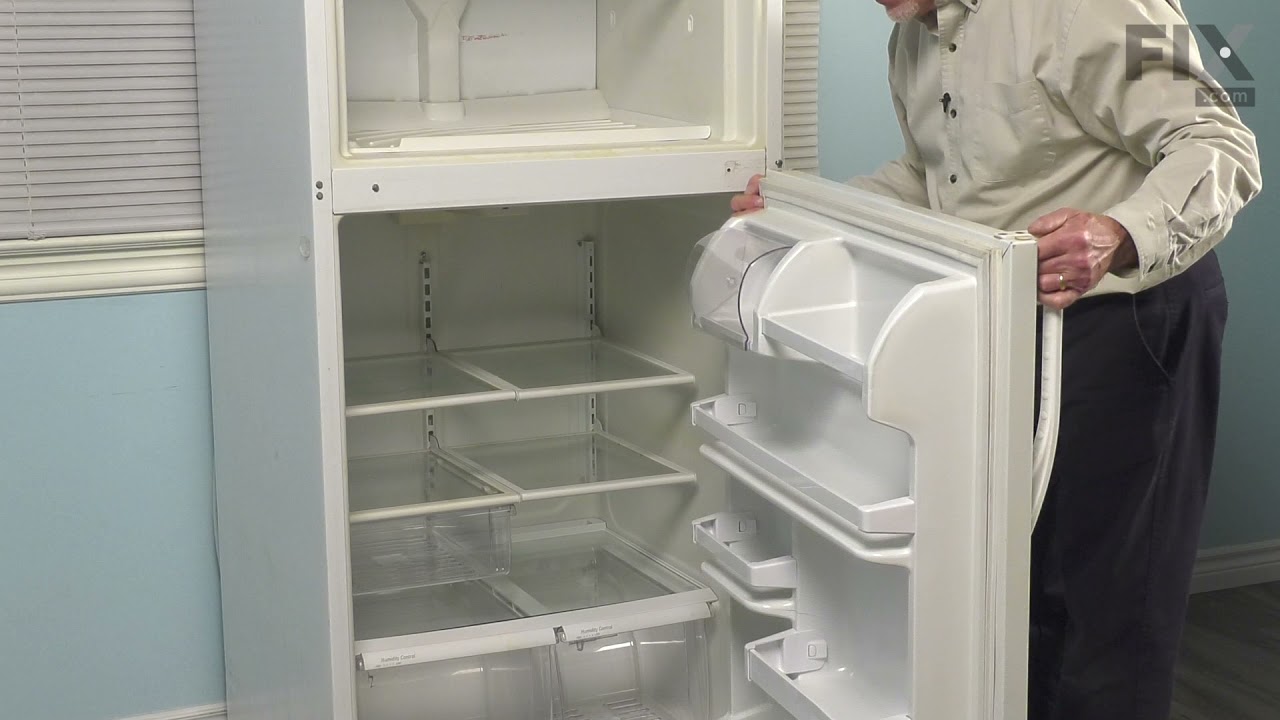
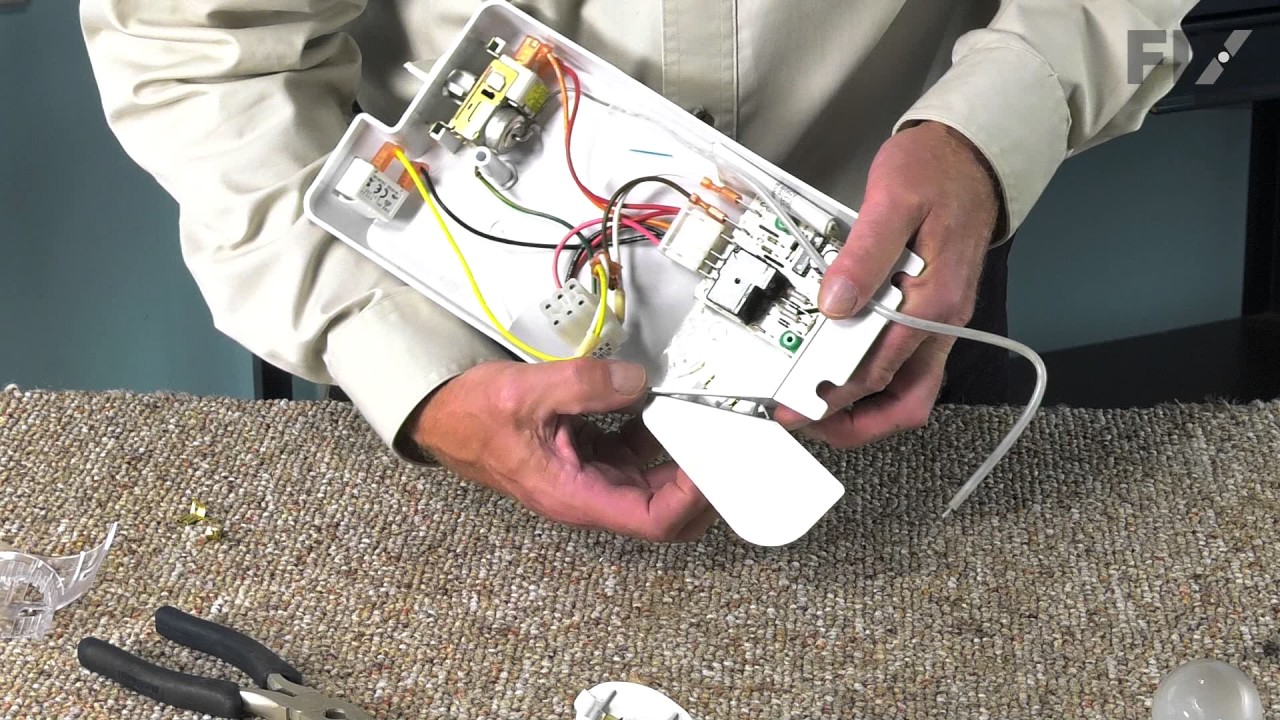
See how others fixed this model. Time, tools, difficulty, and steps that lead to victory!
View More